Ida's Scrunchie
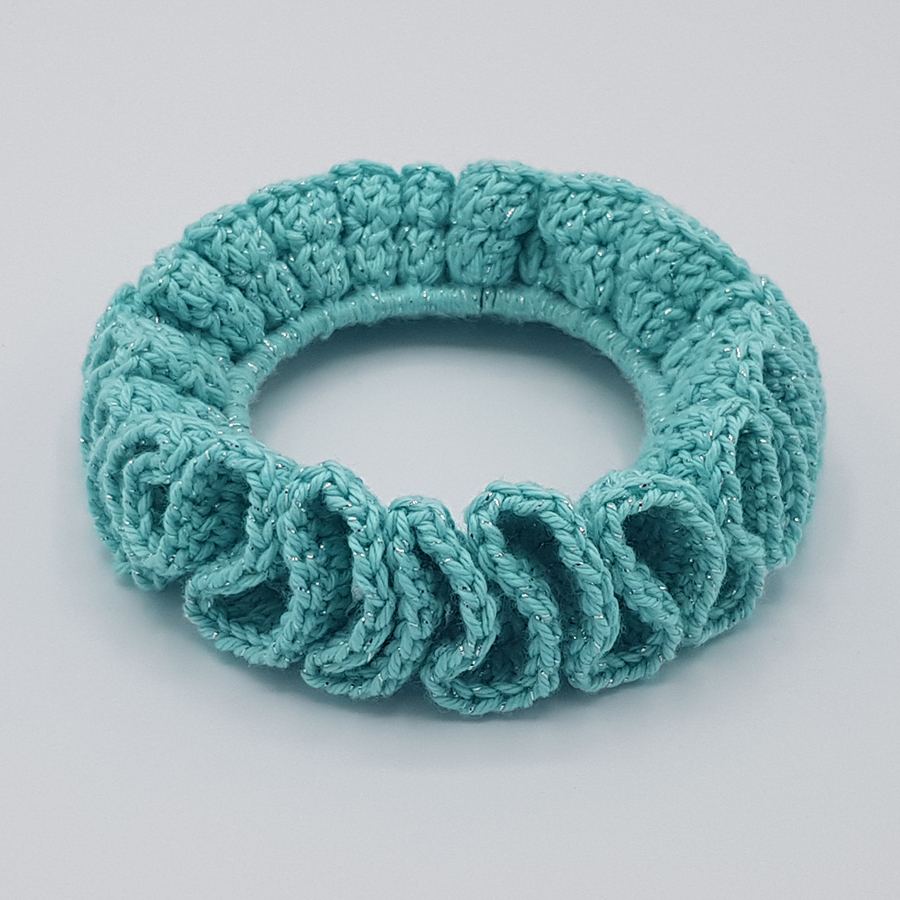

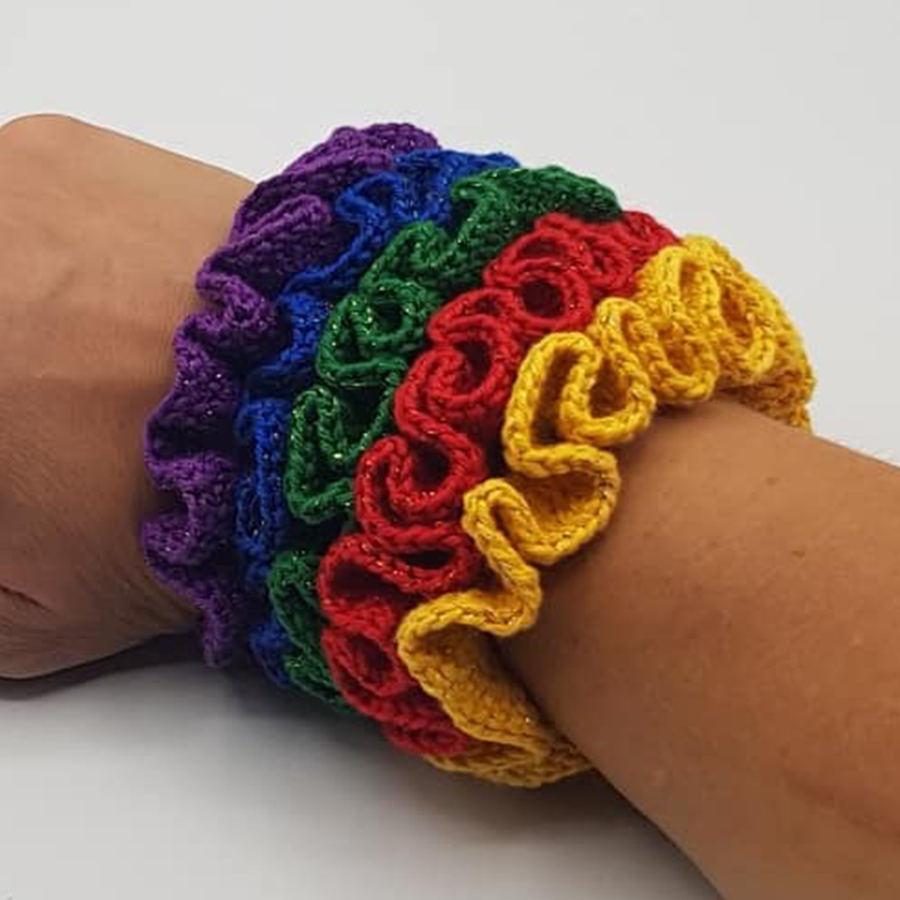
Scrunchies have become very modern again and many people use them today as accessories and not just as hair decorations. Ida, who has a wide range of scrunchies in different colours, primarily uses them as accessories to match her clothes. When used this way, I think it would look good, with as many fringes as possible. The pattern is called Ida's Scrunchie, as it was Ida and the way she uses them that inspired me to make this pattern.
I have therefore in the pattern pushed the stitches together tightly, so that you have as many stitches as possible. You can of course reduce the number of stitches on the elastic, you’ll just get fewer fringes.
The pattern for Ida's scrunchie is straightforward, as only single crochet and double crochet stitches are used. If you are a beginner in crochet and need a small project to start with, this scrunchie might be your first crochet project.
Material
Amount of yarn needed
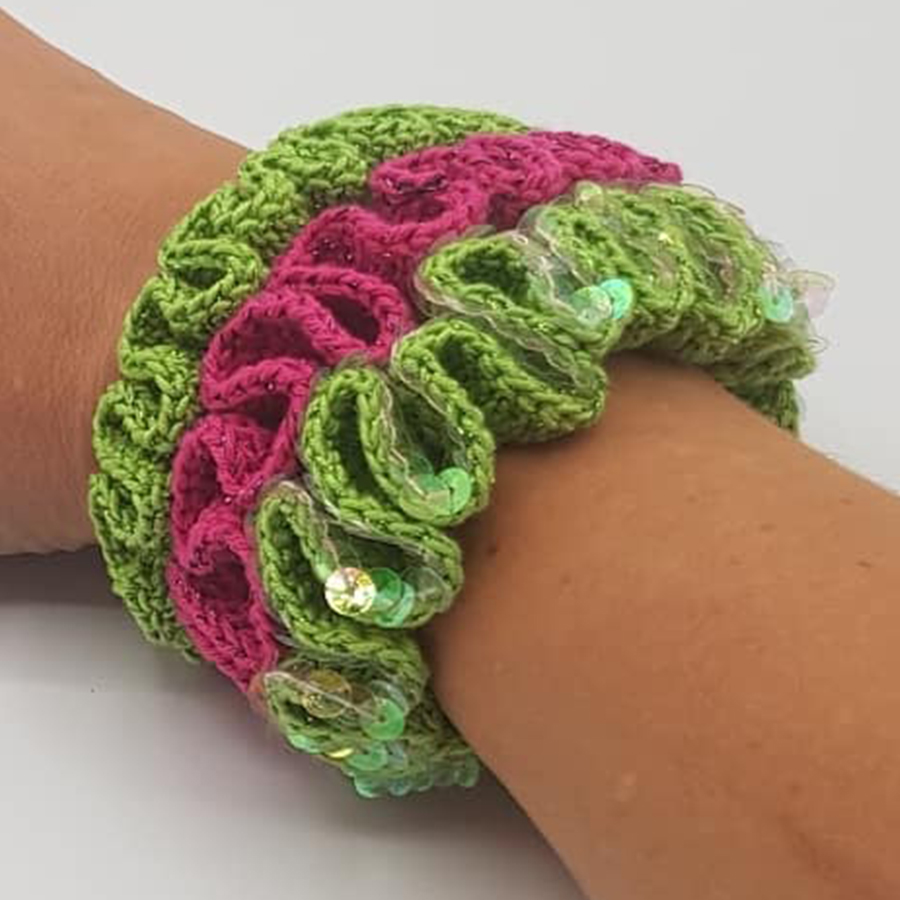
1 skein Infinity Hearts Rose 8/4 colour 140 Mint green (you can get 3 scrunchies out of one skein)
Glitter thread: Drops Glitter Colour 02 Silver
Other material
- Hair elastics
- Crochet needle 2.50 mm
- Darning needle for putting together the ends
Abbreviations
ch = chain stitch
Sl st = slip stitch
Inc = increase (2 stitches in the same stitch)
Dc = double crochet
Crochet information:
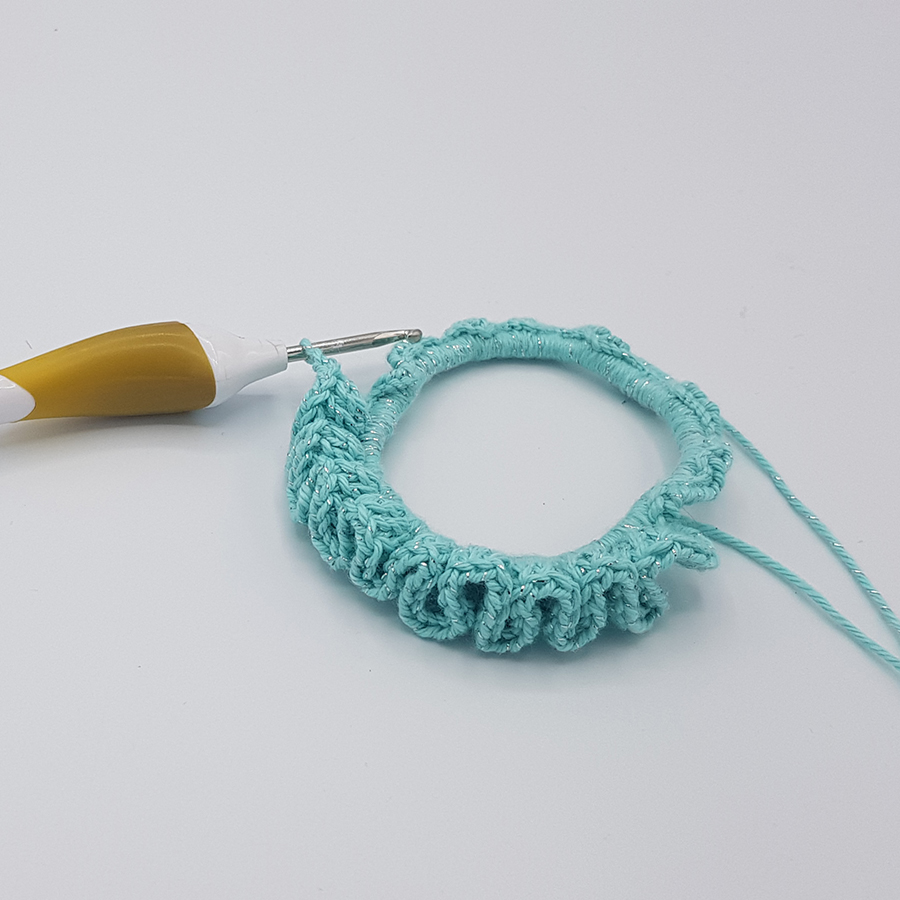
Ida's scrunchie is made by making single crochet stitches all the way around the elastic. I push them together, the more stitches you get - the more the elastic can stretch.
Method

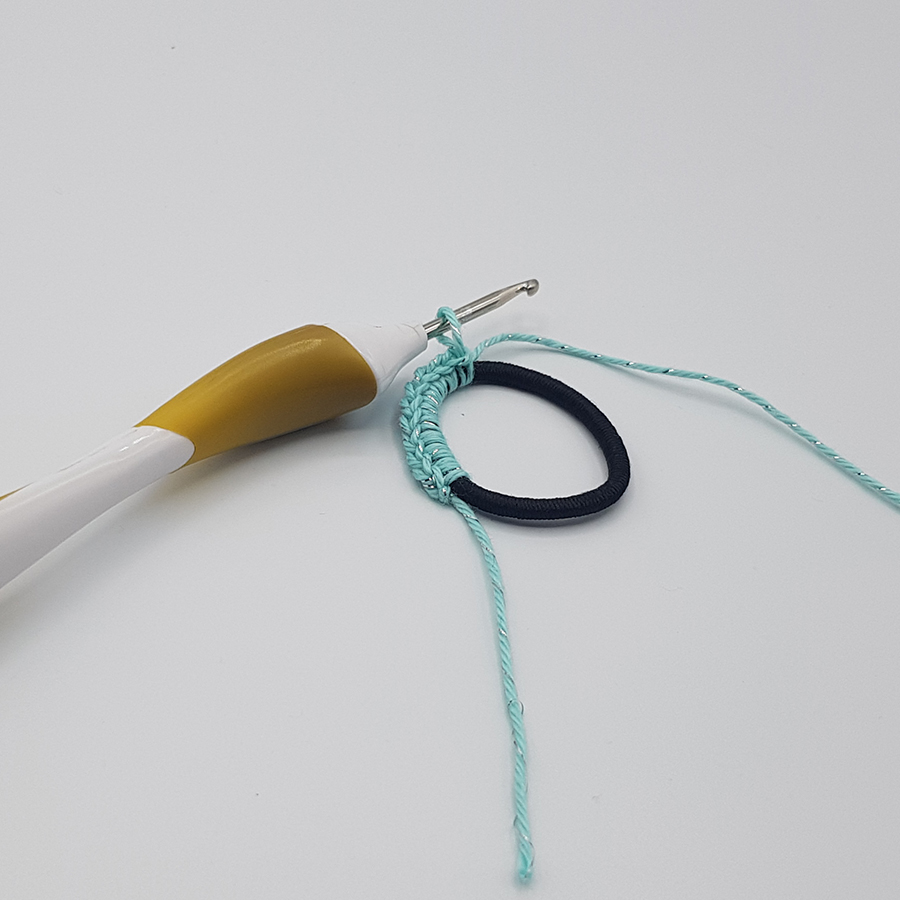
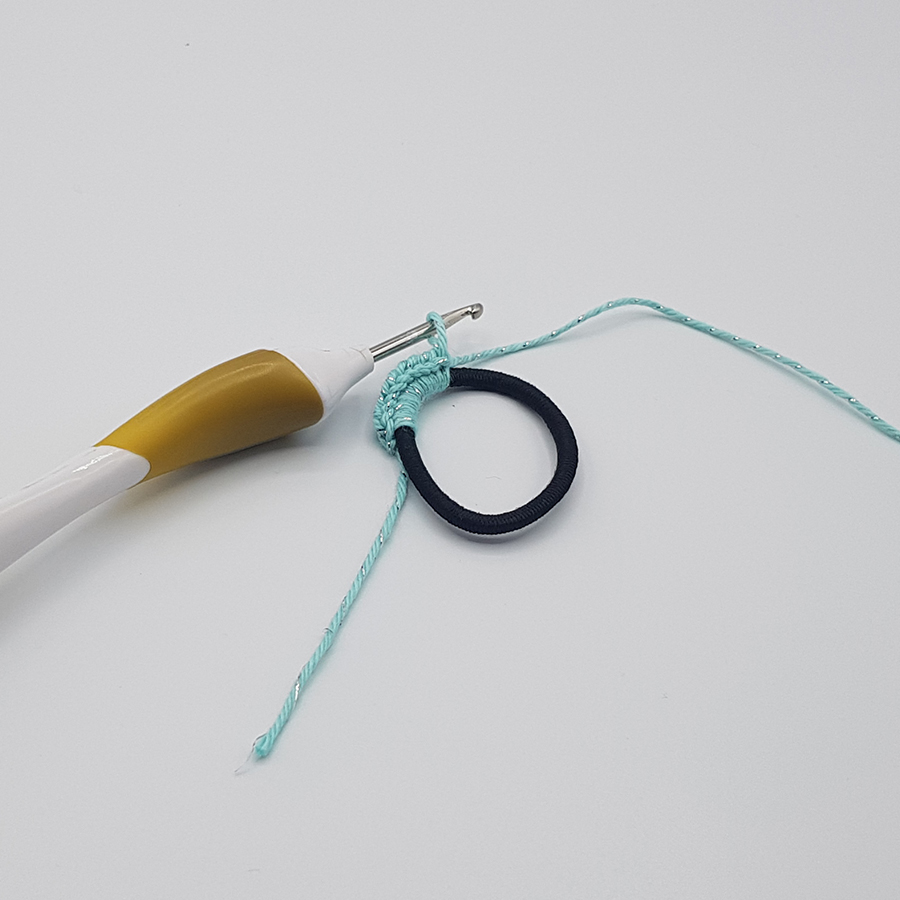
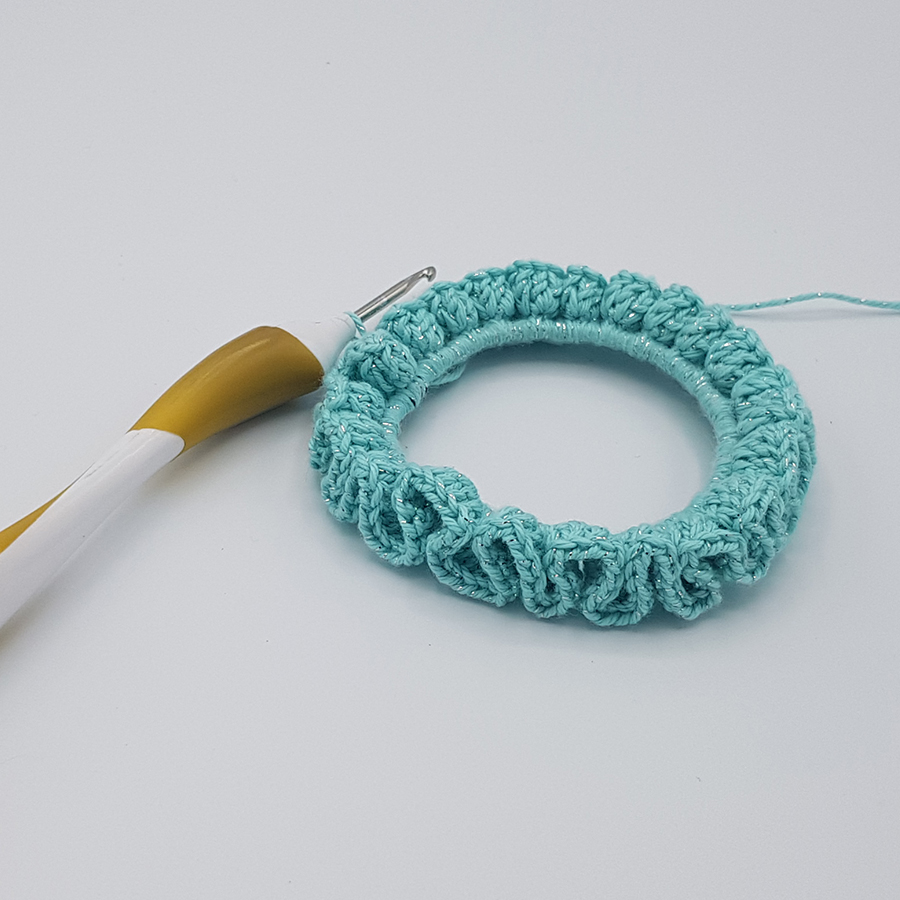
I make 150 double crochet stitches on this size elastic. In picture 2, 10 stitches are made - and in picture 3 you can see how close they are pushed together.
The round of double crochet stitches end with a slip stitch.
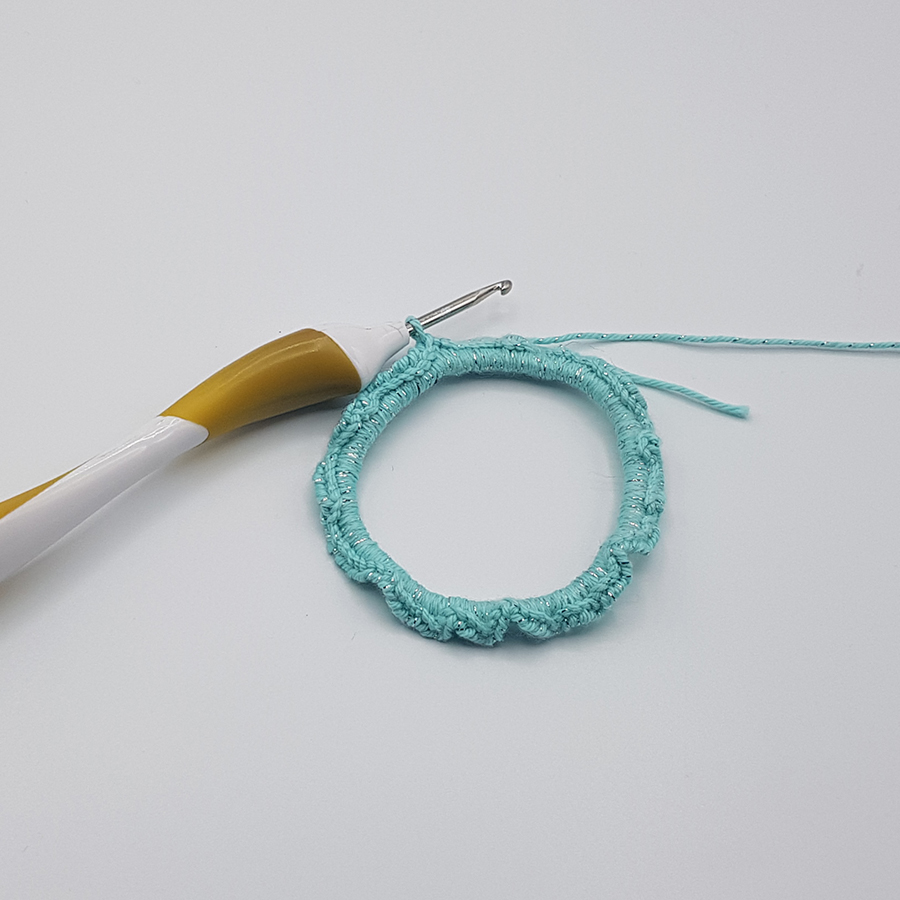
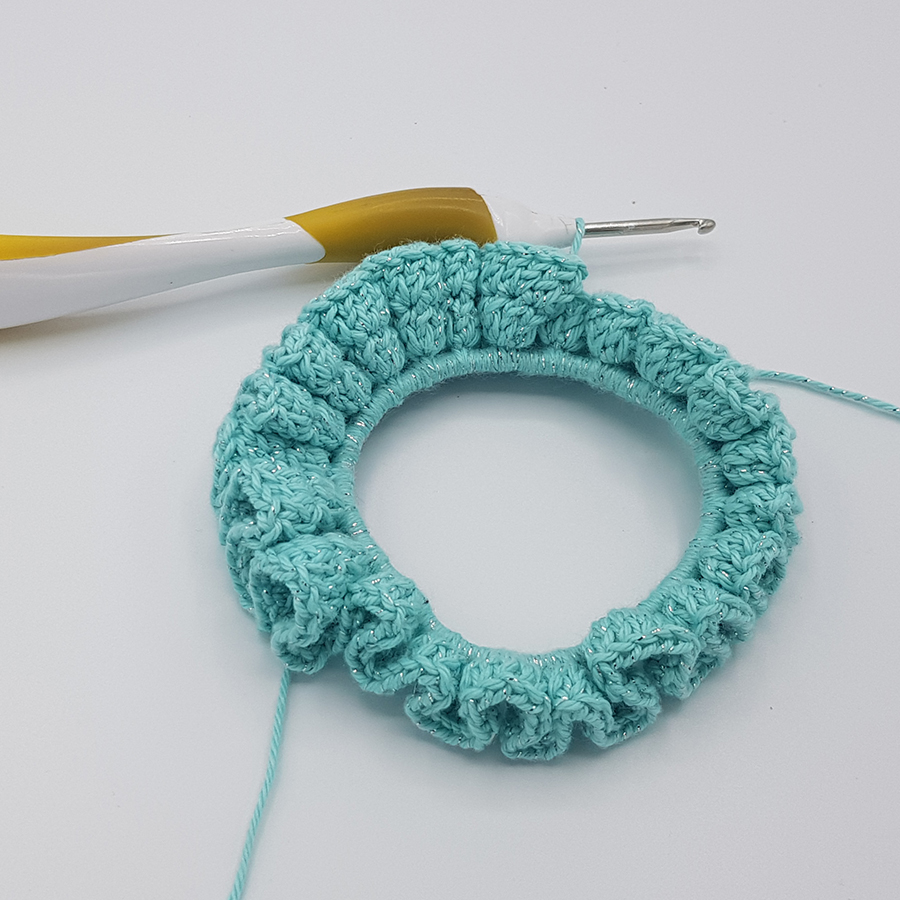
1st round: 2 chain stitches, followed by increases in each stitch - finish the round with 1 slip stitch.

2nd round: 2 chain stitches, alternating increases and double crochet stitches all around - finish with a slip stitch.


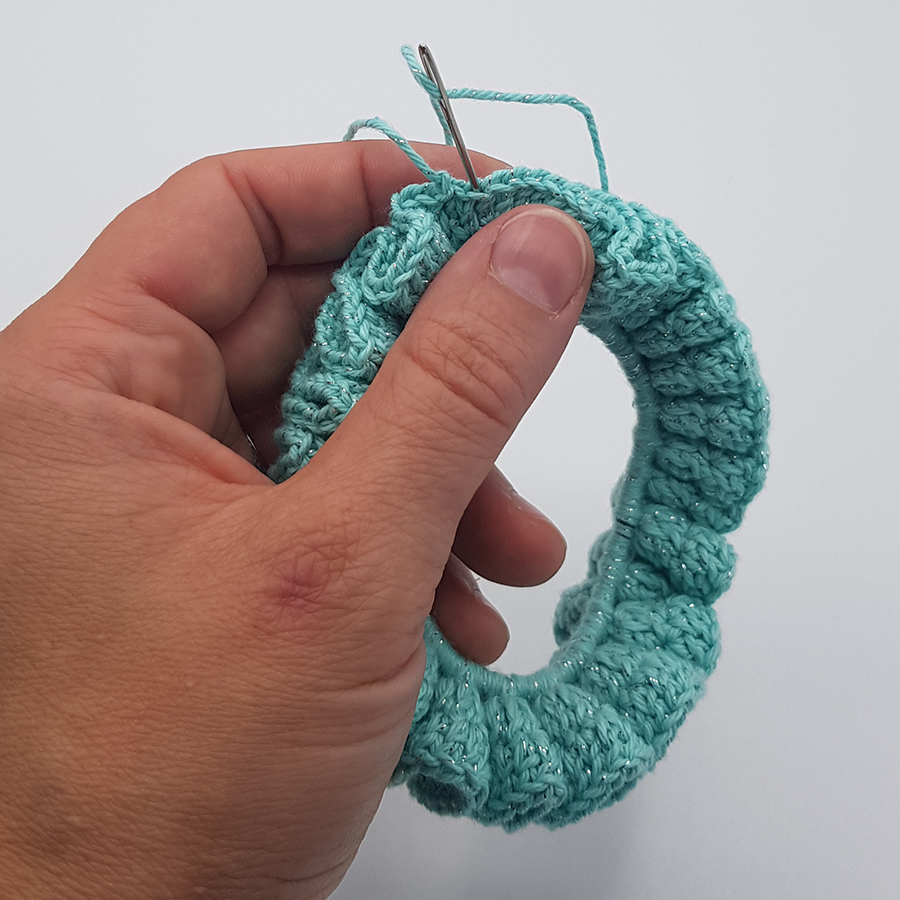
Staple the ends.

Feel free to use #ritokrea and #ritohobby when sharing photos of the finished project on social media so we can see the result :-)
Design: Thilde Errebo | Instagram @thildeerrebo | www.thildestråd.dk
 Österreich
  Belgique
  Bosna i Hercegovina
  България
  Κύπρος
  Česká republika
  Danmark
  Eesti
Eesti  Føroyar
  Suomi
Suomi  France
  Deutschland
  Ελλάδα
  Kalaallit Nunaat
  Magyarország
  Ísland
  Ireland
  Italia
  Latvija
  Liechtenstein
  Lietuva
  Lëtzebuerg
  Malta
Malta  Isle of Man
  Nederland
  Norge
Norge  Polska
  Portugal
  România
  Slovensko
  Slovenija
  España
  Sverige
  Schweiz
  Ukraїna
  United Kingdom