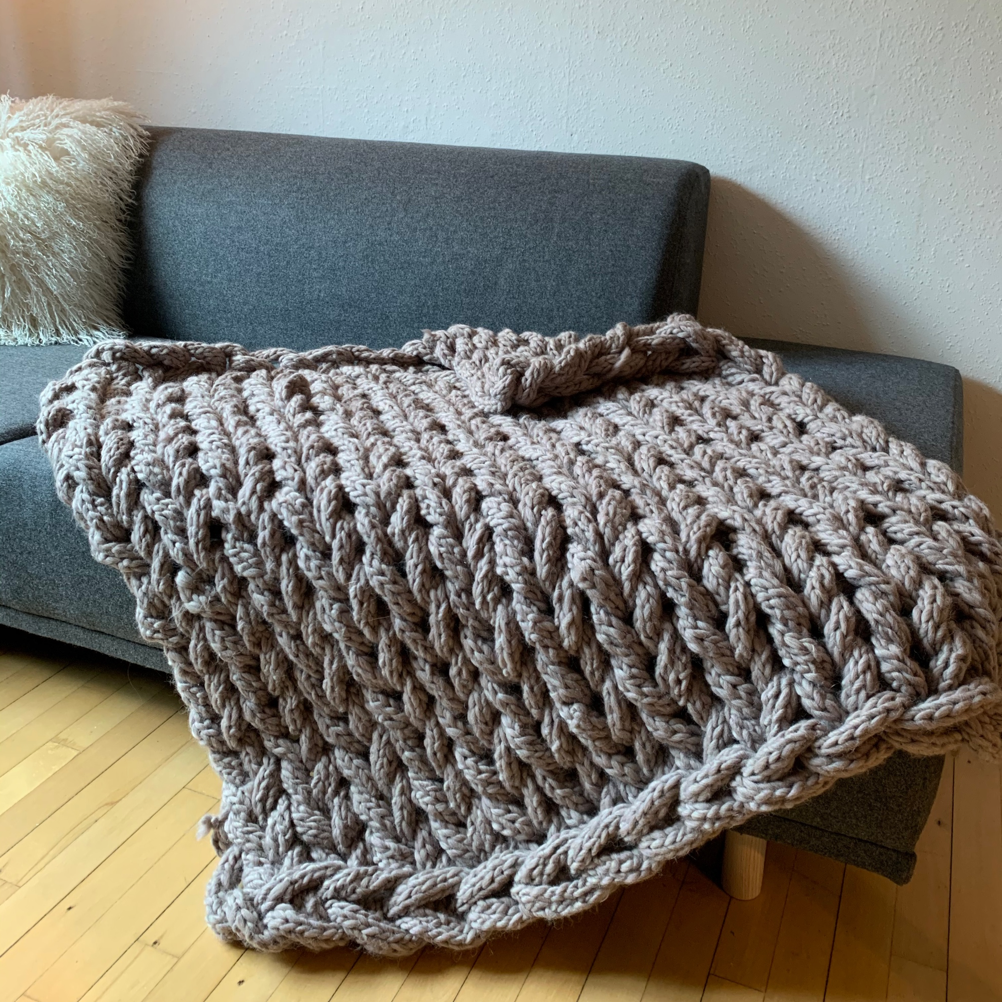
Free Finger and Arm-Knitting Pattern Chunky Blanket
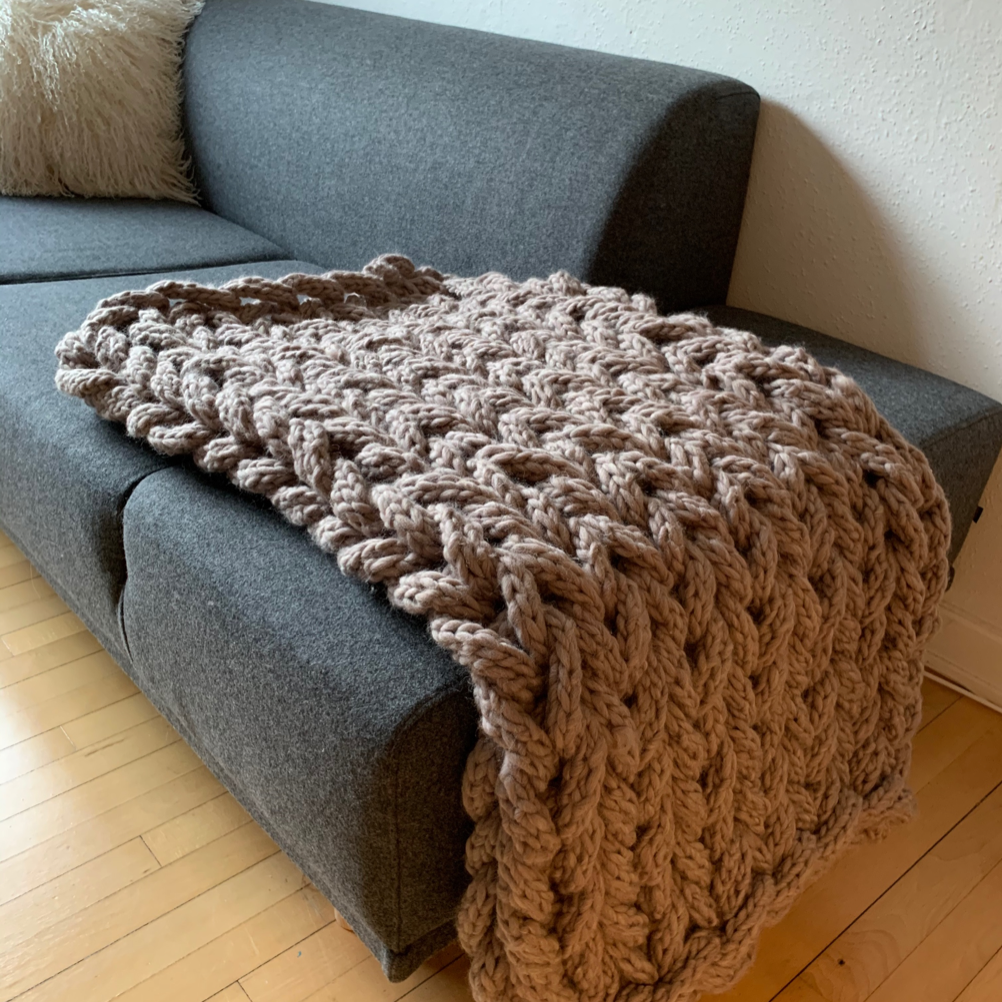
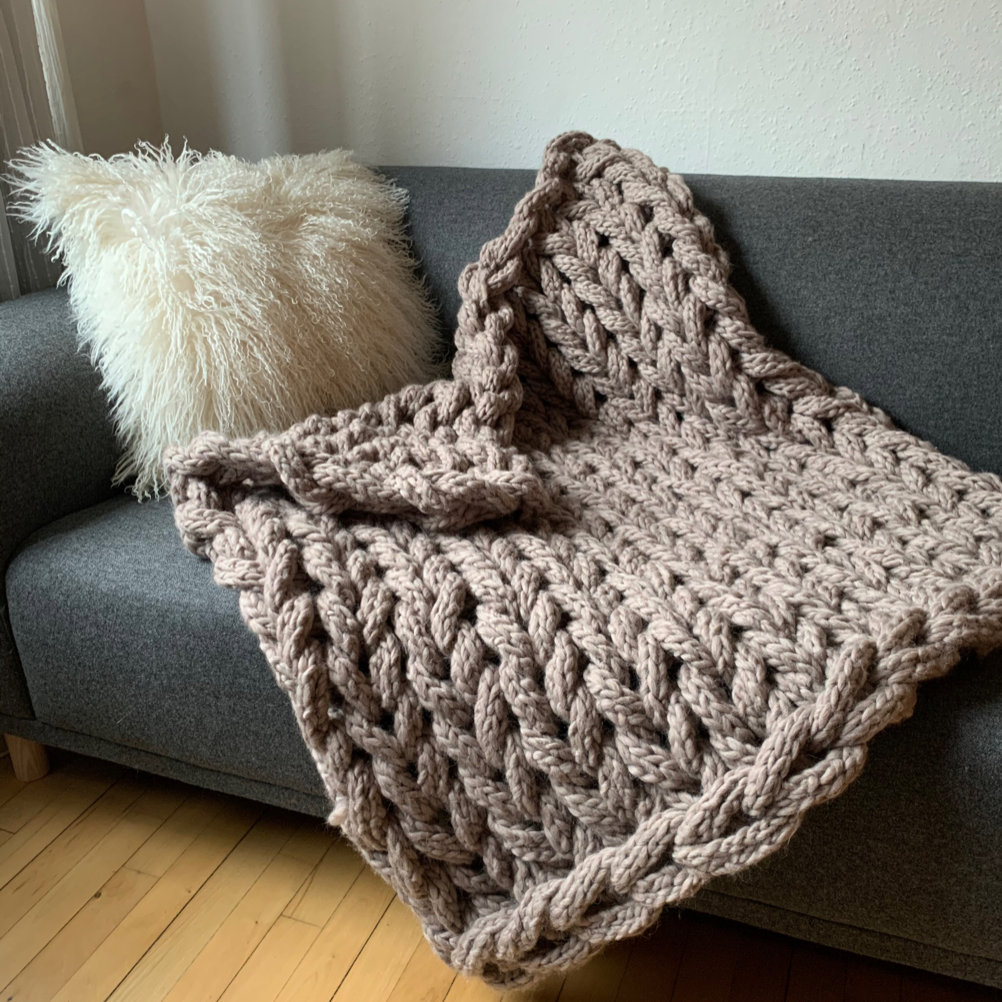
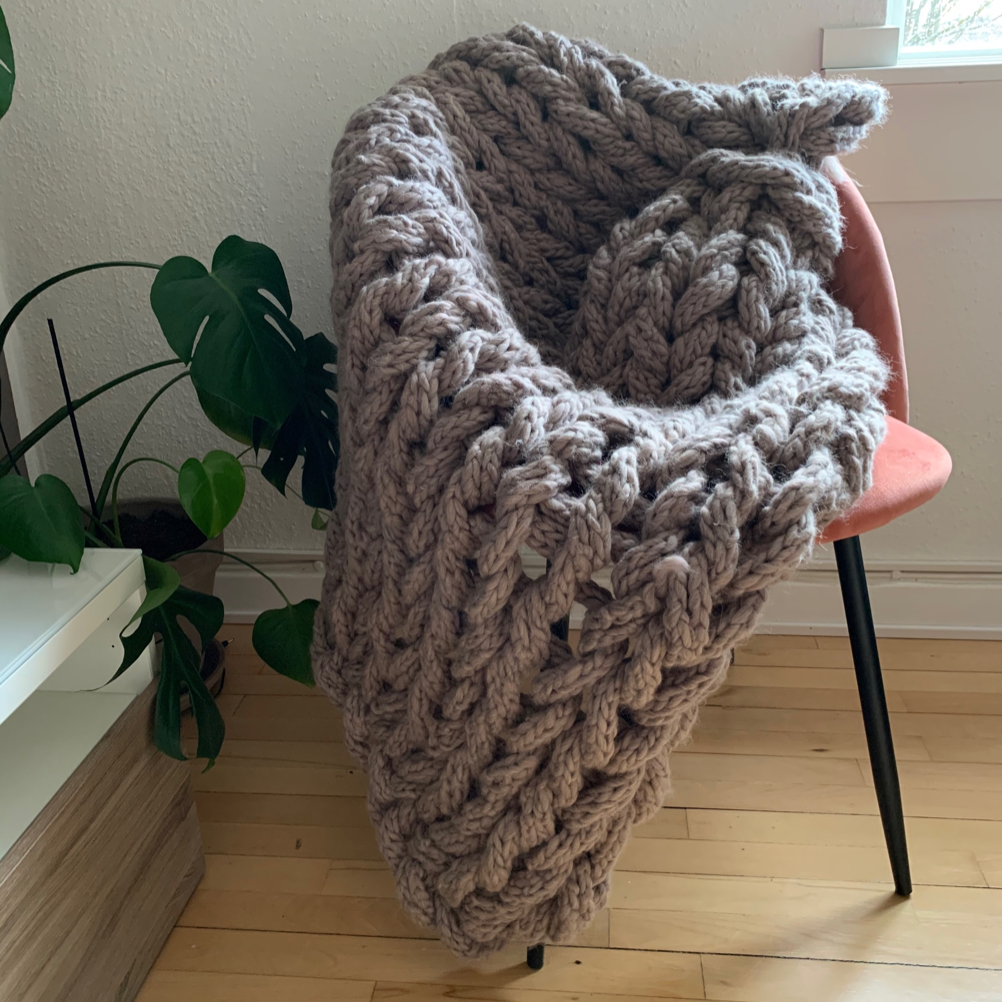
Here, you get a free knitting pattern for a modern chunky blanket, which is finger knitted in the lovely Drops Polaris Yarn. It’s a nice and thick blanket that is perfect as a sofa plaid or a comfort blanket. This blanket is made in the colour Light Beige.
Measurements
The blanket measures approx. 130x110cm
The size of the blanket depends on how tightly you arm-knit the blanket once you have finger-knitted all the skeins. Each skein of yarn makes for about ¾ of the row. It takes approx. 20 minutes to finger knit one skein.
Yarn consumption
- 40 skeins of Drops Polaris Yarn (4 kg)
Materials
- You will not need a crochet hook or knitting needles - just your hands!
Abbreviations
ch = chain stitch
Tip: If you need an additional guide for arm knitting, you may want to search Youtube for video guides.
Instructions
The finger-knit strand
Follow the photo guide below.
NB! Finish the blanket like you would in regular knitting: pull the rest of the finger-knit strand through the last loop and tighten. Weave the remaining strand into the work and possibly tie it with the small loose strand from the closing of the finger-knit itself.
The blanket
Follow the photo guide below.
The blanket is arm knitted with garter stitches. 14 ch has been made for this blanket.
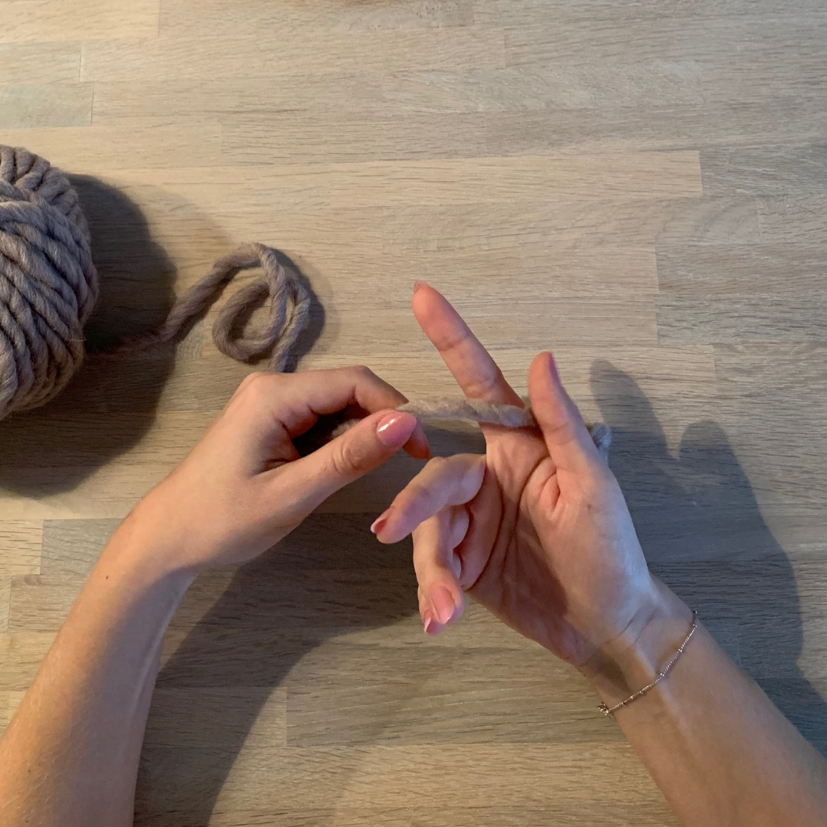
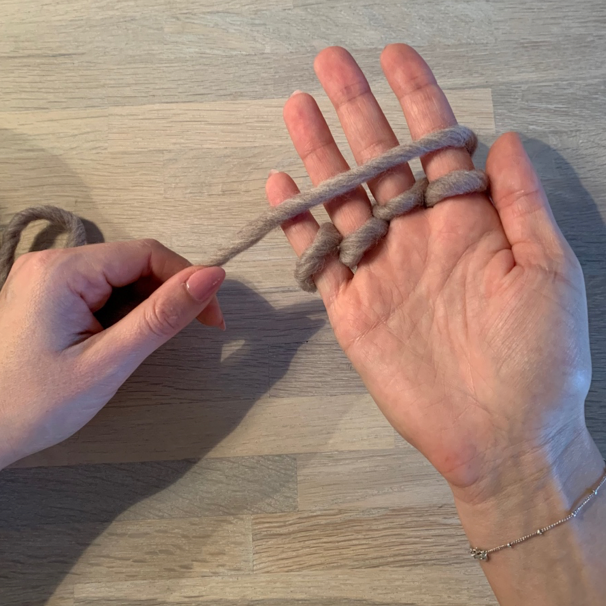
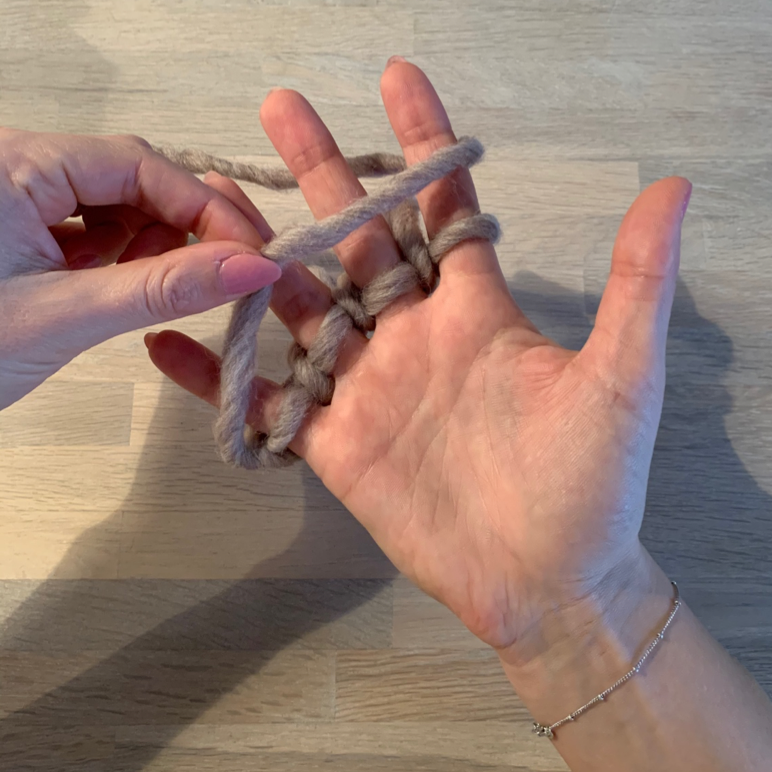
Hold the yarn with your thumb while twisting the yarn around your fingers.
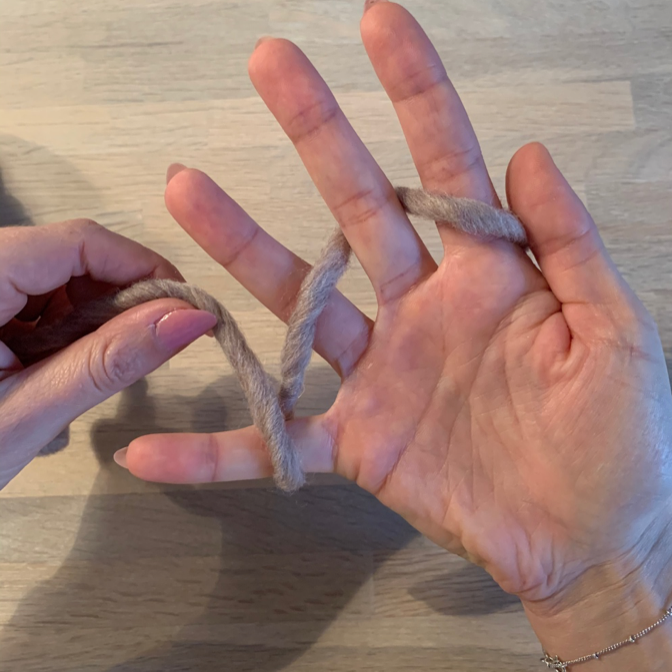
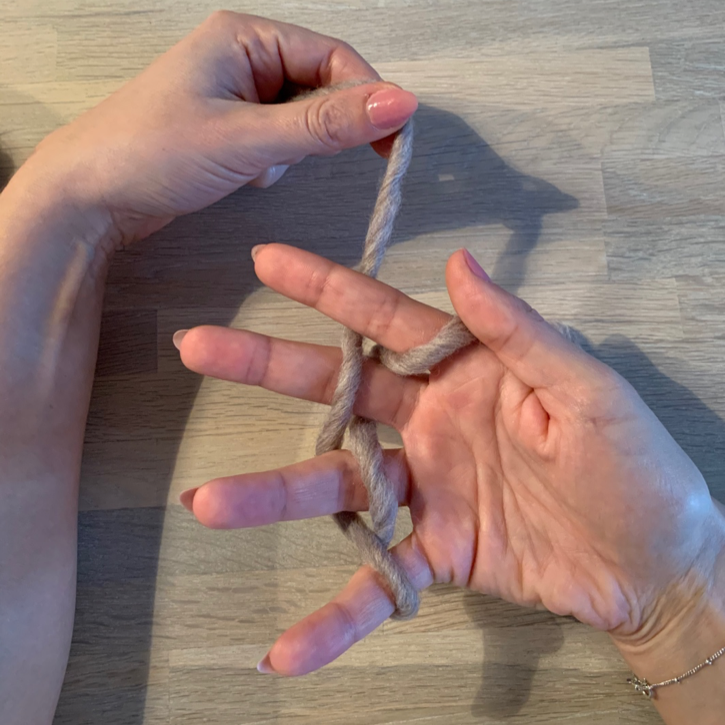
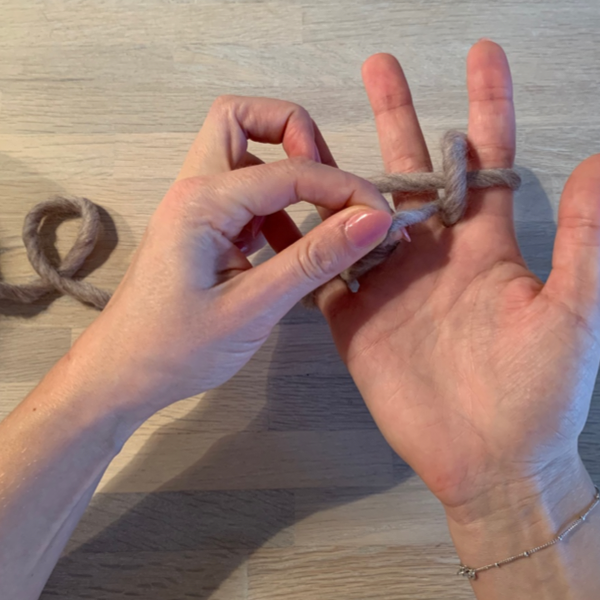
Now you make the stitches. Pull the bottom yarn strand out over your finger so you only have one strand per finger.
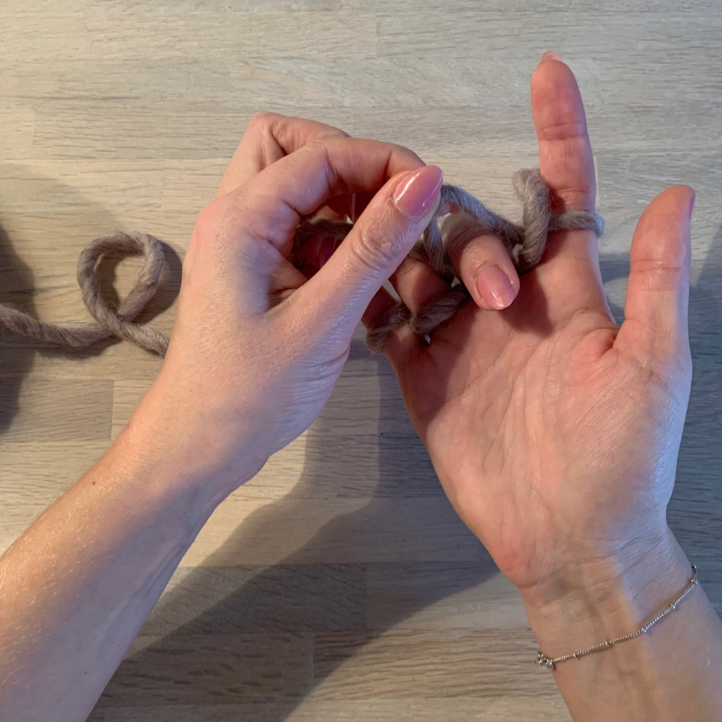
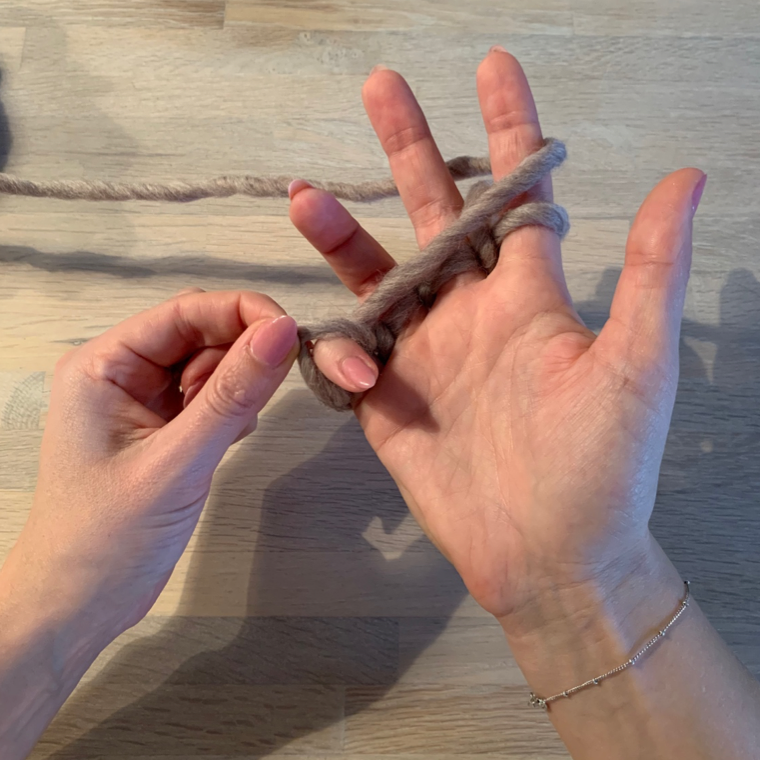
That was the first round. Now, proceed with the rest of your skein.
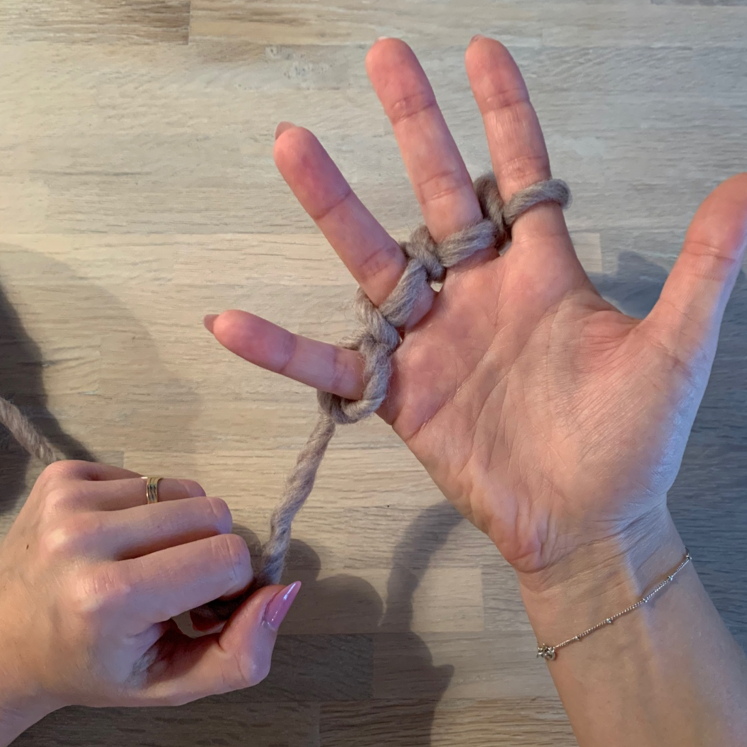
To start a new round, the strand is placed in a straight line across all fingers. Pull the bottom strand out over the fingers the same way as before so that you only have one strand per finger.
Once you have finished finger knitting the entire skein, you get a nice and thick elongated knitwork. Now, stretch it out to “form” the finger-knit strand, which you will use for arm knitting the blanket. Make sure to stretch out the knitwork well.
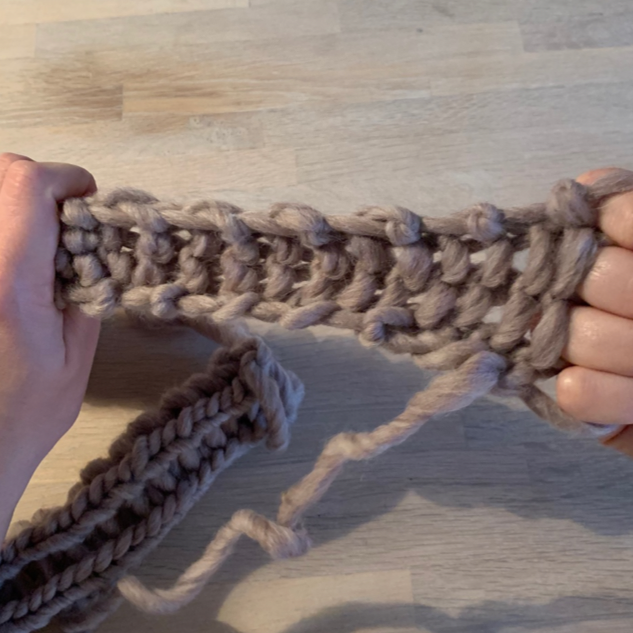
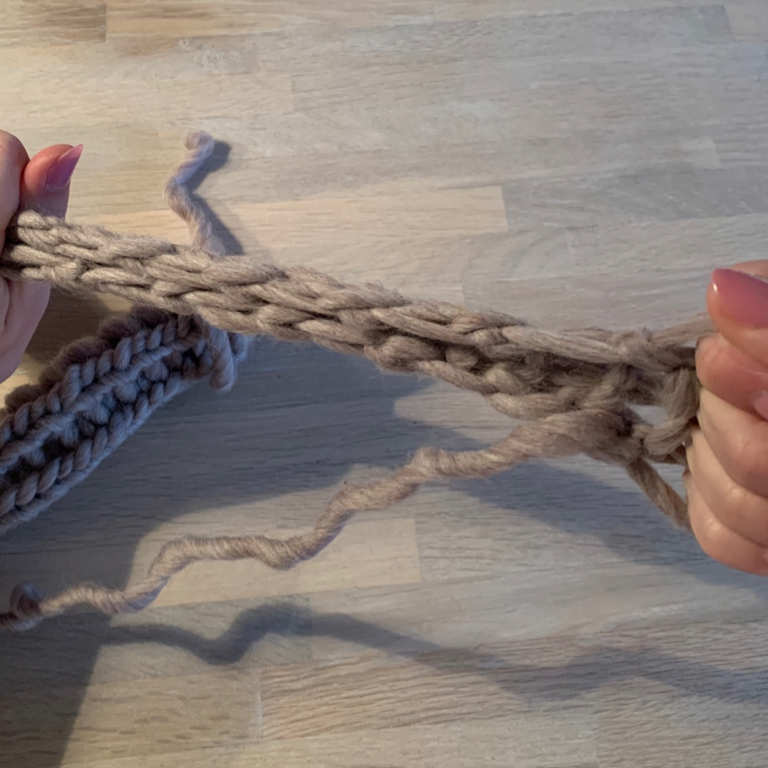
This photo illustrates the difference between a stretched strand vs. an unstretched strand.
Finishing the finger knit: Carefully remove your fingers from the stitches. Lead the remaining tail through all the stitches and tighten.
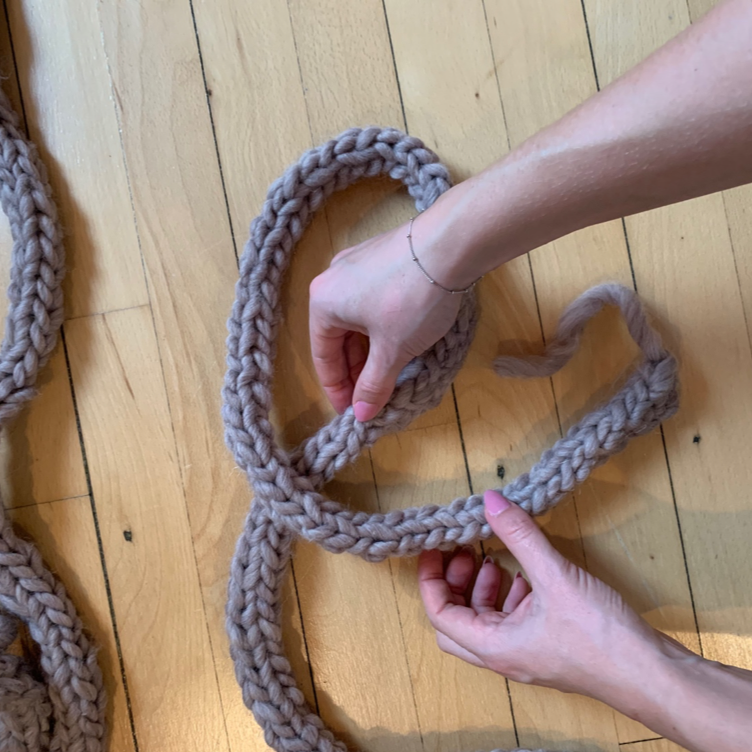
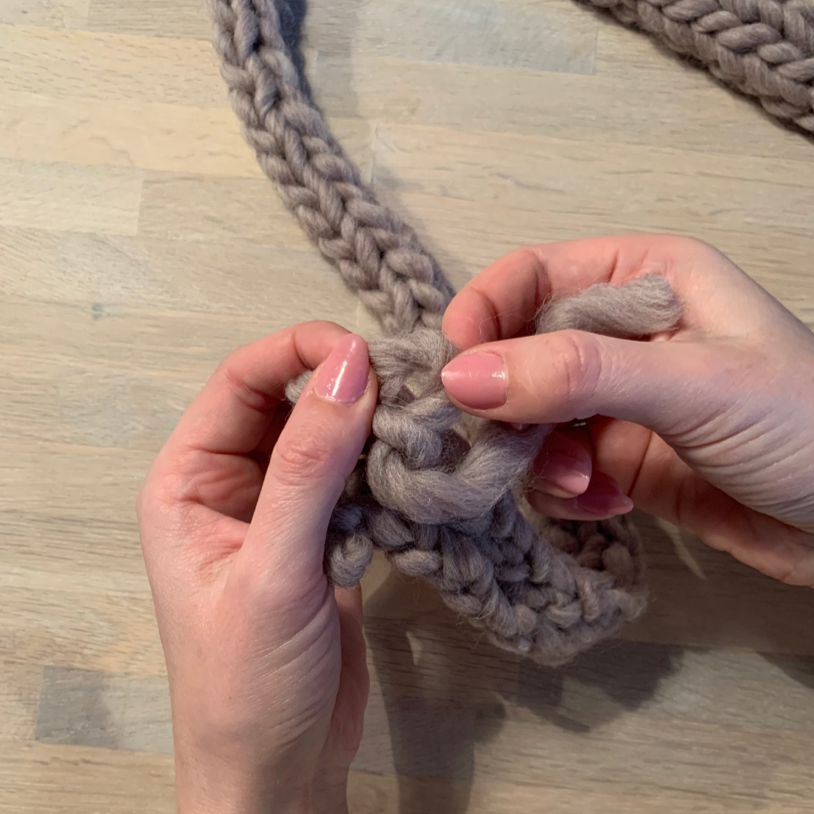
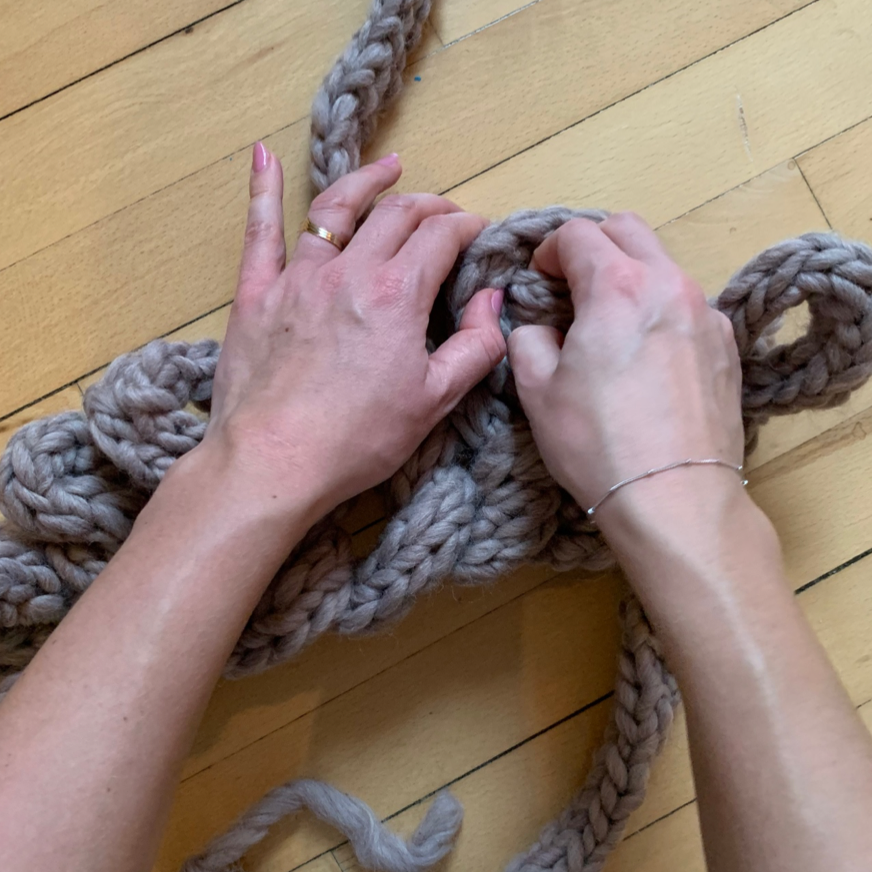
Once you have finger knitted all your skeins, you begin knitting the blanket with your hands. Start by making a loop.
Then make a ch by putting your hand through the stitch. Grab the strand and pull through the loop. Continue by pulling your hand through the last chain stitch, grabbing the strand and pulling back through the chain stitch to make more ch. This blanket is made with 14 ch.
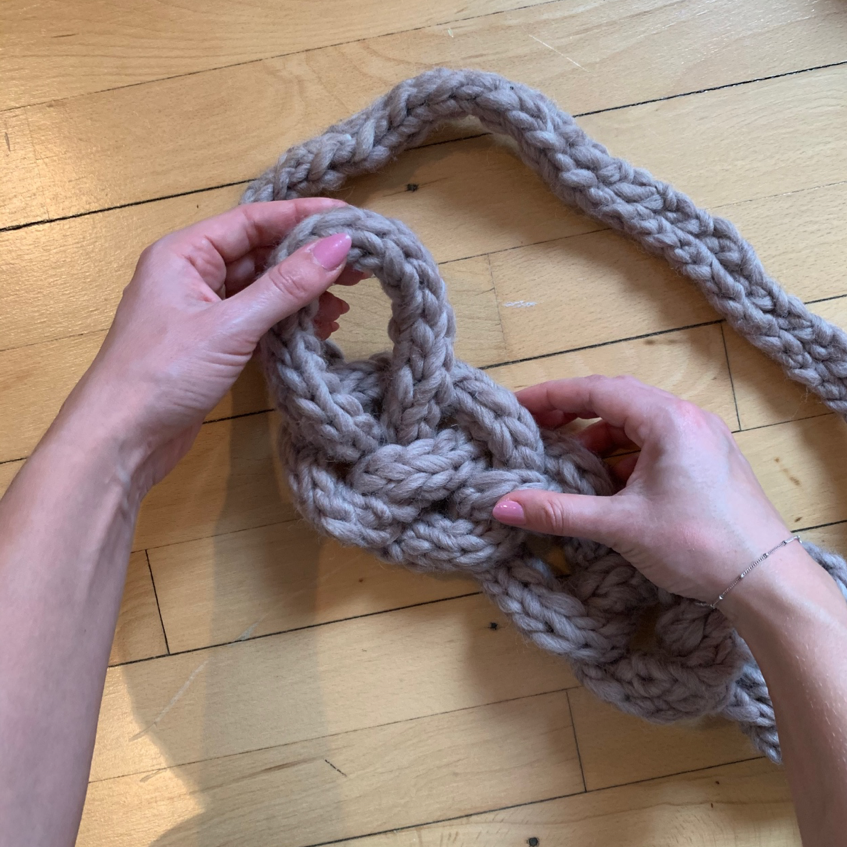
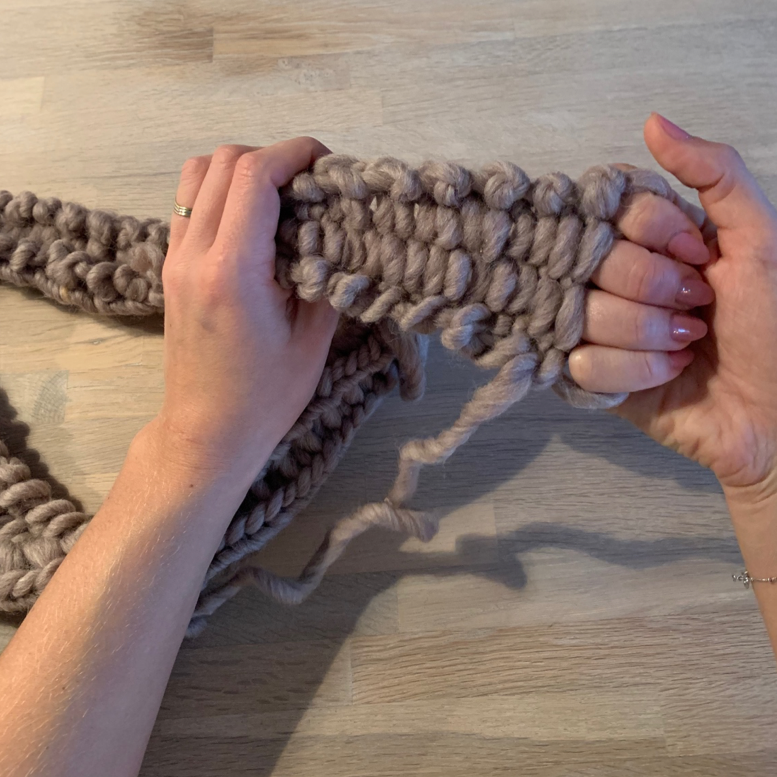
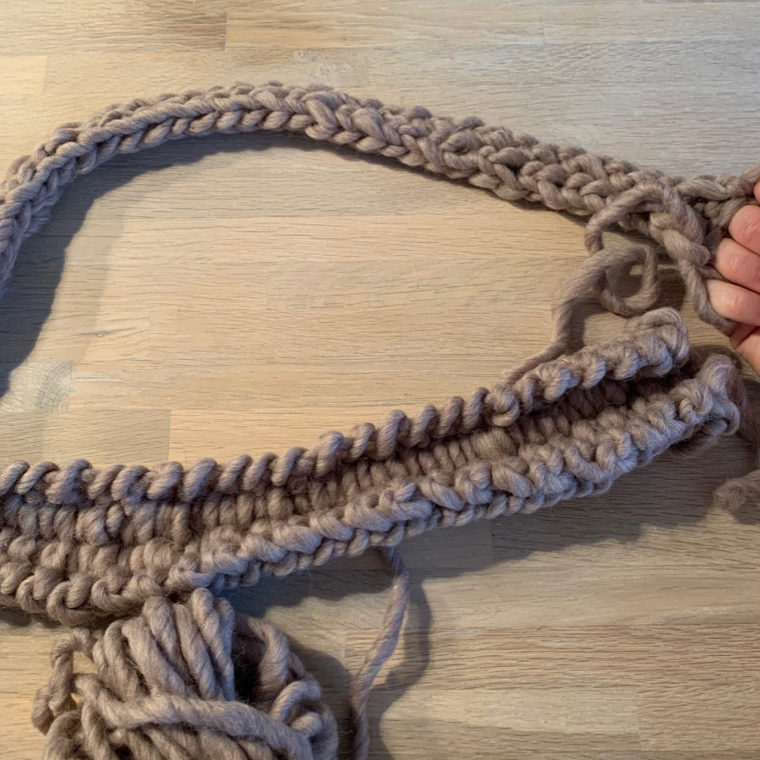
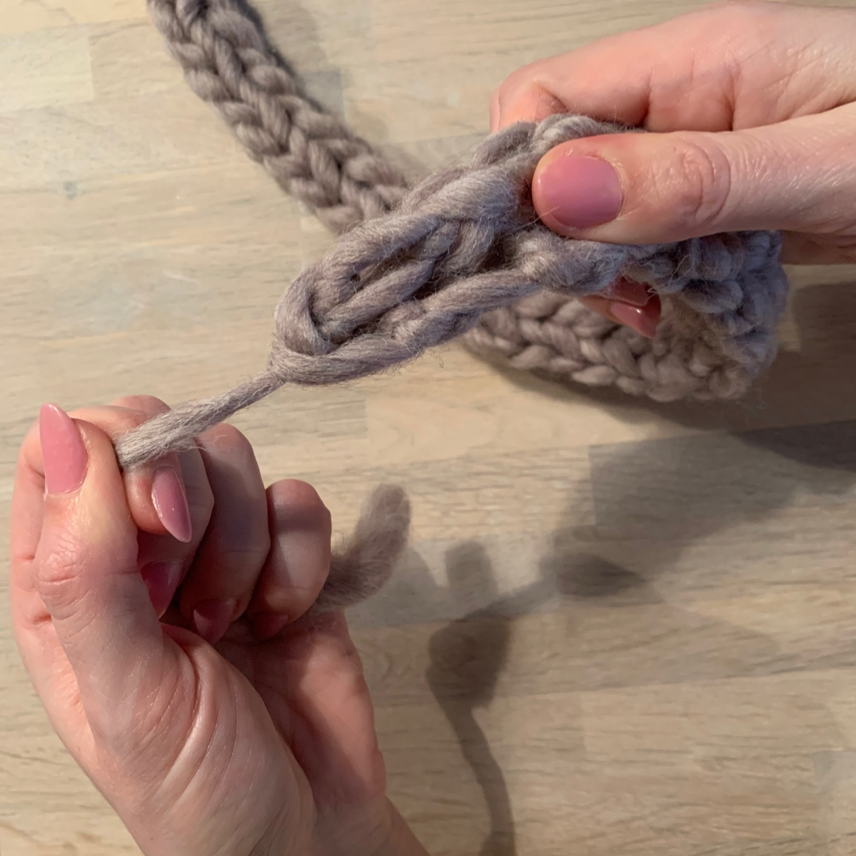
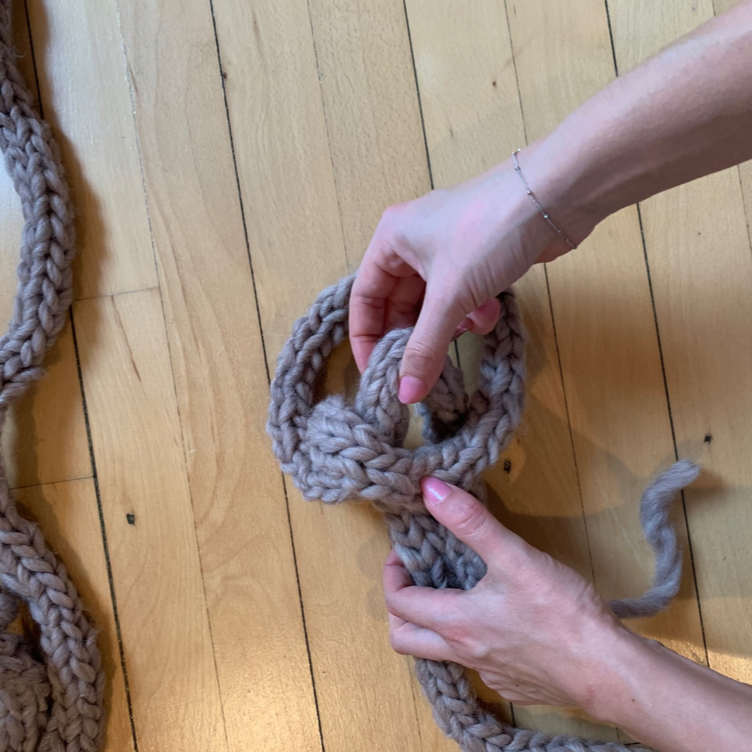
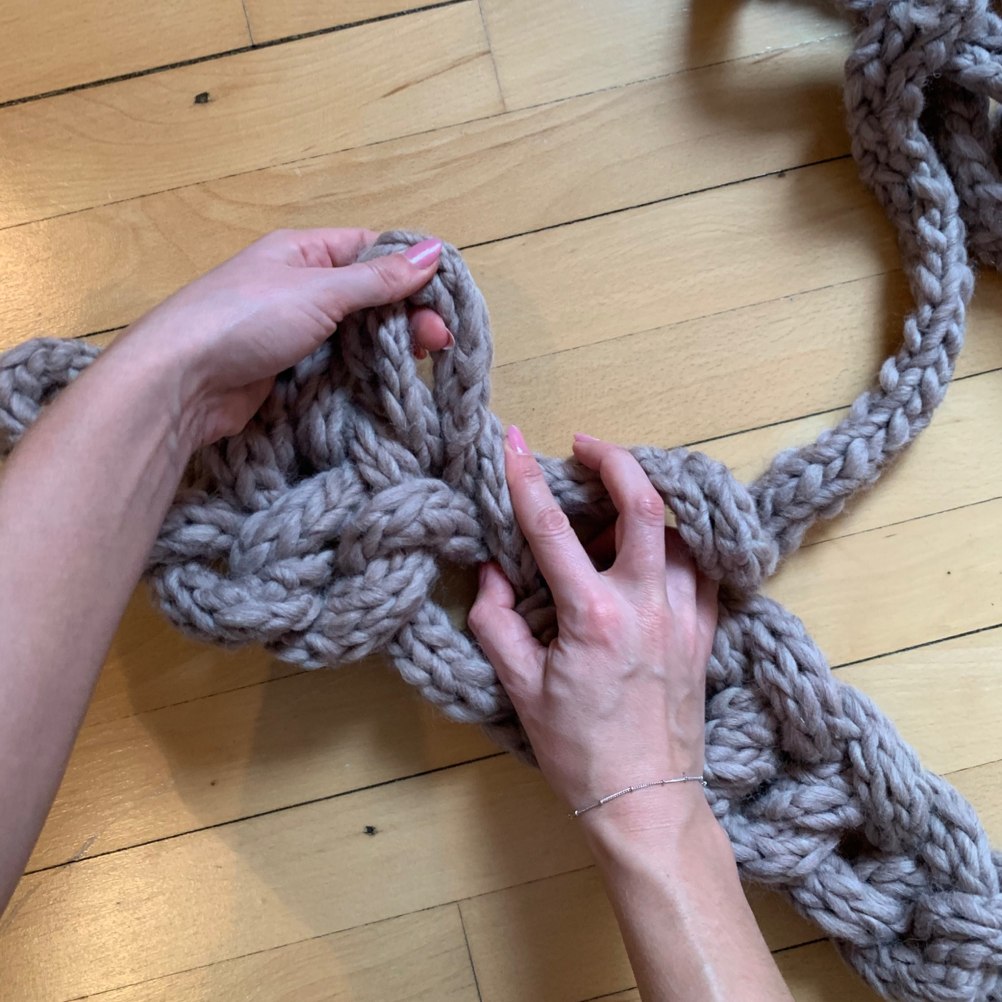
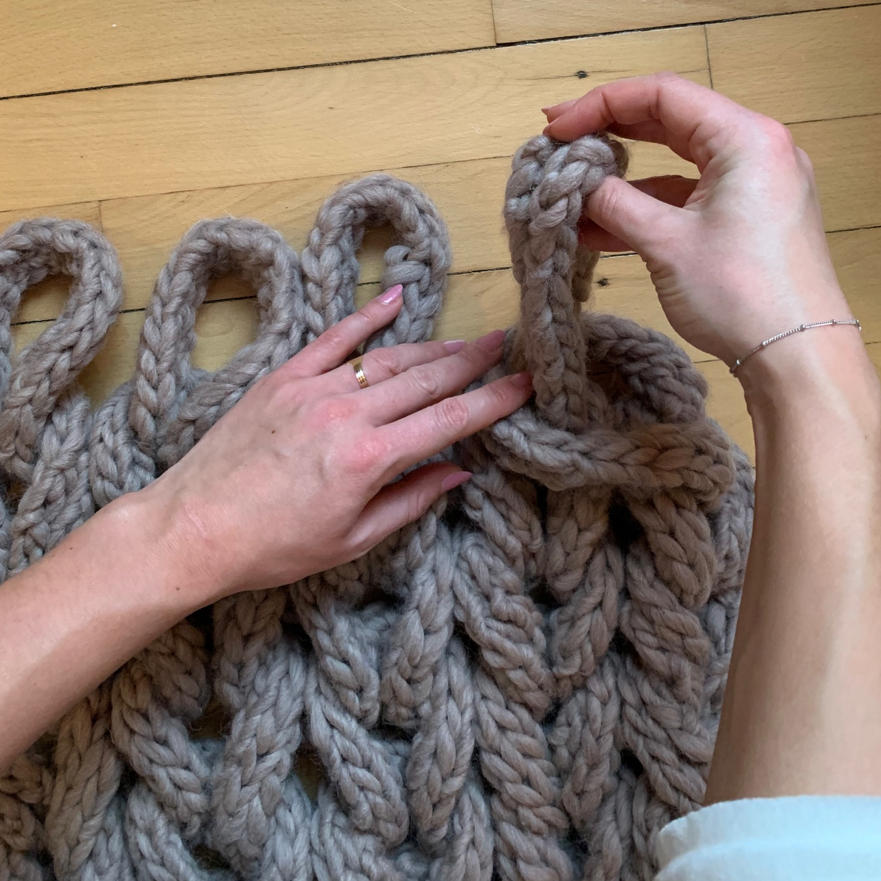
Once you have made the desired number of ch, you now start with the first row. Make a loop in the last ch. Put your hand through, grab the strand and then pull back. With yarn of this thickness, it is often beneficial to make the loops relatively large, so that the blanket is not knitted too tightly.
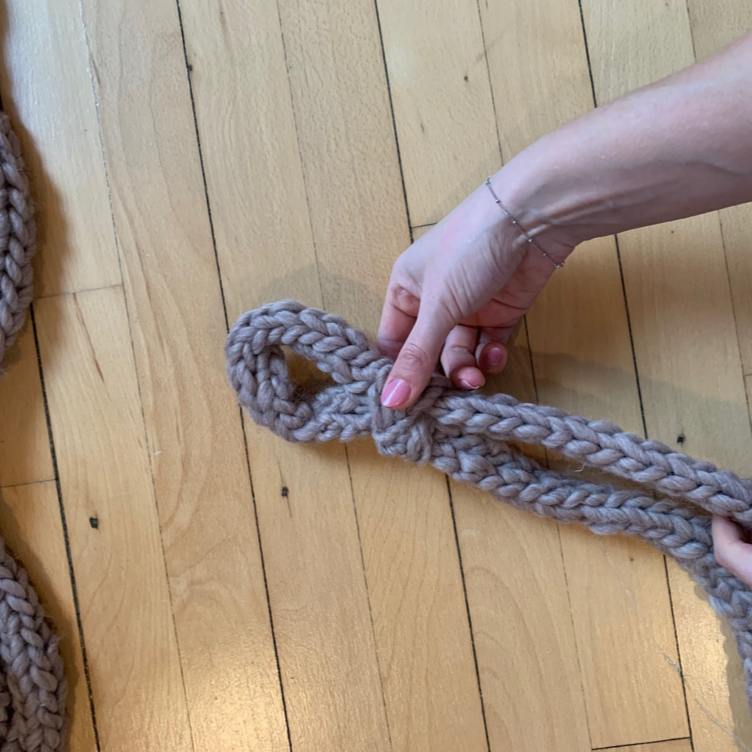
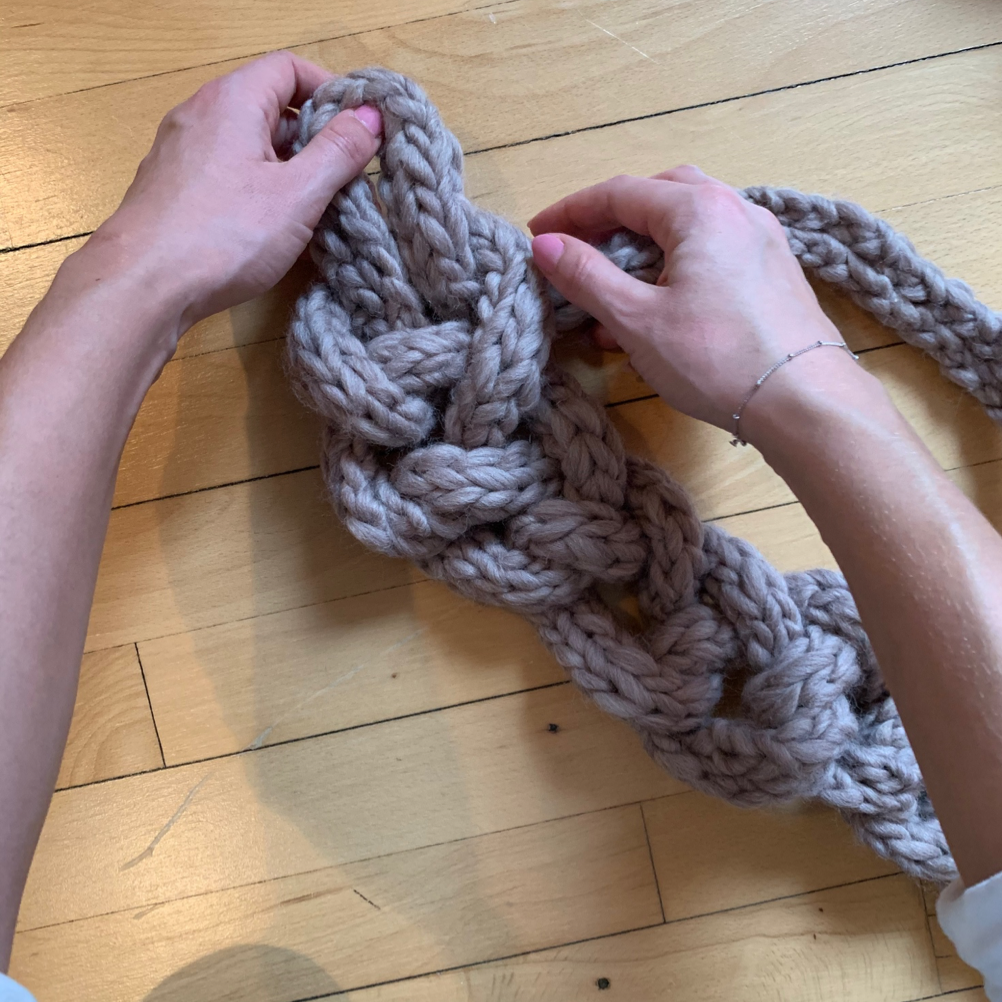
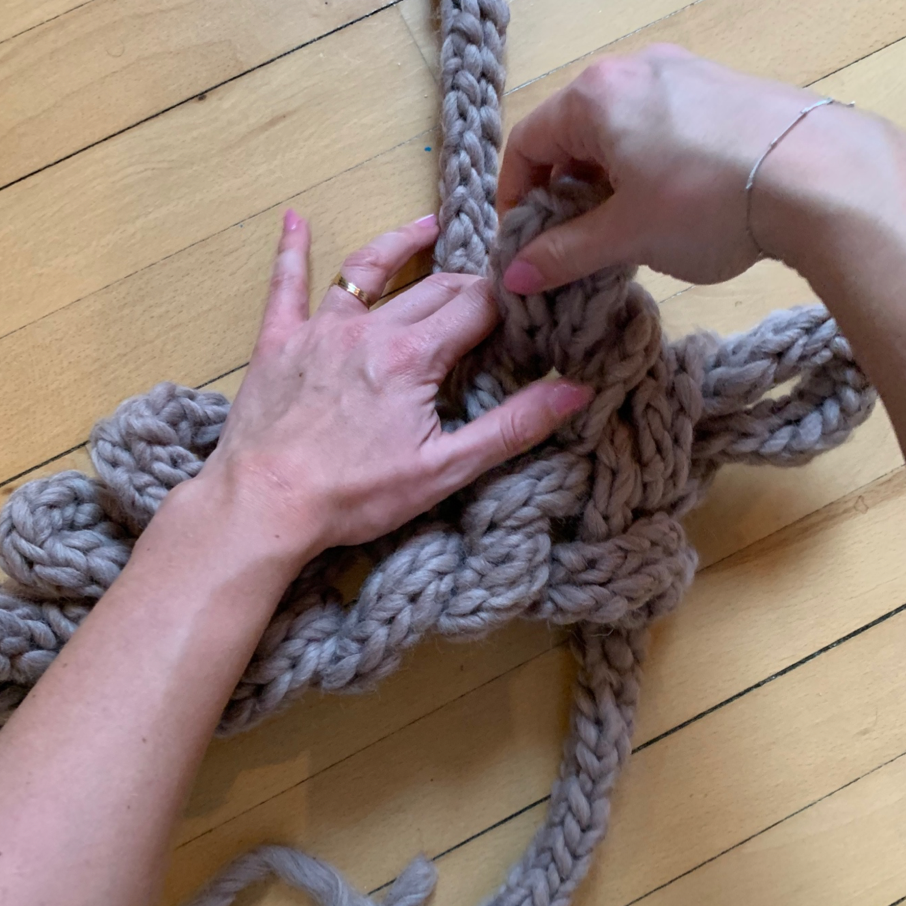
Proceed to knit through the loops all the way through the blanket until there are no strands left. Remember not to skip the last stitch. It functions as both the last and the first in each row and is to be made in either case.
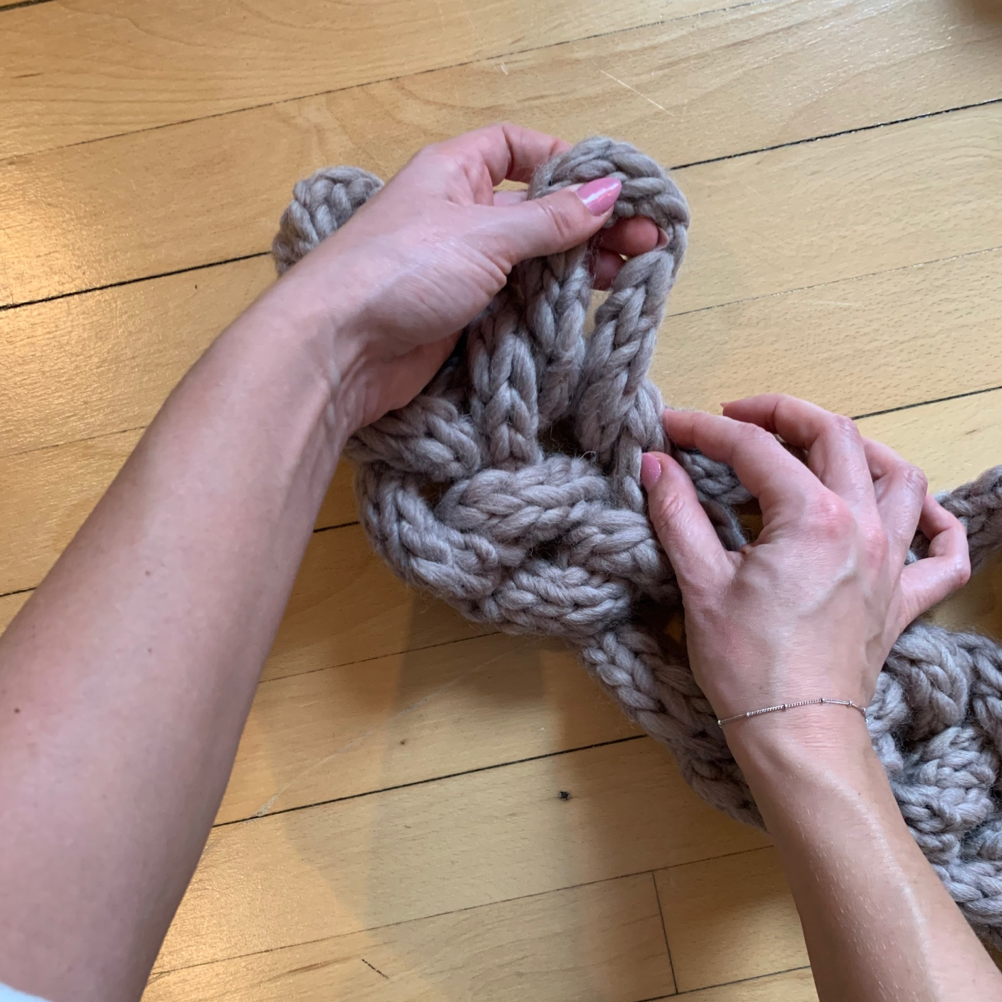
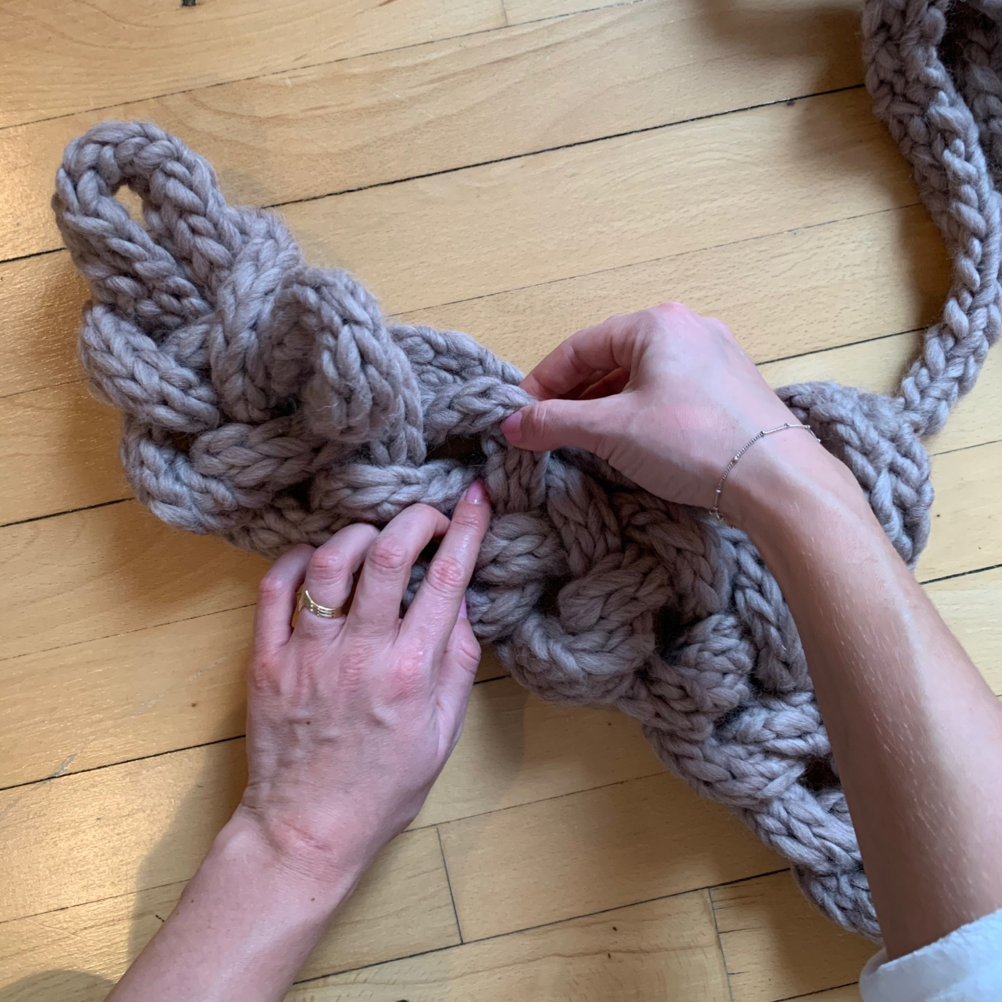
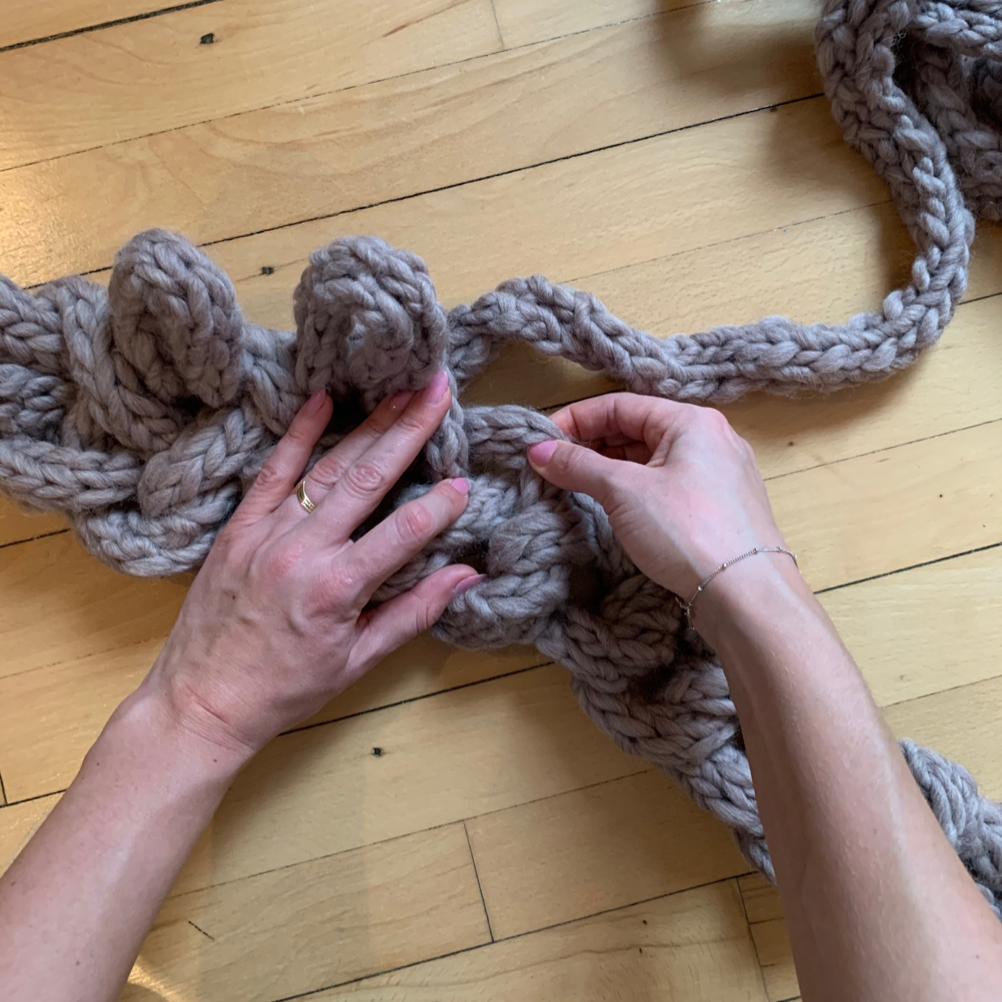
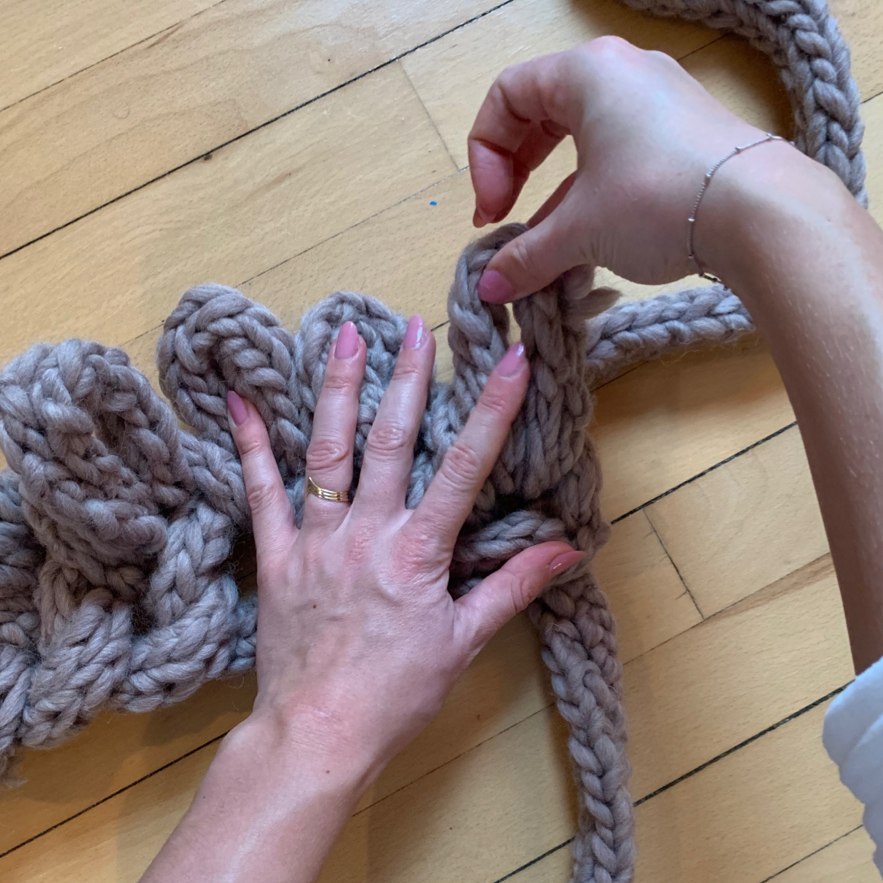
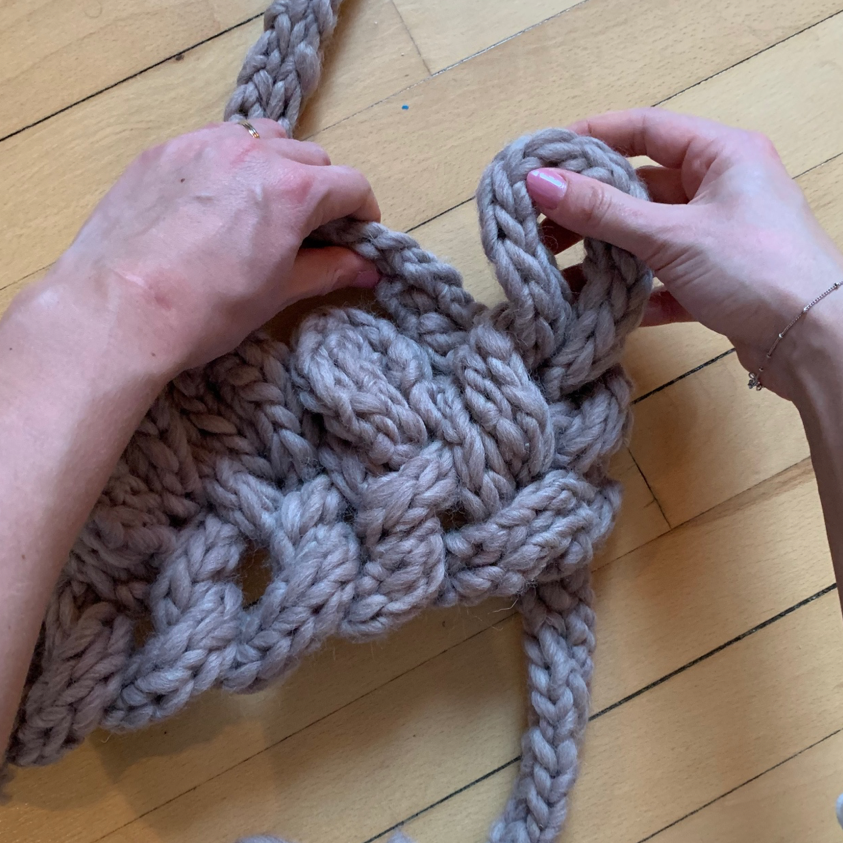
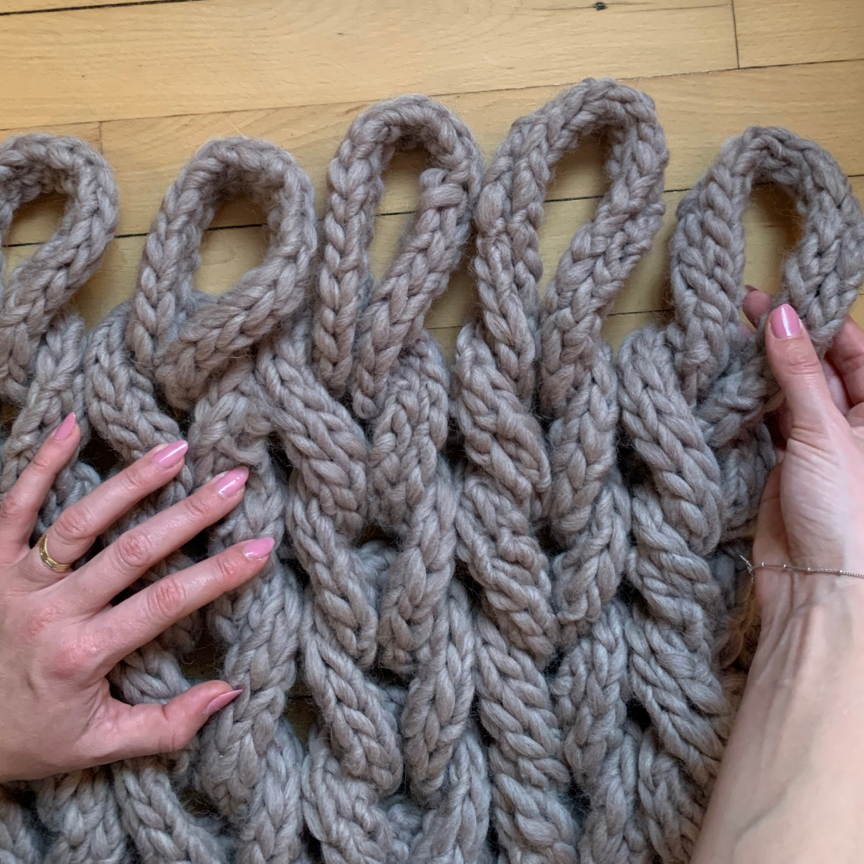
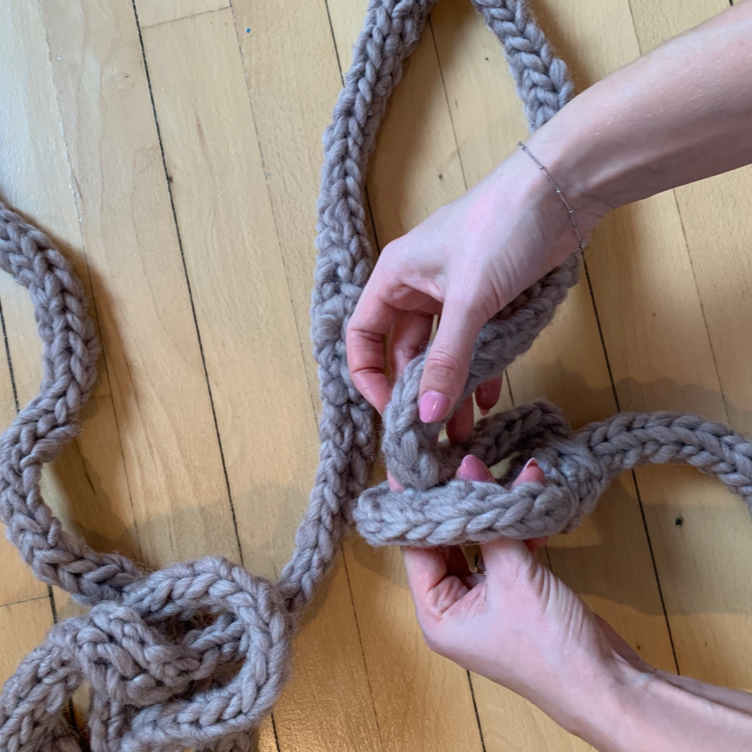
When you reach the last row, make sure to make the loops extra large as these will be used to close off the blanket. If the loops are not made large enough, the closing will tighten the at the top and the blanket will lose its square shape. Follow the photos for instructions.
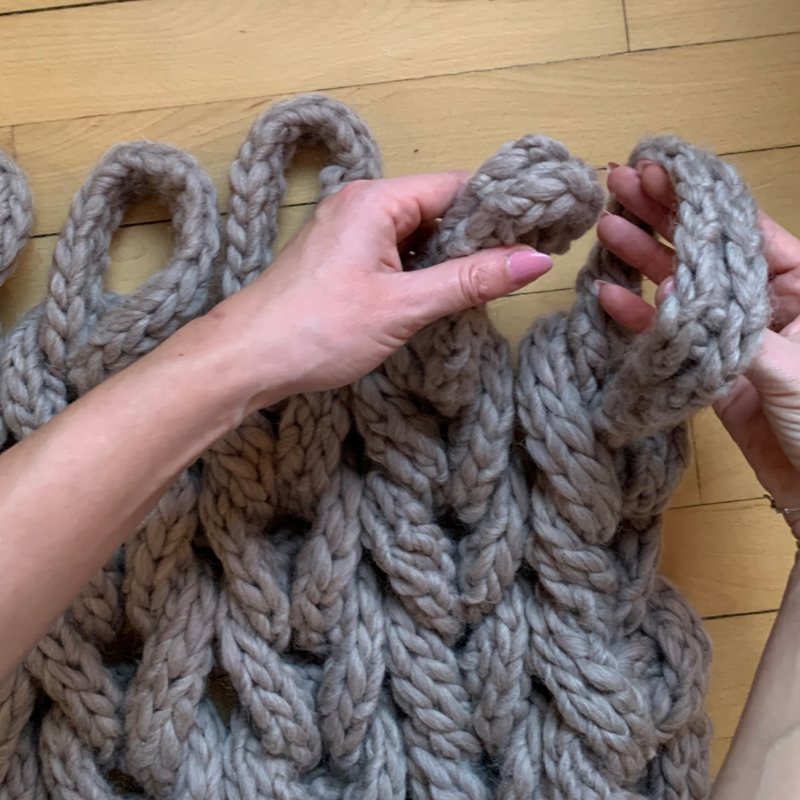
Continue until you reach the end of the blanket. Finish as per usual by pulling the entire strand out of the last loop. Weave in the end and you can also bind it together using the small strand hanging from the end of the finger knit – without making it visible on the blanket.
You have now finished your chunky blanket!
Designed by: Caroline Simone Evers
 Österreich
  Belgique
  Bosna i Hercegovina
  България
  Κύπρος
  Česká republika
  Danmark
  Eesti
Eesti  Føroyar
  Suomi
Suomi  France
  Deutschland
  Ελλάδα
  Kalaallit Nunaat
  Magyarország
  Ísland
  Ireland
  Italia
  Latvija
  Liechtenstein
  Lietuva
  Lëtzebuerg
  Malta
Malta  Isle of Man
  Nederland
  Norge
Norge  Polska
  Portugal
  România
  Slovensko
  Slovenija
  España
  Sverige
  Schweiz
  Ukraїna
  United Kingdom