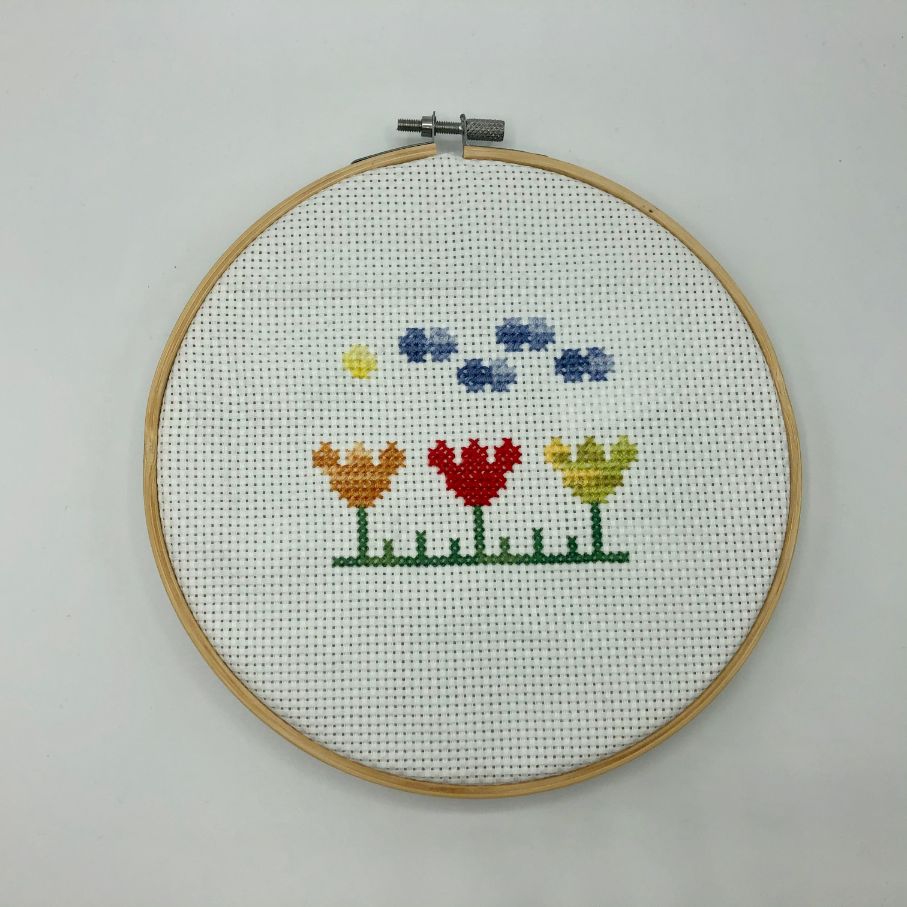
Spring Embroidery – Learn how to embroider

Would you like to learn how to embroider? Here you get an elaborate photo guide that teaches you how to embroider cross stitches. It is a very simple and small design that anyone can manage.
Measurement
17cm in diameter in the embroidery hoop.
Materials
- Embroidery Hoop 17cm
- Aida Fabric
- Embroidery Needles
- DMC Mouliné Color Variations Embroidery Thread 4045 Evergreen Forest
- DMC Mouliné Color Variations Embroidery Thread 4070 Autumn Leaves
- DMC Mouliné Color Variations Embroidery Thread 4077 Morning Sunshine
- DMC Mouliné Color Variations Embroidery Thread 4128 Gold Coast
- DMC Mouliné Color Variations Embroidery Thread 4235 Artic Sea
- DMC Mouliné Spécial 25 Embroidery Thread 666 Red
- (Possibly) Scissors
Instructions
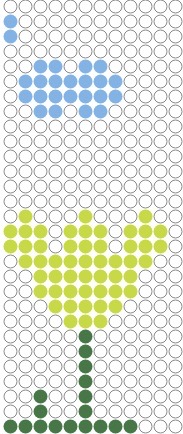
You will find the pattern at the end of this guide. You will be embroidering cross stitches, which are shaped like small X’s. Each round dot on the pattern symbolizes an X on your embroidery.
If you should run out of thread before you finish a part with that same colour, you can weave in the end on the back and start on a new thread.
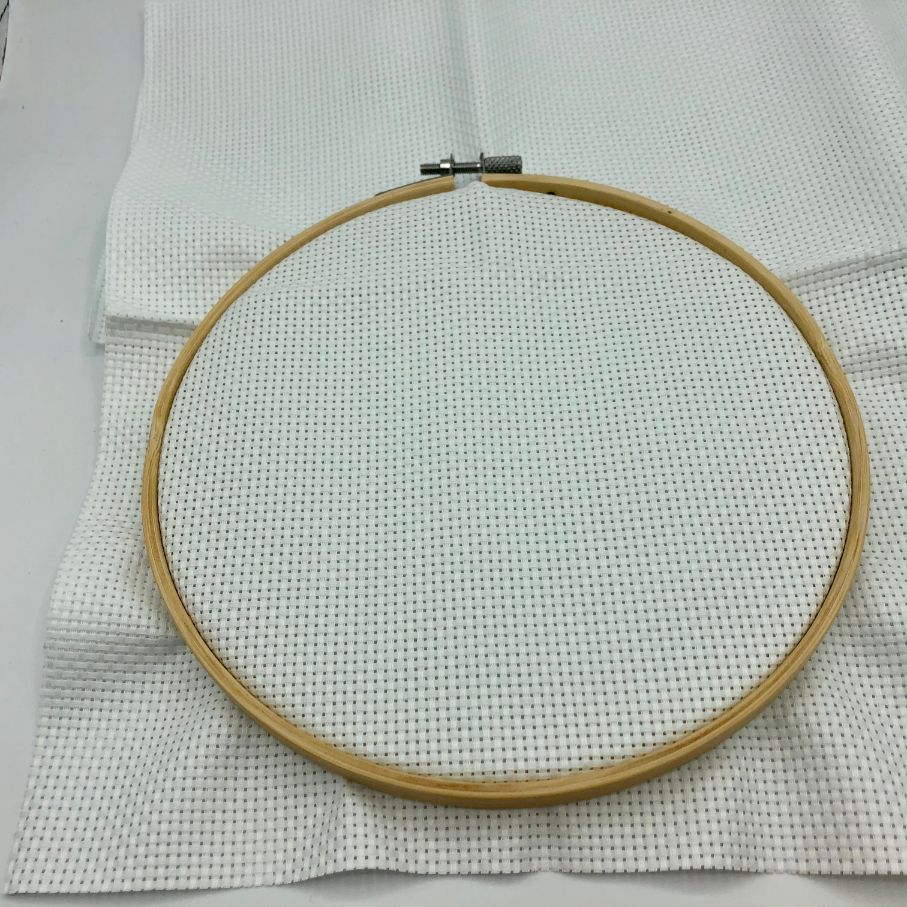
You can omit the embroidery hoop if you do not wish to use it.
Attach your embroidery hoop to one corner of the fabric.
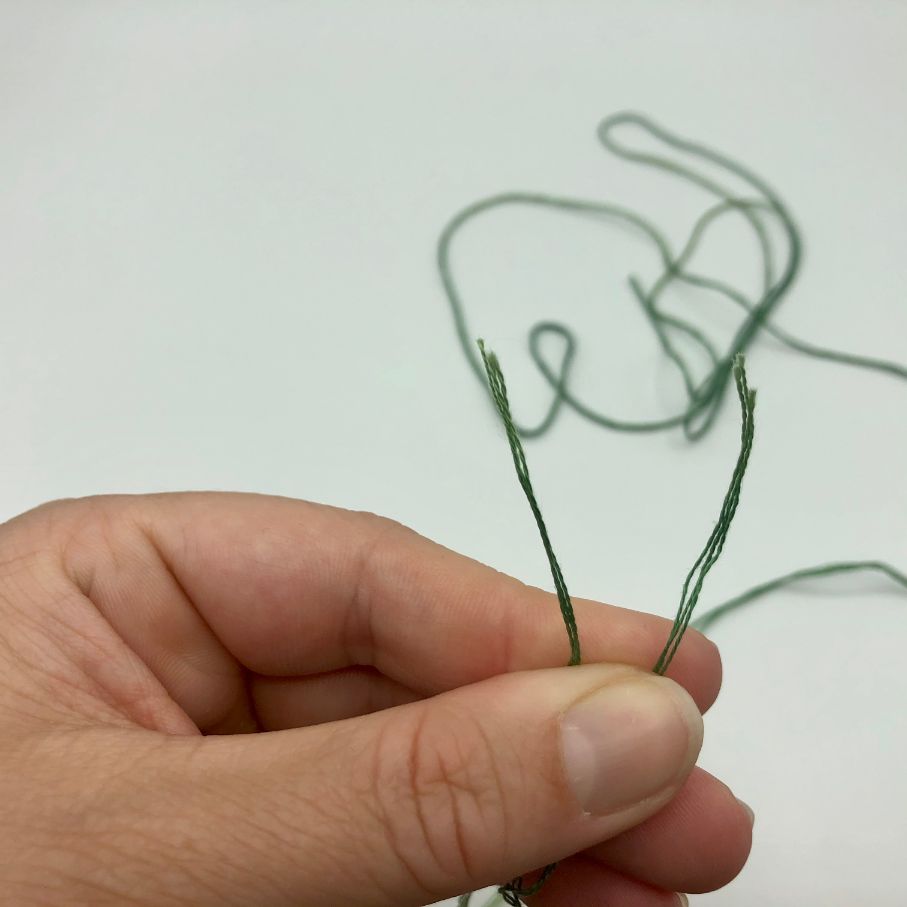
Cut a long piece of green thread. This embroidery thread consists of 6 strands. Now divide your thread so that you have 2 pieces of thread with 3 strands.
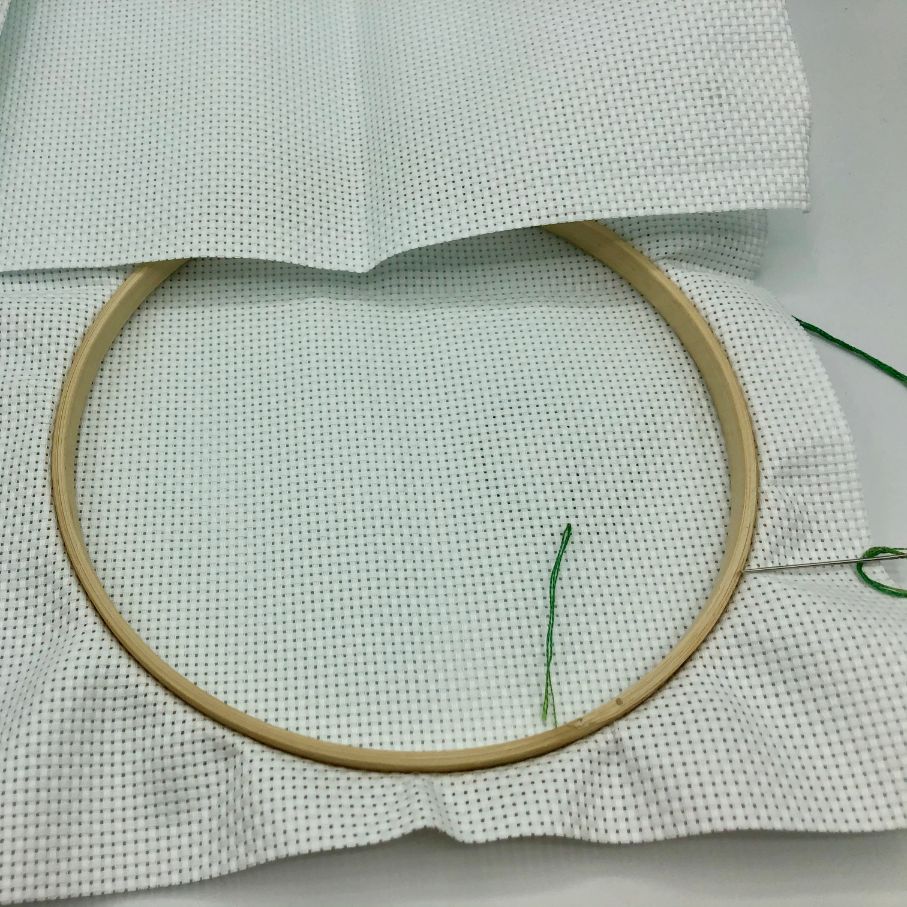
Now thread your needle. I use the largest needle size in the kit. To figure out where to begin the pattern, start by finding the centre of the fabric inside the ring. Now count down 15 holes and 19 holes to the left, you will then be at your starting point.
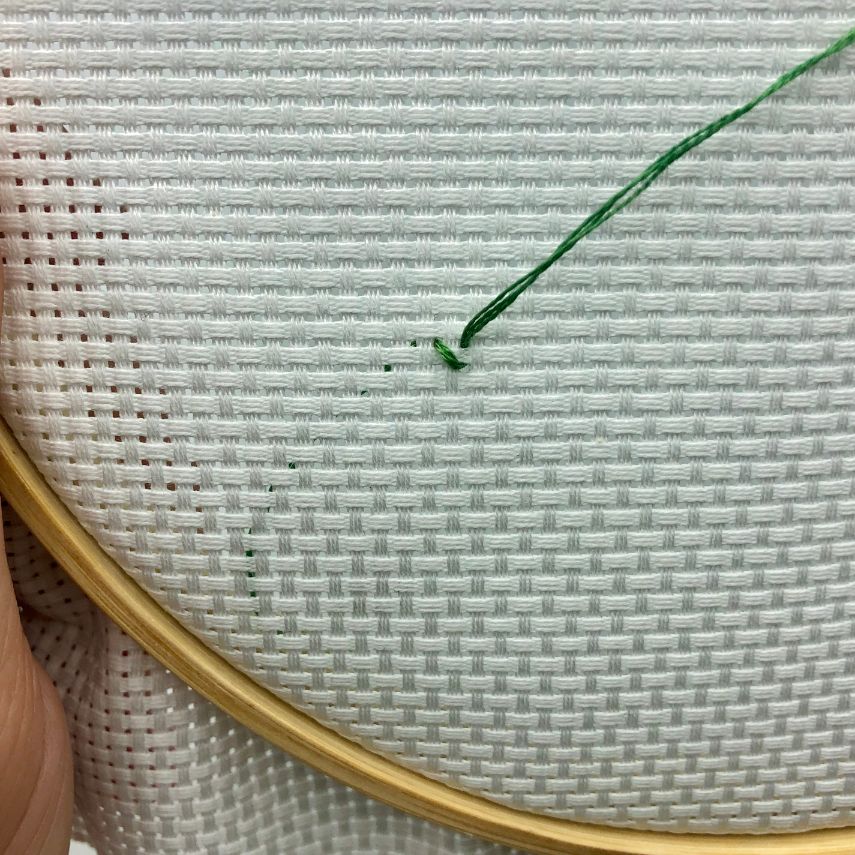
Now, you're ready to embroider. Insert your needle into the hole you just found as your starting point. Pull the thread through, but leave a small tail on the back, which you will weave in later.
Now, you make small X’s on your fabric, as illustrated in the photos below.
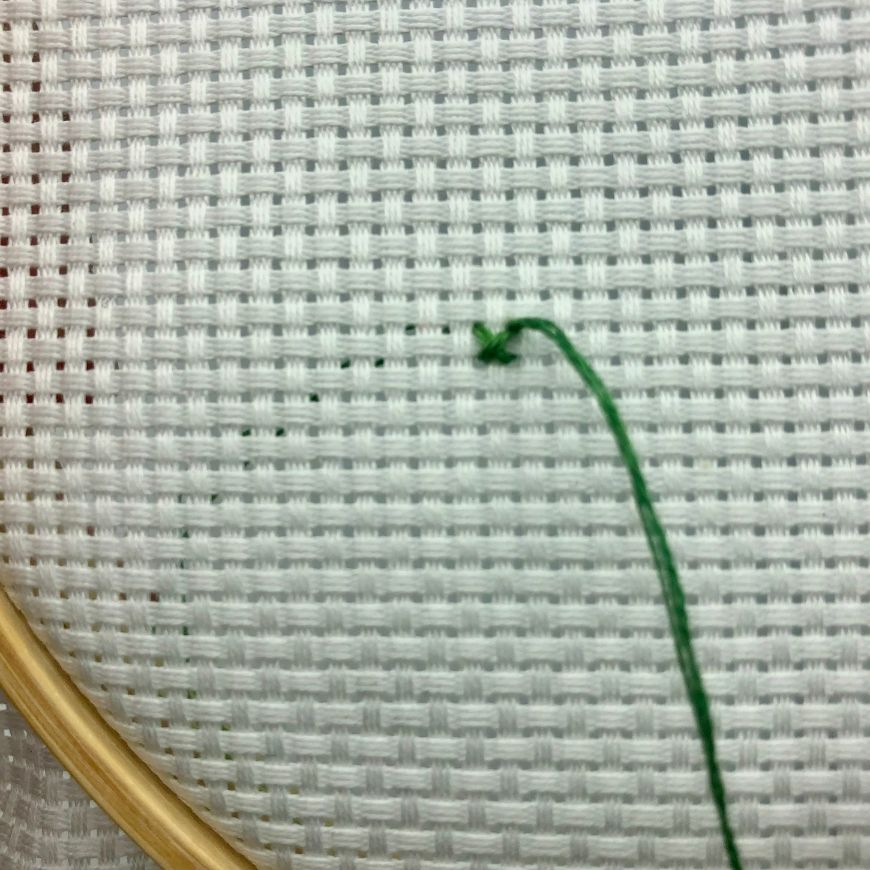
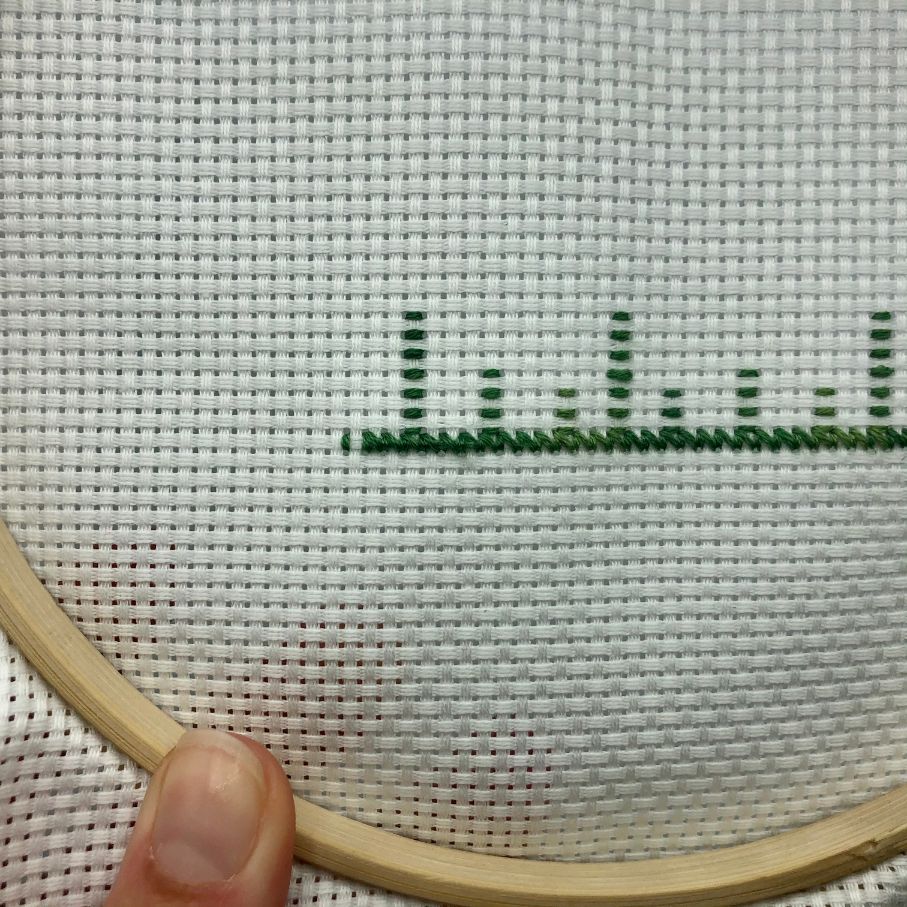
Make three X’s, which will be the first part of the grass.
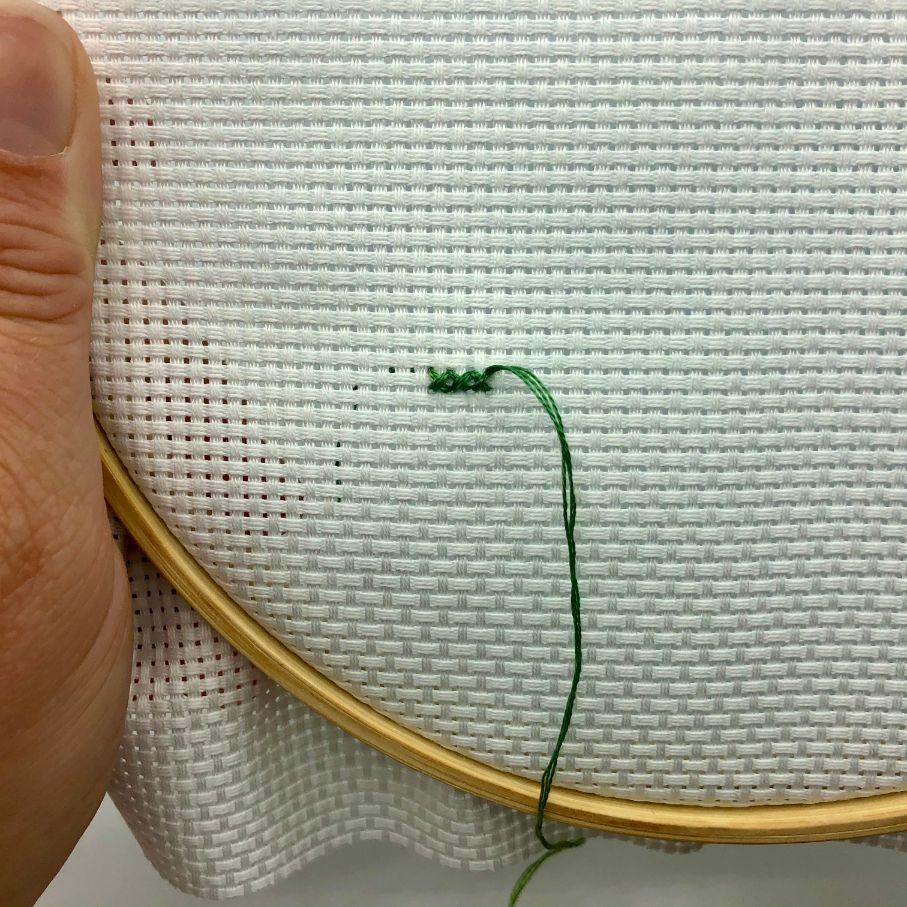
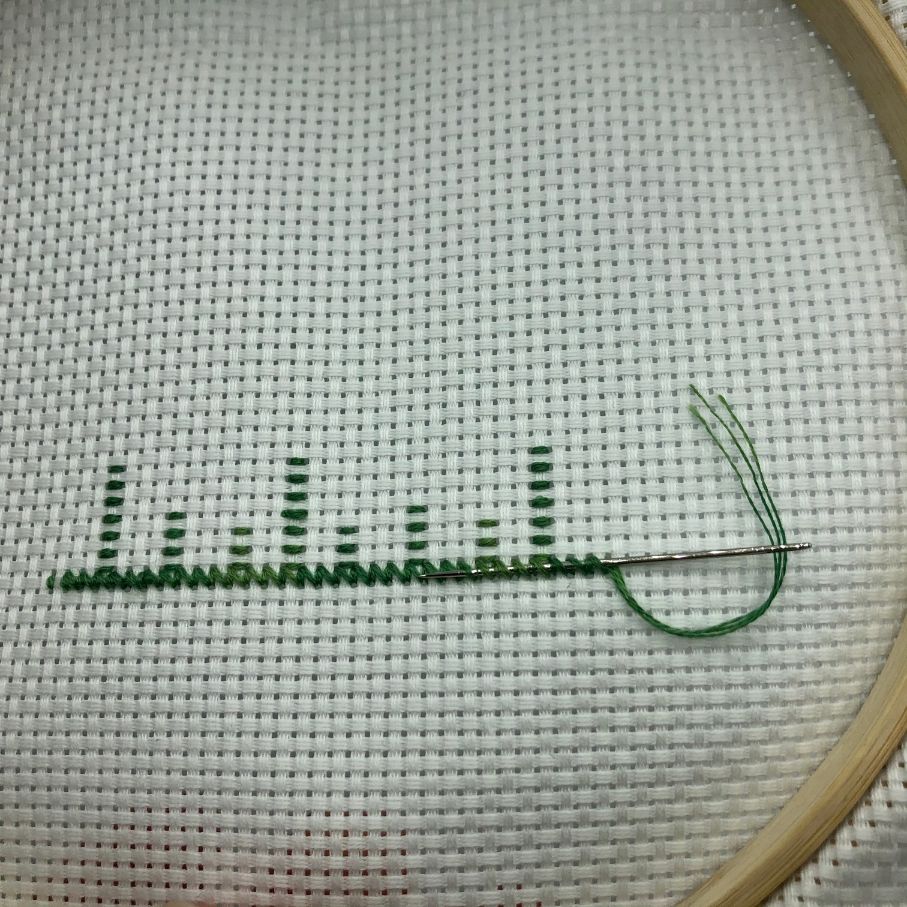
Now, you begin to make the stalk of the first flower. You may want to start by making one half of the X in the 7 X’s that will make up the stalk. On the way back down, you make the other half of the X’s as illustrated in the pictures below. It won’t make a difference whether you make the half X’s from the top left corner to the bottom right corner or vice versa.

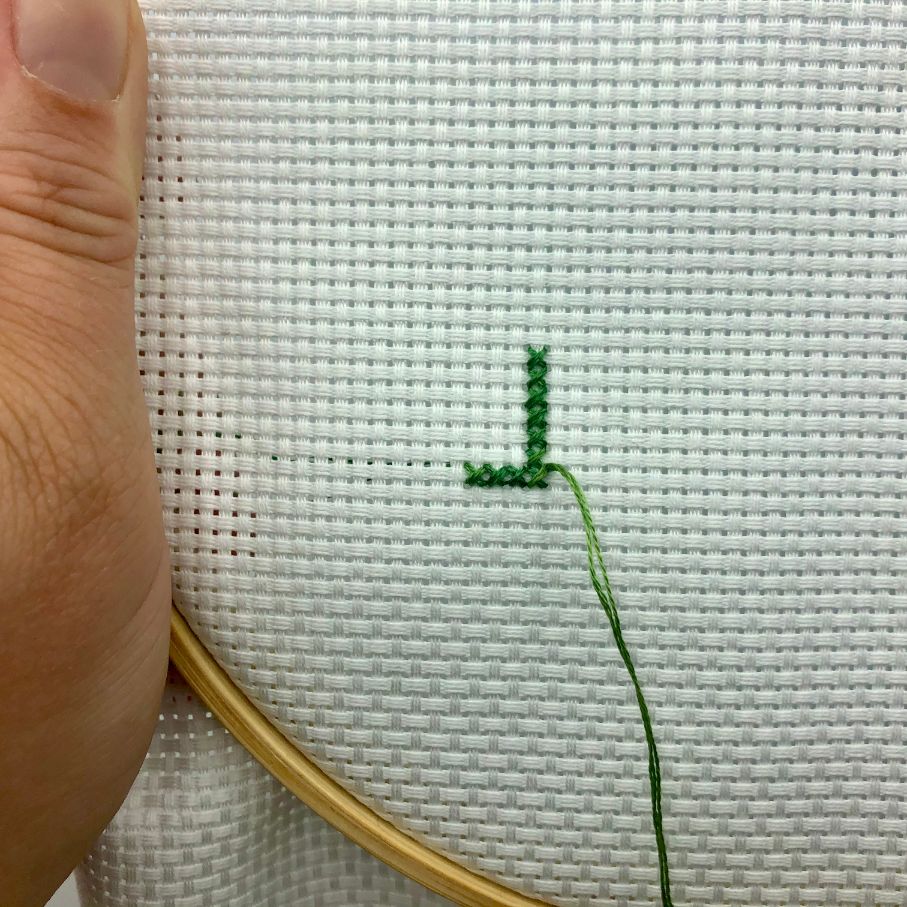
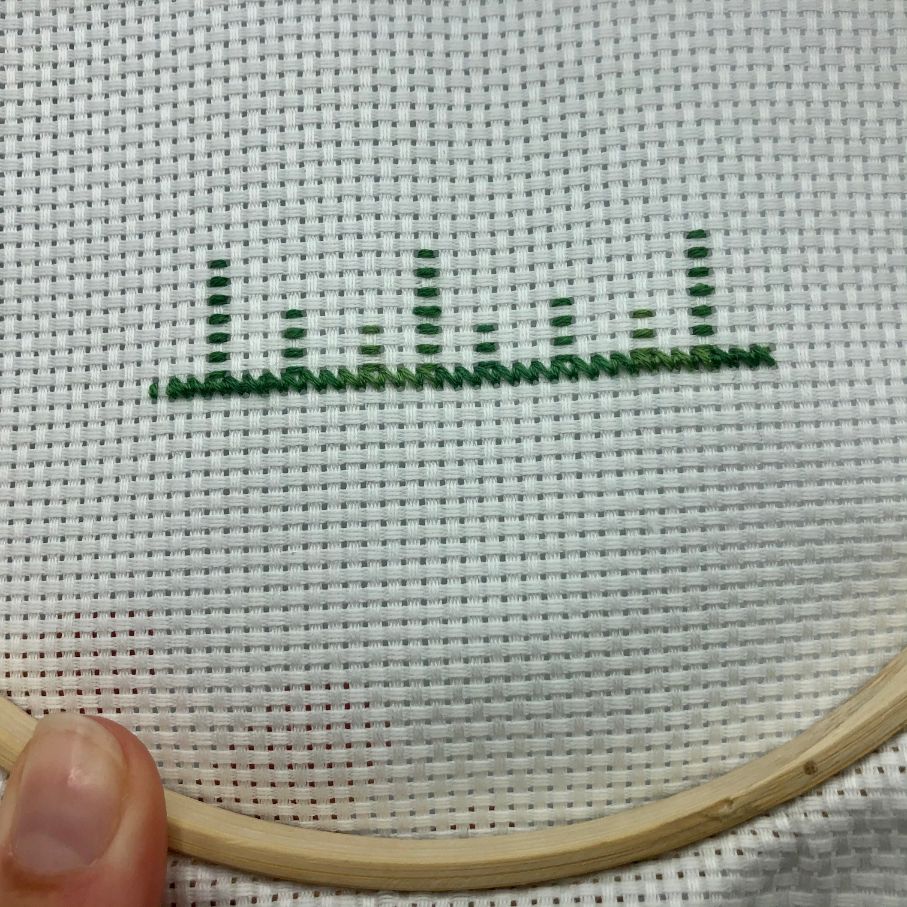
Now continue making the rest of the grass and the stalks with the green thread by following the pattern.
Then you weave in the thread on the back of the fabric. Do this by inserting the needle behind the threads on the back of the embroidery. Pull the thread through and cut.
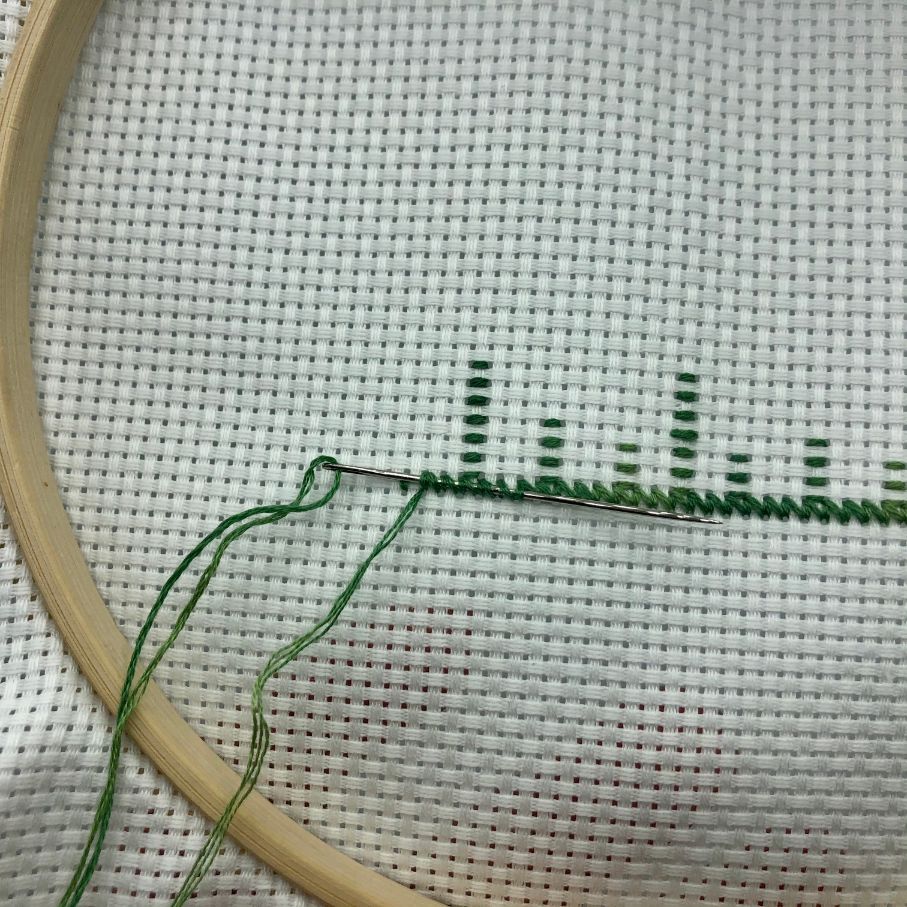
Now, you weave in the end where you began the green thread. Insert your needle into the threads on the back of the embroidery where you began. Then thread the needle and pull the thread through and cut off the remaining thread.
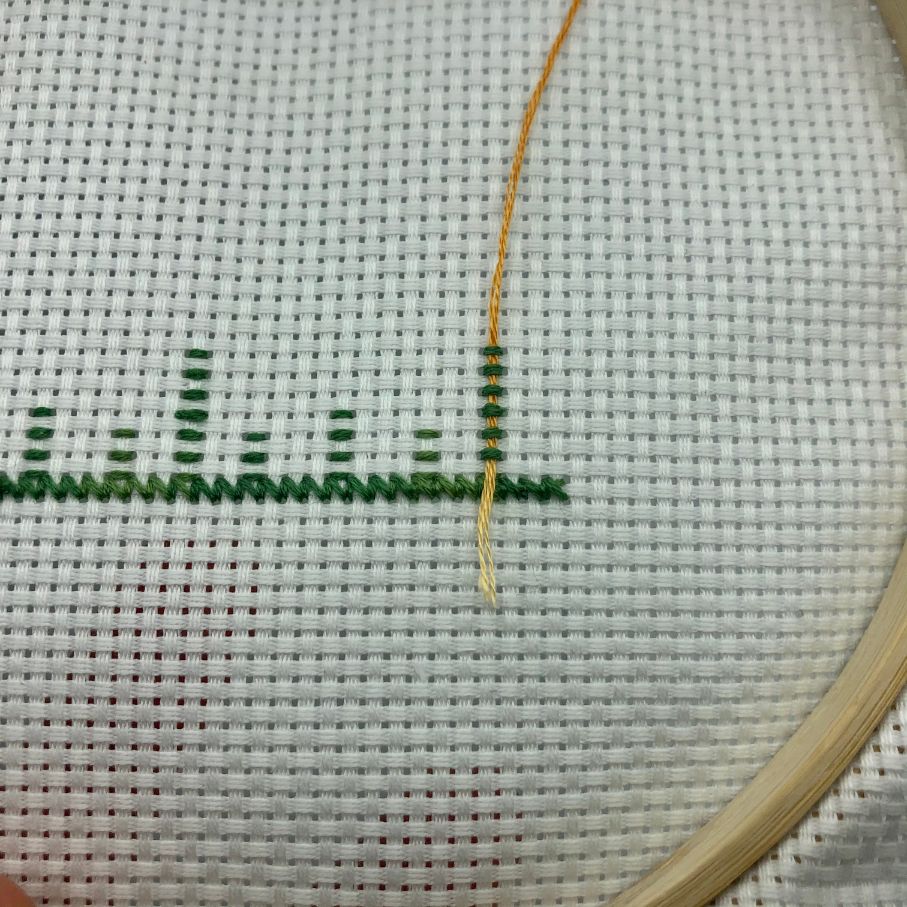
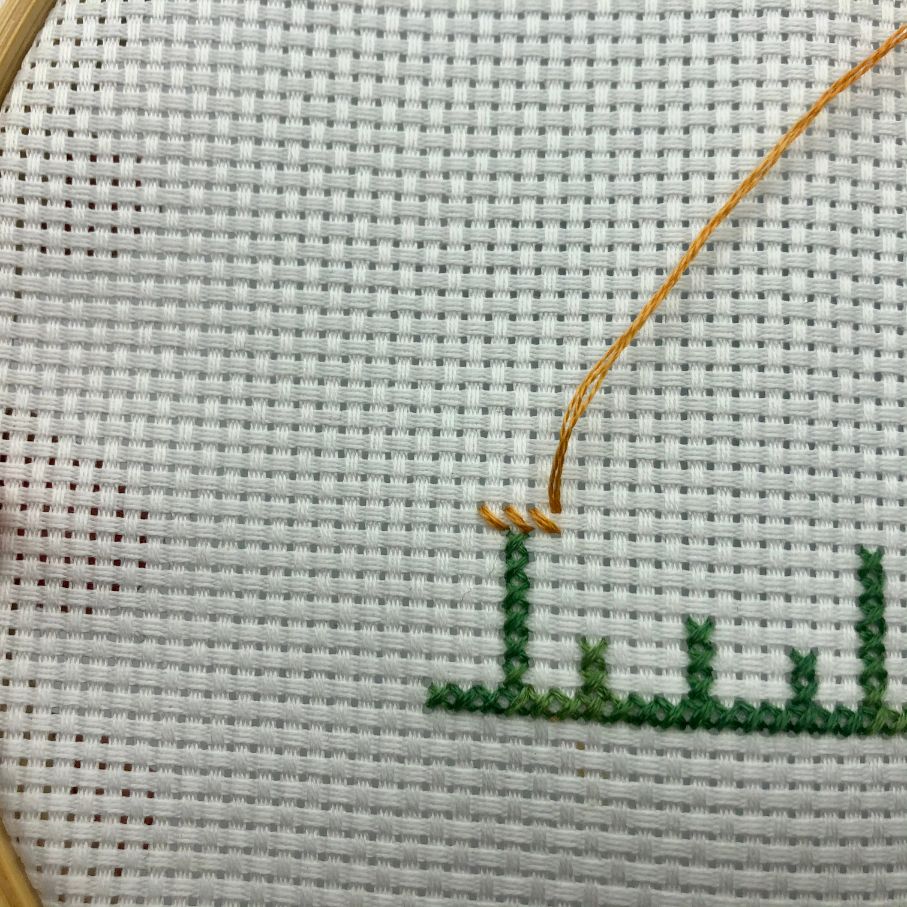
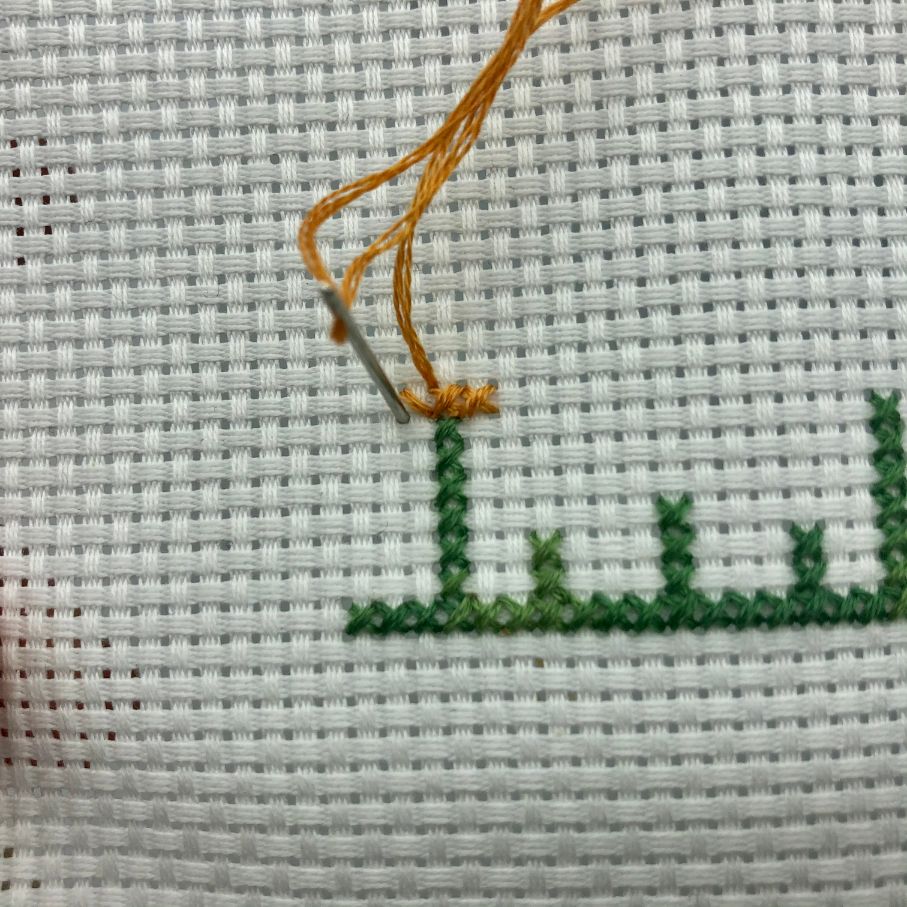
You now begin making the first flower. I start with the flower to the left and I start embroidering from the bottom of the flower. Begin by weaving in the end on the back of the stalk as shown in the photo. I leave a small tail outside the green threads that I can hold onto when I start embroidering so that I don't accidentally pull the thread through the fabric. I will cut it off when weaving in the end once I finish the flower.
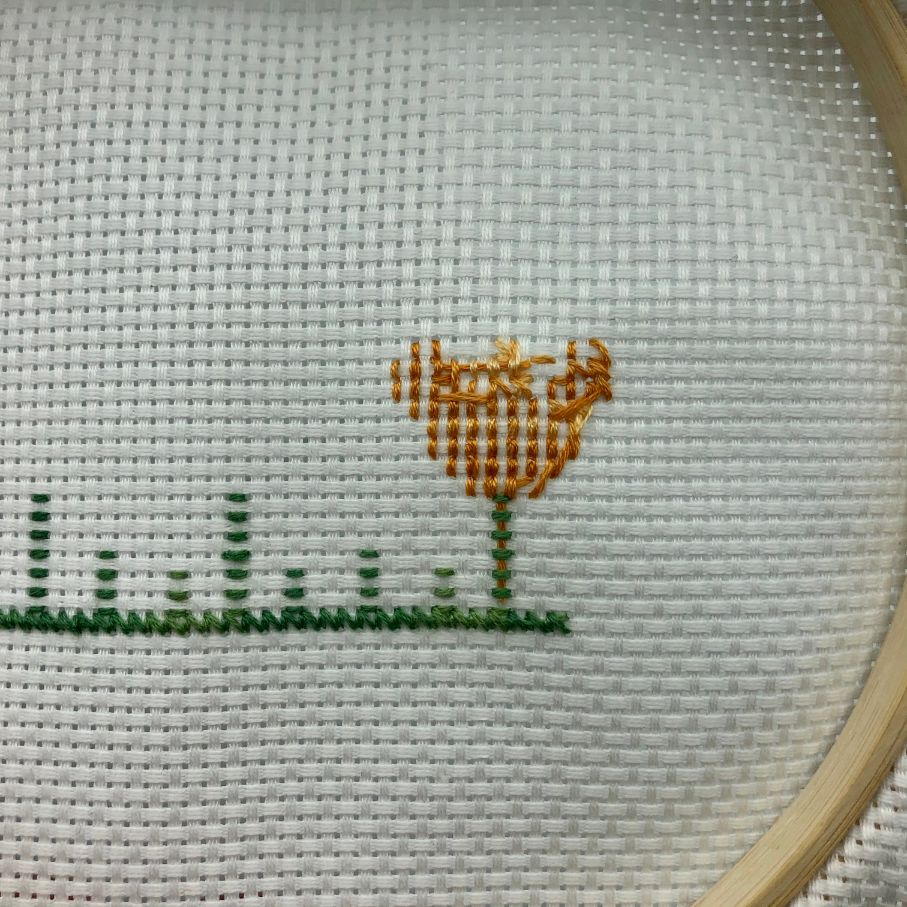
Now embroider the entire the flower. When embroidering something with multiple rows in a small area, you may benefit from making the entire row with half the X’s on the way up and the other half of the X’s on the way back.
Now embroider the rest of the flower. If you run out of thread before finishing the flower, you can weave in the end on the back of the fabric and start on a new thread.
Now embroider the rest of the pattern the same way. When making the sun and the clouds, start with a small tail of the thread on the back that you will weave in later, just like you did when you made the grass.
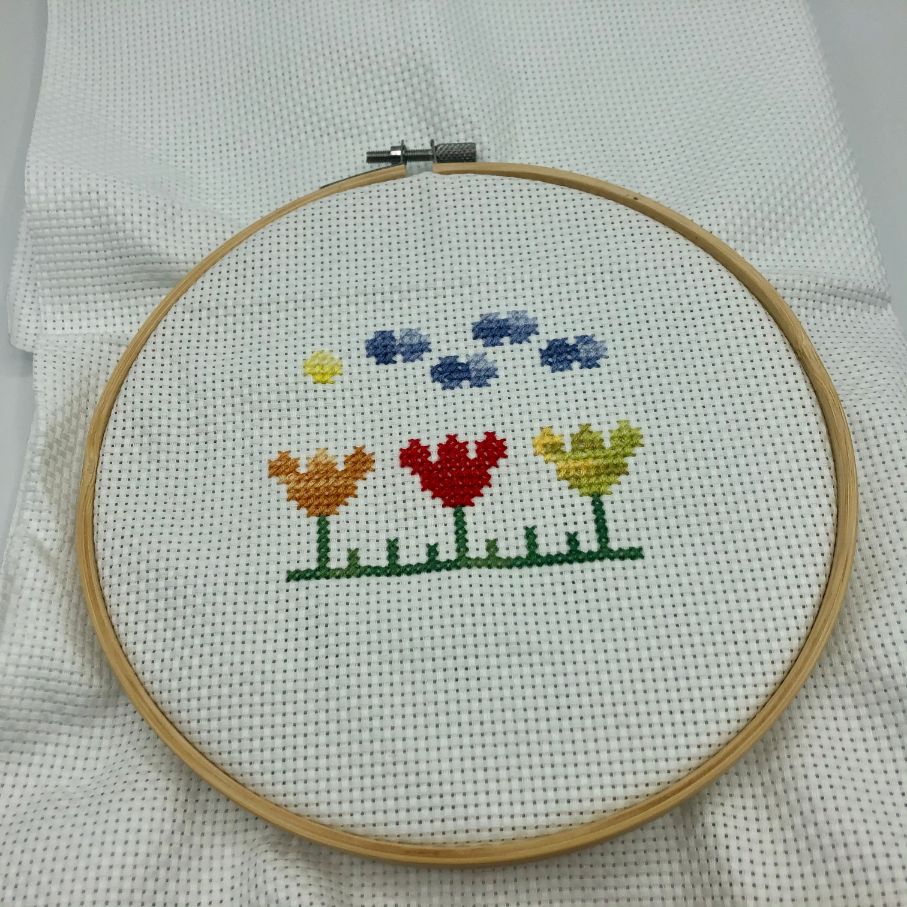
Now your embroidery is finished and you just need to cut out a frame. You can either cut it to use the embroidery hoop as a frame or cut it and use a different frame.

Designed by: Kreatosse (Majken Andreasen)
 Österreich
  Belgique
  Bosna i Hercegovina
  България
  Κύπρος
  Česká republika
  Danmark
  Eesti
Eesti  Føroyar
  Suomi
Suomi  France
  Deutschland
  Ελλάδα
  Kalaallit Nunaat
  Magyarország
  Ísland
  Ireland
  Italia
  Latvija
  Liechtenstein
  Lietuva
  Lëtzebuerg
  Malta
Malta  Isle of Man
  Nederland
  Norge
Norge  Polska
  Portugal
  România
  Slovensko
  Slovenija
  España
  Sverige
  Schweiz
  Ukraїna
  United Kingdom