Free Crochet Pattern: Elephant Basket
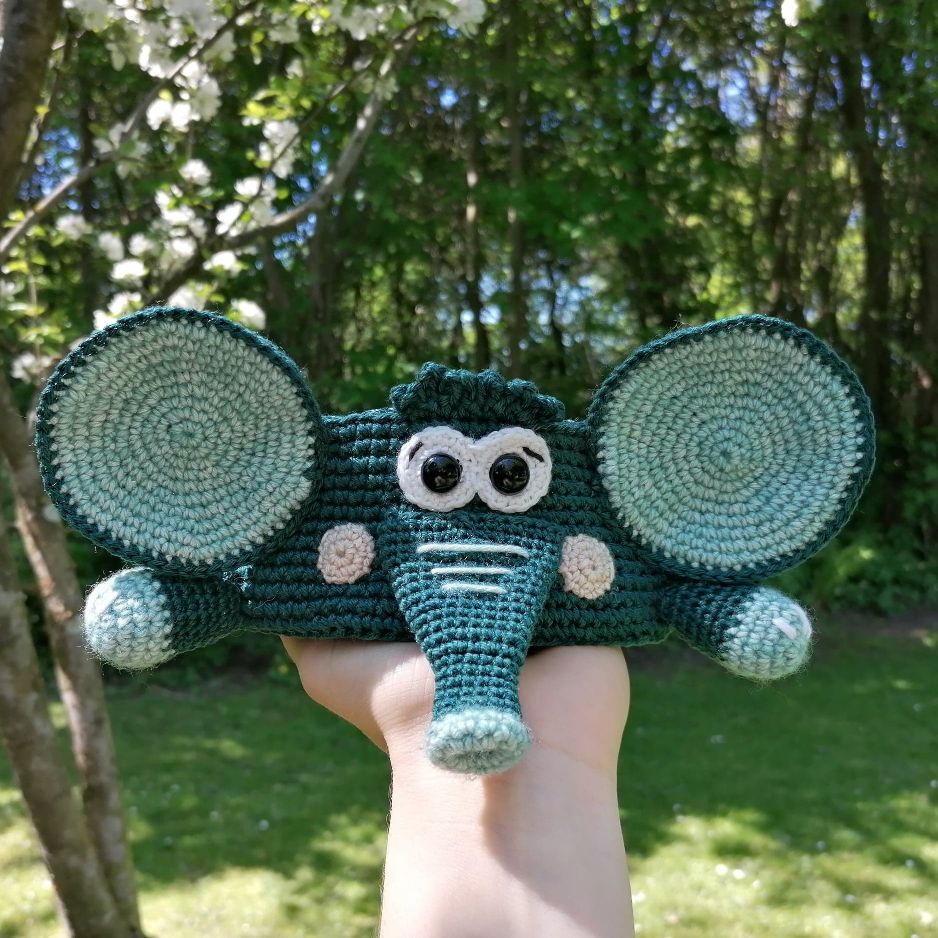
This little elephant basket is perfect for the changing table or as a maternity gift. The small basket is great for storing pacifiers, wet wipes - or whatever you want. The cow is crocheted primarily with Shamrock Yarns 100% Mercerised Cotton, which is 100% mercerised cotton.
Size
The diameter of the basket is approx. 16cm and the height is approx. 6cm.
Materials
- 3 x Shamrock Yarns 100% Mercerised Cotton 241 Petrol Green
- 1 x Shamrock Yarns 100% Mercerised Cotton 02 White
- Some leftover yarn (approx. 15cm) Shamrock Yarns 100% Mercerised Cotton 01 Black for the eyebrows
- 1 x Scheepjes Stone Washed 828 Larimar
- Approx. 50cm Cotton poplin with print 024 Wild Animals
- 2 x Safety eyes 10mm
- Approx. 10cm Leather Strap Black 120cm 15mm
- 1 x Fibrefill
Tools
- Crochet hook size 2.50 and 3.00mm
- Darning needle for finishing
- Punch pliers
Abbreviations
ch = chain stitch
mr = magic ring
dc = double crochet
inc = increase
bl = back loop
Instructions
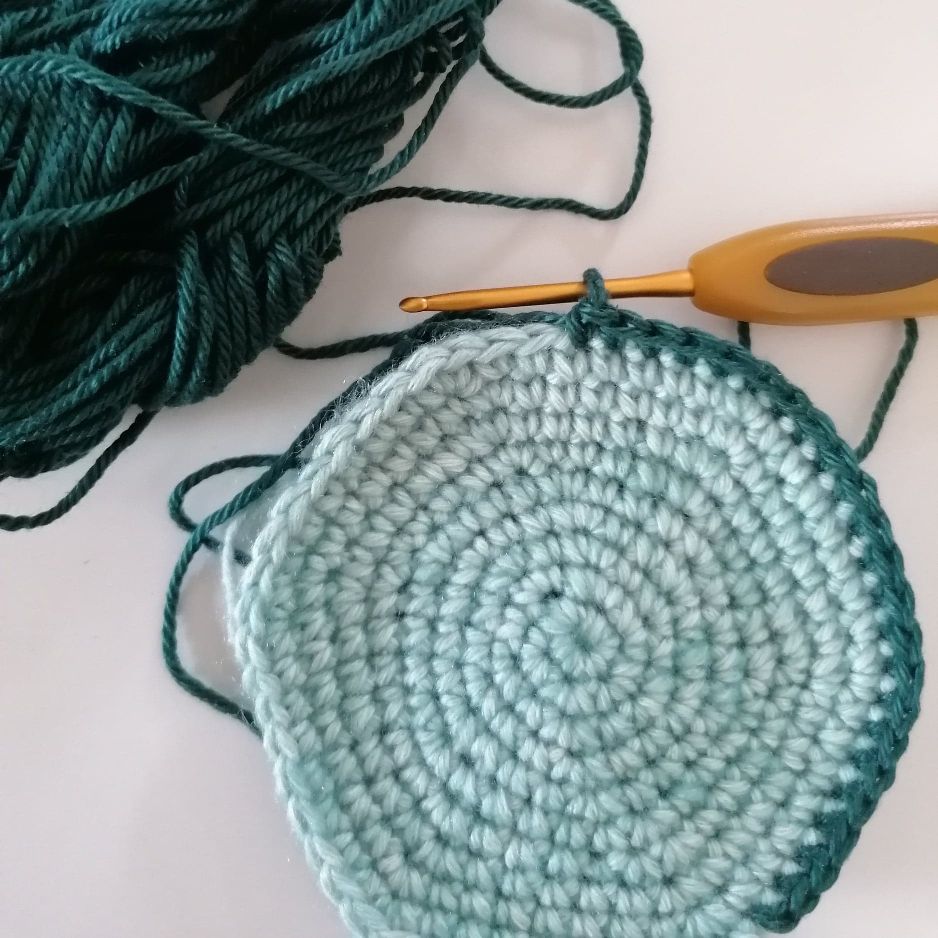
The basket
Start with the colour you want your elephant basket to be. The basket is crocheted with 2 strands of yarn with needle 3.0.
Round 1: make a mr with 6 dc (6)
Round 2: 2 dc in each stitch for the entire round (12)
Round 3: *1 dc, 1 dc inc* for the entire round (18)
Round 4: *2 dc, 1 dc inc* for the entire round (24)
Round 5: *3 dc, 1 dc inc* for the entire round (30)
Round 6: *4 dc, 1 dc inc* for the entire round (36)
Round 7: *5 dc, 1 dc inc* the entire round (42)
Round 8: *6 dc, 1 inc* for the entire round (48)
Round 9: *7 dc, 1 inc* for the entire round (54)
Round 10: *8 dc, 1 inc* for the entire round (60)
Round 11: *9 dc, 1 inc* for the entire round (66)
Round 12: *10 dc, 1 inc* for the entire round (72)
Round 13: *11 dc, 1 inc* for the entire round (78)
Round 14: *12 dc, 1 inc* for the entire round (84)
Round 15: *13 dc, 1 inc* for the entire round (90)
Round 16: *14 dc, 1 inc* for the entire round (96)
Round 17: *15 dc, 1 inc* for the entire round (102)
Round 18: 1 dc in bl for the entire round (102)
Round 19 - 32: 1 dc in each stitch for the entire round, break the yarn (102)
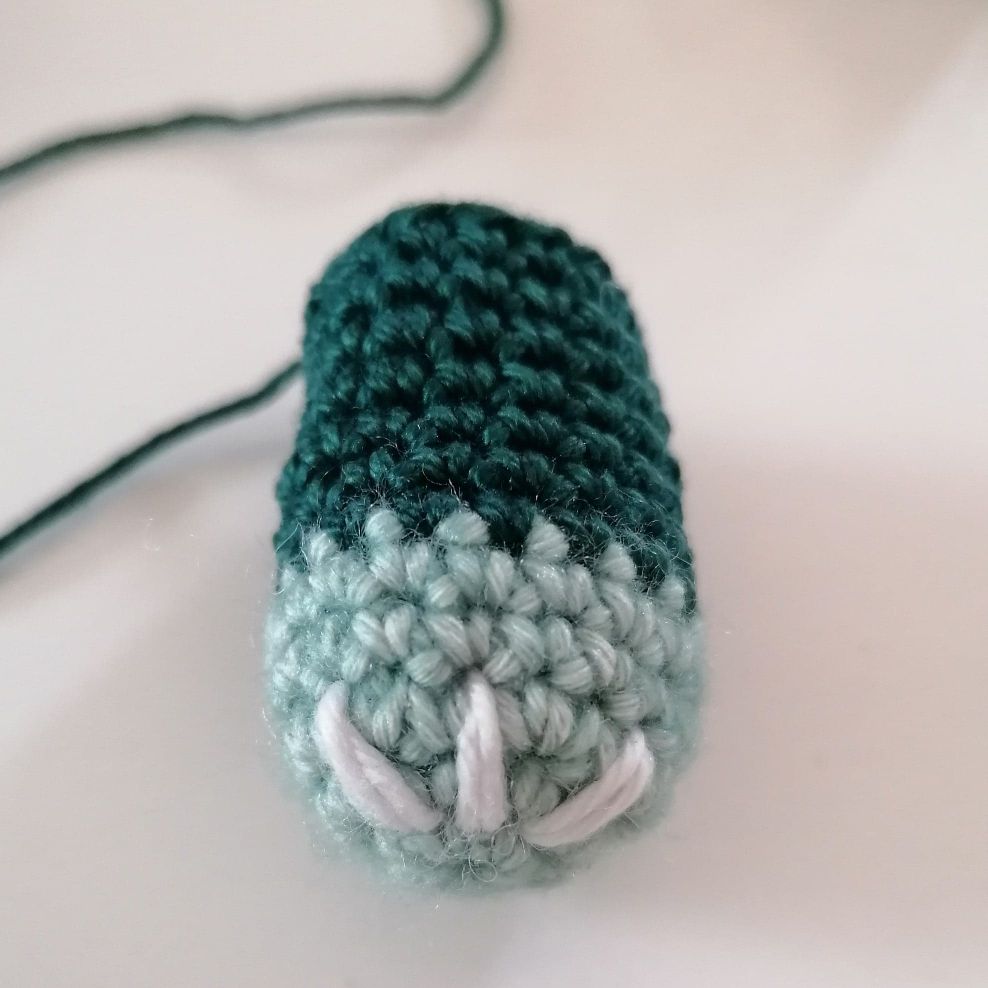
The trunk: crochet hook 2.5
Start with the colour you want the tip of the trunk to be.
1. round: make a mr with 6 dc (6)
2. round: 2 dc in each stitch for the entire round (12)
3. - 4. round: 1 dc in each stitch for the entire round (12)
Change to the elephant's main colour.
Round 5 - 11: 1 dc in each stitch (12)
Round 12: *1 dc, 1 dc inc* for the entire round (18)
Round 13 - 16: 1 dc in each stitch (18)
Round 17:* 2 dc, 1 inc* for the entire round (24)
Round 18-20: 1 dc in each stitch for the entire round (24)
Round 21: *3 dc, 1 inc* for the entire round (30)
Round 22 - 15: 1 dc in each stitch, break the yarn but leave a tail of yarn long enough for sewing later. (30)
Do not stuff the trunk, but sew it together at the top before assembling. I have chosen to sew with a thread at the top of the trunk in the same colour as the tip of the trunk. Squeeze the tip of the trunk slightly to form a small hole in the trunk. Sew on the trunk where you want it on your basket.
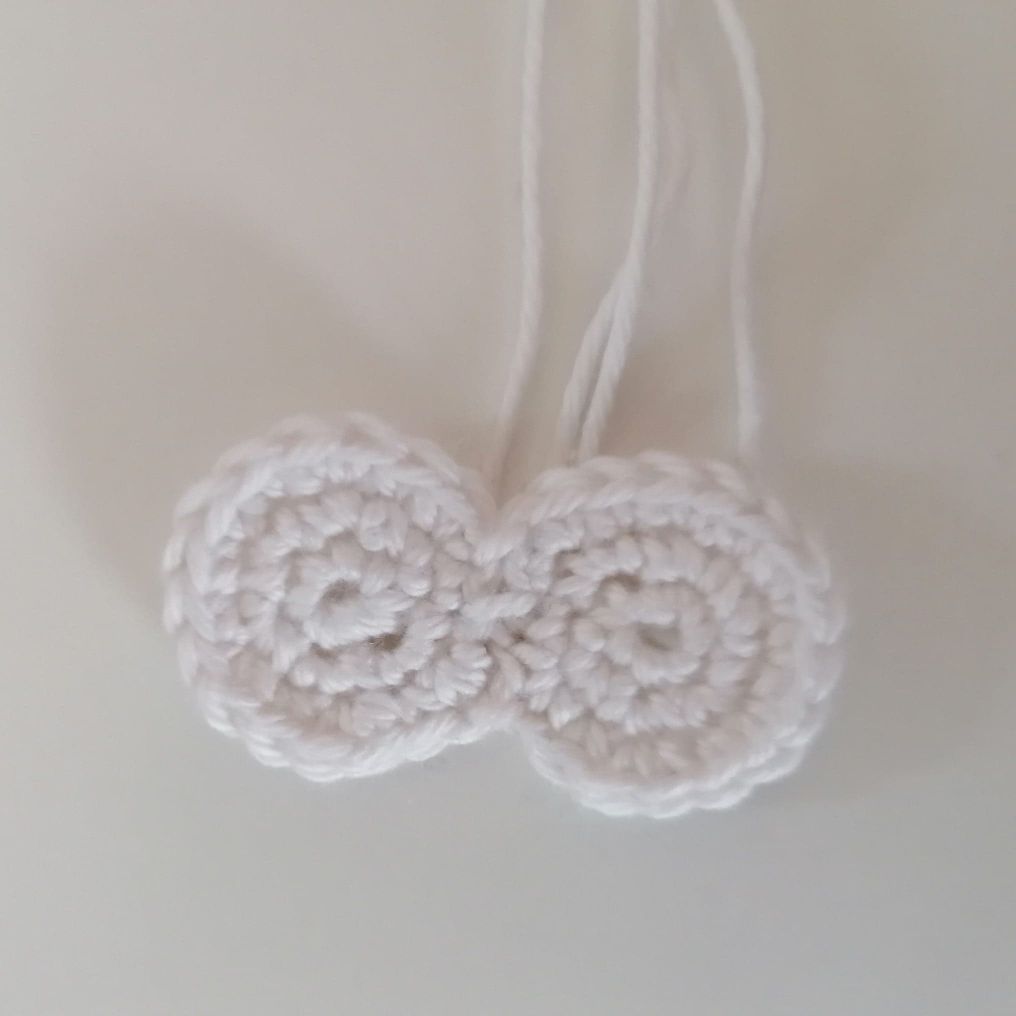
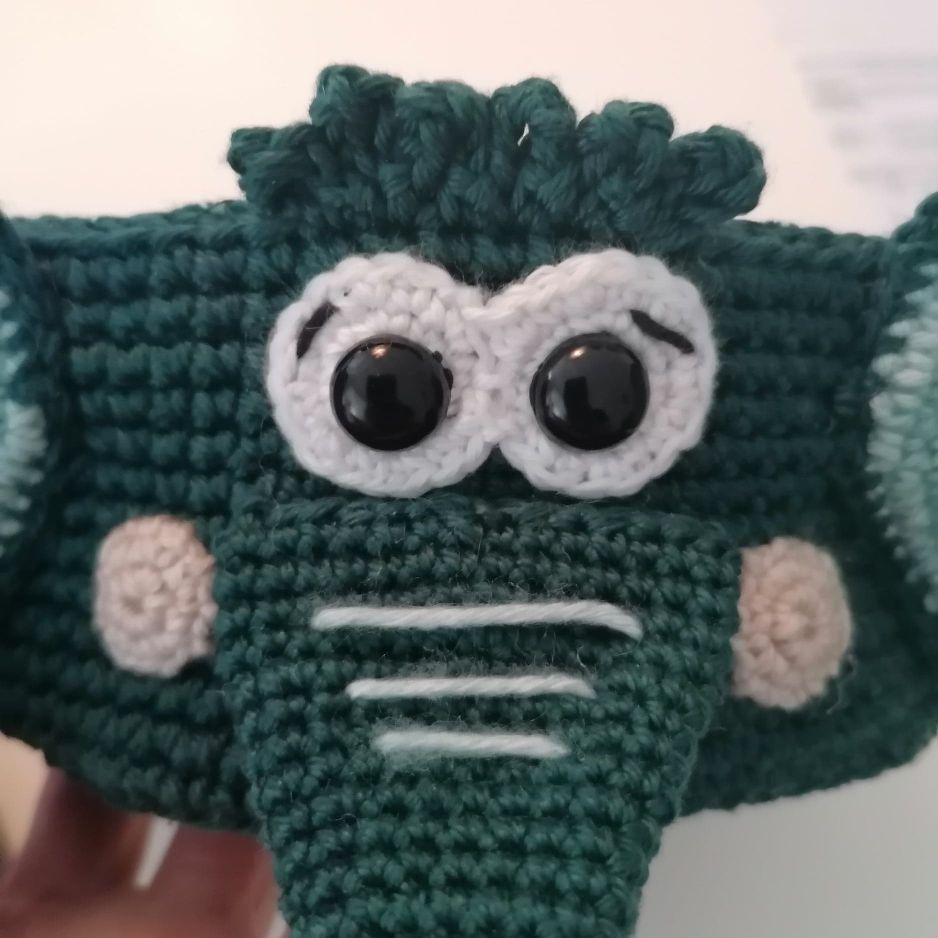
Eyes: (make 2) crochet hook 2.5
Use the white yarn.
Round 1: make a mr with 6 dc (6)
Round 2: 2 dc in each stitch for the entire round (12)
Round 3: *1 dc, 1 inc* for the entire round, break the yarn but leave a yarn tail long enough for sewing (18)
Sew the two parts lightly together in the middle so that the eyes sit close together.
Attach the eyes to your elephant basket. Insert the safety eyes through both the white crocheted eyes as well as the basket.
I chose to embroider a small eyebrow with the black colour.
Cheeks: crochet hook 2.5
Choose the colour you want your elephant's cheeks to be.
Round 1: make a mr with 6 dc (6)
Round 2: 2 dc in each stitch for the entire round, leave a tail of yarn long enough for sewing later. (12)
The ears: (make 2): crochet hook 2.5
Each ear consists of 2 parts, one part is crocheted in the elephant's main colour, the other in the same colour as you used for the tip of the trunk. You therefore crochet 2 parts for each ear.
Round 1: make a mr with 6 dc (6)
Round 2: 2 dc in each stitch for the entire round (12)
Round 3: *1 dc, 1 dc inc* for the entire round (18)
Round 4: *2 dc, 1 dc inc* for the entire round (24)
Round 5: *3 dc, 1 dc inc* for the entire round (30)
Round 6: *4 dc, 1 dc inc* for the entire round (36)
Round 7: *5 dc, 1 dc inc* Omgangen ud (42)
Round 8: *6 dc, 1 inc* for the entire round (48)
Round 9: *7 dc, 1 inc* for the entire round, break the yarn (54)
The 2 parts are crocheted together. Turn the work so that the colour you want the inside of the ear to be is facing out as you crochet.
Crochet 1 dc through both the outer and inner part of the ear. Break the yarn, but leave a tail of yarn for sewing later.
Legs (make 4) crochet hook 2.5
Start with the colour you used for the inside of the ears.
1. round: make a mr with 6 dc (6)
2. round: 2 dc in each stitch for the entire round (12)
3. round: *1 dc, 1 dc inc* for the entire round (18)
4. - 6 round: 1 dc in each stitch, for the entire round (18)
Change to the main colour of the elephant.
7.- 12 round: 1 dc in each stitch, for the entire round, break the yarn and leave a tail of yarn for sewing later. (18)
Stuff the legs before sewing them on.
Embroider small nails with the white colour.
Tuft of hair: (crochet hook 2.5)
Start with a dc in the top of the basket where you want your little tuft of hair to be. * Make 6 ch, 1 dc in next stitch * repeat until your tuft of hair has the desired size. Break the yarn and weave in the end on the back.
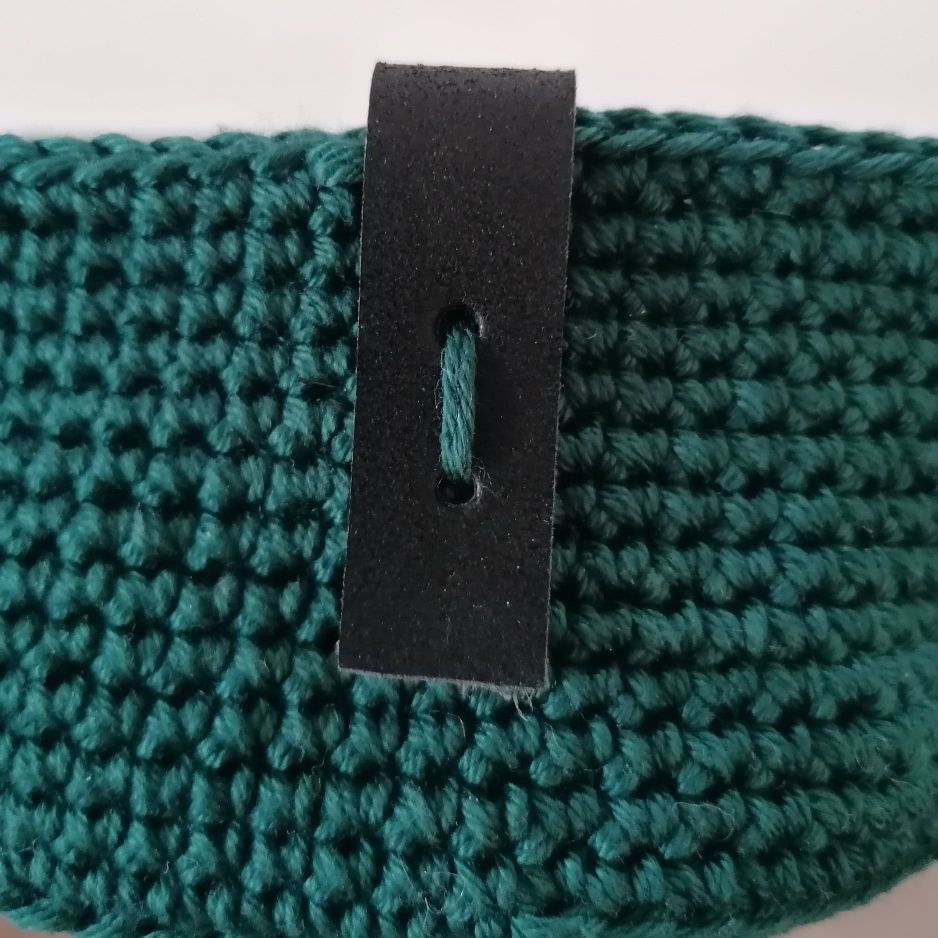
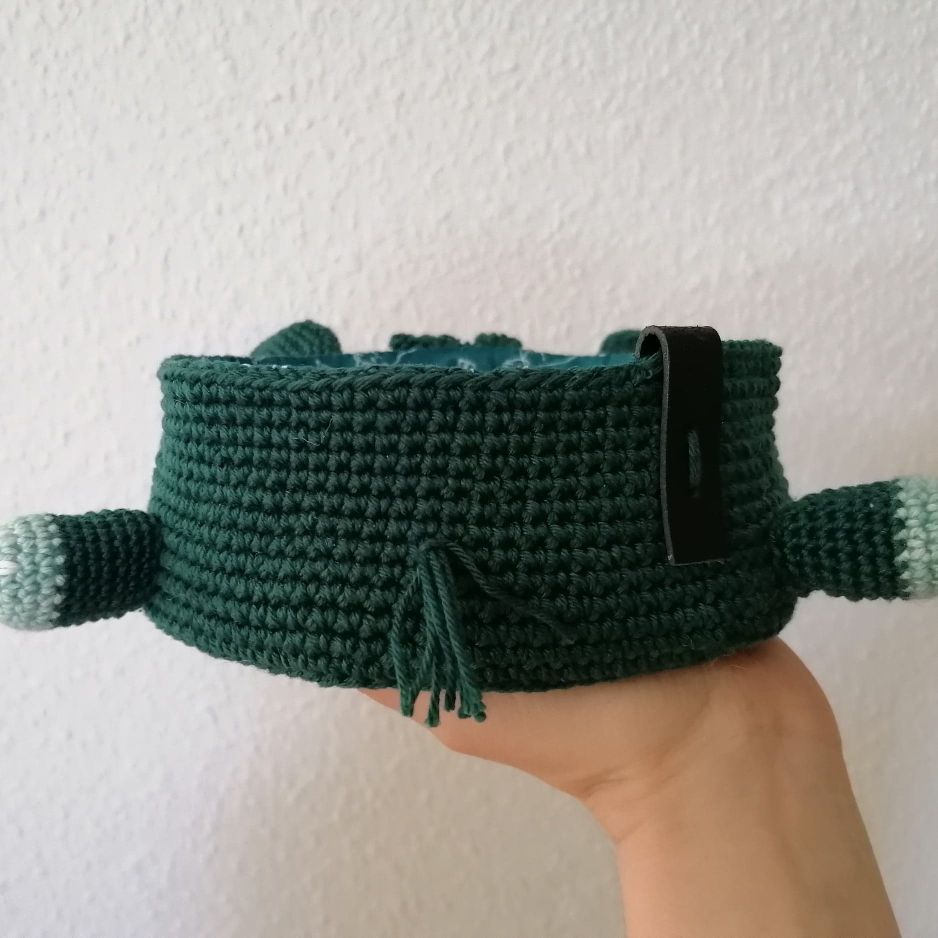
Leather patch:
As a nice little detail, I have chosen to sew a leather patch on the back of the elephant.
Cut a piece of your leather patch about 10cm. Bend it and make 2 holes with a punch plier.
Fold the patch over the edge of your basket and sew through the holes with the elephant colour. Weave in the ends on the back.
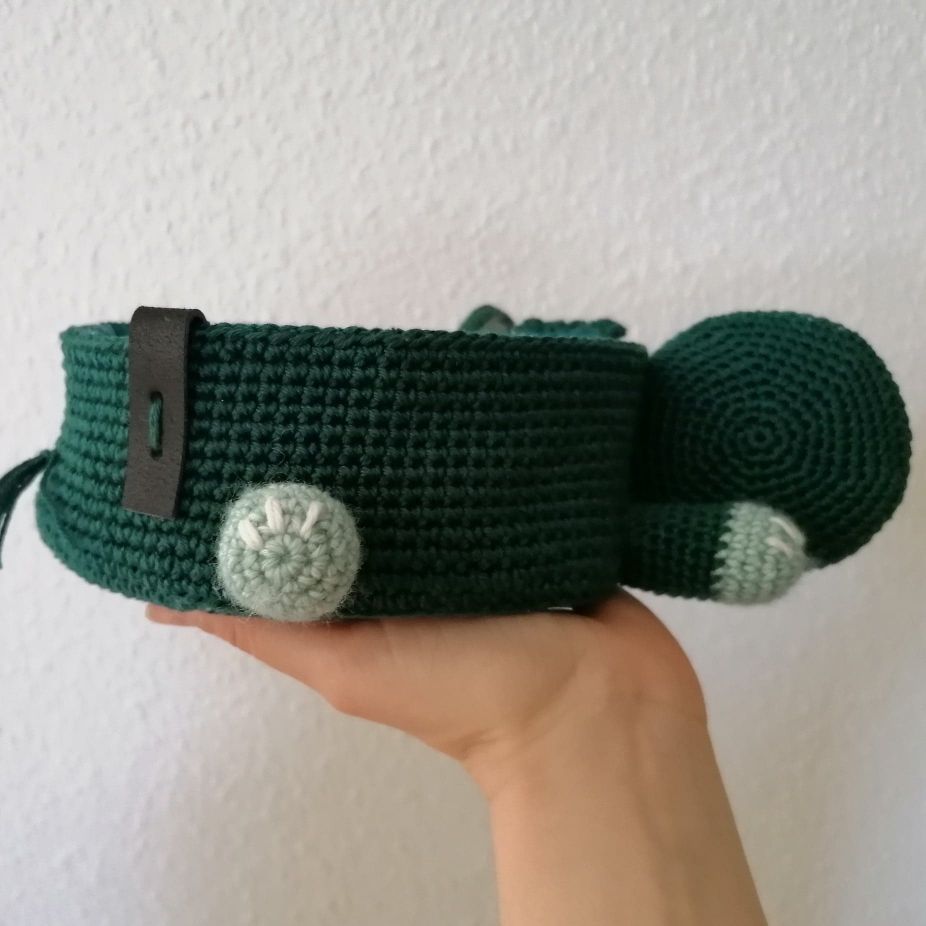
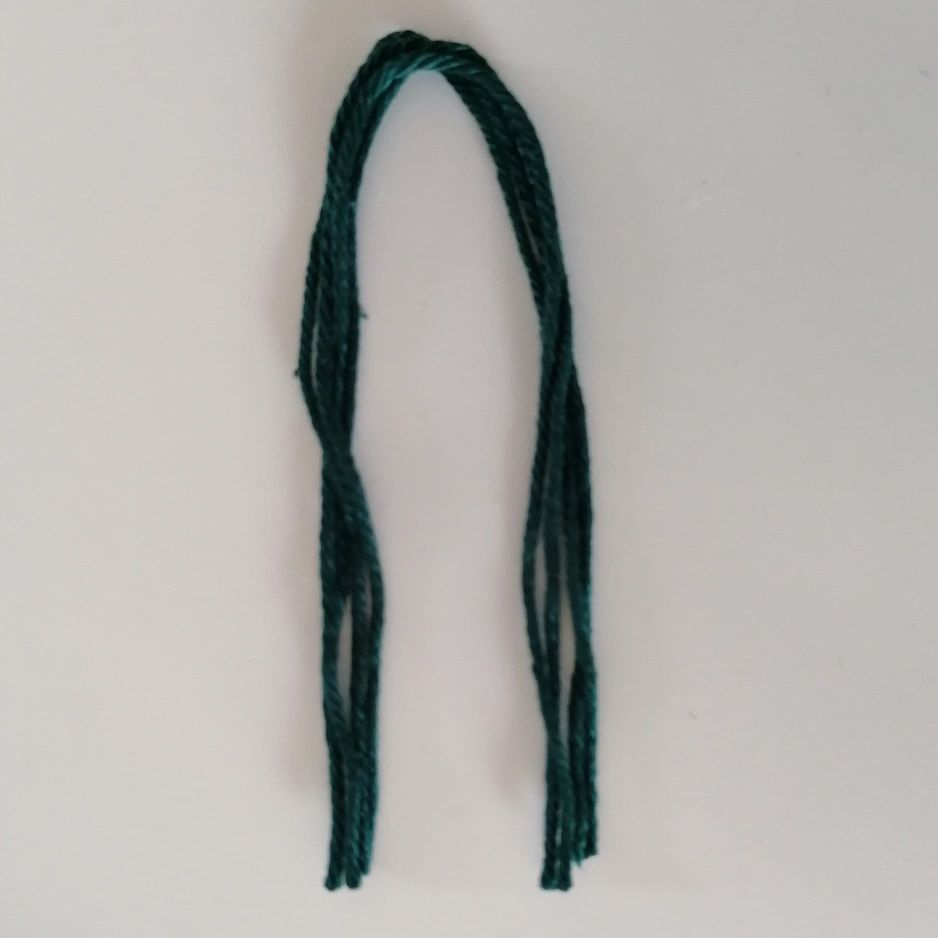
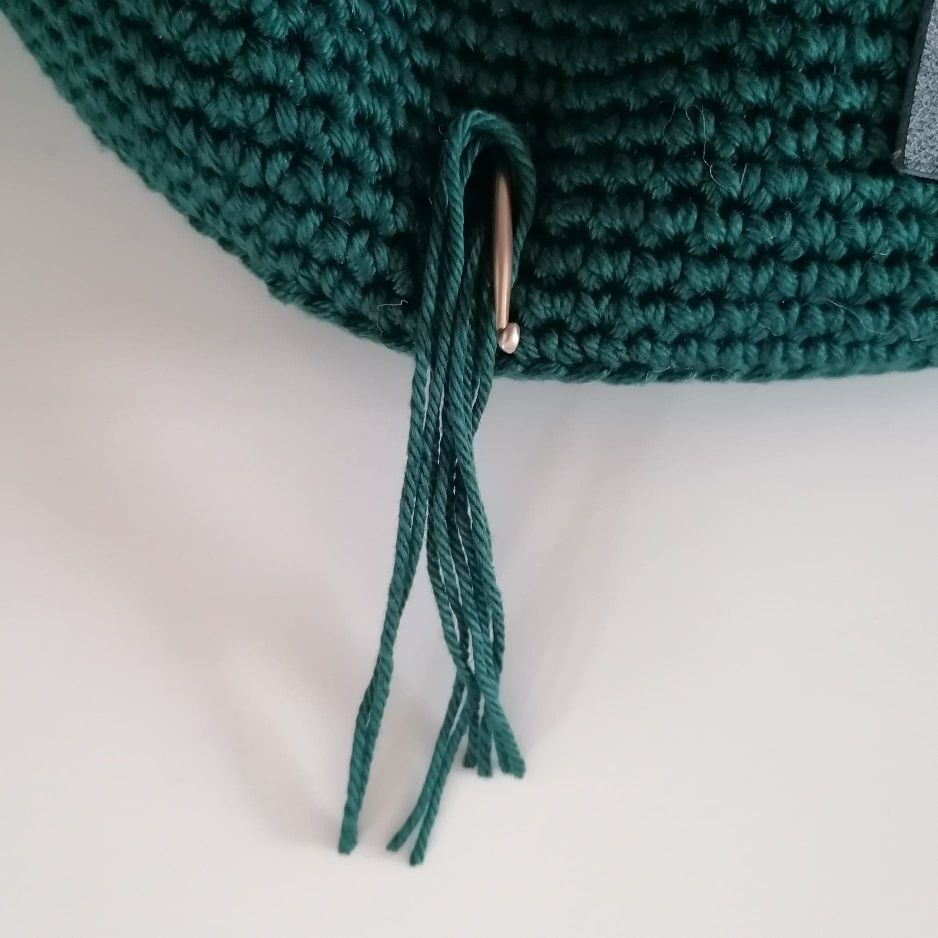
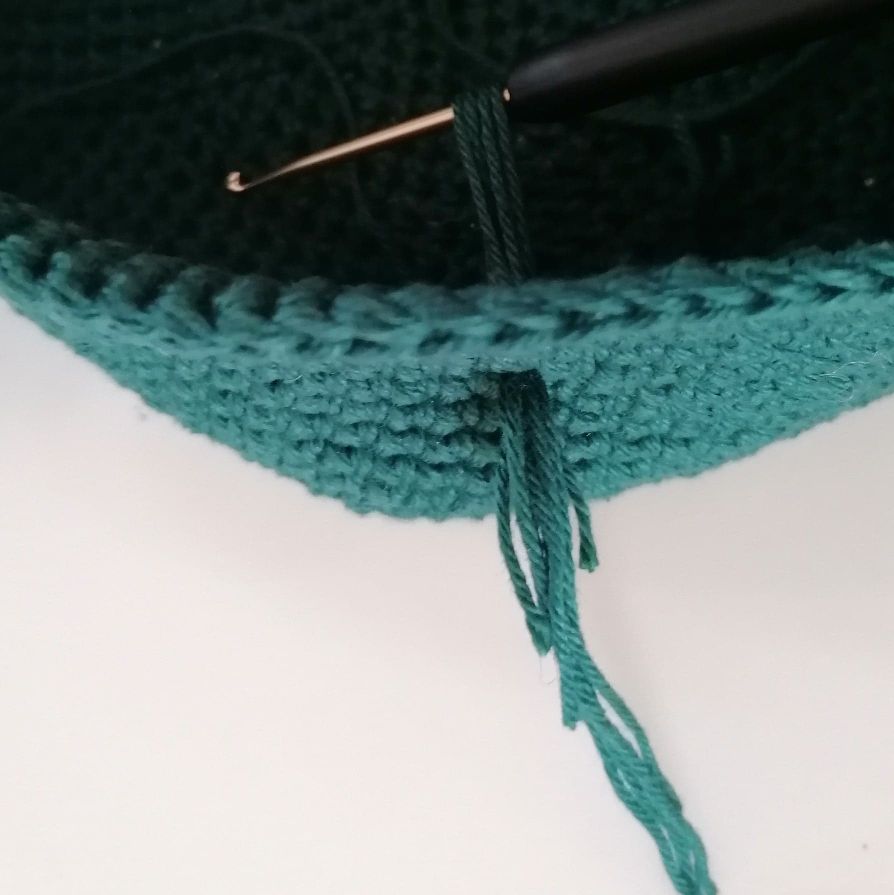
The tale:
Cut 3-4 pcs of yarn and fold them in the middle. Pull them through the basket to the back, but stop again when you are all the way through. Tie a small knot on the back and sew tight so that the tail doesn’t fall off. Tie a small knot on the front. Cut the tail to the desired length.
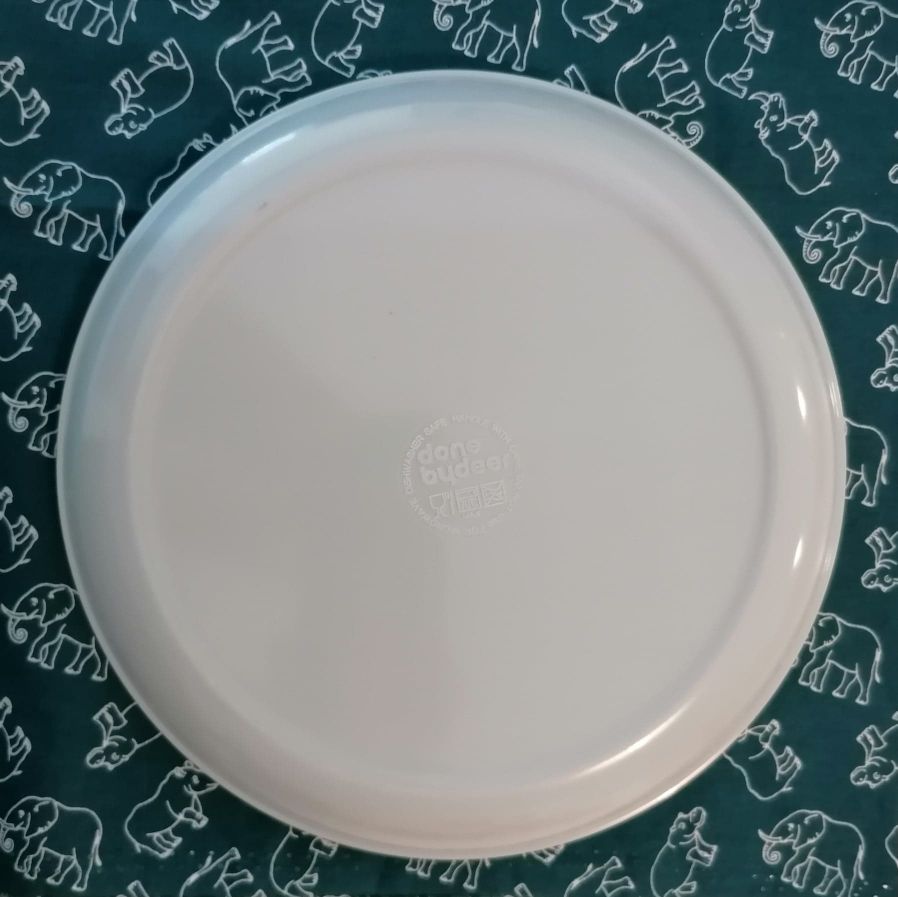
Lining:
Cut a circle (the bottom of your basket) that is 1cm wider than your basket in diameter (approx. 17cm).
I found a plate that fits in size and drew after it.
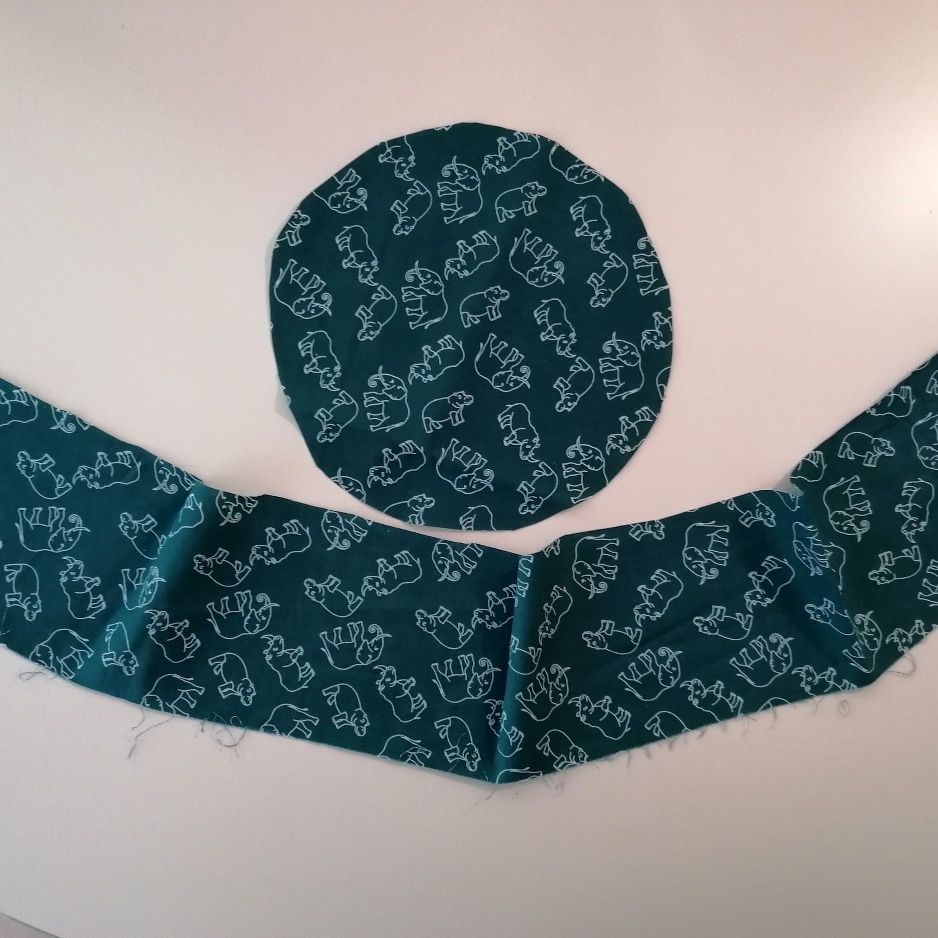 <
<Zig zag all the way around on both bottom and edge.
Put bottom and edge together with needles on the back. Sew approx. 0.5cm all the way around.
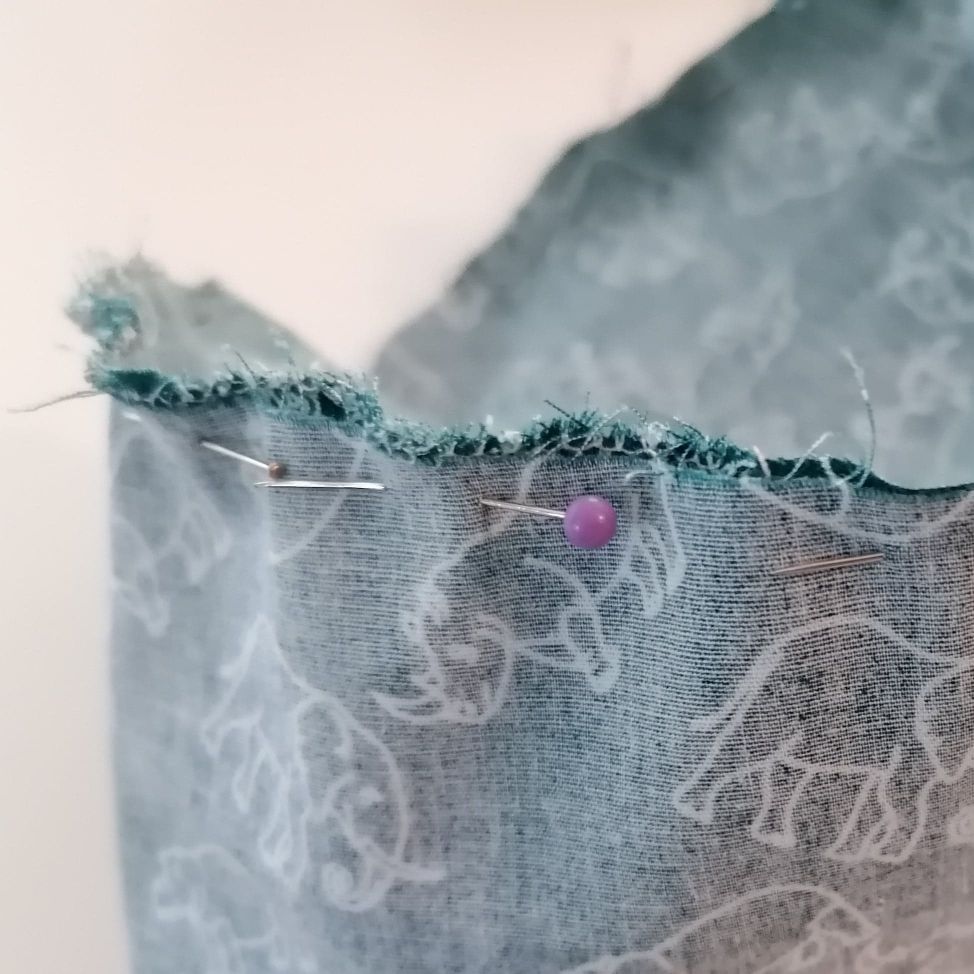 <
<Test whether the bottom fits your basket as you go.
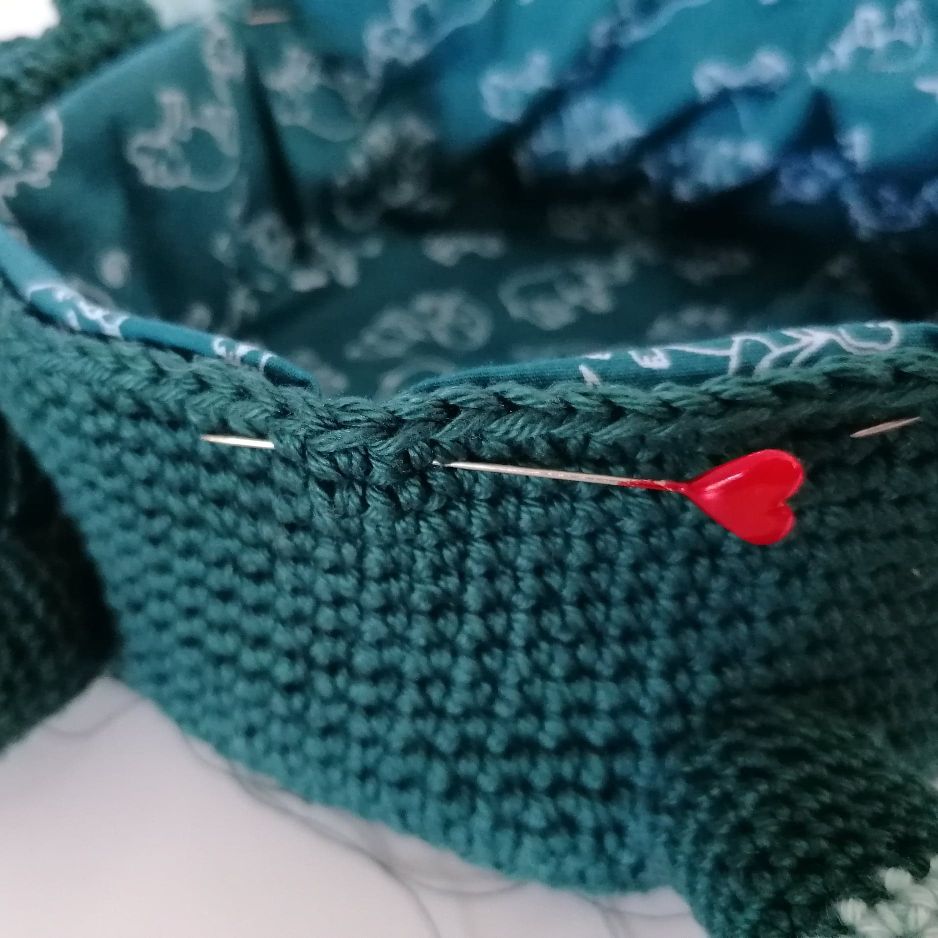
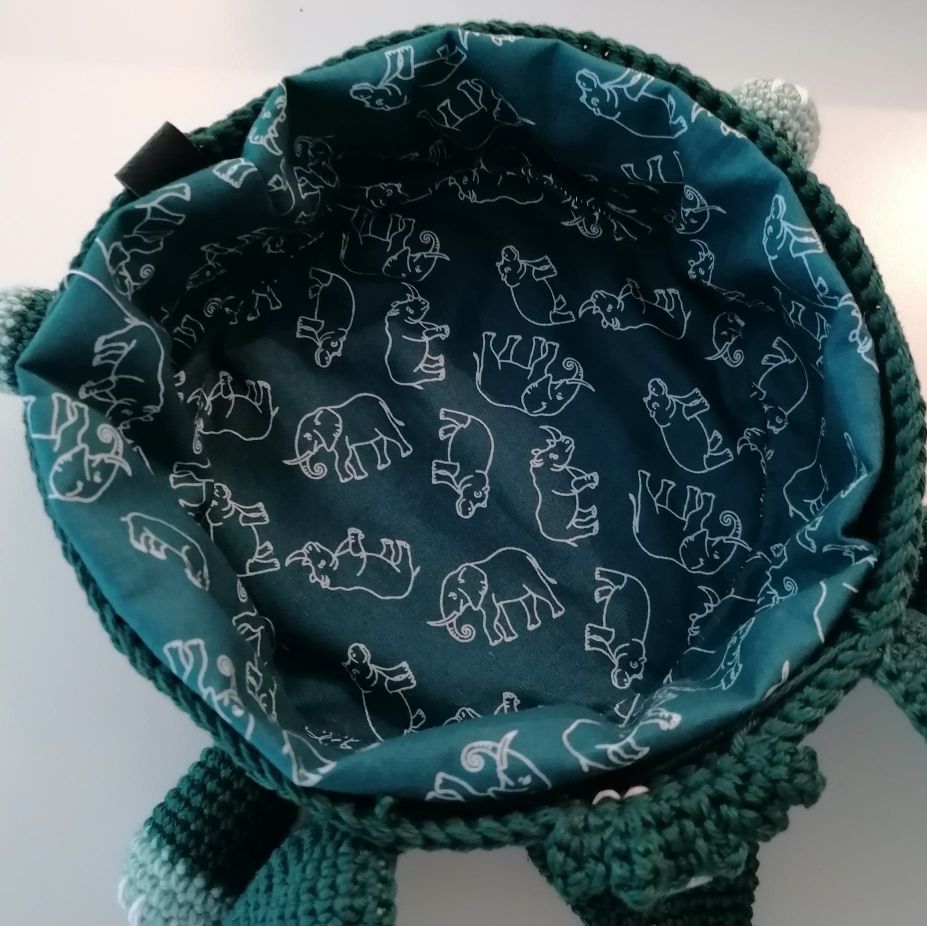 <
<Attach the lining by bending the edge over at the back so that it fits in the height of your basket. Sew it with small overcast stitches by hand.
 <
<Assembling the legs, trunk, eyes, cheeks and ears:
- I have chosen to attach the trunk between rows 8 and 9 (if you count from the bottom of your basket).
- Legs are placed at the bottom row of stitches with about 18 stitches in between on each side of the basket.
- The ears are attached at the top 3 rows with about 18 stitches in between.
- The eyes are placed just above the trunk. Insert the safety eyes through the basket.
- The cheeks are placed between rows 4 and 8 from the bottom.
- Your basket is now ready for use.
Design by: by_schomburg (Louise Schomburg Møller)
 Österreich
  Belgique
  Bosna i Hercegovina
  България
  Κύπρος
  Česká republika
  Danmark
  Eesti
Eesti  Føroyar
  Suomi
Suomi  France
  Deutschland
  Ελλάδα
  Kalaallit Nunaat
  Magyarország
  Ísland
  Ireland
  Italia
  Latvija
  Liechtenstein
  Lietuva
  Lëtzebuerg
  Malta
Malta  Isle of Man
  Nederland
  Norge
Norge  Polska
  Portugal
  România
  Slovensko
  Slovenija
  España
  Sverige
  Schweiz
  Ukraїna
  United Kingdom