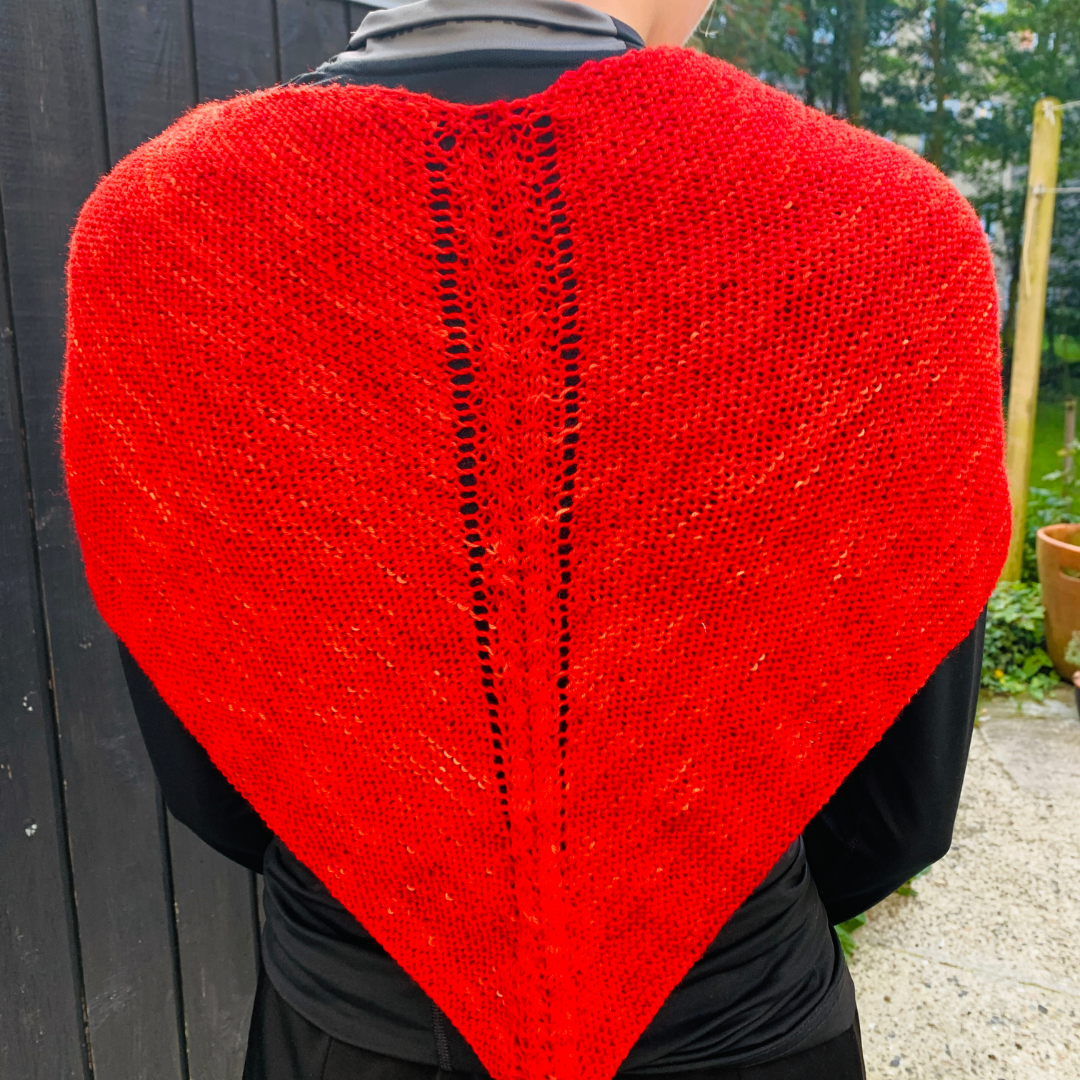
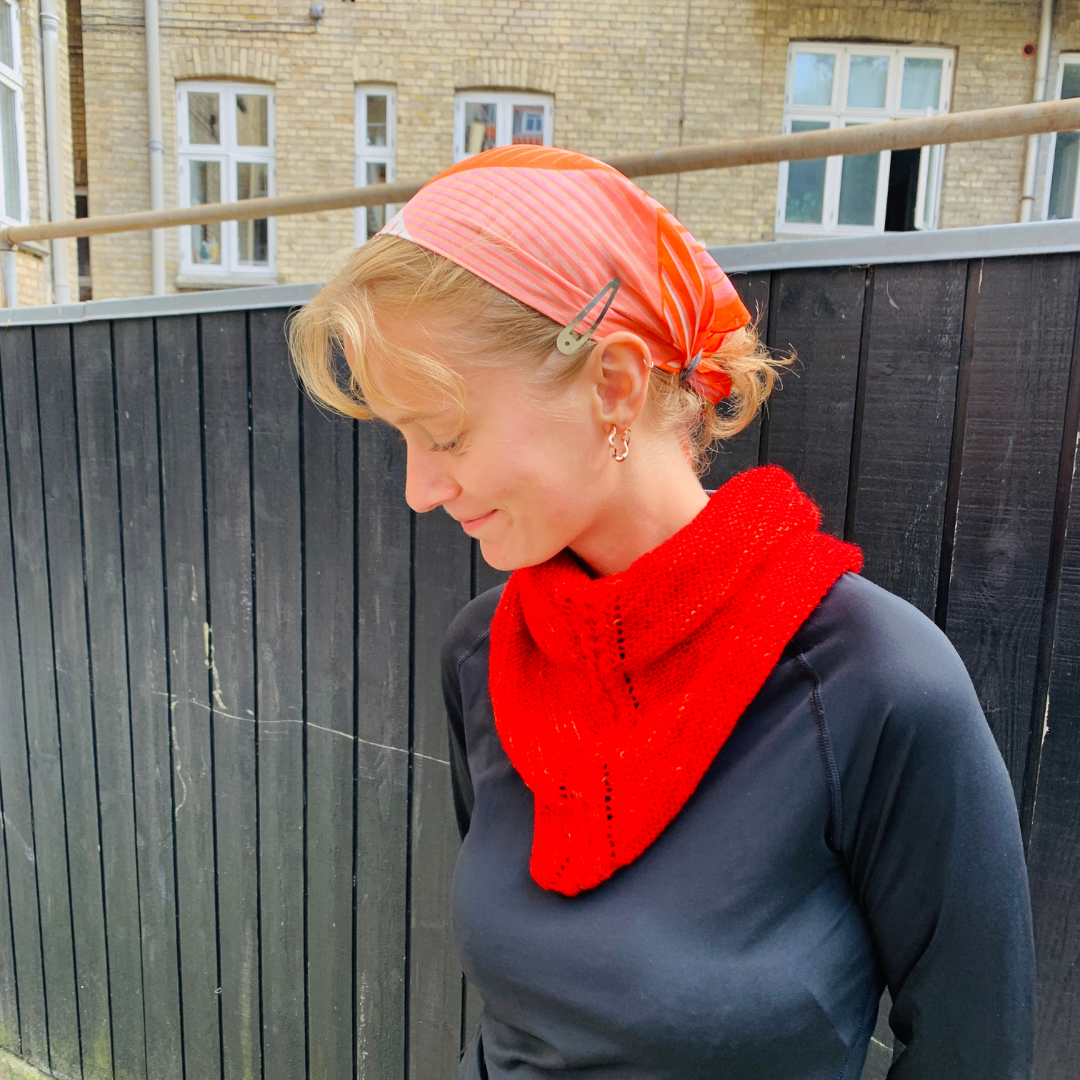
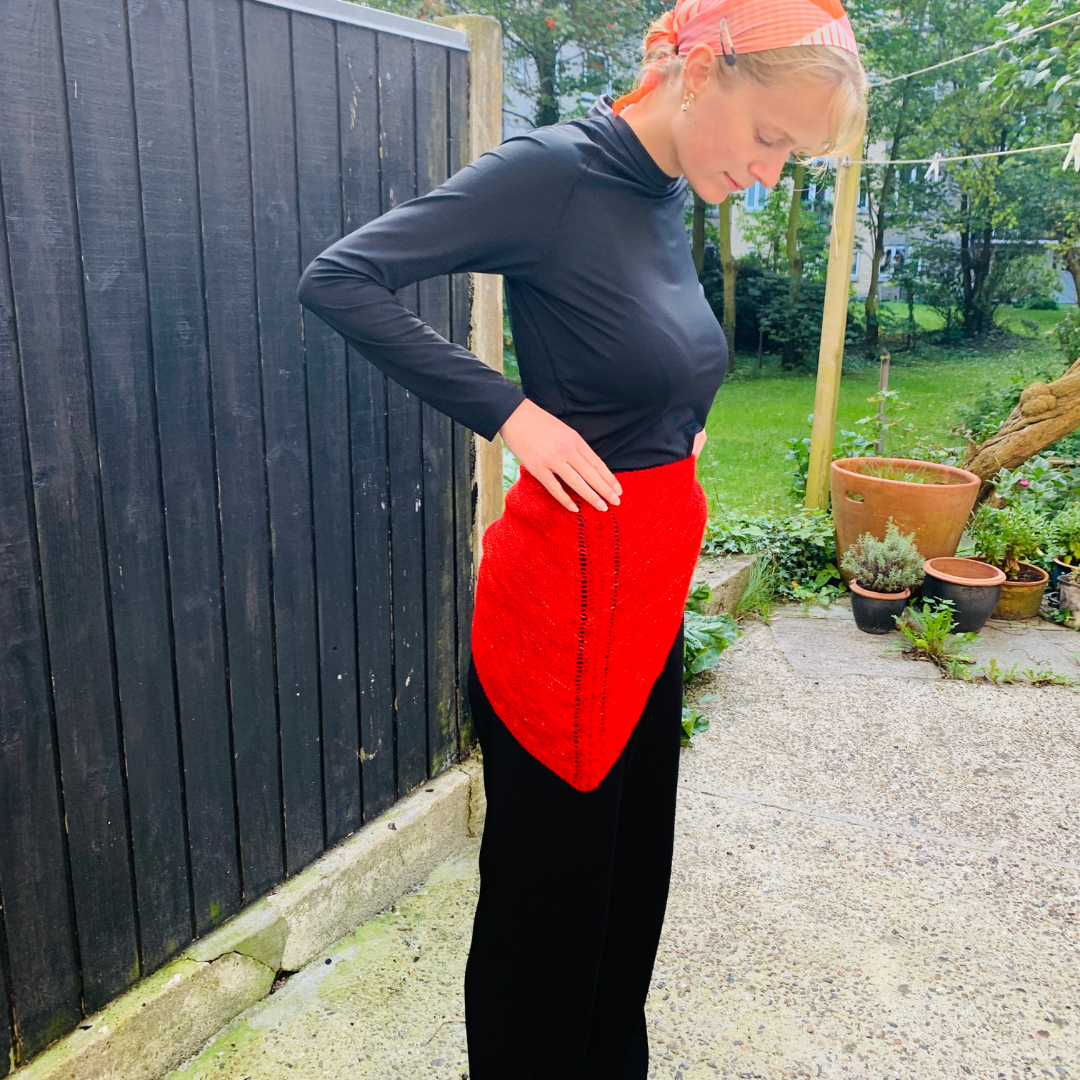
Knitted V-Neck Shawl
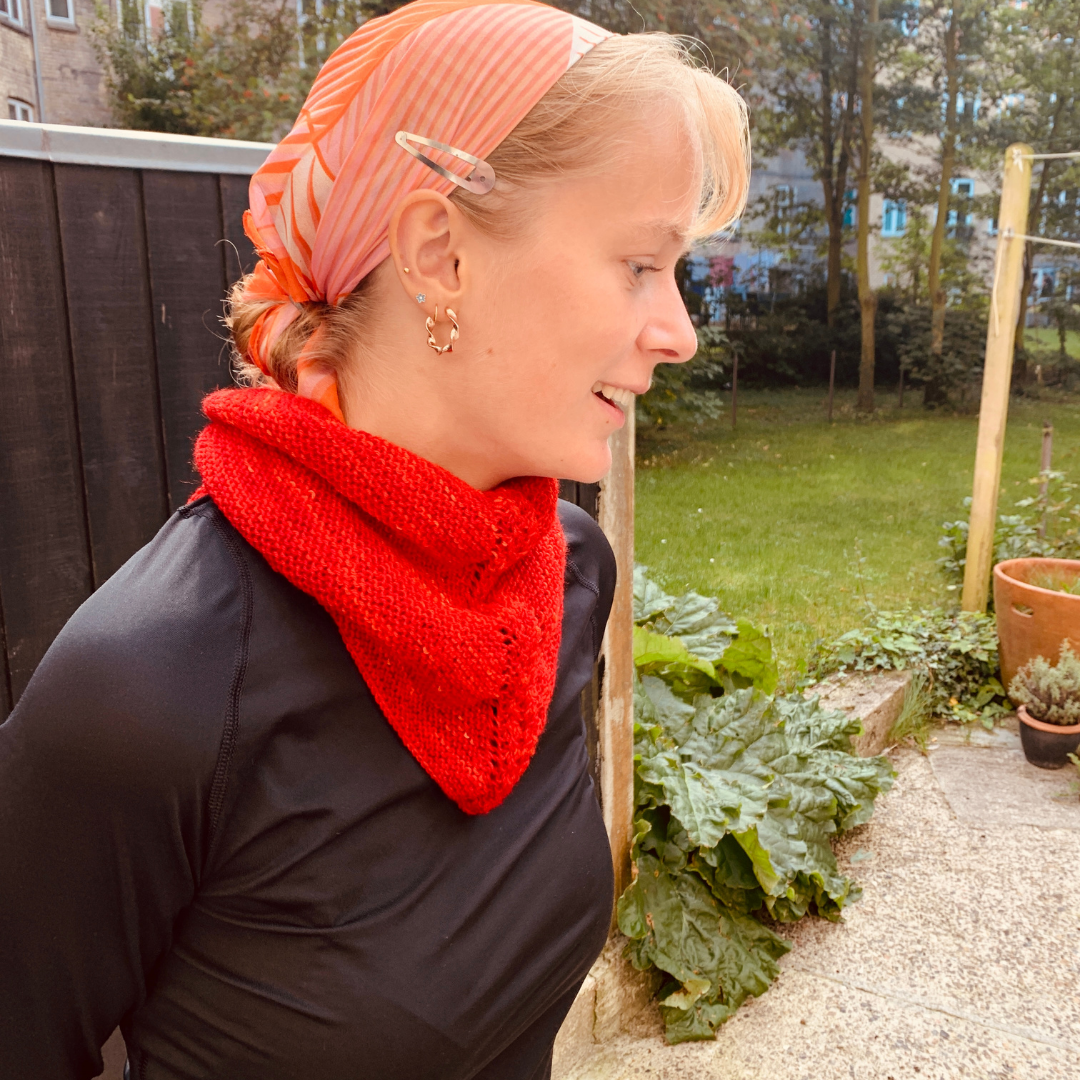
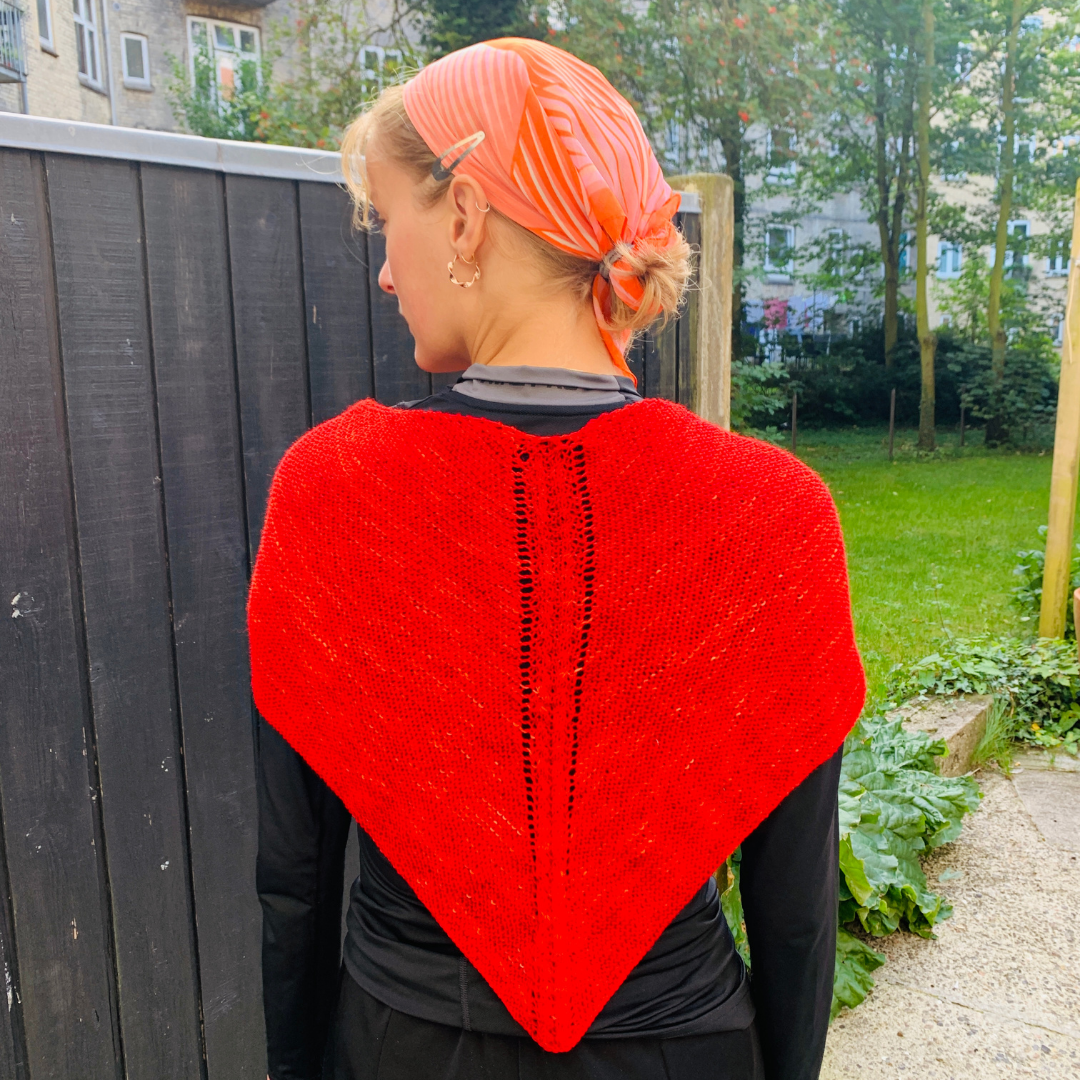
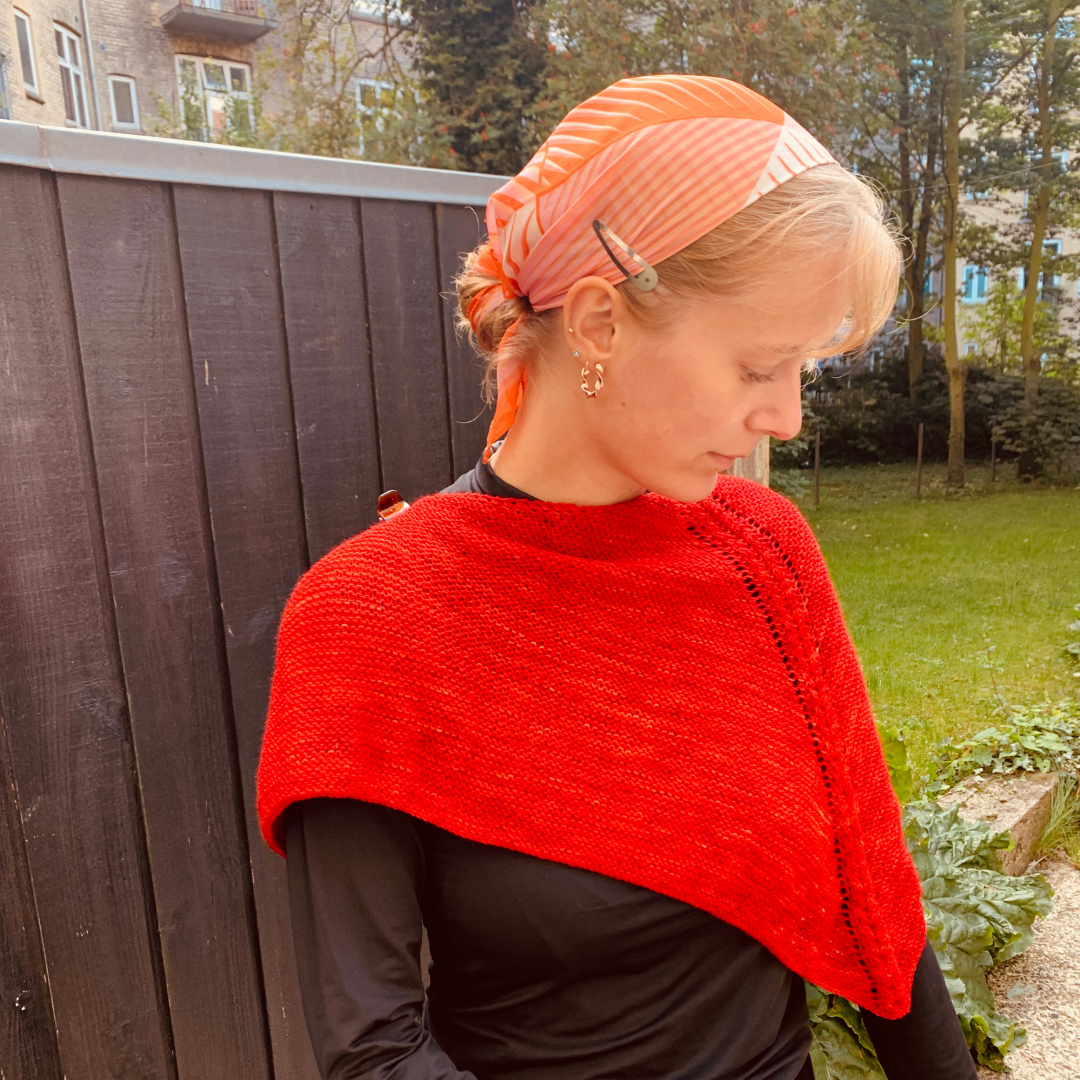
A lovely mini-shawl that can be styled in many ways, here knitted in home-coloured Sundsvall with different nunces in the colour gradient. The shawl has open increases that follow the angles of the shawl and fine little cables without auxiliary needles in the middle. It's super easy to knit, so here you can see how simple effects can create a big impact.
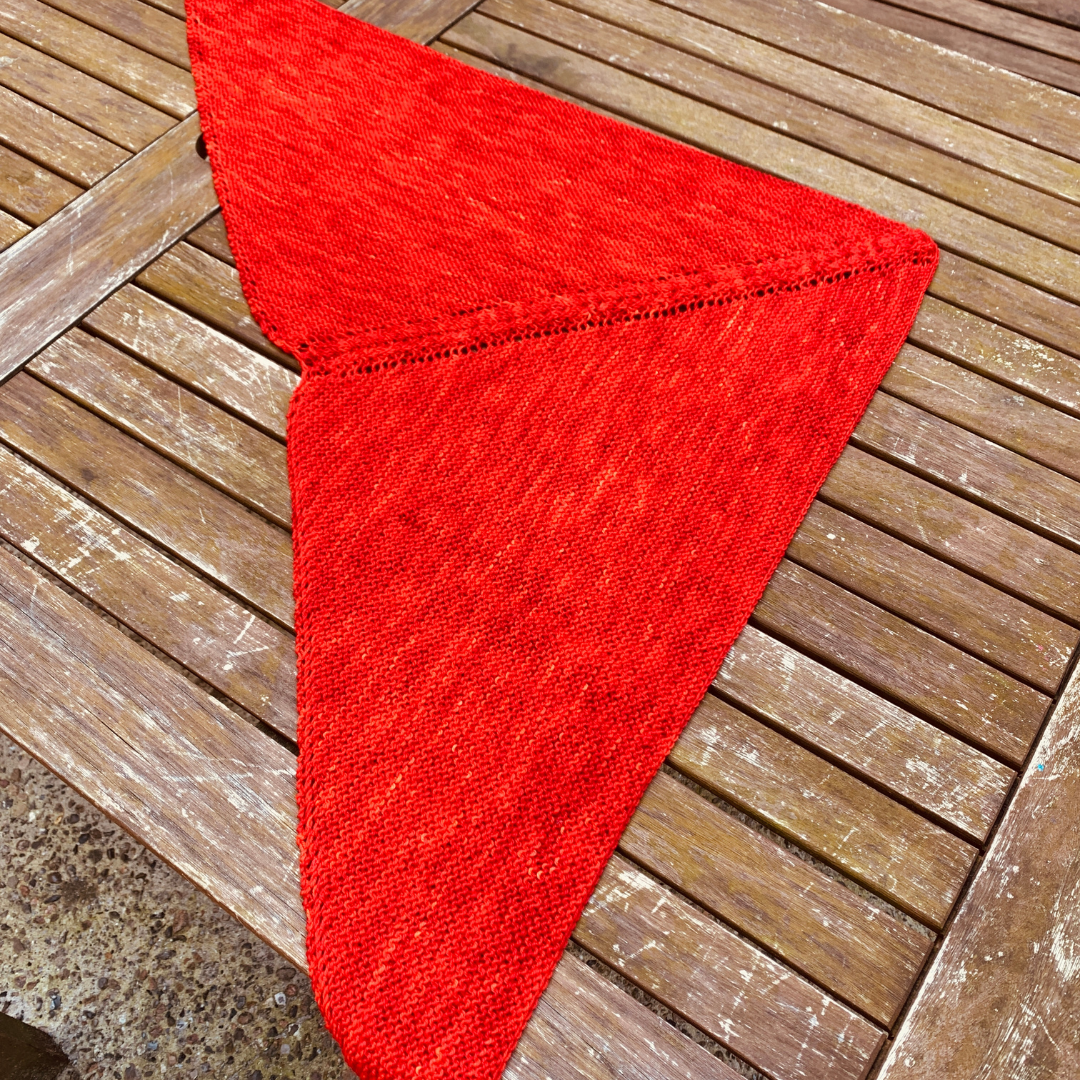
Measurements
Size: one size
Measurements: depth = 45 cm and length = 100 cm.
Materials
1 ball of Nordic Sky Sundsvall.
1 bottle of Batik dye of your choice.
Find a guide to yarn dyeing here.
Tools
Circular needles 60 cm and double pointed needles size 4.00 mm
You will also need two stitch markers, a needle and scissors for end fastenings.
Knitting tension
Knitting tension: 21 stitches x 23 rows = 10x10 cm. NOTE - the model is designed to fit with a skein Sundsvall, so it is important to adhere to the knitting tension. If you want a larger shawl, you can easily lengthen it with more yarn.
Techniques and explanation
- Yor - Yarn over Right: Pass the needle you are knitting with under the thread and continue knitting. Yarn round needle = a new stitch. When you look at the project, you can see that it is facing right.
- Yol - Yarn over Left: Pass the needle you are knitting with over the thread and continue knitting. Yarn round needle = a new stitch. When you look at the project, you can see that it is facing left.
Turn 4 times on every other row = right side, except for the first 6 rows where you turn on every row to establish stitches for cables.
Now for explanations of faux cables, i.e. cables without an auxiliary needle. They are easy to make, so no stress over explanations :-)
- CR - Cable Right: The next two stitches are worked like this: Skip the first stitch. Knit the next stitch, but do not lift it off the needle. Knit first stitch right. Lift both stitches off the needle at the same time.
- CL - Cable Left: The next two stitches are worked like this: Skip the first stitch. Place the needle behind the piece and knit the next stitch from behind (turned right), but do not lift it off the needle. Knit the first stitch right. Lift both stitches off the needle at the same time.
NOTE: You can easily make only one kind of cables through the piece.
Instructions
Cast on 7 stitches
Row 1: knit
Row 2 (right side): knit 2, yor, knit 1, yol, knit 1, yor, knit 1, yol, knit 2
Row 3: Knit 2, yor, Knit 2, yol, Knit 3, yor, Knit 2, yol, Knit 2
Row 4 (right side): Knit 2, yor, Knit 3, yol, Knit 5, yor, Knit 3, yol, Knit 2
Row 5: Knit 2, yor, Knit 4, yol, Knit 7, yor, Knit 4, yol, Knit 2
On the next row, right side, establish cable pattern:
Row 6: Knit 2, yor, Knit 5, yol, put in stitch marker, Knit 1, cl, Knit 1, cr, Knit 1, put in stitch marker, yor, Knit 5, yol, Knit 2
Row 7: knit to stitch marker, knit 1, purl 2, knit 1, 2 purl, knit 1
Row 8 (right side): knit 2, yor, knit right until stitch marker, yol, move marker, knit 7, move marker, yor, knit until last 2 stitches, yol, knit 2
Row 9: Knit to marker, move marker, knit 1, 2 purl, knit 1, 2 purl, knit 1, move marker, knit until end of row
Row 10 (right side): knit 2, yor, knit to marker, yol, move marker, knit 1, cl, knit 1, cr, knit 1, move marker, yor, knit for the last 2 stitches, yol, knit 2
Row 11: Knit to marker, move marker, knit 1, 2 purl, knit 1, 2 purl, knit 1, move marker, knit until end of row
Repeat rows 8 to 11
knit until the row of cables measures almost 45 cm and loosely cast off from the right side
Finishing tip: If necessary increase the size of the needle, here to 4.5, so that it is easier to get a neat and even finish.
Fasten the ends and enjoy your fine work.
Have fun knitting.
Design: Hanne Justesen
 Österreich
  Belgique
  Bosna i Hercegovina
  България
  Κύπρος
  Česká republika
  Danmark
  Eesti
Eesti  Føroyar
  Suomi
Suomi  France
  Deutschland
  Ελλάδα
  Kalaallit Nunaat
  Magyarország
  Ísland
  Ireland
  Italia
  Latvija
  Liechtenstein
  Lietuva
  Lëtzebuerg
  Malta
Malta  Isle of Man
  Nederland
  Norge
Norge  Polska
  Portugal
  România
  Slovensko
  Slovenija
  España
  Sverige
  Schweiz
  Ukraїna
  United Kingdom