Easy guide to DIY Easter bunnies
.jpg)
.jpg)
.jpg)
You can easily make these amazing Easter bunnies in paper cuttings. The guide below links you to everything you need, as well as a comprehensive guide on how to make the cute Easter decoration. The Easter bunnies can be made by children and adults and do not require very many tools. Grab your scissors and let your creativity flow with these paper cuttings.
You need:.jpg)
 Design Paper 20 Ass. Designs Blue/Green/Pink
Design Paper 20 Ass. Designs Pastel colors
Colortime Fineline markers - 24 pcs
You can click on the above links, which will open the products in new windows. Here you can add the products to the basket and then close the window. Then you can update the page by pressing "F5" and you will be able to see the products in the shopping cart.
If you have any questions or problems with this, please call us at +44 8455 282999.
Procedure:
Start by folding a piece of cardboard and drawing half of a hare on the middle that is folded. Cut out the template.
.jpg)
.jpg)
.jpg)
.jpg)
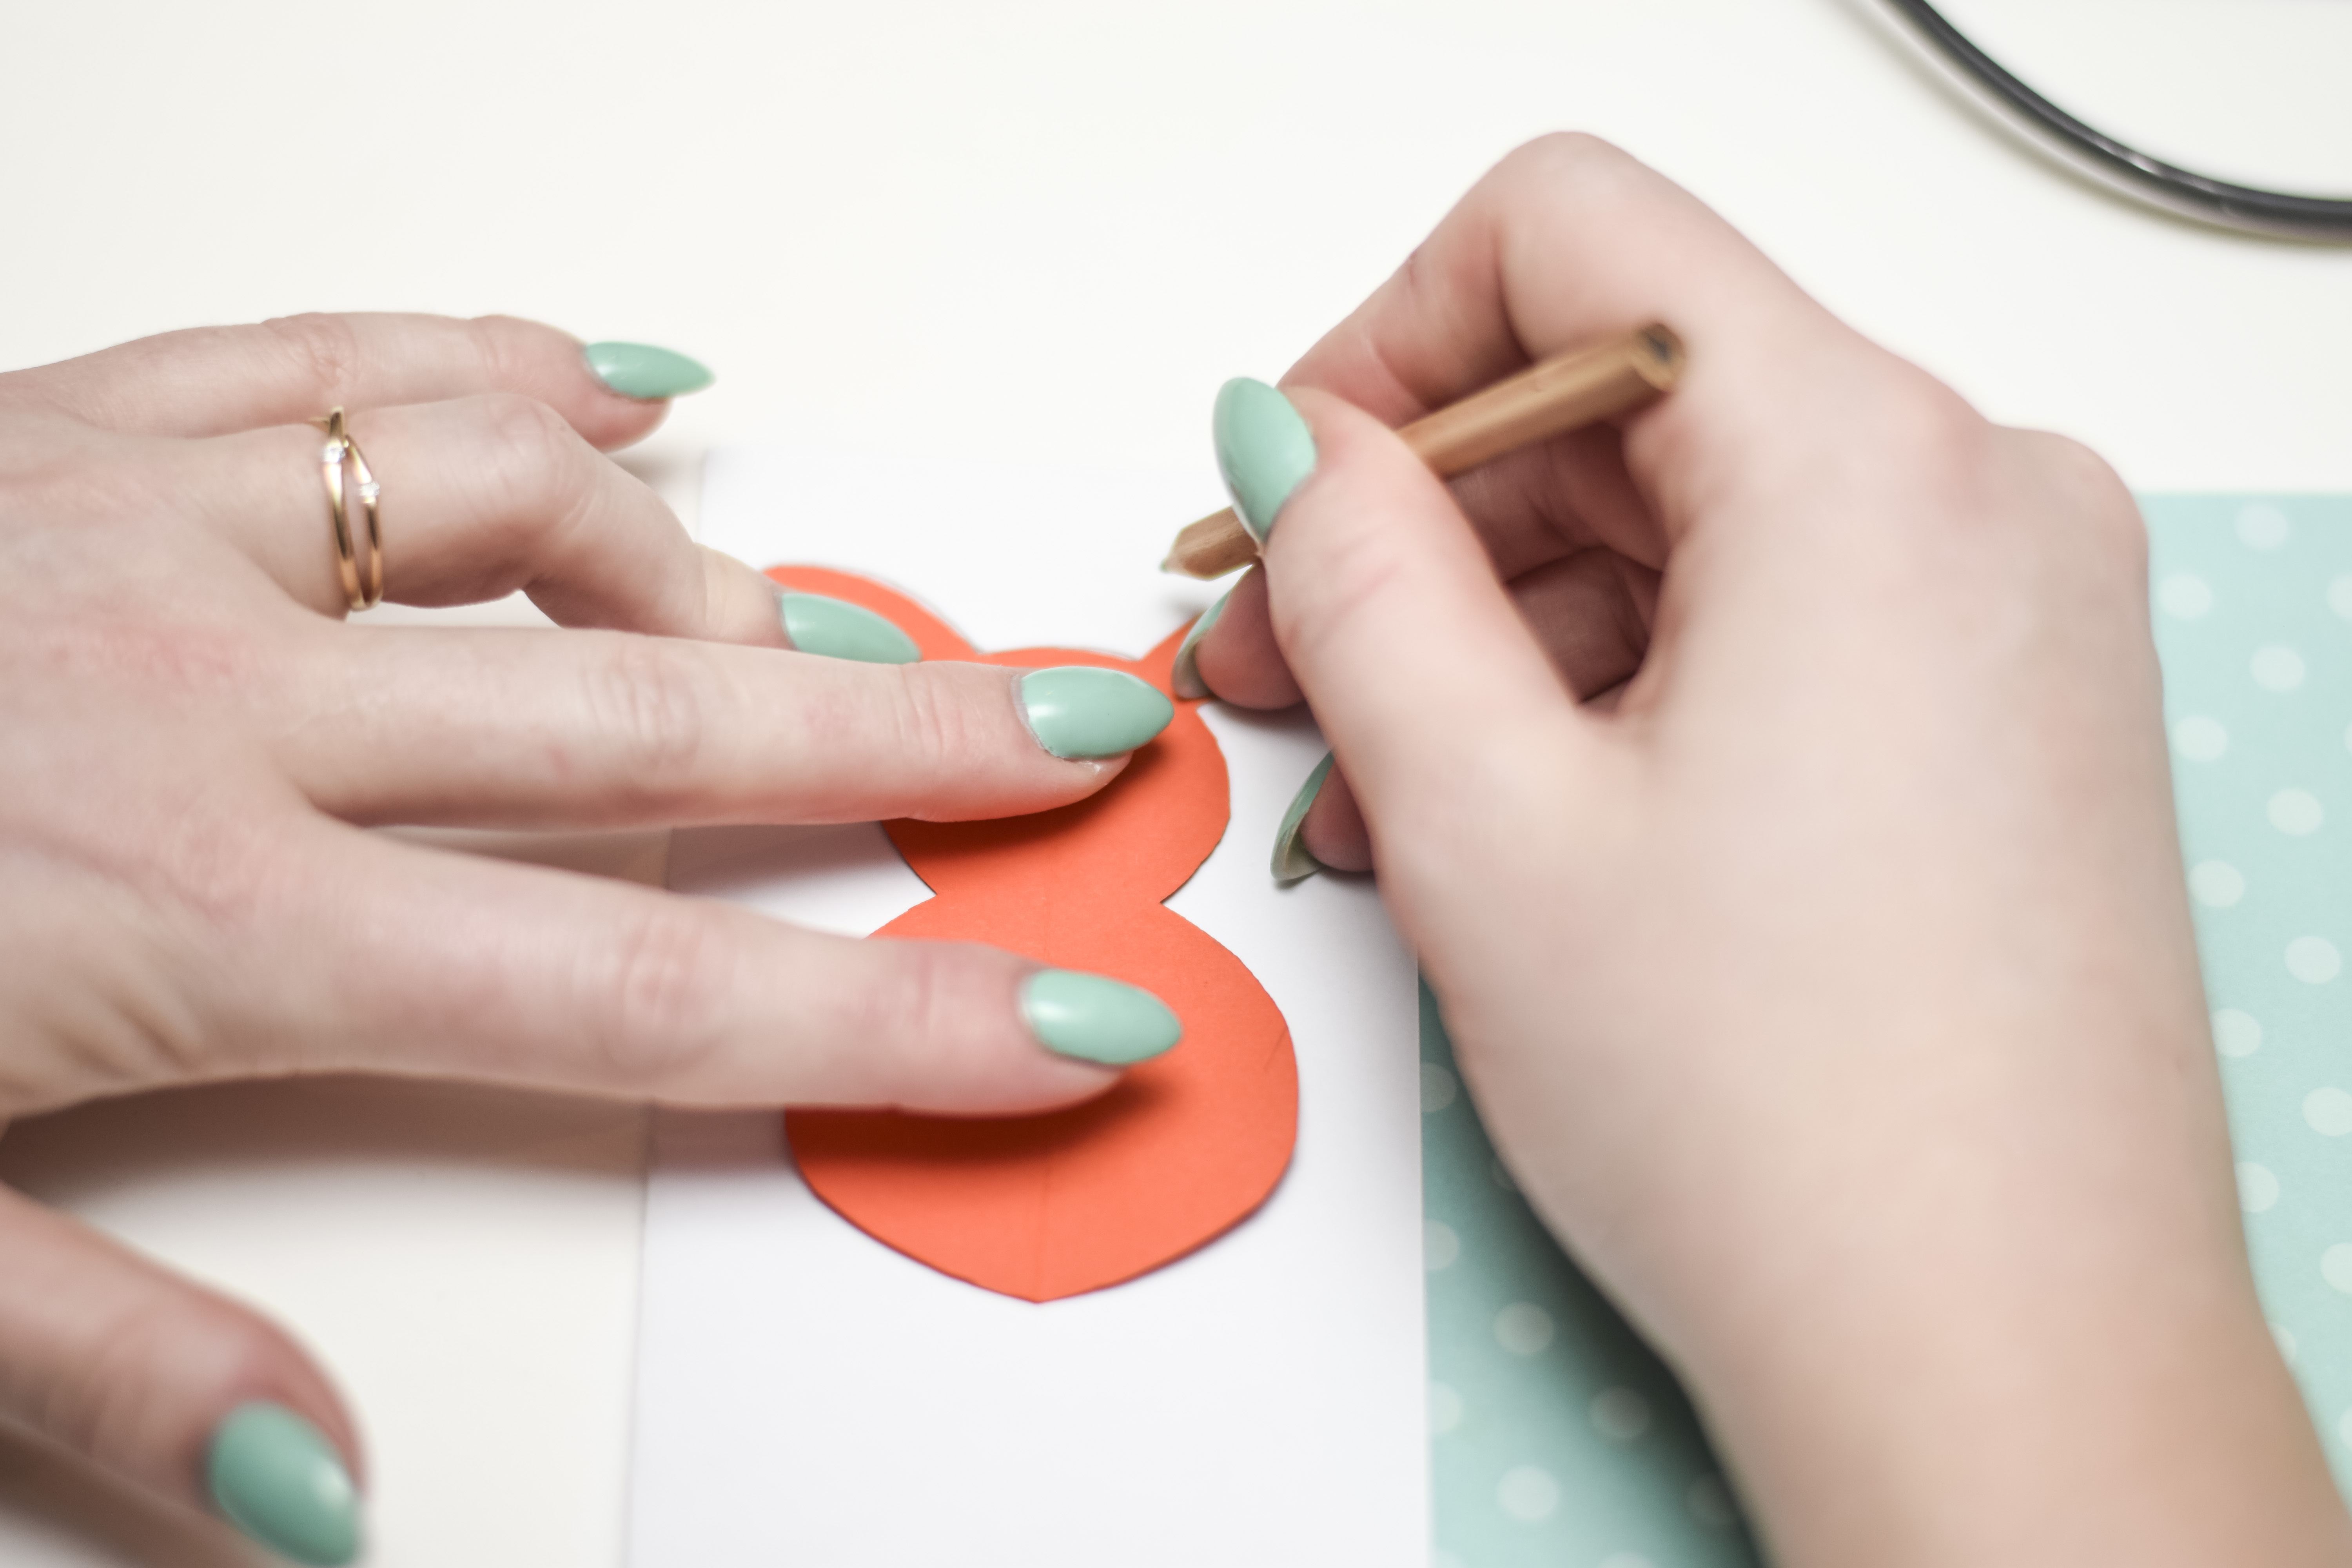
Fold a piece of the design paper (so you get 2 Easter bunnies) and draw the Easter bunny template on the back of it.
.jpg)
.jpg)
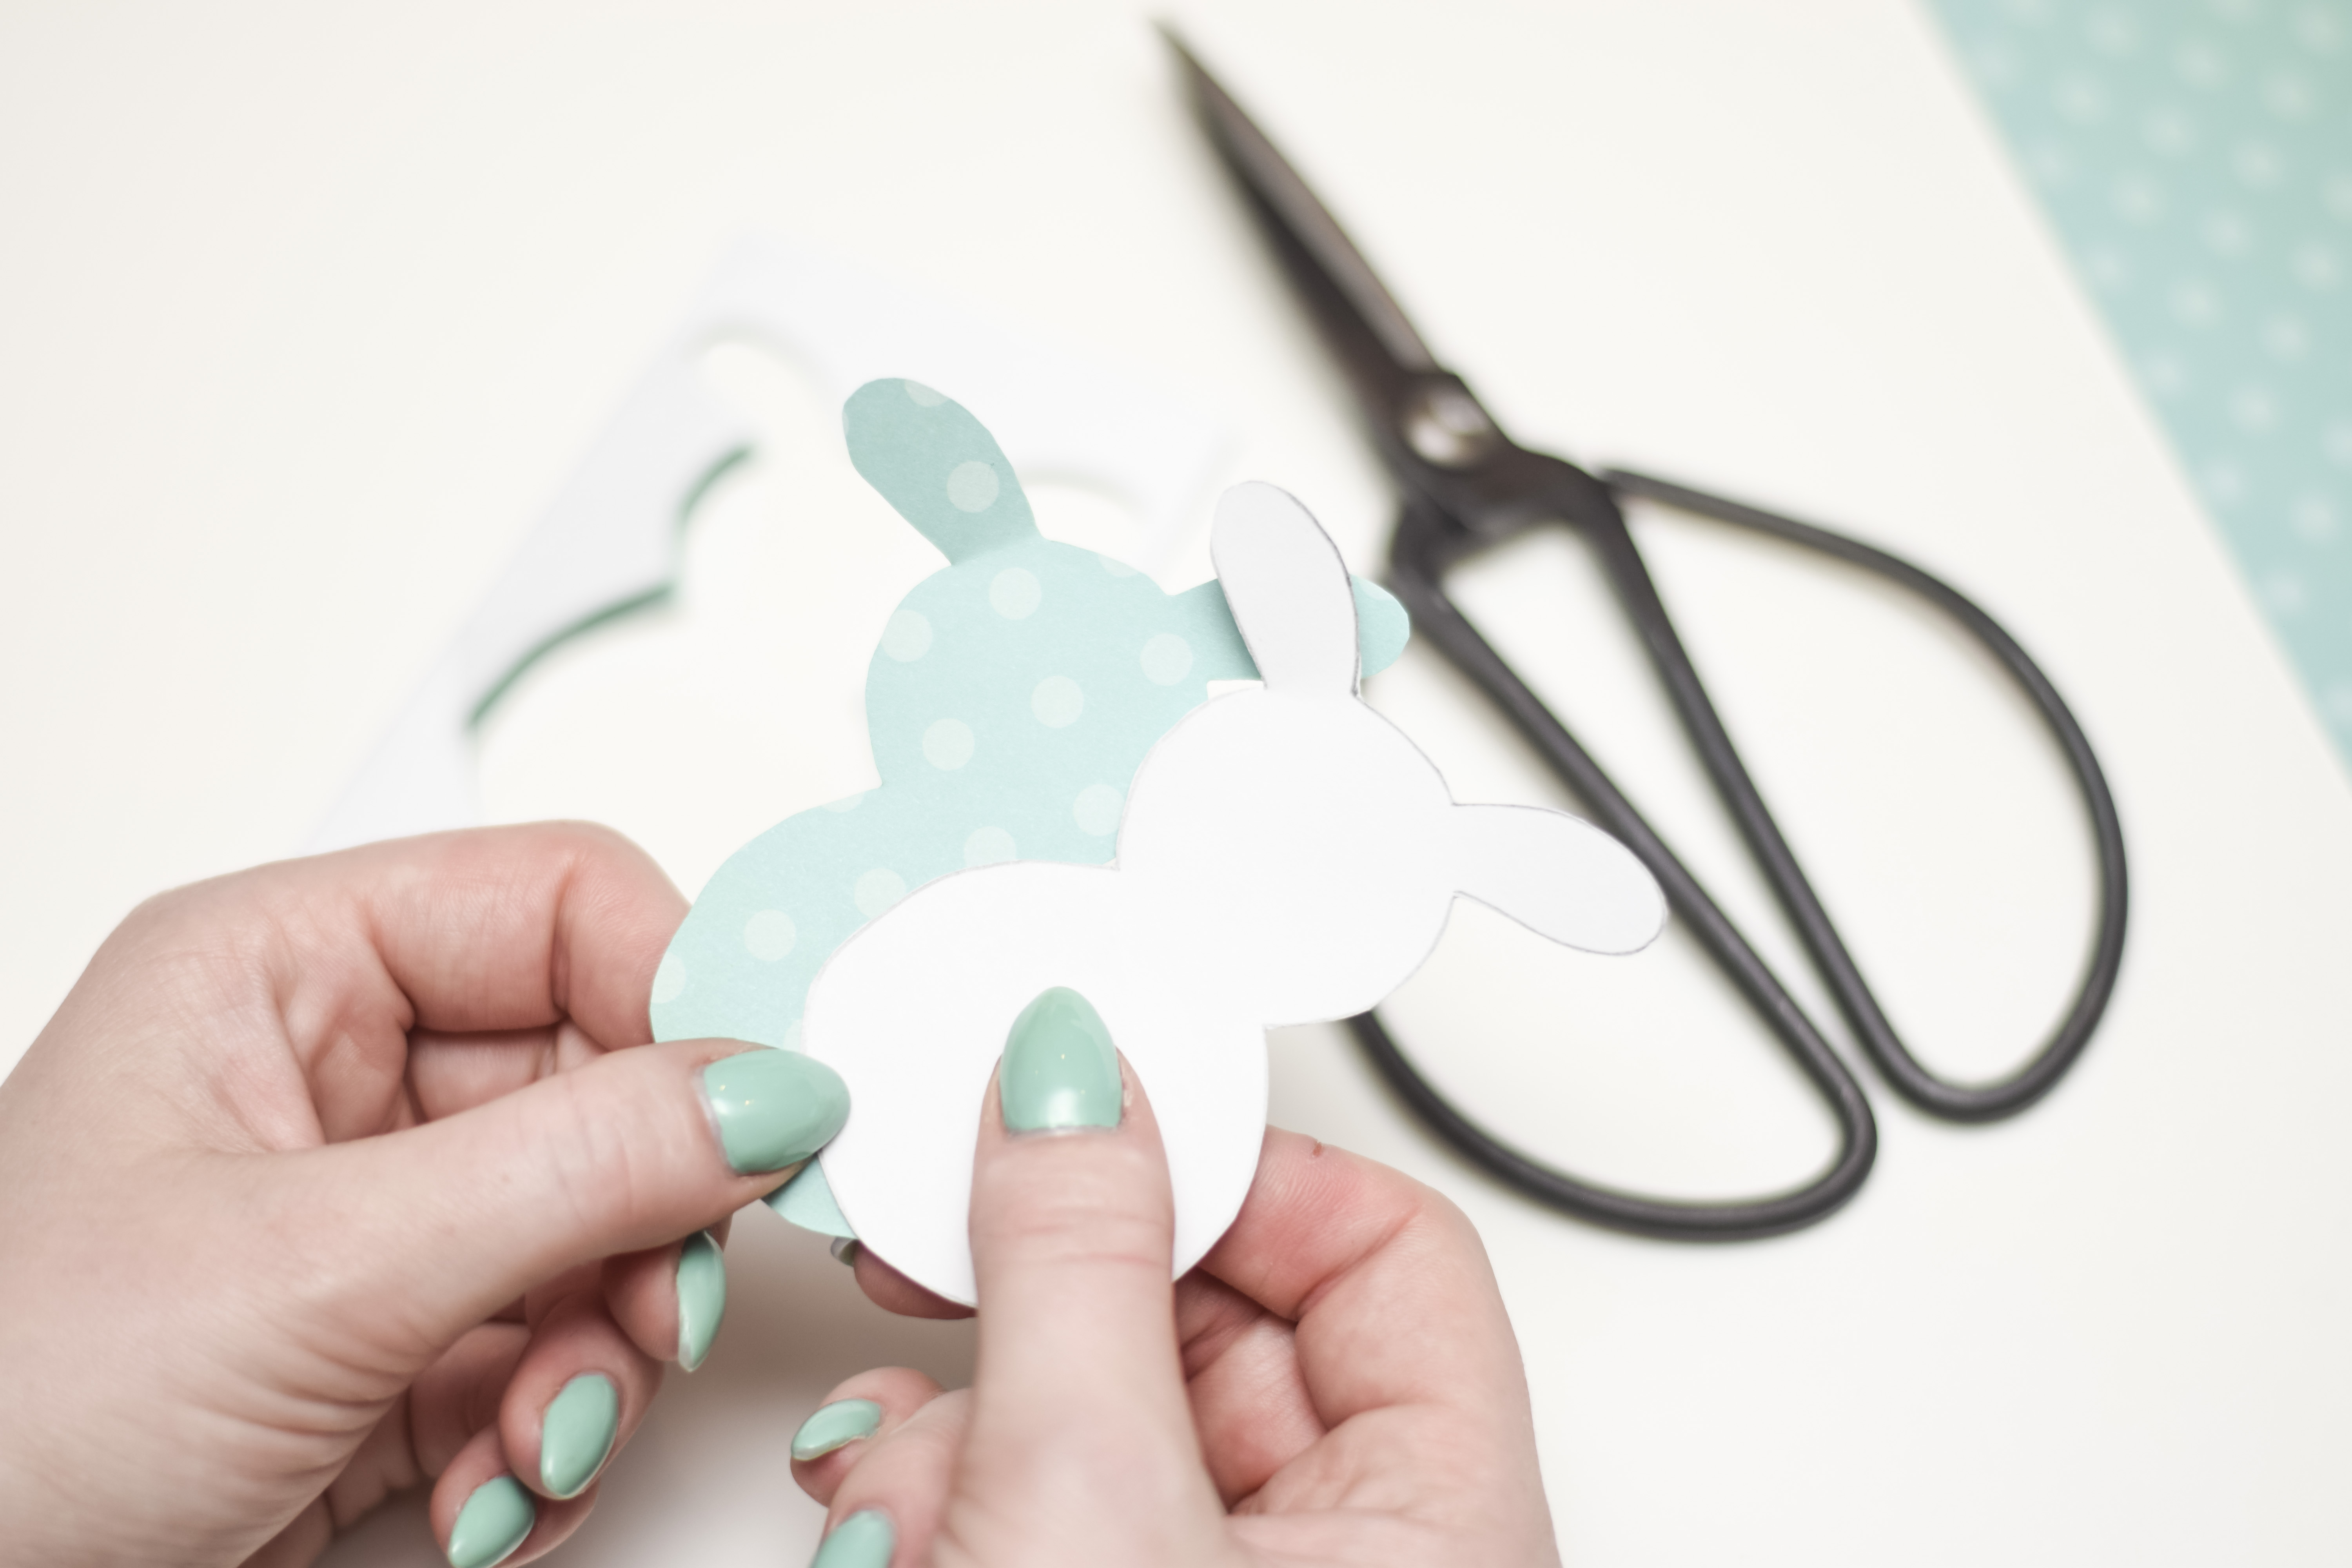
Cut out the Easter bunny according to what you have drawn, so you have 2 pieces. These are then glued together.
.jpg)
.jpg)
.jpg)
Glue the 2 Easter bunnies in the coloured paper together.
.jpg)
.jpg)
.jpg)
Glue the googly eyes on with a regular glue stick (it is important not to use the glue gun here as it does not work with the googly eyes and design paper).
.jpg)
.jpg)
Draw a small nose with the coloured markers.
.jpg)
.jpg)
Use the glue gun to glue the felt ball onto the tail of the Easter bunny.
.jpg)
.jpg)
Finally, use needle and sewing thread to sew a small loop at the top of the Easter bunny so you can hang them up.
Here you have your easy DIY Easter bunnies.
.jpg)
.jpg)
Use #ritokrea when you share the pictures of the finished project on social media so that we can see the result :-)
Design: KreaLoui (Louise Grimm Hansen)
 Österreich
  Belgique
  Bosna i Hercegovina
  България
  Κύπρος
  Česká republika
  Danmark
  Eesti
Eesti  Føroyar
  Suomi
Suomi  France
  Deutschland
  Ελλάδα
  Kalaallit Nunaat
  Magyarország
  Ísland
  Ireland
  Italia
  Latvija
  Liechtenstein
  Lietuva
  Lëtzebuerg
  Malta
Malta  Isle of Man
  Nederland
  Norge
Norge  Polska
  Portugal
  România
  Slovensko
  Slovenija
  España
  Sverige
  Schweiz
  Ukraїna
  United Kingdom