Painting on stone – Summer leaves
Welcome to my little introduction to the marvellous hobby of painting on rocks with Posca Markers.
Once you get started, you’ll only stop once the ink has run out and you have no more stones. You’ve been warned!
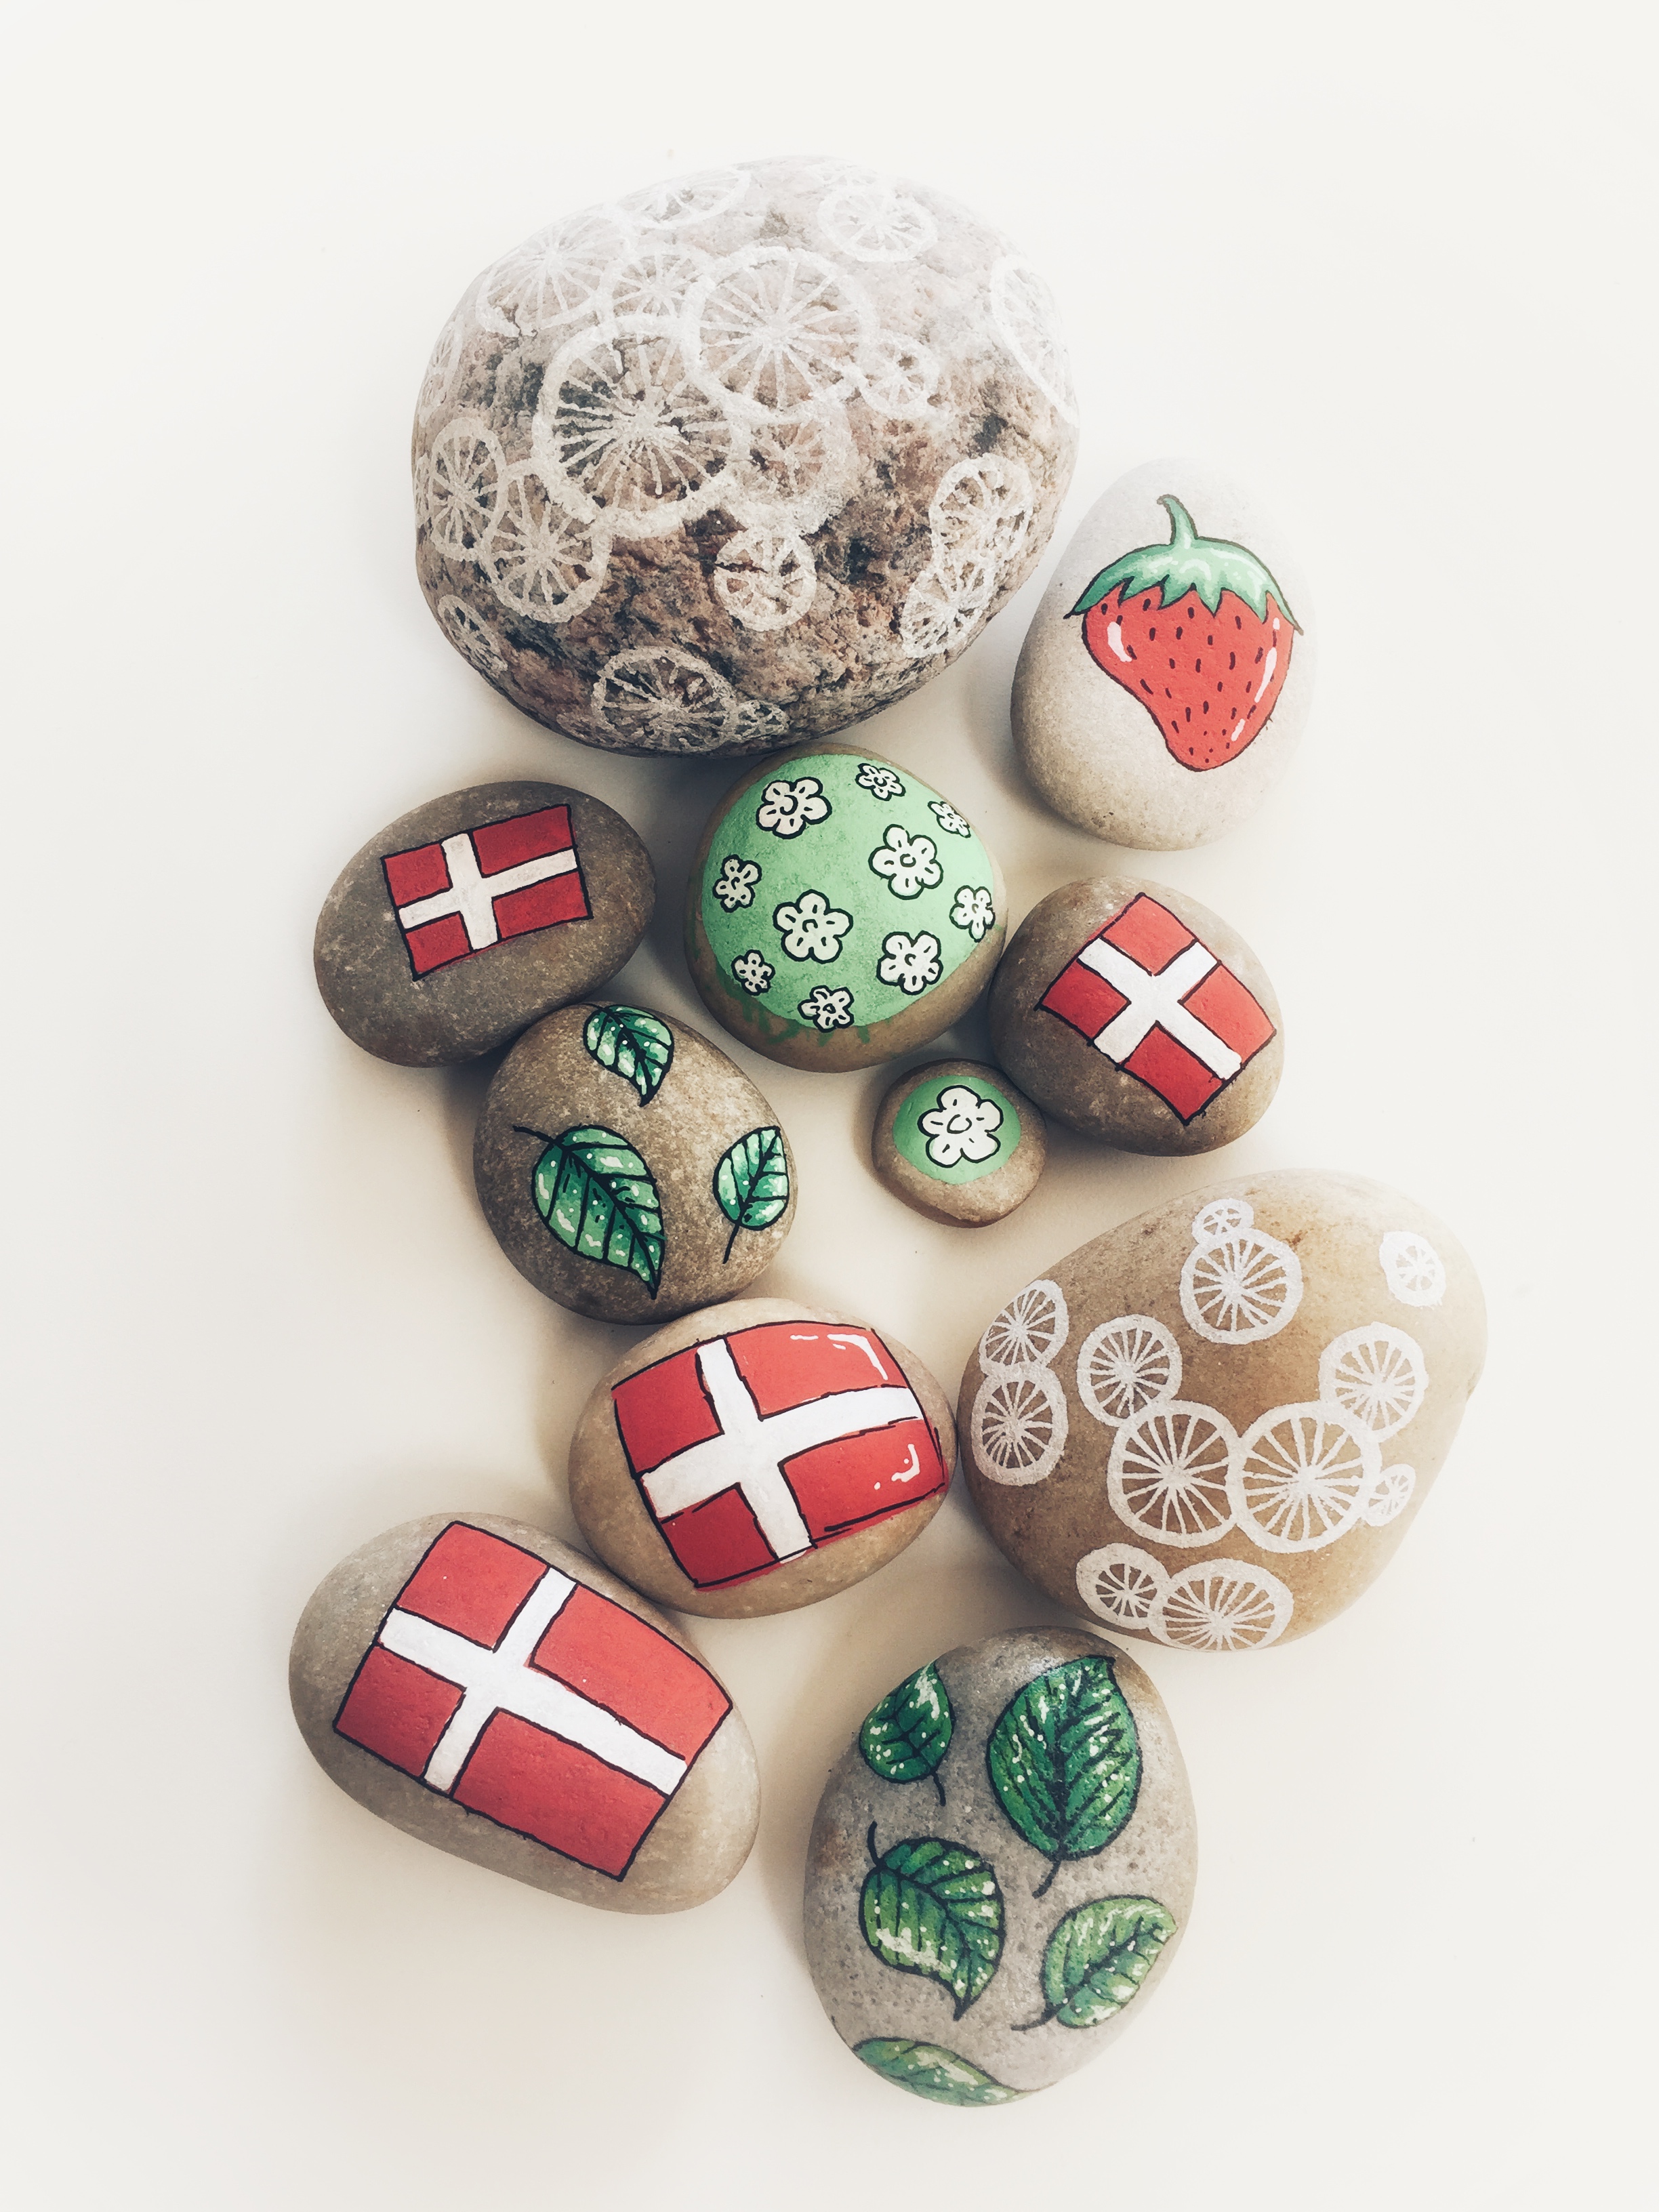
In this step-by-step guide, you will see how using Posca markers can transform ordinary stones into beautiful decorations. Small leaves that pop up here and there, even on stones. A simple but highly decorative addition to either the graduation party, wedding or as a decoration in a garden pot. The colours can be swapped with blue, red, purple etc but it is important to have a light and dark colour.
Material:
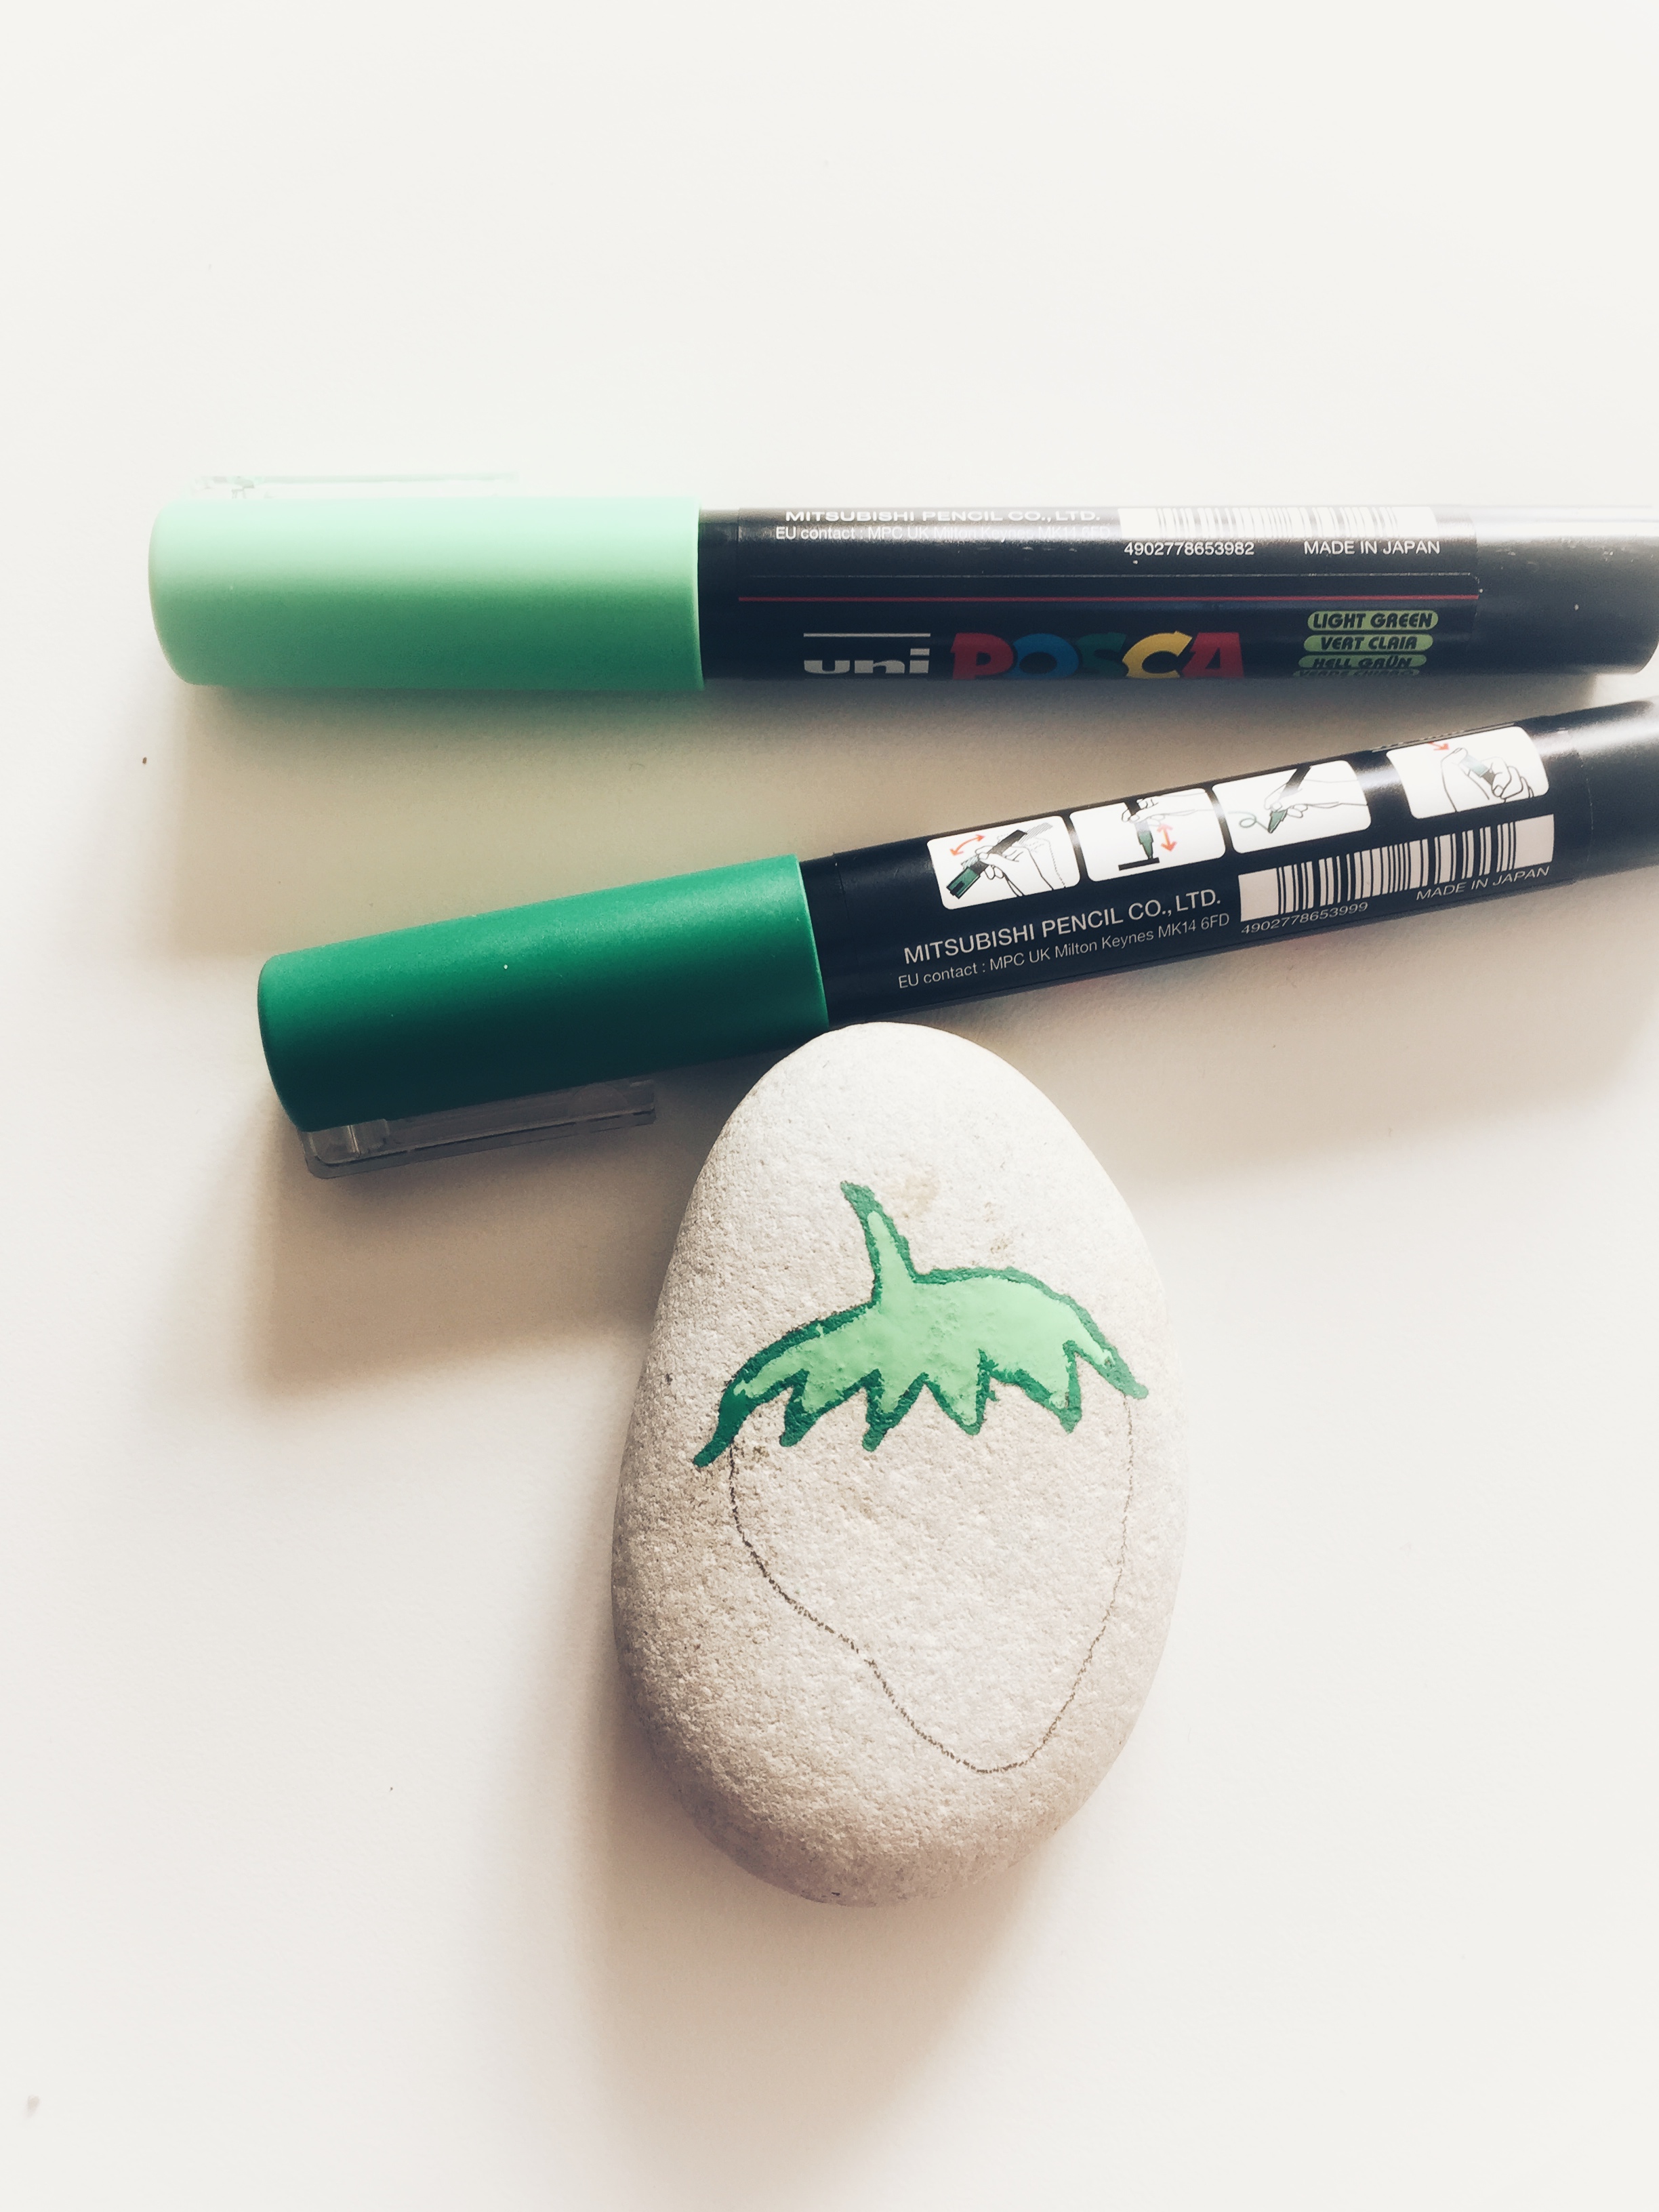
Posca markers in 4 colours. Here we’re using light green, green, white og black.

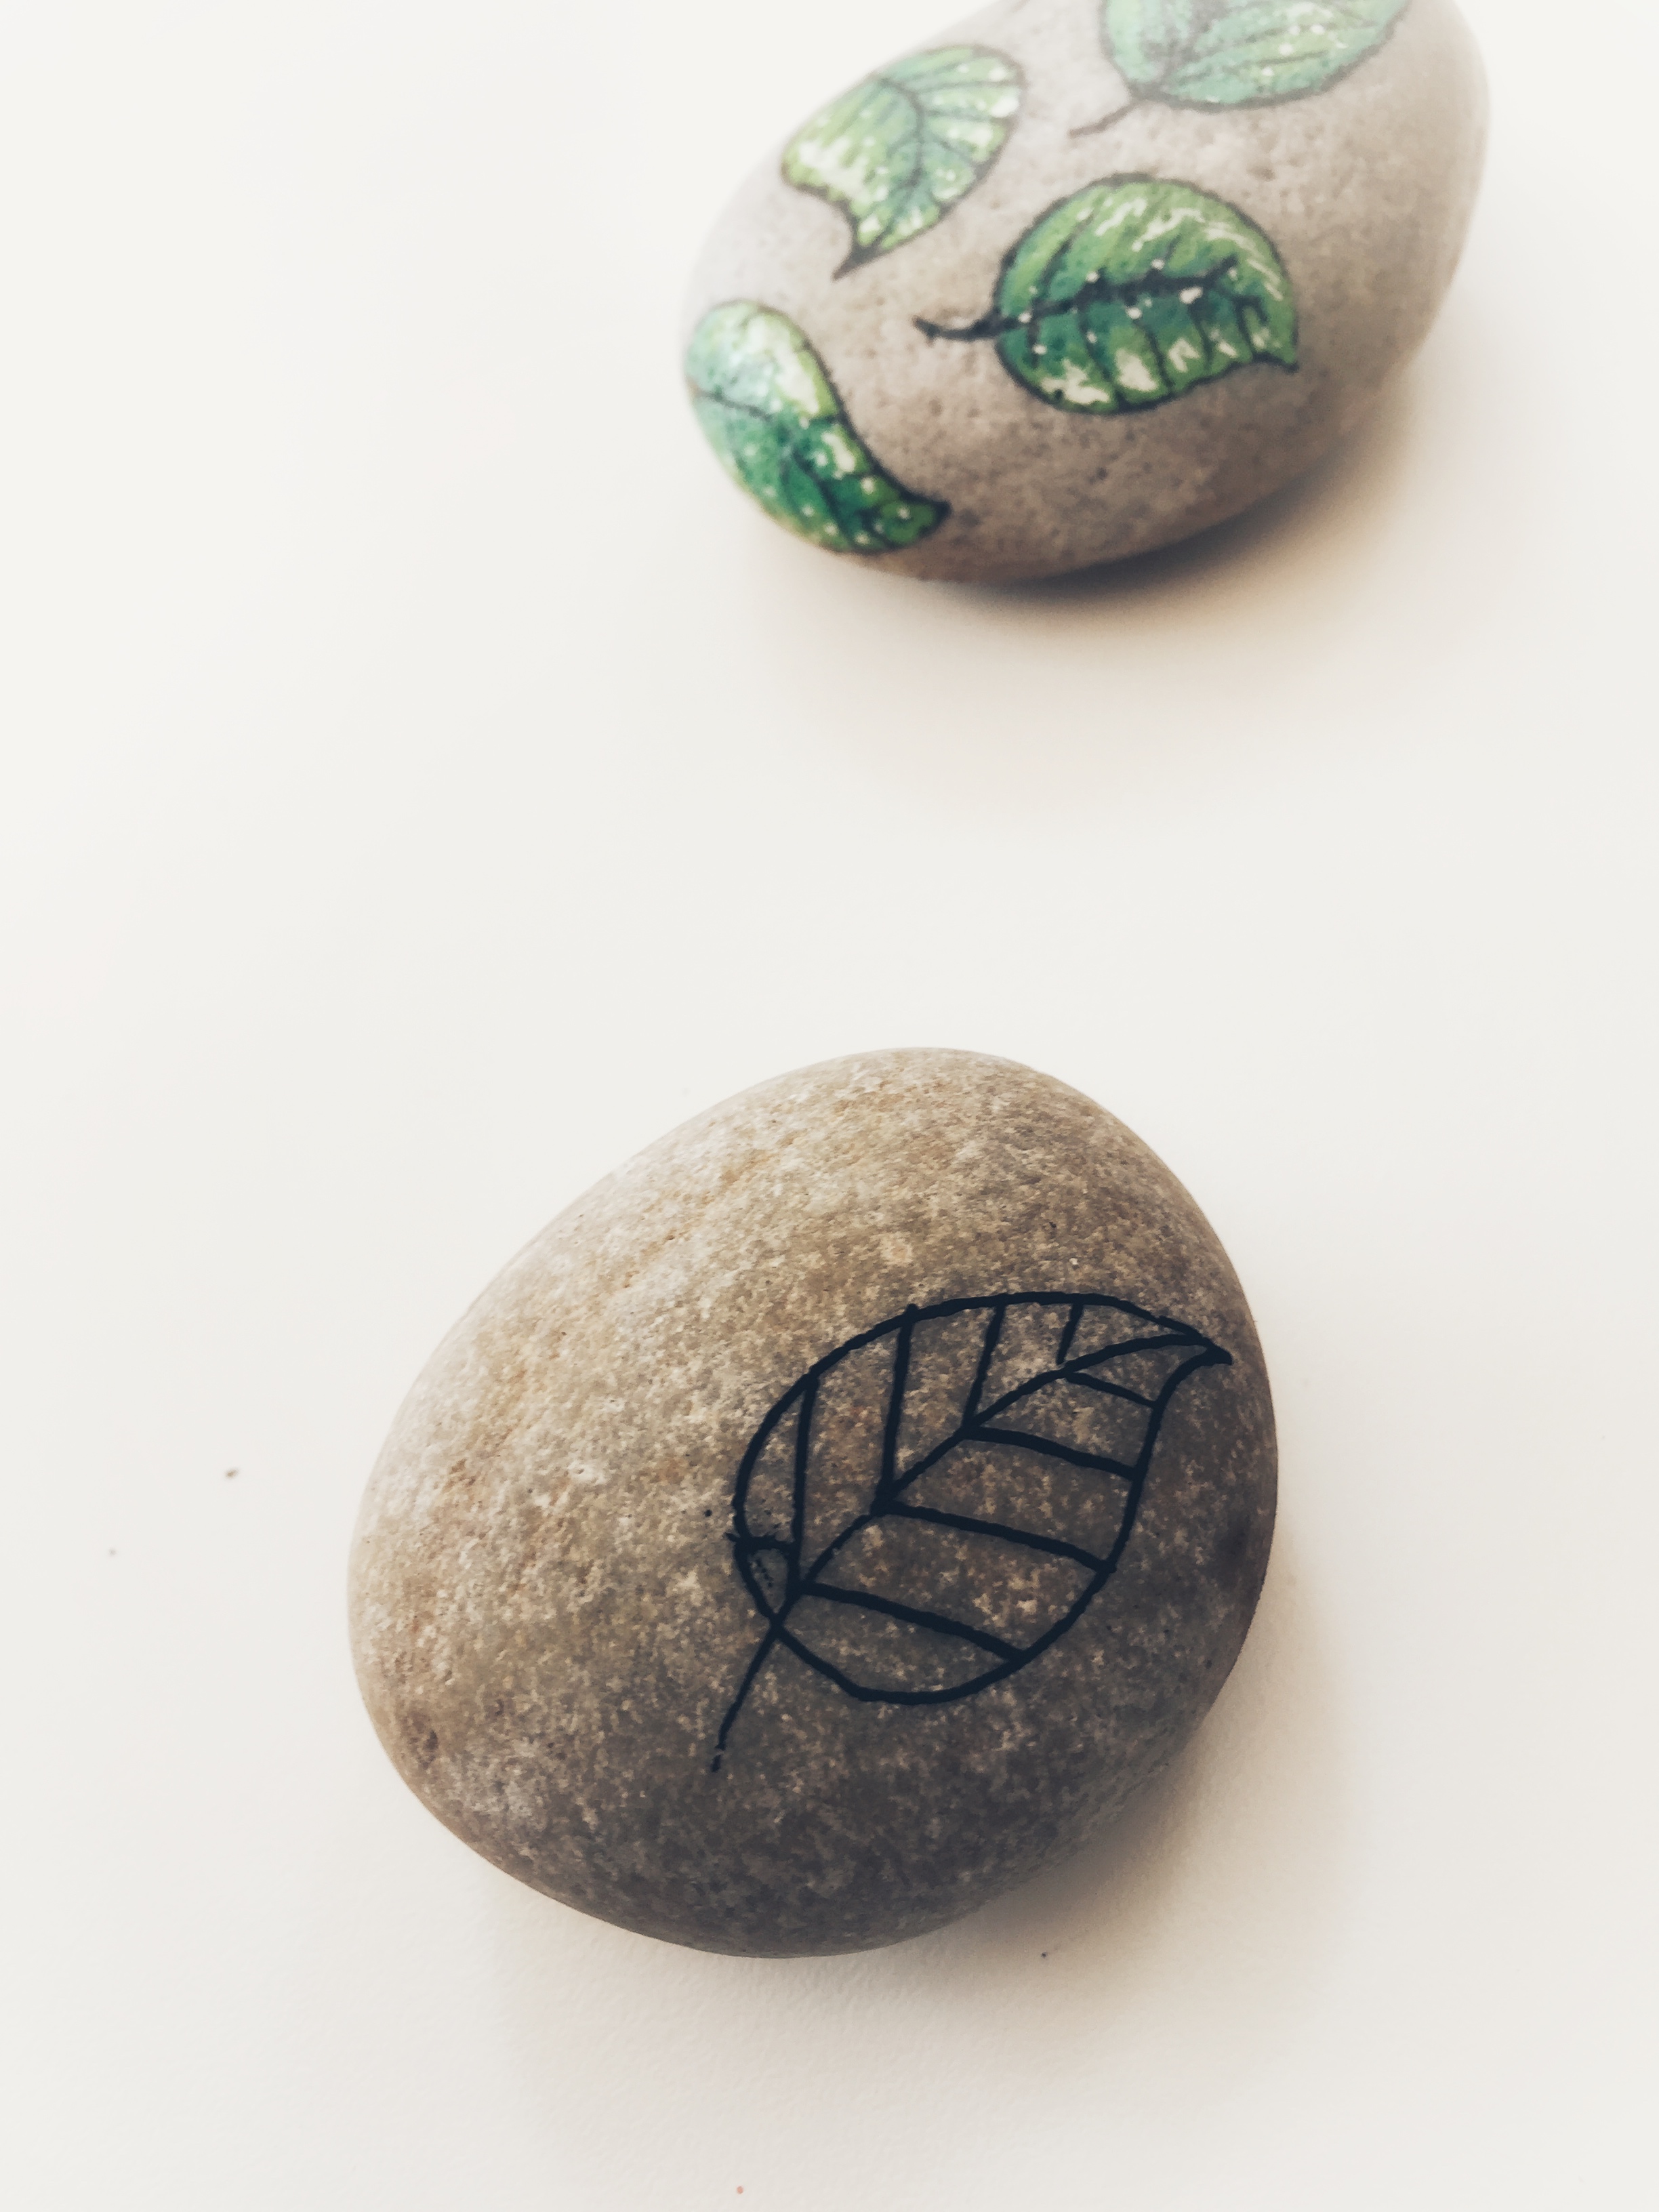
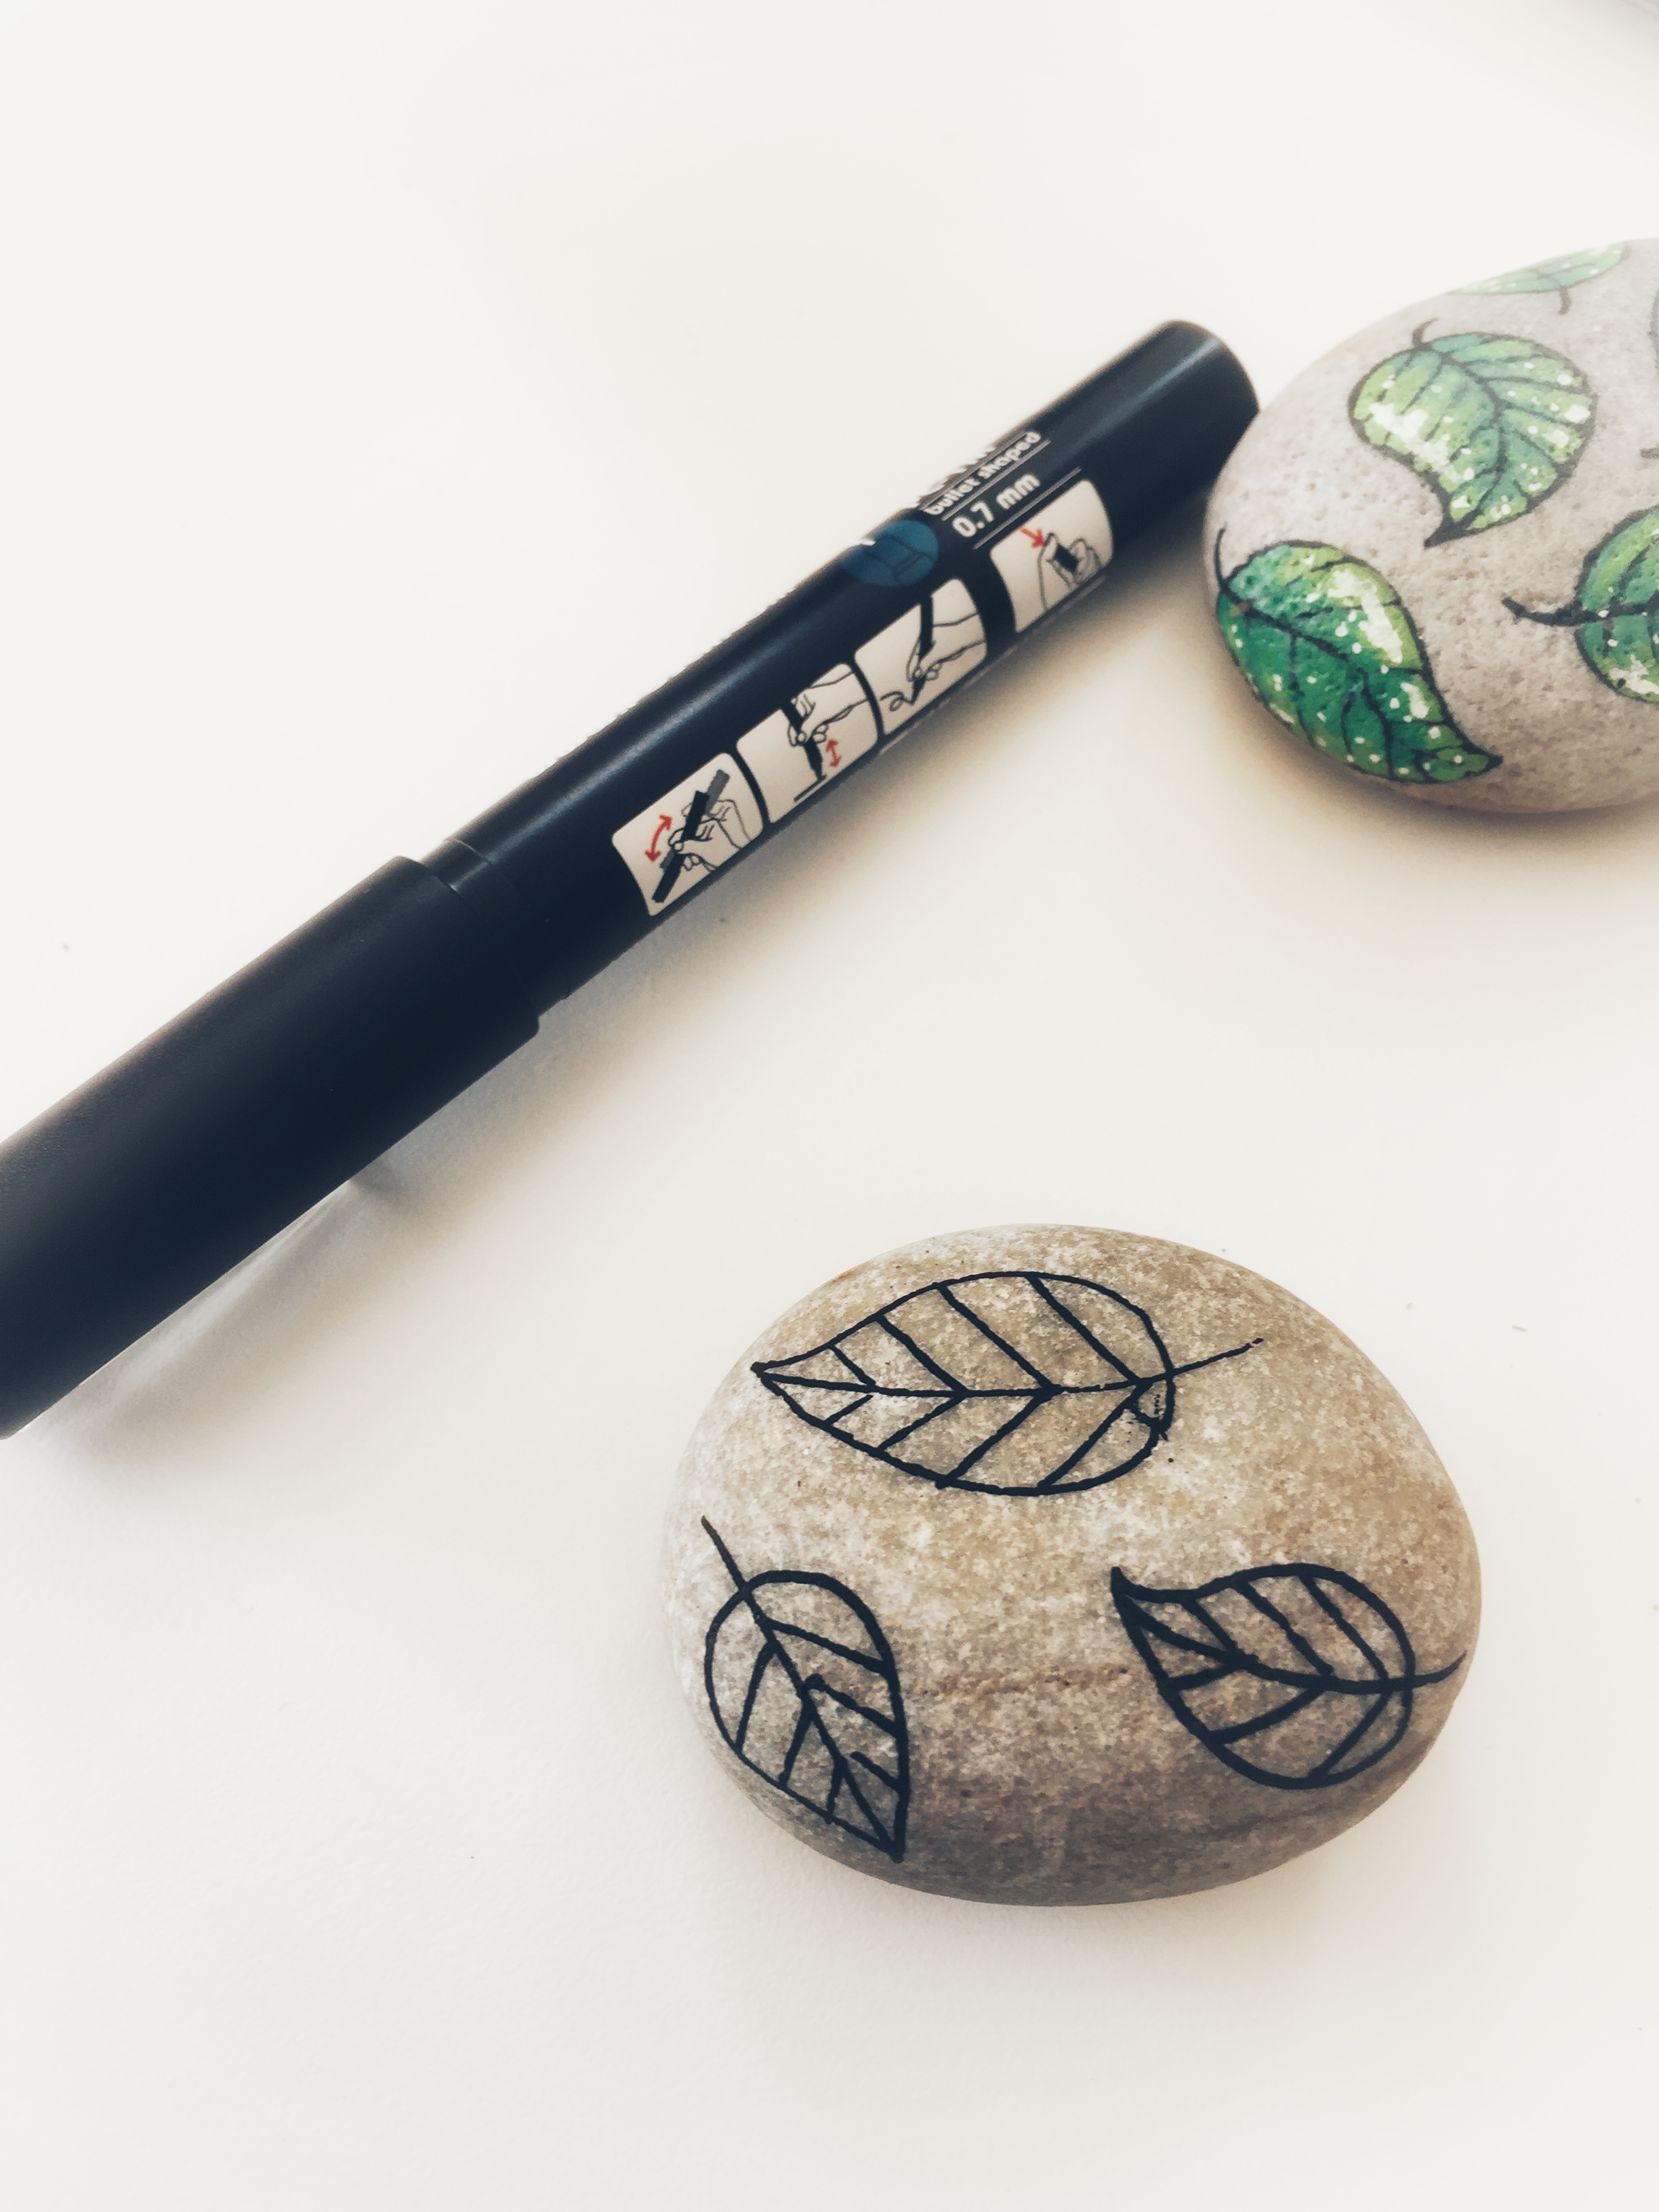
1. Draw a drop shape to create the first leaf.
2. Draw a line from the tip of the drop and down through the leaf and continue to make the stalk. Draw slashes on each side, just like a real leaf.
3. Create any number of leaves that you want on the stone.
4. Allow the black colour to dry before proceeding to step 5.
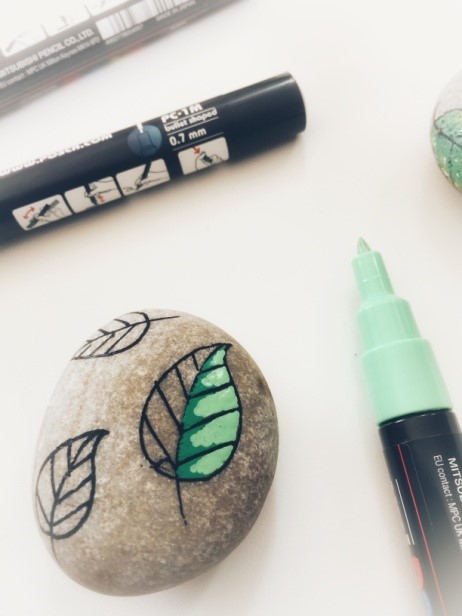
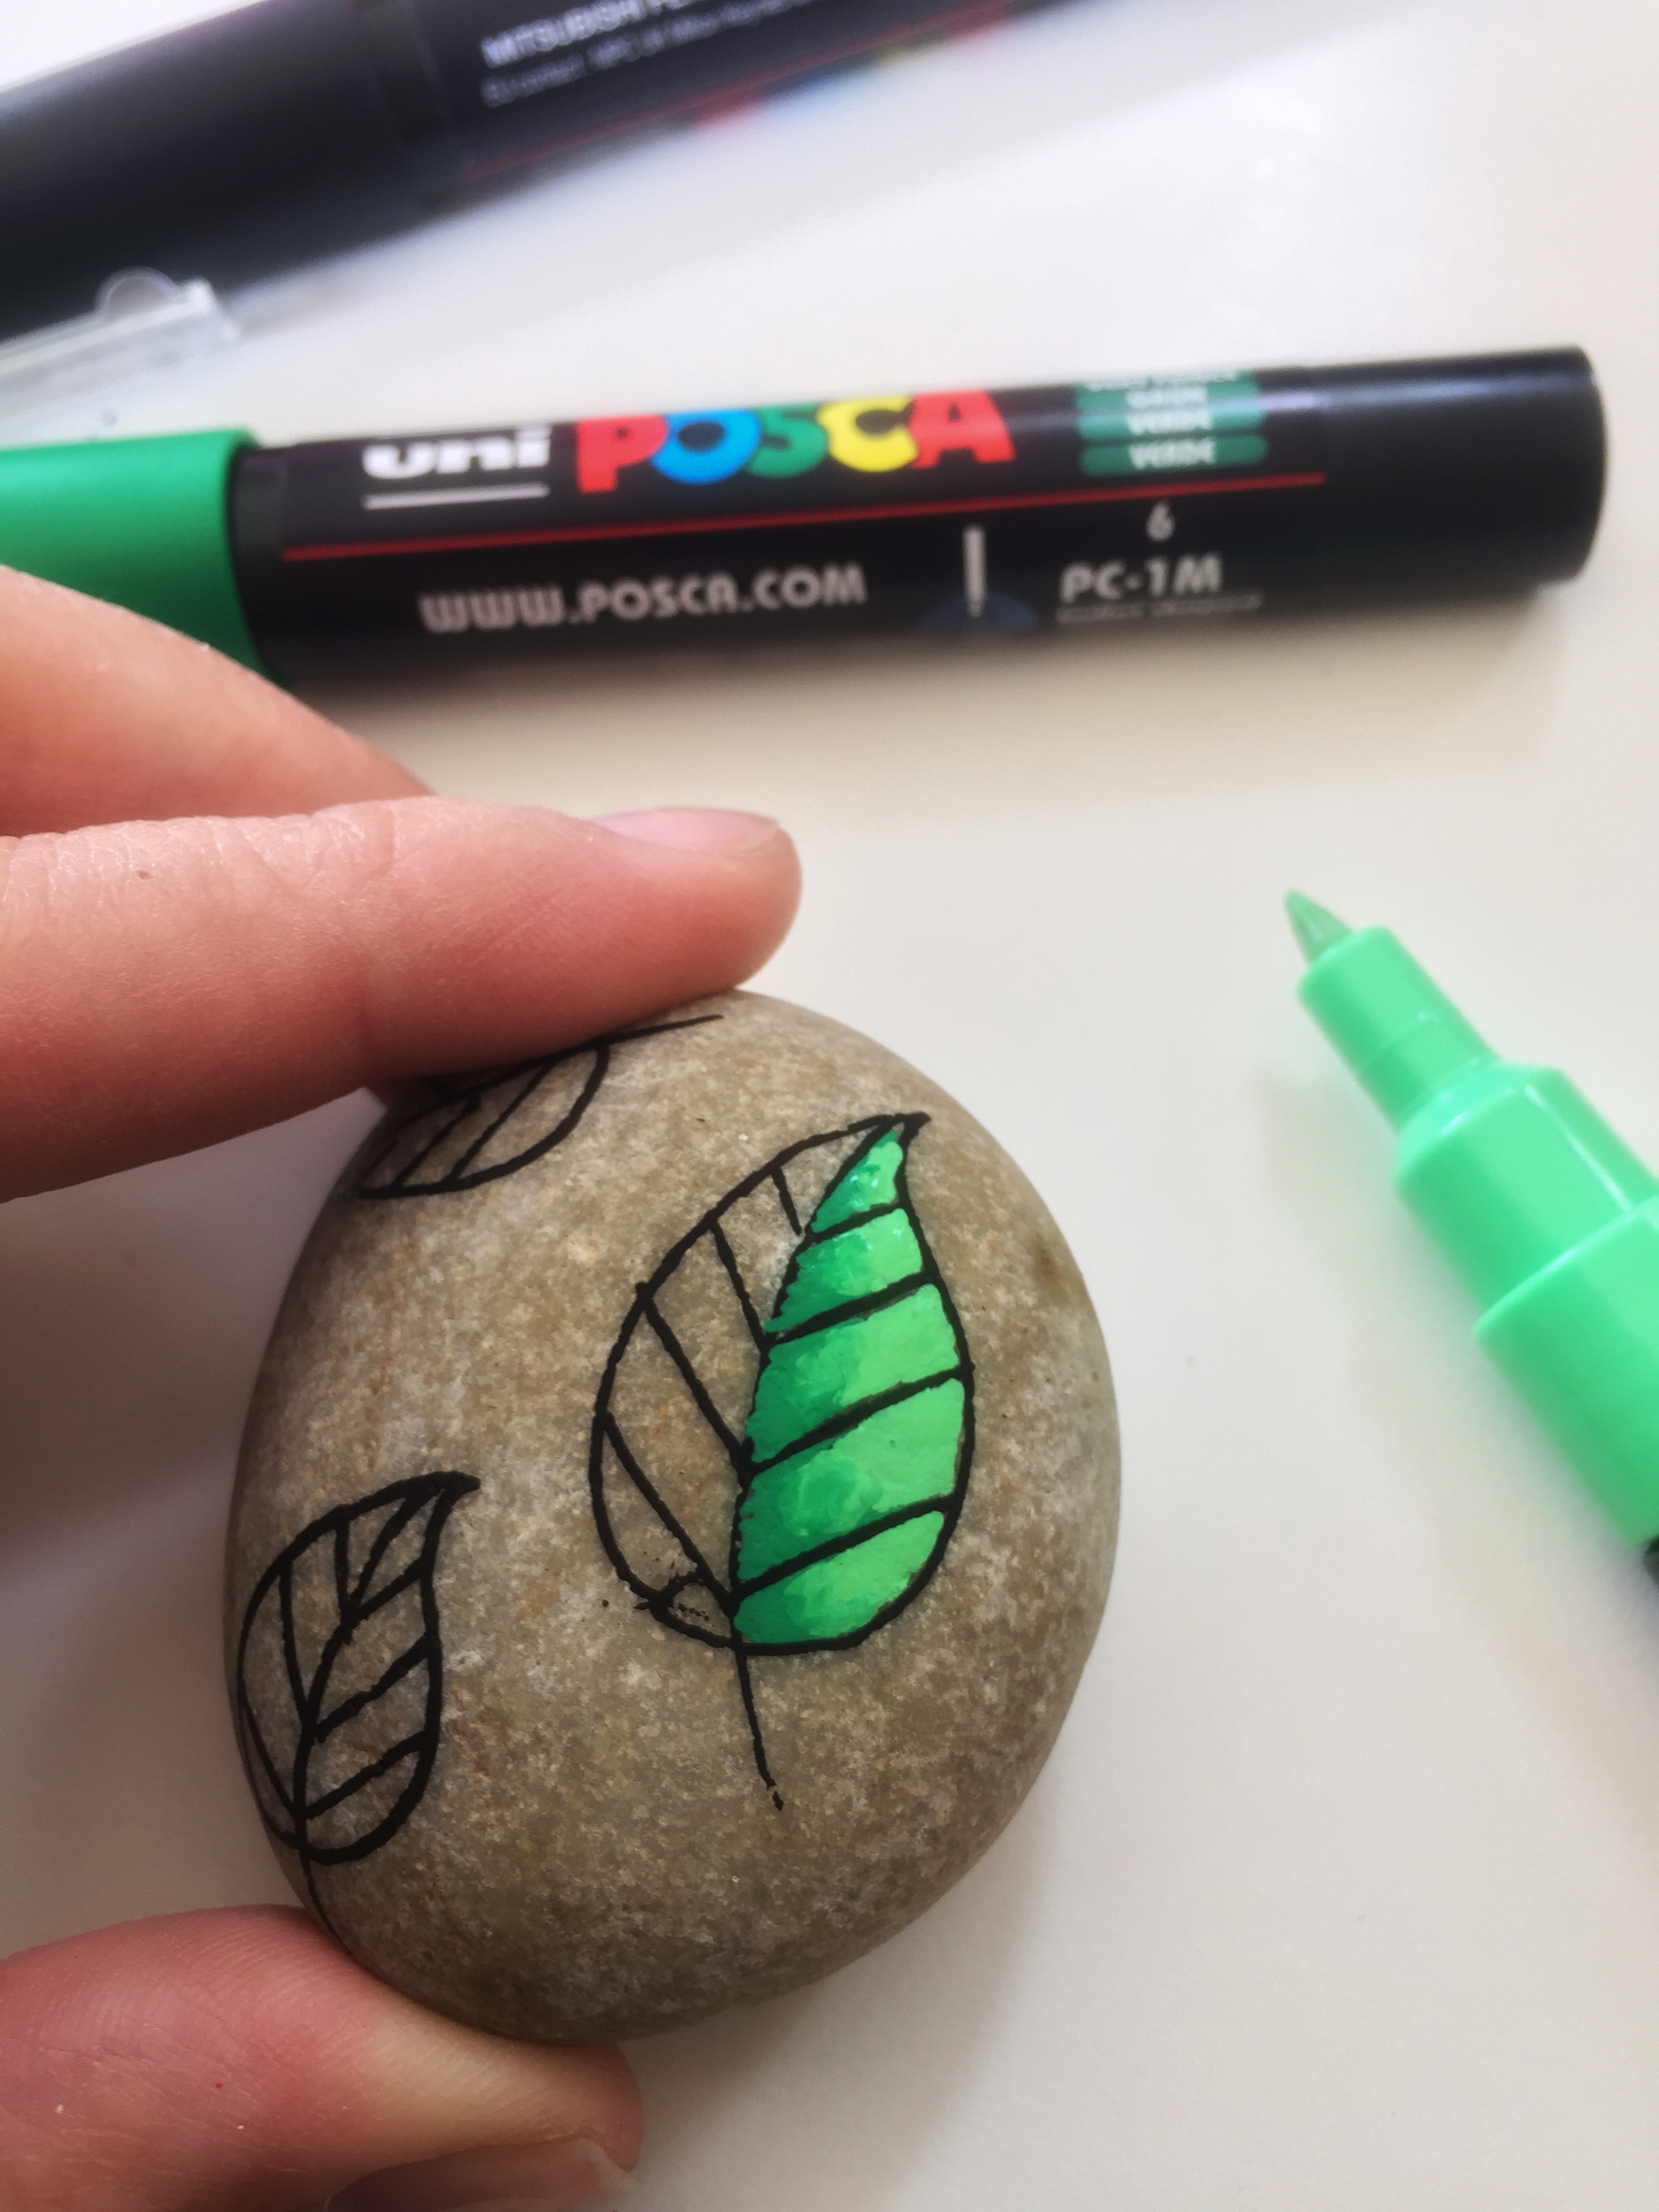
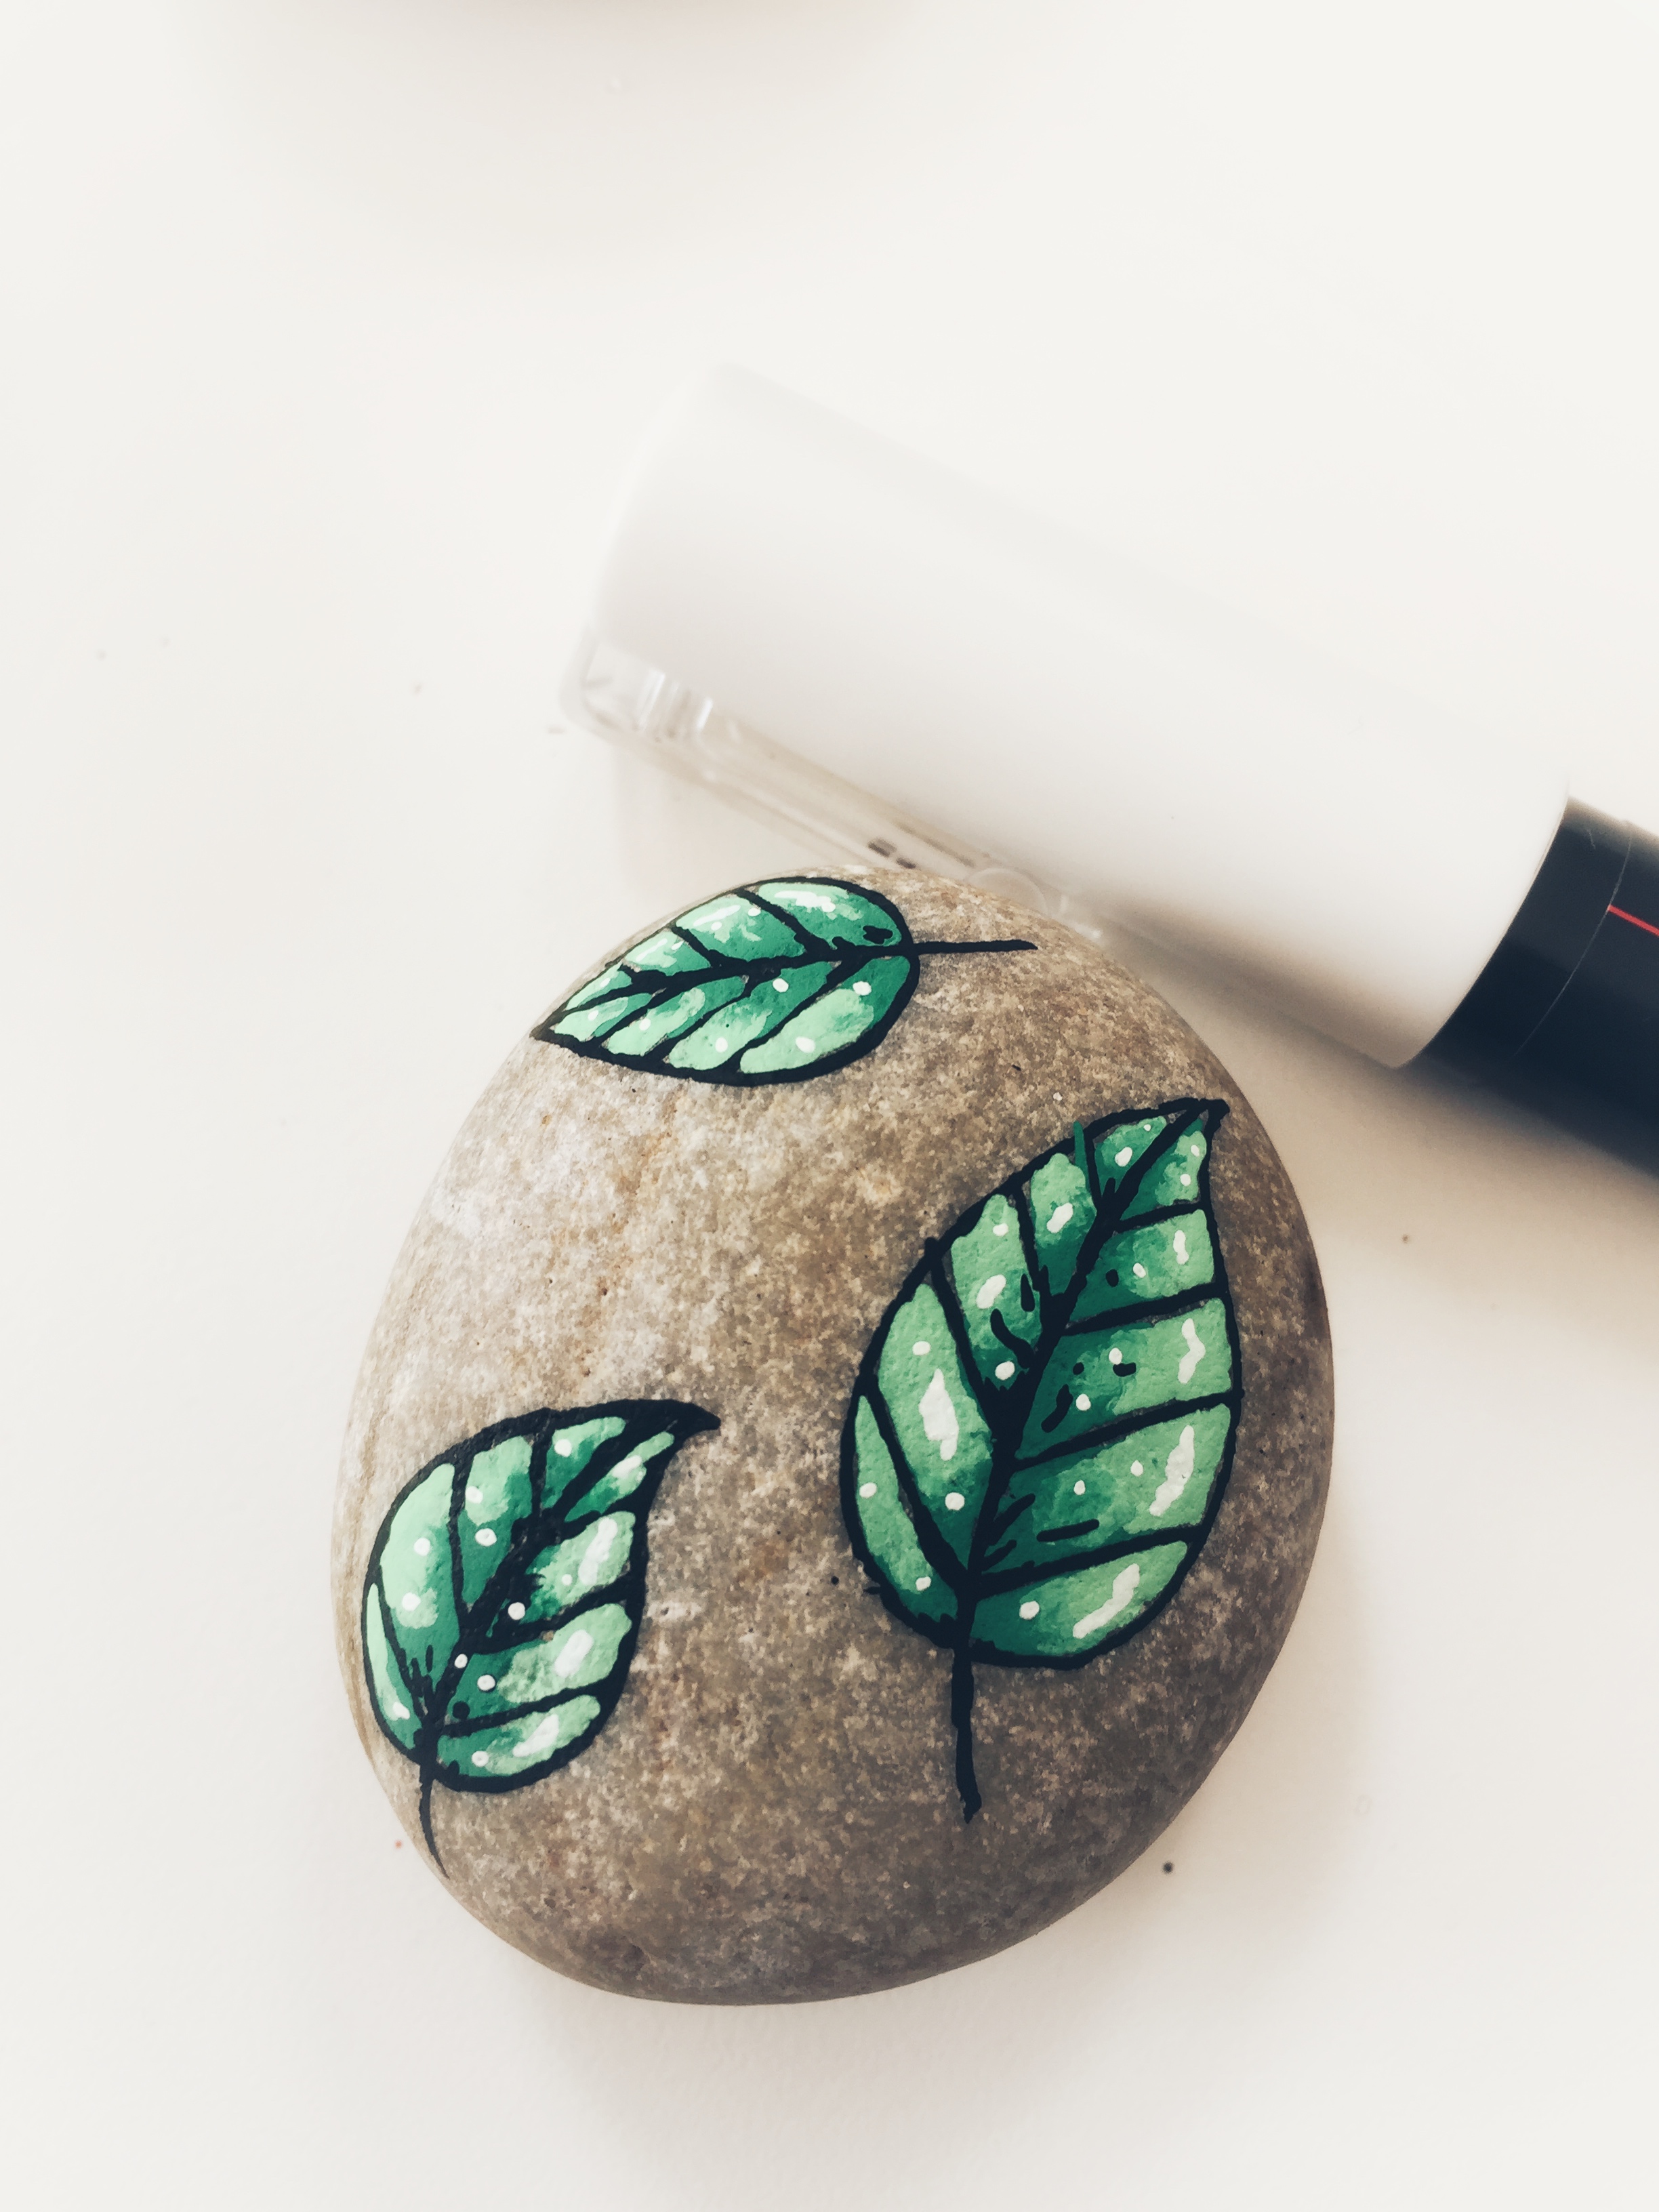
5. Colour the centre of the leaf, along the stem, with the green colour.
6. Colour the rest of the leaf with the light green marker. If you want to try to create a natural gradient, follow step 7.
7. Draw the green colour again and have the light green ready to draw lightly into the green. This blends the two colours together to create a natural gradient.
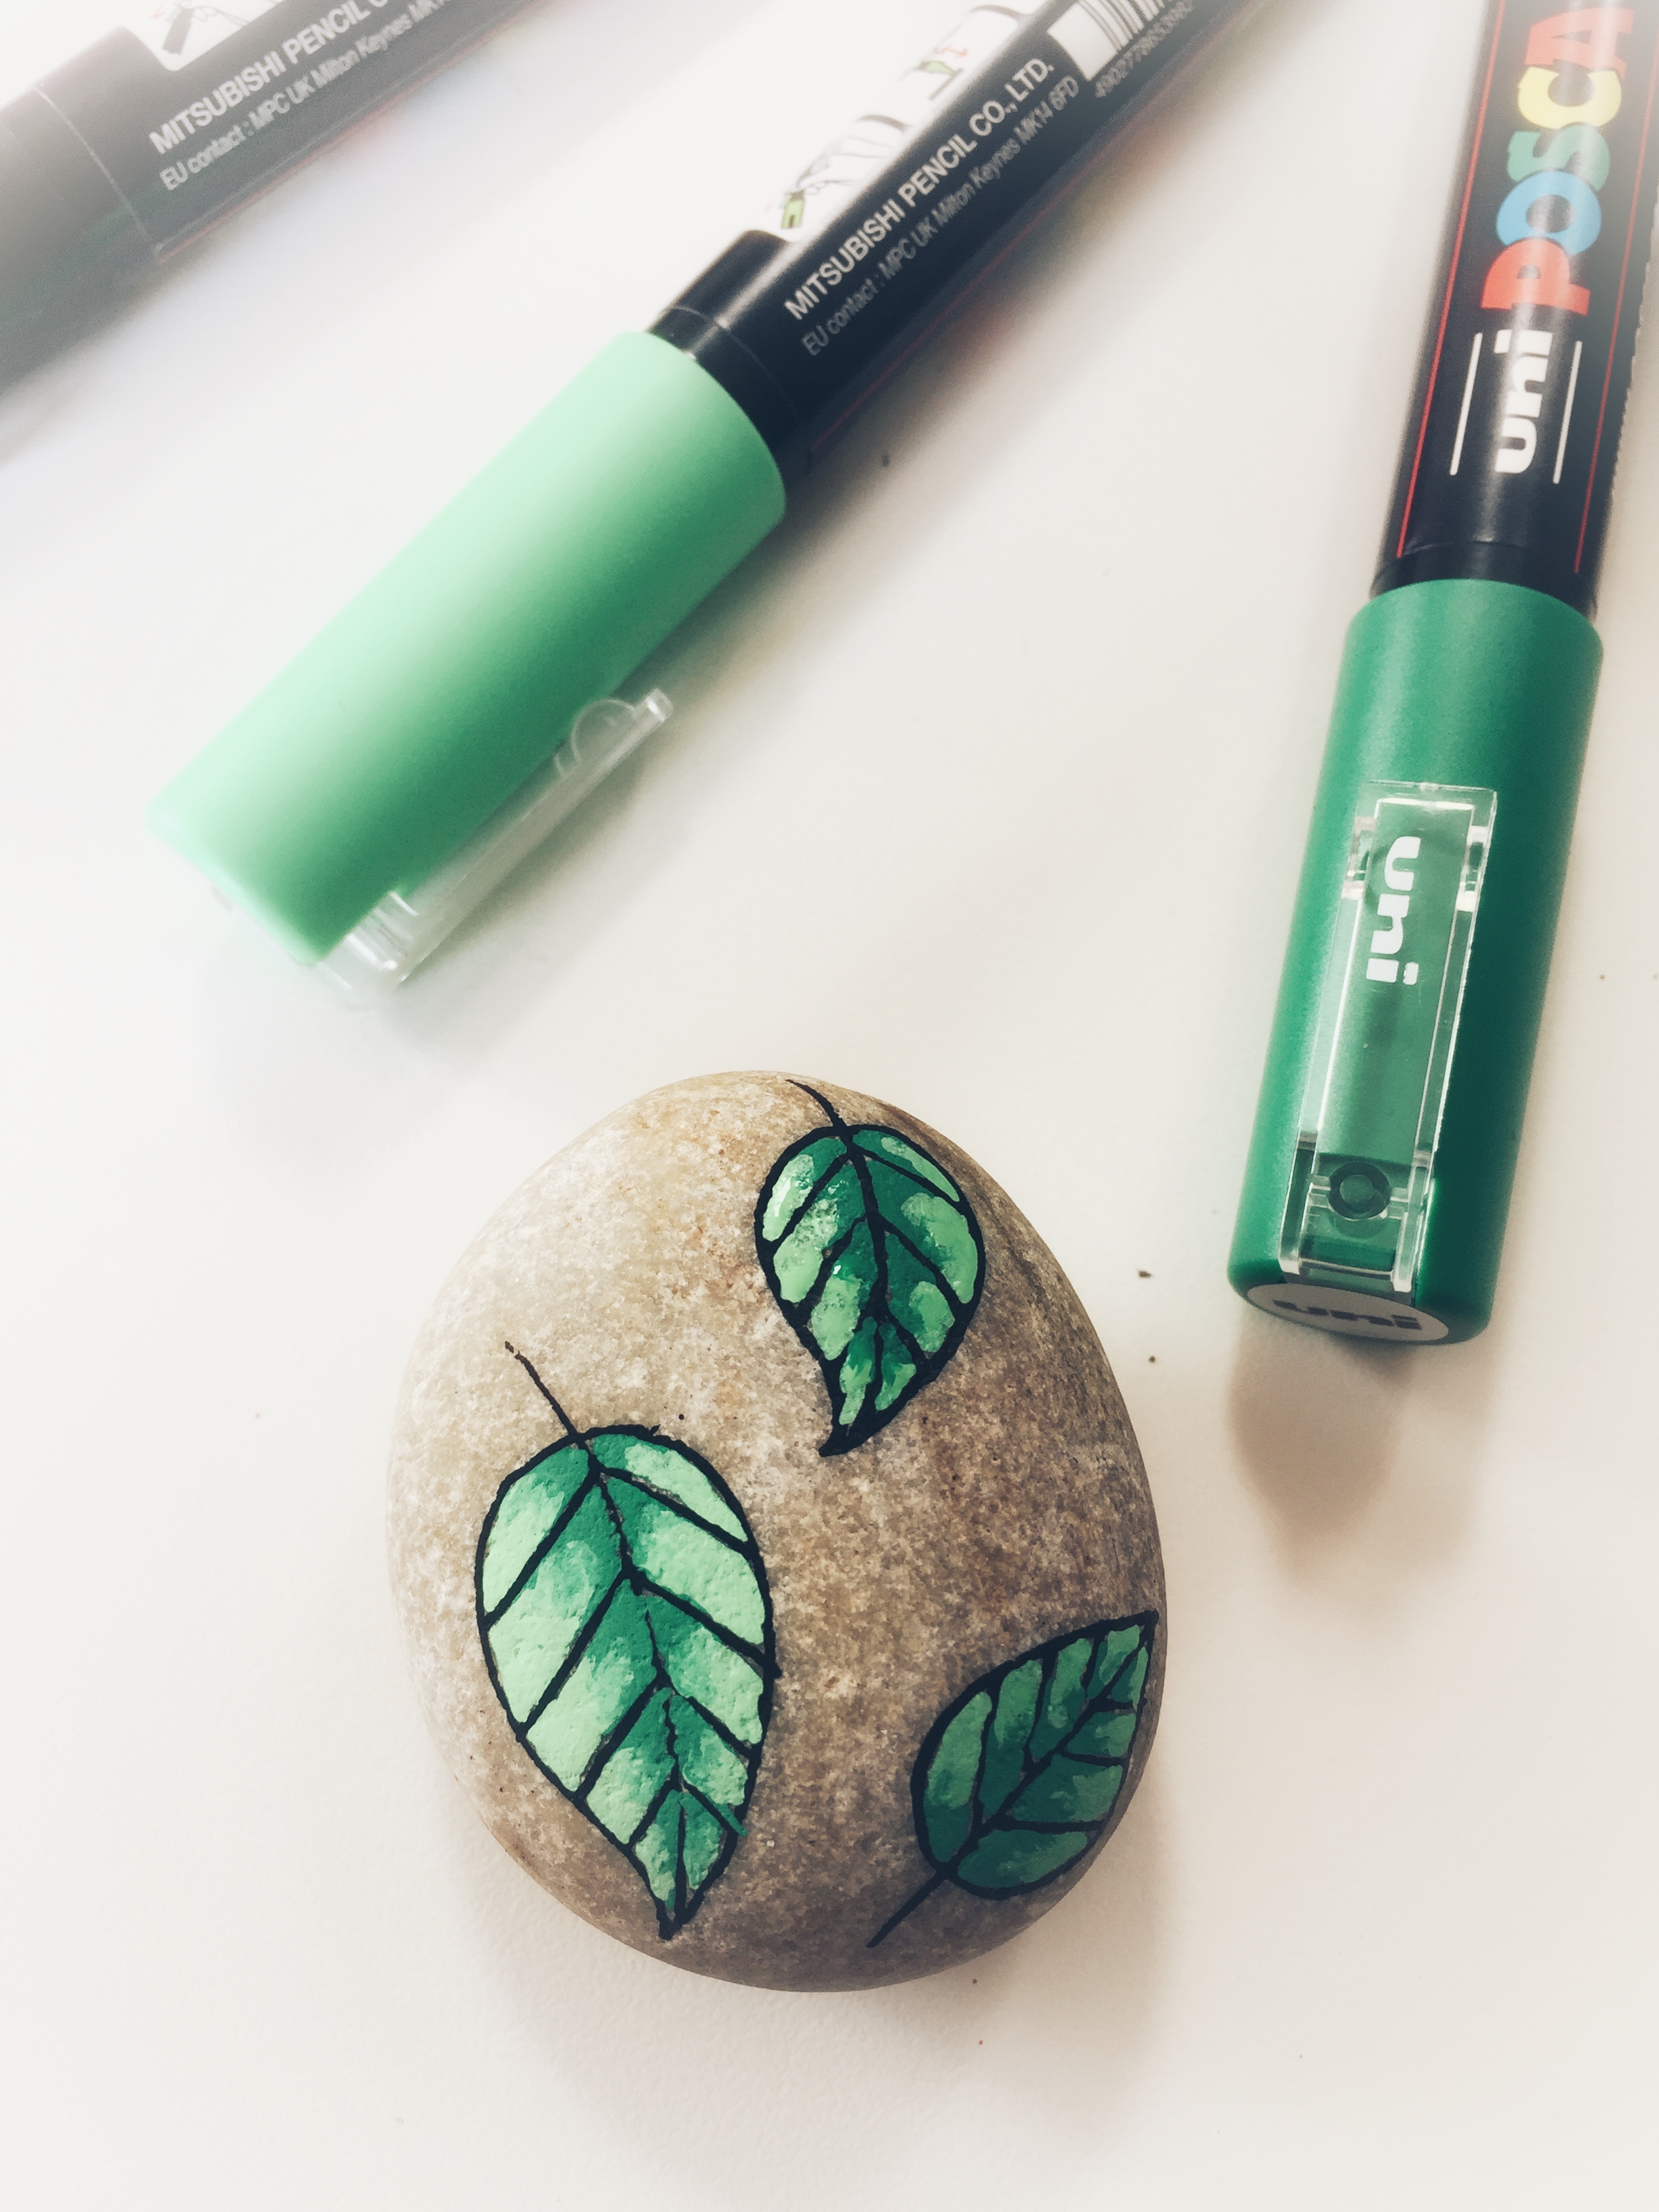
8. Repeat on the other side of the leaf and colour the rest of the leaves in the same way. Technically, you’re done now but you can also add extra effects by following step 9.
9. When the colours are dry, you can add a little extra white as highlights, giving the leaves a wet and shiny appearance. You can also use a black marker to add a little extra detail here and there.
Design: Mie Møller Bie / @miehobbyforfatter / @miemn
- Find some of Mie's painting or pearl books here.
 Österreich
  Belgique
  Bosna i Hercegovina
  България
  Κύπρος
  Česká republika
  Danmark
  Eesti
Eesti  Føroyar
  Suomi
Suomi  France
  Deutschland
  Ελλάδα
  Kalaallit Nunaat
  Magyarország
  Ísland
  Ireland
  Italia
  Latvija
  Liechtenstein
  Lietuva
  Lëtzebuerg
  Malta
Malta  Isle of Man
  Nederland
  Norge
Norge  Polska
  Portugal
  România
  Slovensko
  Slovenija
  España
  Sverige
  Schweiz
  Ukraїna
  United Kingdom