Free crochet pattern for a banana – Karla’s banana
Why is it called Karla’s Fruit – Karla’s Banana?
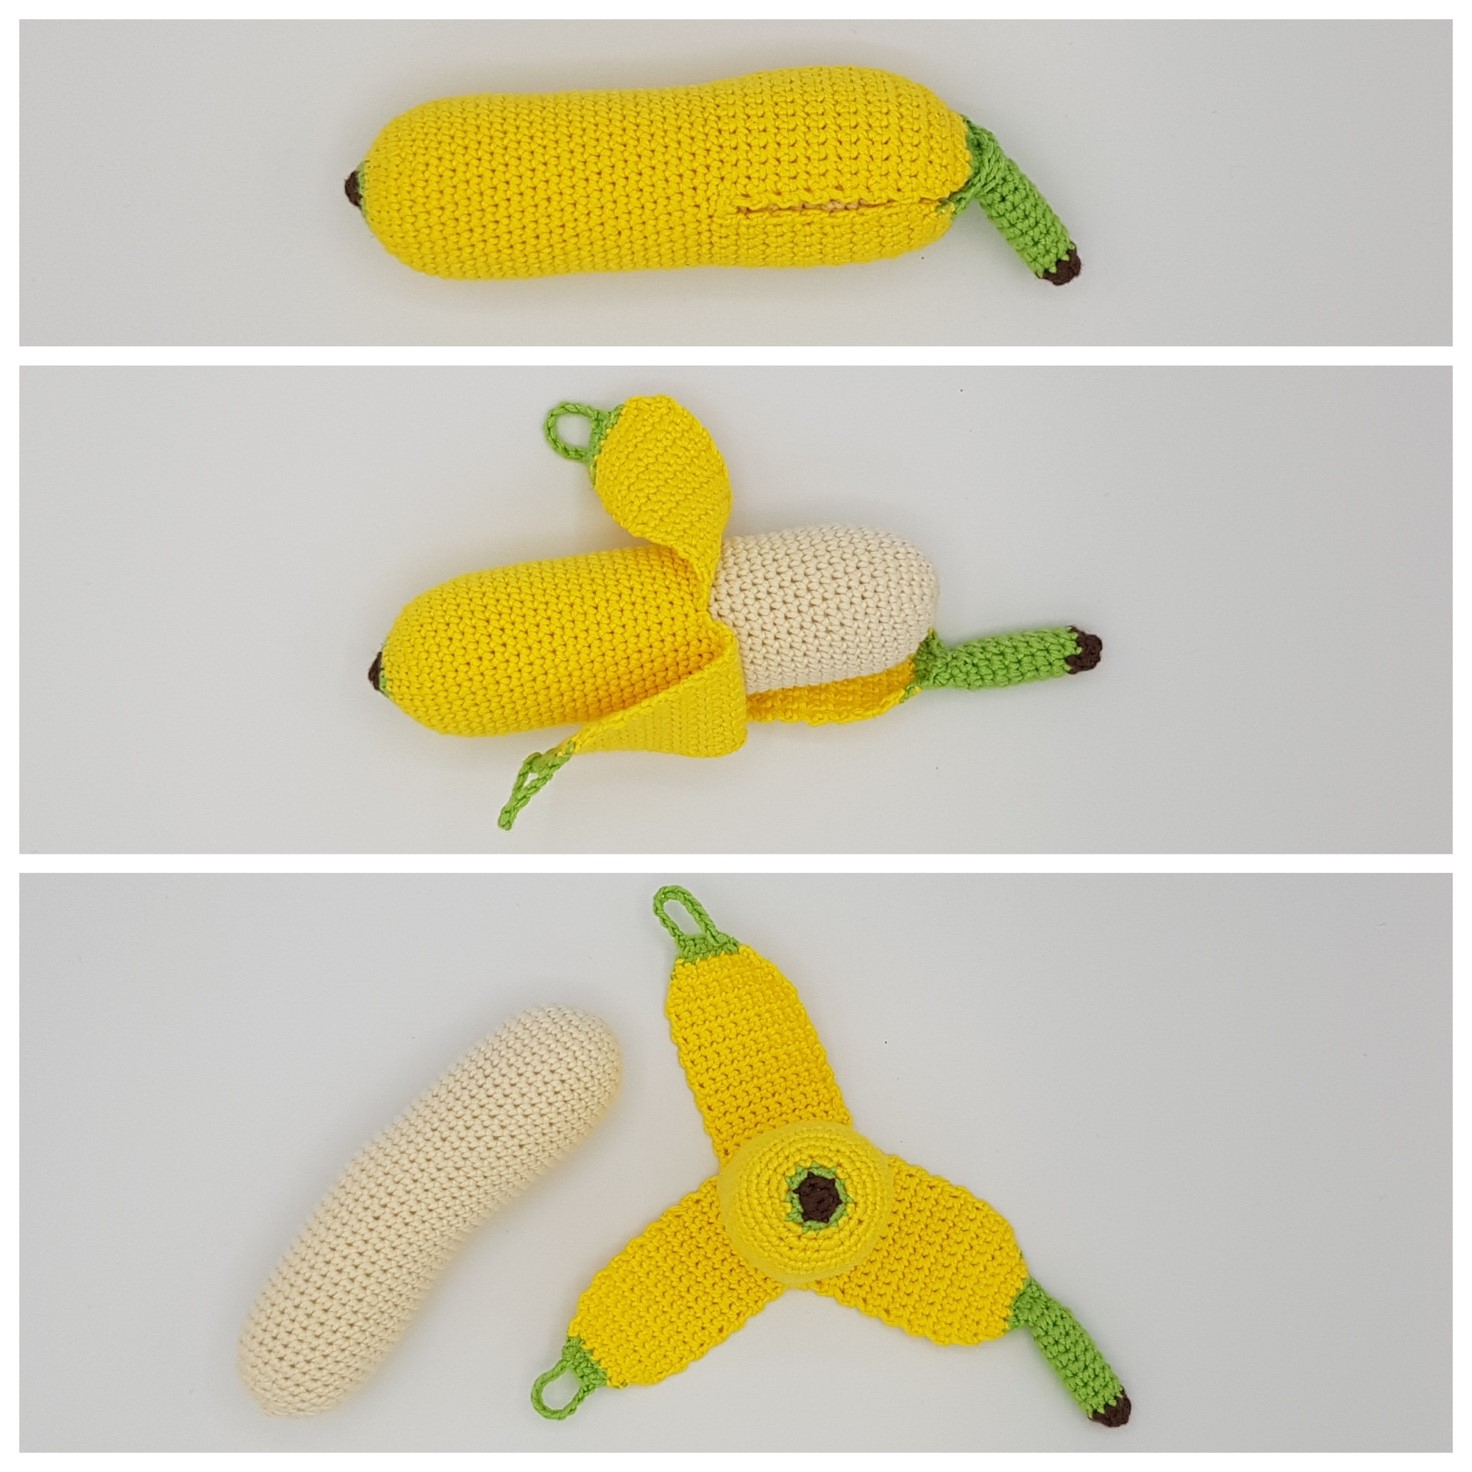
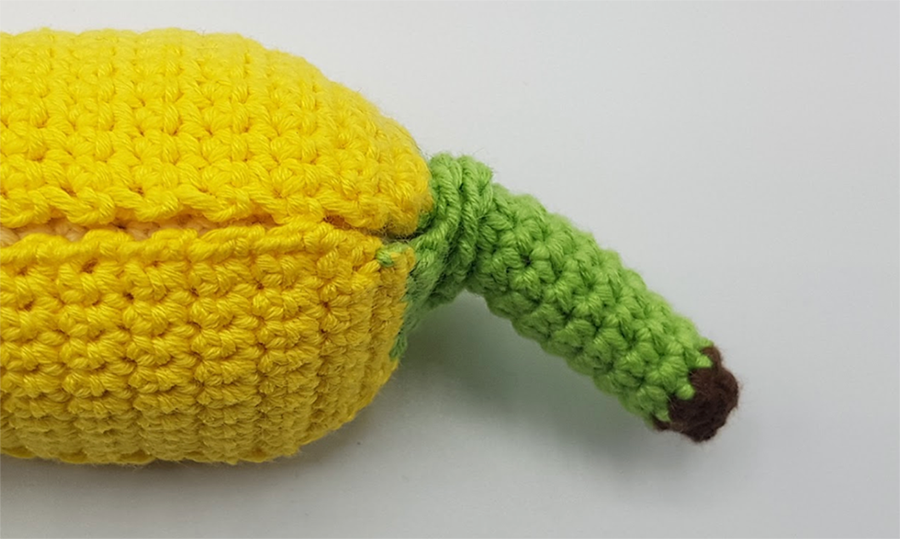
The designer needed to create lots of toy food for the second birthday of her niece, Karla. However, she thought that an ordinary banana was a bit too "boring", which is the normal way to crochet any toy food. She decided to make a pattern that would allow for more play and fun. The result was this great banana, where the peel can be opened in 3 parts and the banana can be taken out. With this design, it seems more realistic.
The pattern is named after the designer's niece, which is why it is called Karla's fruit – Karla’s banana.
You need the following:
- Crochet hook size 2.5
- Stuffing
- Tapestry needle for assembly
- Infinity Hearts Rose 8/4 Yarn Unicolour 172 Nature
- Infinity Hearts Rose 8/4 Yarn Unicolour 179 Yellow
- Infinity Hearts Rose 8/4 Yarn Unicolour 160 Bright Green
- Infinity Hearts Rose 8/4 Yarn Unicolour 228 Dark Brown
Abbreviations
dc – double crochet
ch – chain stitch
sl st – slip stitch
Dec – decreasing (2 stitches together)
Inc – increasing (2 stitches in one)
Unless anything else is specified, use double crochet - dc.
Method:
Banana
Use hook 2.5 - Colour: Nature
1 r. Magic ring with 6 dc (6)
2 r. Inc. in all stitches (12)
3 r. 1 dc, Inc, 2 dc, dc 1 dc, Inc, 2 dc, Inc, 1 dc, Inc (17)
4 r. 1 dc, Inc, 3 dc, Inc, 2 dc, Inc, 3 dc, Inc, 2 dc, Inc, 1 dc (22)
5 r. 2 dc, Inc, 5 dc, Inc, 4 dc, Inc, 5 dc, Inc, 2 dc (26)
6 r. 4 dc, Inc, 7 dc, Inc, 8 dc, Inc, 4 dc (29)
7-40 r. dc in each stitch around (34 rounds)
41 r. 4 dc, dec, 8 dc, dec, 7 dc, dec, 4 dc (26)
42 r. 2 dc, dec, 5 dc, dec, 4 dc, dec, 5 dc, dec, 2 dc (22)
Insert the stuffing into the banana before the opening becomes too narrow. Stuff it well and press it down - then smooth it out once you bind off.
43 r. 1 dc, dec, 2 dc, dec, 3 dc, dec, 2 dc, dec, 3 dc, dec, 1 dc (17)
44 r. Dec, 1 dc, dec, 2 dc, dec, 1 dc, dec, 2 dc, dec, 1 dc (12)
45 r. 6 dec (6)
Fasten off, weave it through the 6 stitches, bind off by pulling on the yarn and fasten it securely.
Peel
Use hook 2.5 - Colours: brown, bright green, yellow
Start with the brown colour
1 r. Magic ring with 6 (6)
2 r. dc in each stitch around (6)
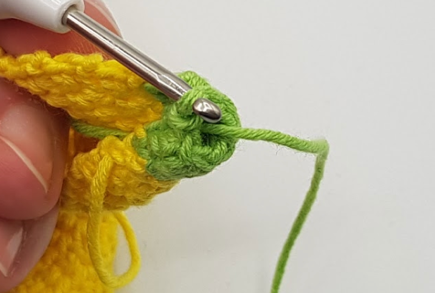
Change to green colour.
3 r. Inc. in each stitches (12)
Change to the yellow colour
4 r. 1 dc, inc, 2 dc, inc, 1 dc, inc, 2 dc, inc, 1 dc, inc (17)
5 r. 2 dc, inc, 2 dc, inc, 1 dc, inc, 2 dc, inc, 2 dc, inc, 1 dc, inc, 1 dc (23)
6 r. 3 dc inc, 5 dc, inc, 5 dc, inc, 5 dc, inc, 1 dc (27)
7 r. 4 dc, inc, 6 dc, inc, 6 dc, inc, 6 dc, inc, 1 dc (31)
8-30 r. dc across (23 rounds)
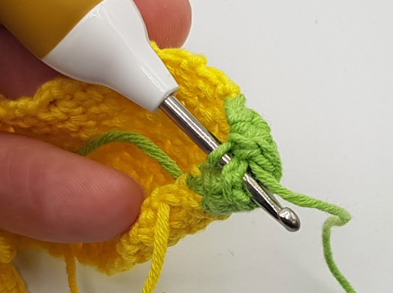
To make "leaves", the 31 stitches are divided into 10, 10 and 11. Crochet in rows of 10 (11) stitches back and forth, reversed with 1 ch.
The first "leaf" is made by continuing for the next 10 stitches and going back.
For the next two "leaves", work the yarn fixed with one sl st in the last stitch of the previous leaf.

For the last "leaf", work a sl st in the 1st stitch in the leaf next to it.
The two “leaves” with 10 stitches
Turn every row with 1 ch.
31-45 r. dc across (10) (15 rows)
46 r. dec, 6 dc, dec (8)
47 r. dc across (8)
48 r. dec, 4 dc, dec (6)
Switch to green colour in the last stitch so that the end/closing is green.
49 r. dec, 2 dc, dec (4)
50 r. dc across (4)
Finish with 10 ch – bind off with sl st at opposite ends and secure the yarn.
The one “leaf” with 11 stitches
31-45 r. dc across (11) (15 rows)
46 r. dec, 7 dc, dec (9)
47 r. dc across (9)
48 r. dec, 5 dc, dec (7)
Switch to green colour of the last stitch to make the stem green.
49-51 r. dc (7) (3 rows)
52 r. Join the 7 stitches with one sl st (outward) to form a ring and crochet in a spiral
53 r. inc, 1 dc, inc, 1 dc, inc, 2 dc (10)
54-60 r. dc (10) (7 rows)
Change the colour for the last stitch so that the end of the stalk becomes brown - remember to tie the tails from the colour change after a few stitches, binding off completely after a few rounds.
61-62 r. dc in each stitch around (10) (2 rounds)
63 r. 5 dec (5)
Fasten off, weave the yarn through each of the 5 stitches, bind off by pulling on the yarn – secure the tails well. Do this several times so that the end of the stem is firm.
Add some filling in the stem and close it with the tails from the colour change (yellow> green) before securing the yarn.
Secure the other yarn tails to complete the banana.
The completed banana measures 17 cm from bottom to the end of the stem.

Please share
If you would like to crochet Karla’s banana, please share it on social media with the following hashtags:
#loverito
#ritokrea
#karlasbanana
#karlasfruit
#madebyTanteT
Design: thildeerrebo (Thilde Errebo)
 Österreich
  Belgique
  Bosna i Hercegovina
  България
  Κύπρος
  Česká republika
  Danmark
  Eesti
Eesti  Føroyar
  Suomi
Suomi  France
  Deutschland
  Ελλάδα
  Kalaallit Nunaat
  Magyarország
  Ísland
  Ireland
  Italia
  Latvija
  Liechtenstein
  Lietuva
  Lëtzebuerg
  Malta
Malta  Isle of Man
  Nederland
  Norge
Norge  Polska
  Portugal
  România
  Slovensko
  Slovenija
  España
  Sverige
  Schweiz
  Ukraїna
  United Kingdom