Crochet dog cushion
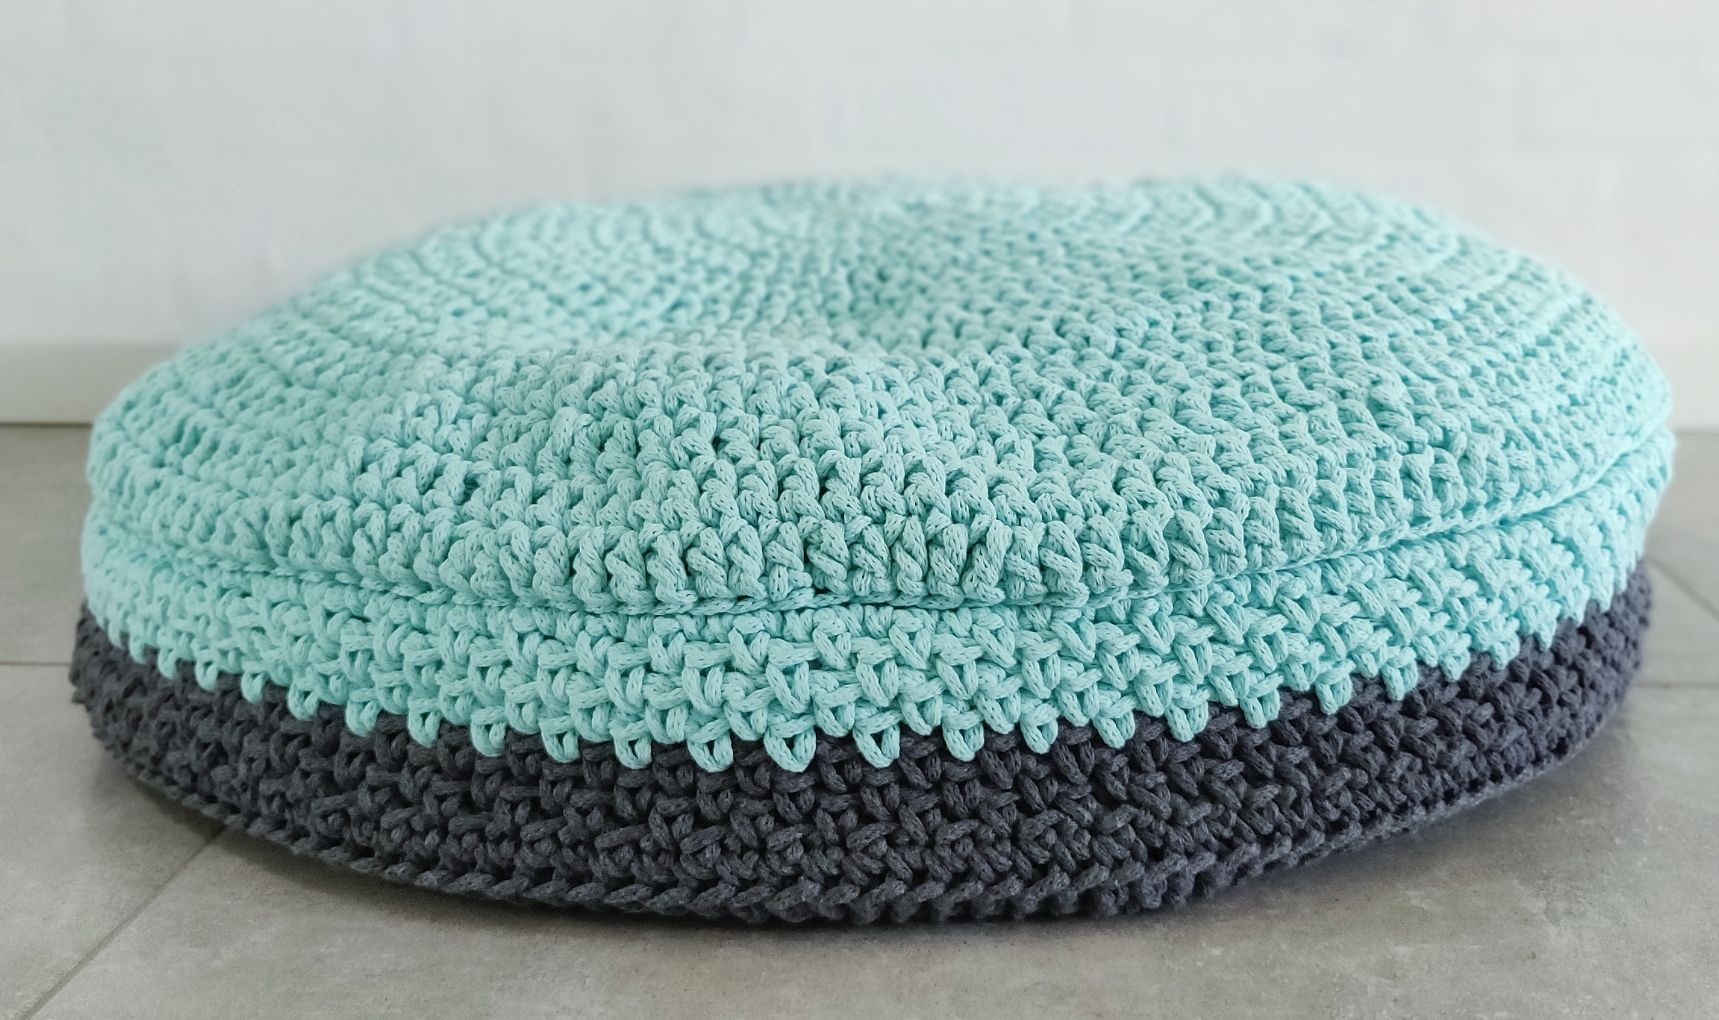
Here is a nice pattern for a dog cushion for man's best friend. The pillow is crocheted using Infinity Hearts 2XLace, which consists of cotton and polyester.
Size
The dog cushion will be approx. 70-80 cm and 15 cm high (depends on crochet tension)
Material
Infinity Hearts 2XLace Yarn. Contains: 60% Cotton and 40% Polyester. Need: 250 g = approx. 90 m.
Amount of yarn needed:
- Colour 1: 7 skeins
- Colour 2: 7 skeins
Additional material
- Round cushion filler
or
Tools
Crochet hook: No. 10.00 mm
Other tools:
Abbreviations
S = stitch
Mr = magic ring
sc = single crochet
dc = double crochet
ch = chain stitch
sl st = slip stitch
(X) the number in brackets indicates how many stitches you should create when crocheting
NOTE: The cushion can be made both smaller and larger, simply by adjusting the number of stitches.
Method
Bottom
Colour 1
Each round starts with 3 ch which counts as the first dc
1. 3 ch, 11 dc in mr, 1 sl st in first s (12).
2. 3 ch, 1 dc in same s, * 2 dc in next s * x11, 1 sl st in first s (24)
3 ch, 2 dc in next s * 1 dc, 2 dc in next s * x11, 1 sl st in first s (36)
4. 3 ch, 2 dc in next s, * 2 dc, 2 dc in next s * x11, 1 dc, 1 sl st in first s (48)
5. 3 ch, 2 dc, 2 dc in next s, * 3 dc, 2 dc in next s * x11, 1 sl st in first s (60)
6. 3 ch, 1 dc, 2 dc in the next s, * 4 dc, 2 dc in the next s* x11, 2 dc, 1 sl st in the first s (72)
7. 3 ch, 4 dc, 2 dc in next s, * 5 dc, 2 dc in next s * x11, 1 sl st in first s (84)
8. 3 ch, 2 dc, 2 dc in next s, * 6 dc, 2 dc in next s * x11, 3 dc,1 sl st in first s (96)
9. 3 ch, 6 dc, 2 dc in next s, * 7 dc, 2 dc in next s * x11, 1 sl st in first s (108)
10. 3 ch, 3 dc, 2 dc in next s, * 8 dc, 2 dc in next s * x11, 4 dc, 1 sl st in first s (120)
11. 3 ch, 8 dc, 2 dc in next s, * 9 dc, 2 dc in next s * x11, 1 sl st in first s (132)
12. 3 ch, 4 dc, 2 dc in next s, * 10 dc, 2 dc in next s * x11, 5 dc, 1 sl st in first s (144)
13. 3 ch, 10 dc, 2 dc in next s, * 11 dc, 2 dc in next s * x11, 1 sl st in first s (156)
14. 3 ch, 5 dc, 2 dc in next m, * 12 dc, 2 dc in next s * x11, 6 dc, 1 sl st in first s (168)
- Crochet further on the side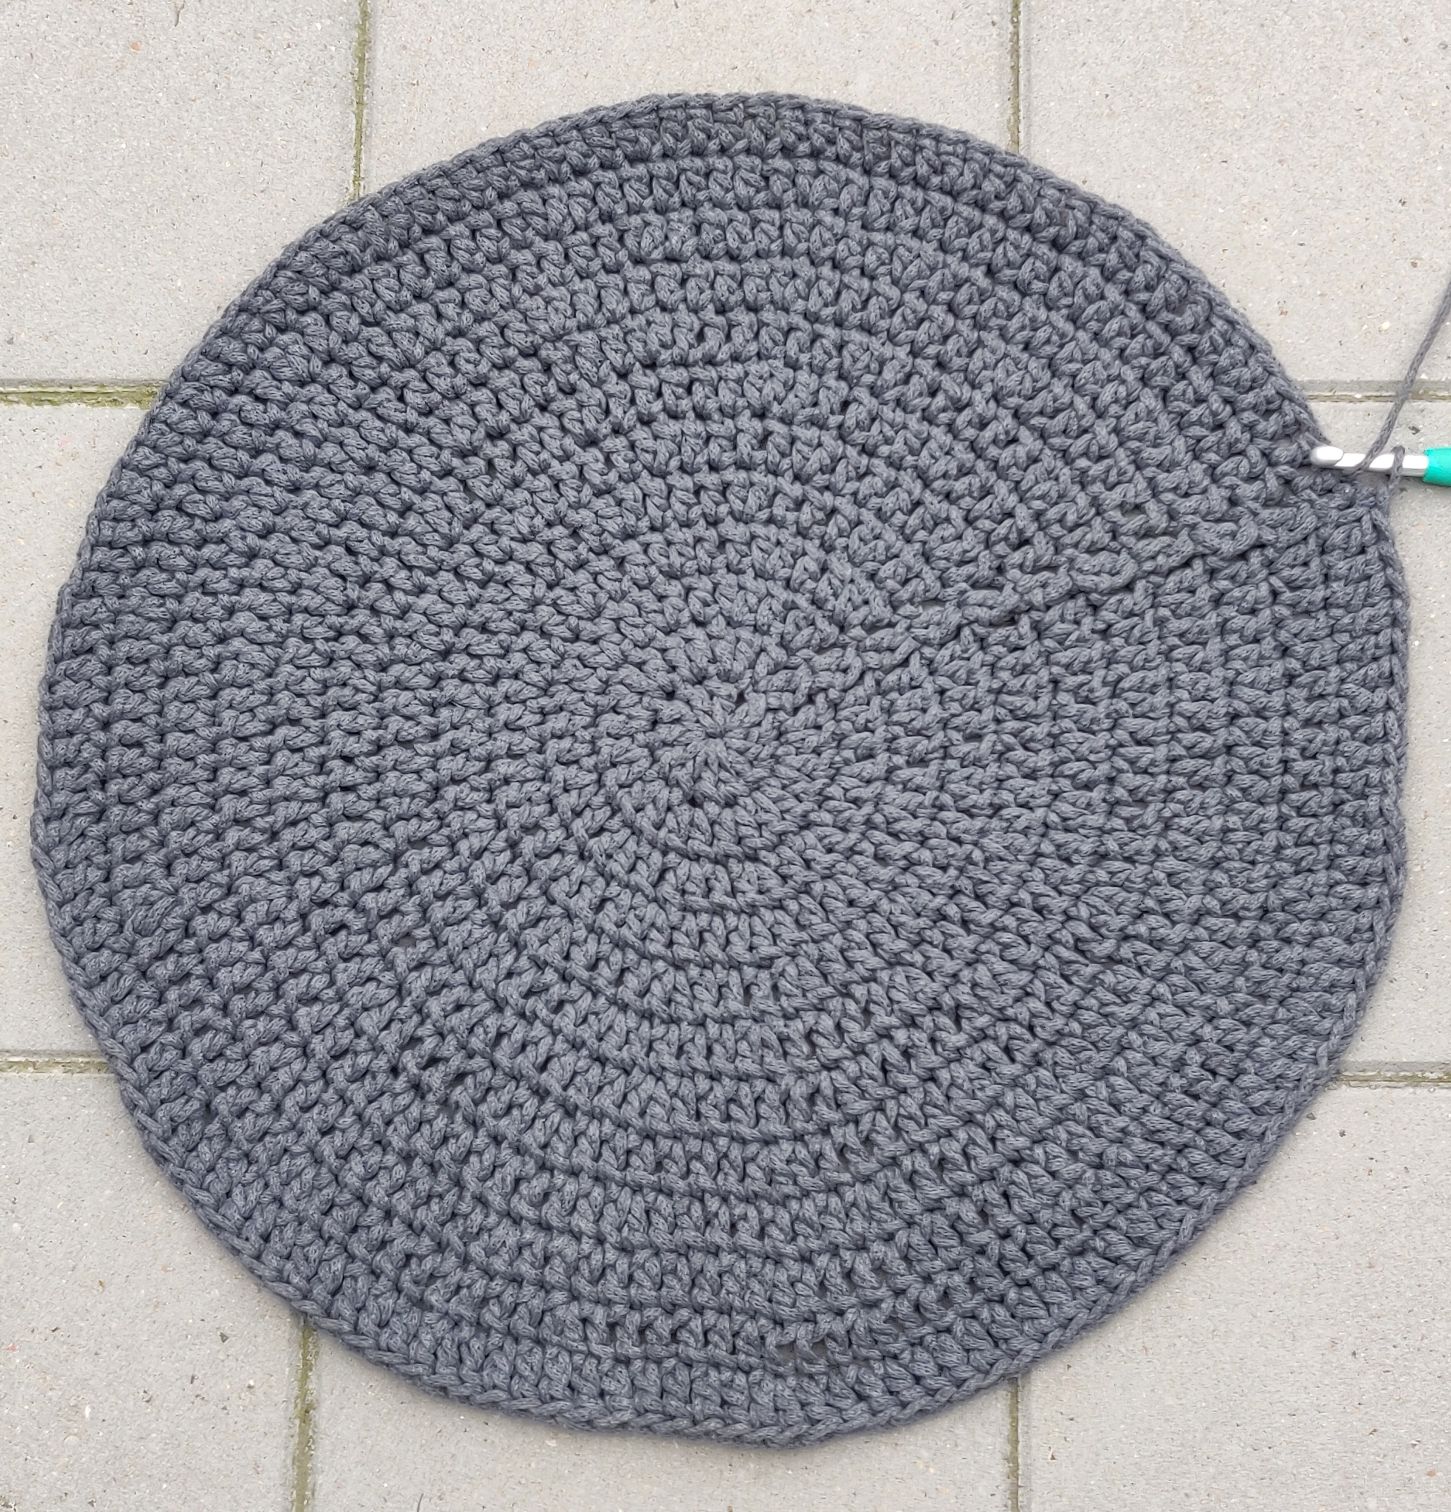
Sides
Colour 1
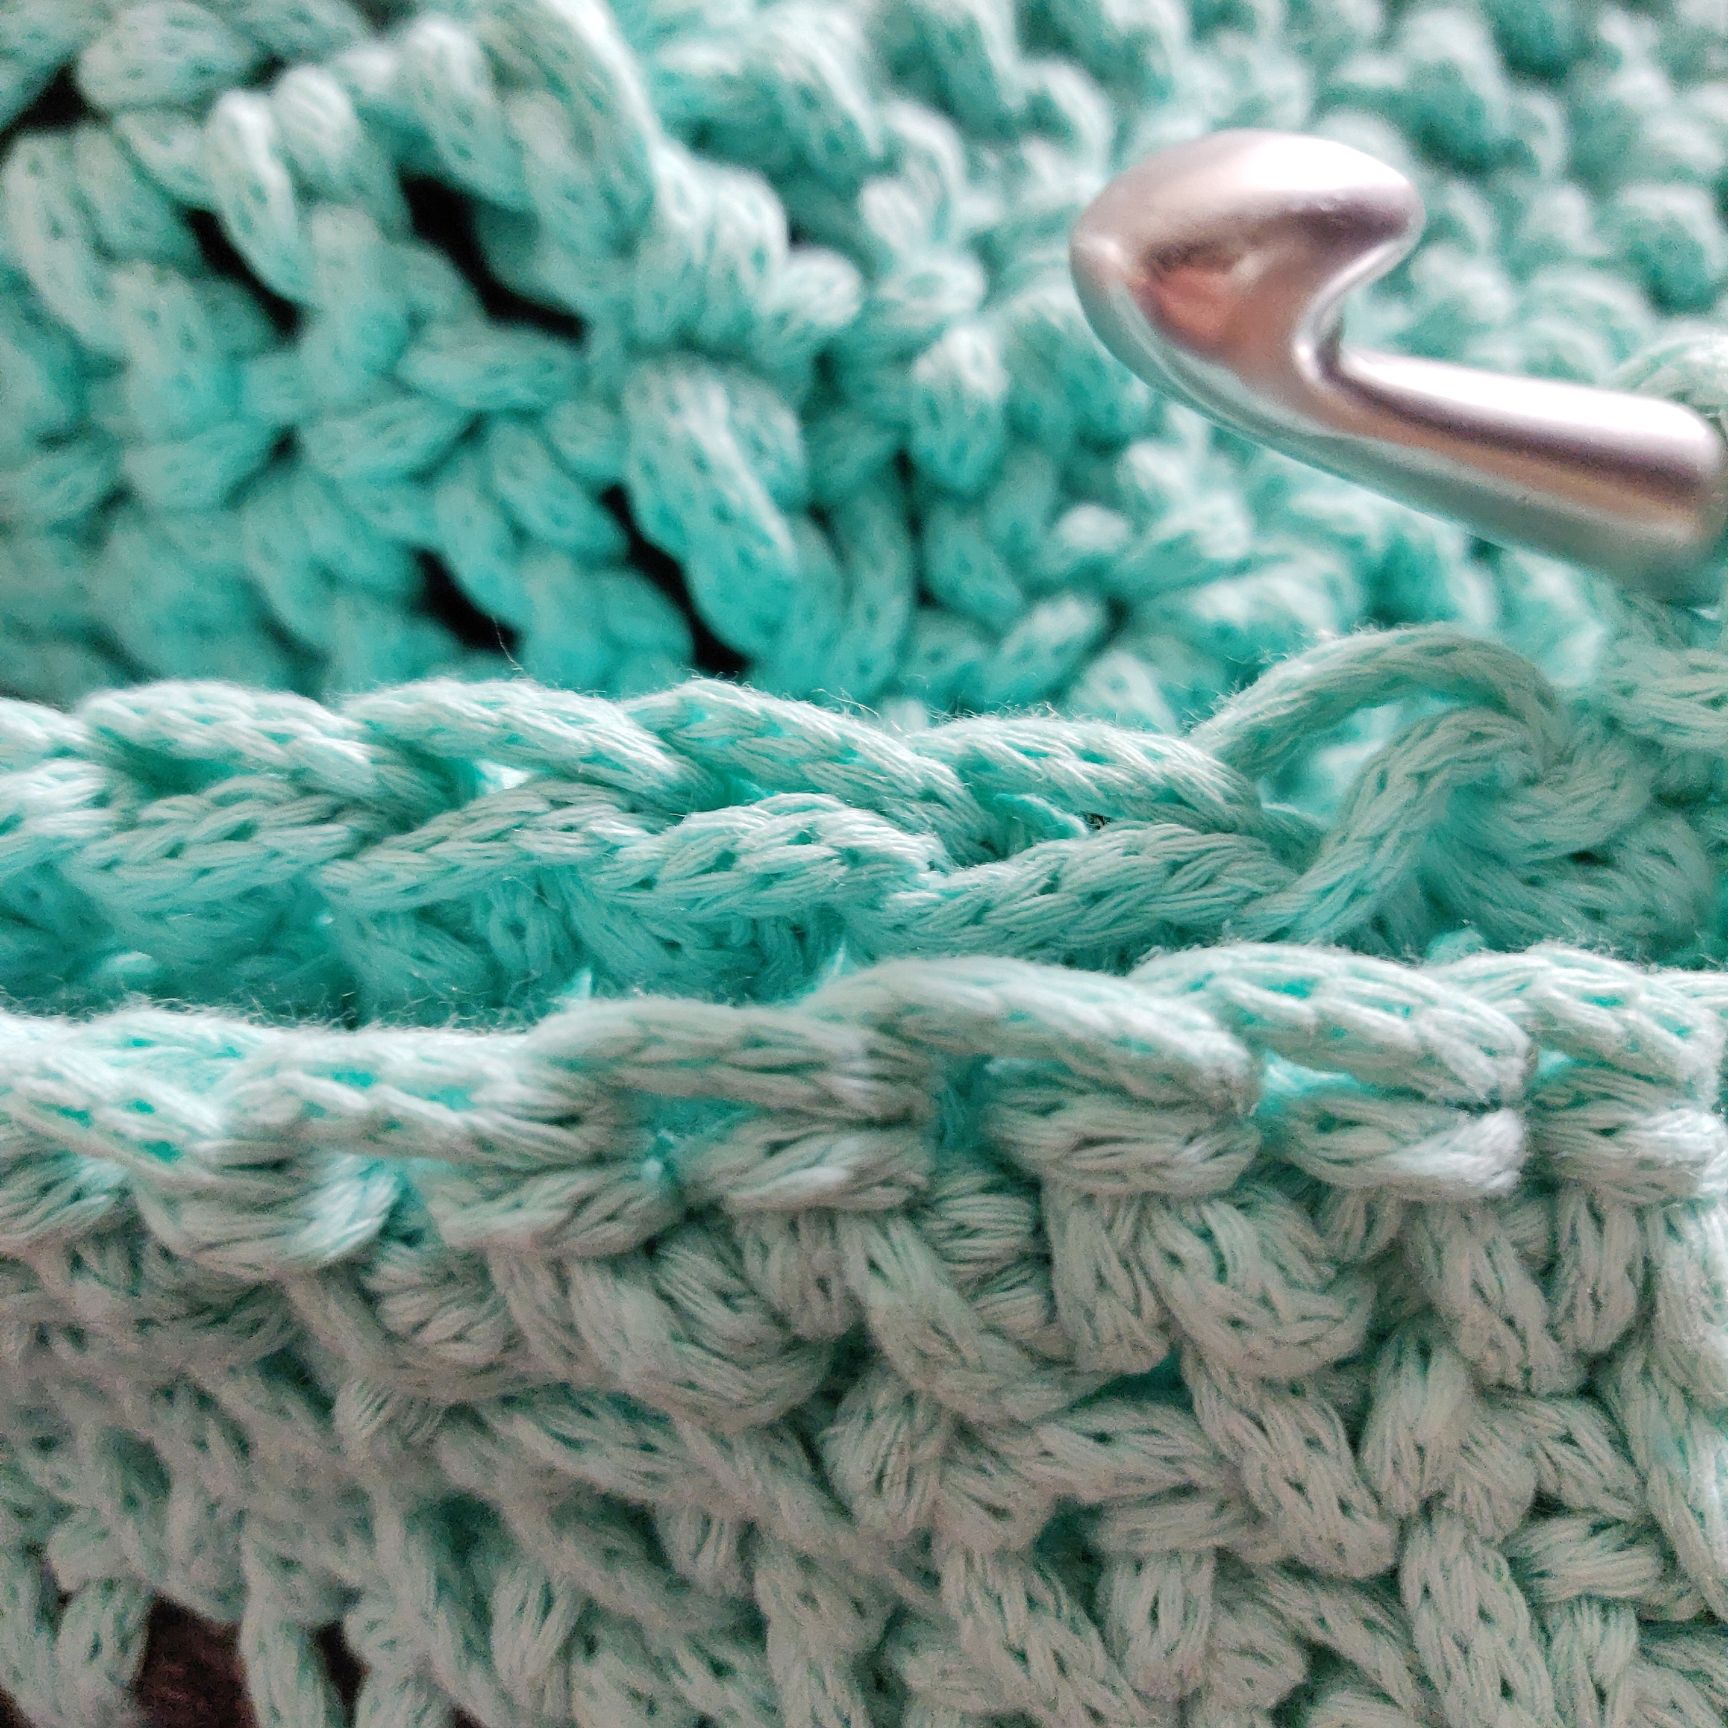
Continue on the sides. The sides are crocheted in moss stitch
15. 1 ch, in back stitch loop: 1 sc in same s as ch, 167 sc around, 1 sl st in first s (168)
- Crochet in both stitch loops
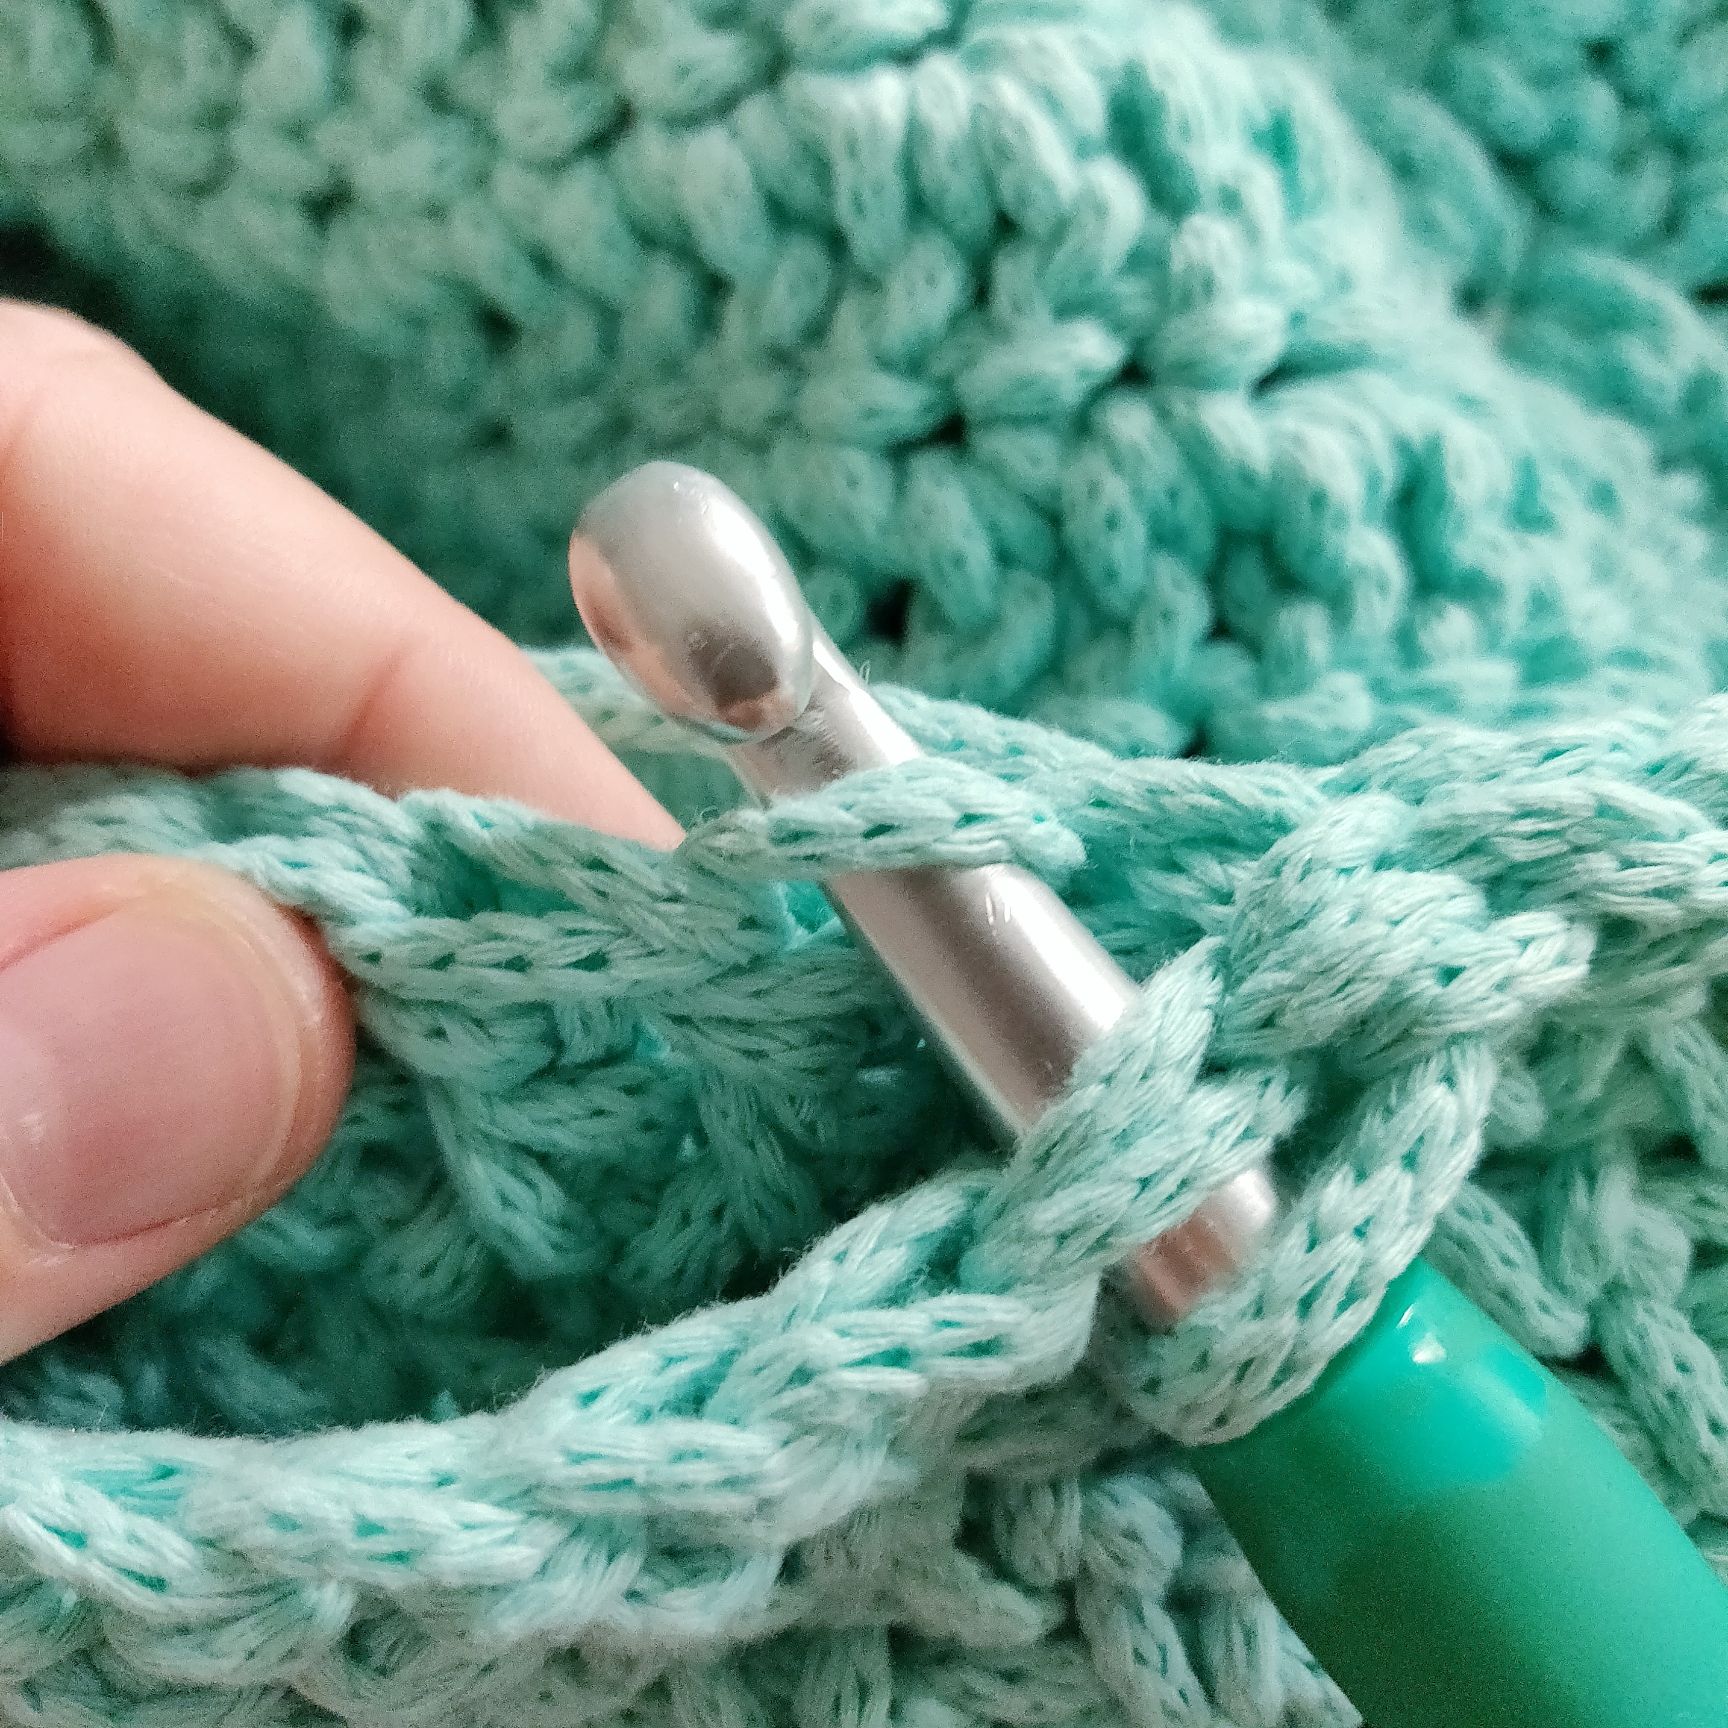
16. 1 ch, 1 sc in same s as ch, 1 ch, skip over next s, * 1 sc, 1 ch, skip over next s * x83, 1 sl st in first s (84 sc, 84 ch)
17 sl st to ch, 1 ch, 1 sc in ch, 1 ch, skip over next s, * 1 sc in ch, 1 ch, skip over next s * x83, 1 sl st in first s (84 sc, 84 ch )
18 sl st to ch, 1 ch, 1 sc in ch, 1 ch, skip over next s, * 1 sc in ch, 1 ch, skip over next s * x83, 1 sl st in first s (84 sc, 84 ch )
19. sl st to ch, 1 ch, 1 sc in ch, 1 ch, skip over next s, * 1 sc in ch, 1 ch, skip over next s * x83, 1 sl st in first s (84 sc, 84 ch )
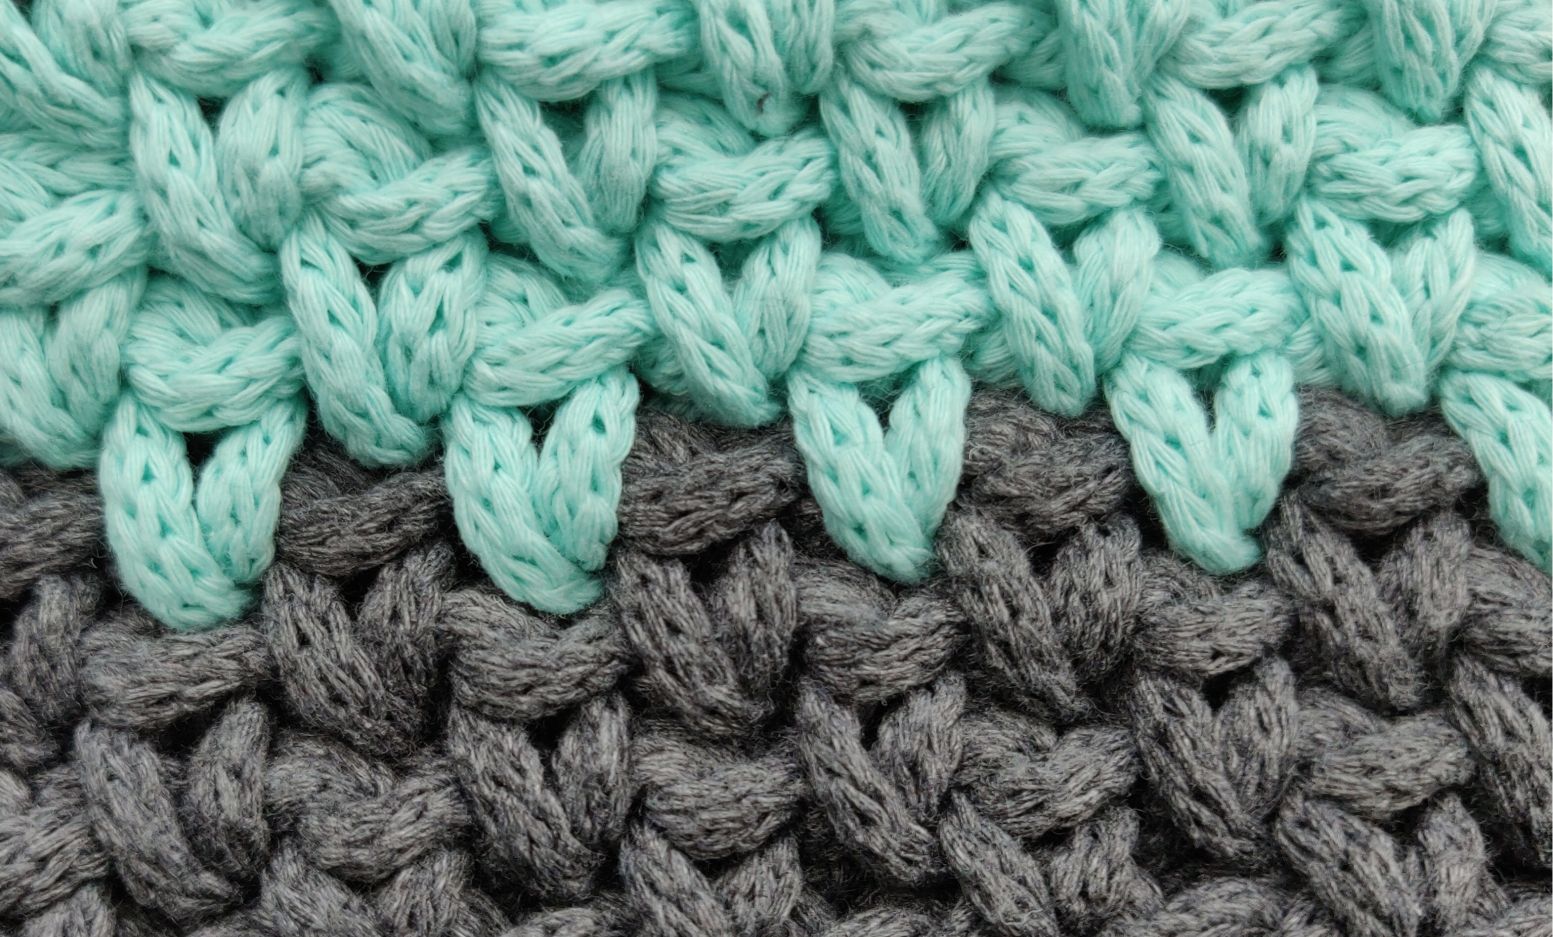
Colour 2
20 sl st to ch, 1 ch, 1 sc in ch, 1 ch, skip over next s, * 1 sc in ch, 1 ch, skip over next s * x83, 1 sl st in first s (84 sc, 84 ch )
21 sl st to ch, 1 ch, 1 sc in ch, 1 ch, skip over next s, * 1 sc in ch, 1 ch, skip over next s * x83, 1 sl st in first s (84 sc, 84 ch )
22. sl st to ch, 1 ch, 1 sc in ch, 1 ch, skip over next s, * 1 sc in ch, 1 ch, jump over next s * x83, 1 sl st in first s (84 sc, 84 ch )
23 sl st to ch, 1 ch, 1 sc in ch, 1 ch, skip over next s, * 1 sc in ch, 1 ch, skip over next s * x83, 1 sl st in first s (84 sc, 84 ch )
24 sl st to ch, 1 ch, 1 sc in ch, * 1 sc in ch, 1 sc in next s * x83 (168)
- 1 sl st in the first s, and finish the round
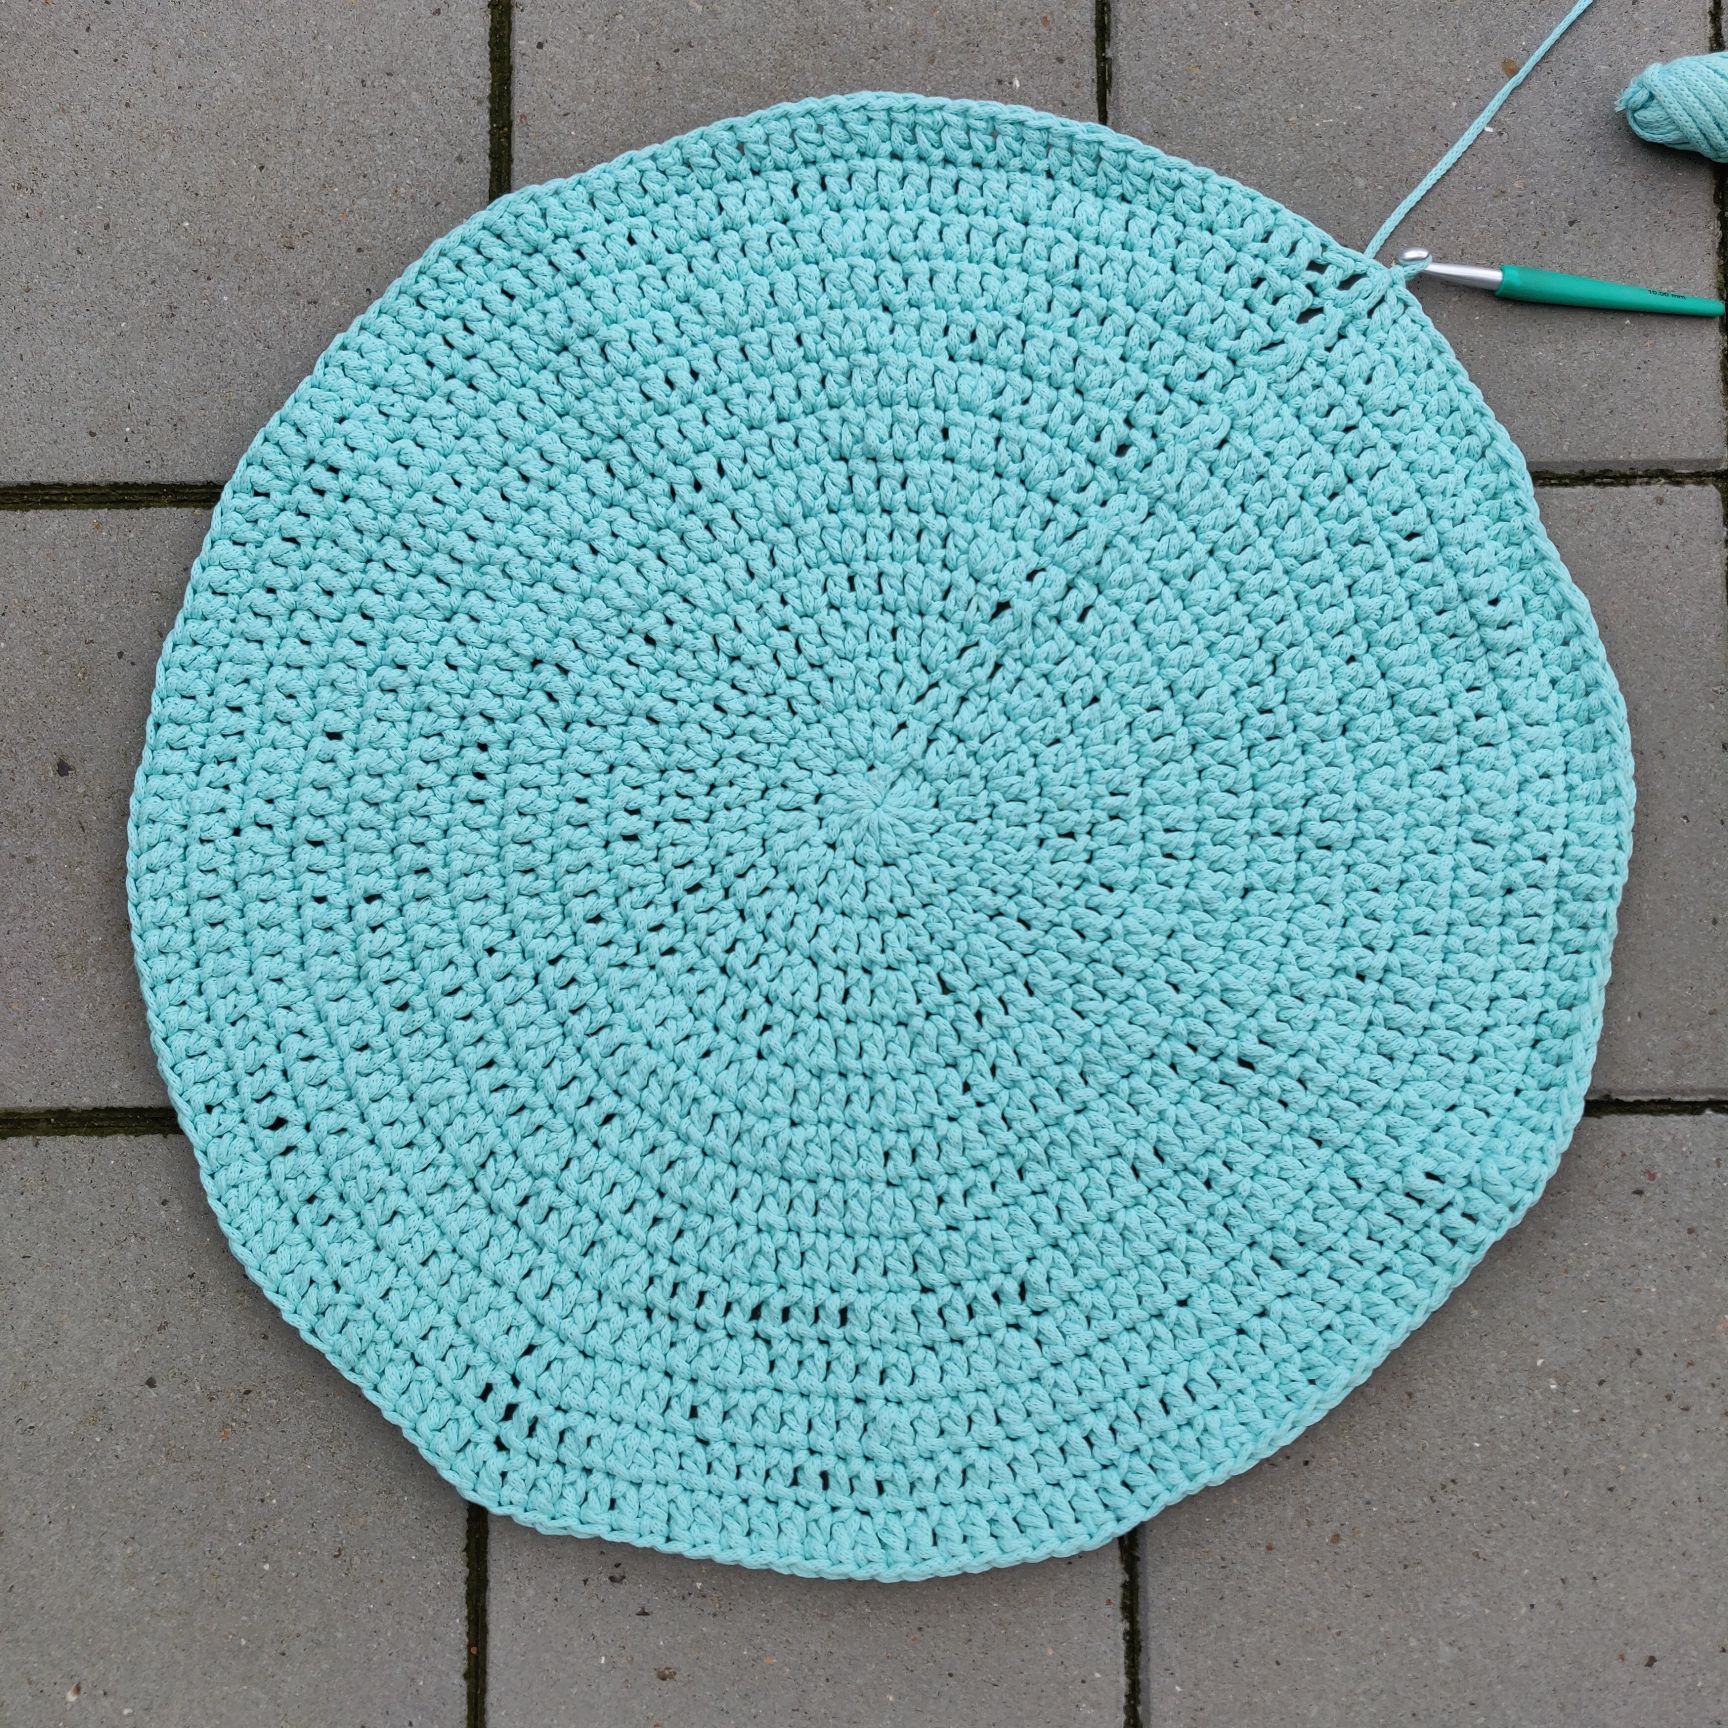
Top
Colour 2
- Start every round with 3 ch which counts as the first dc.
1. 3 ch, 11 dc in mr, 1 sl st in first s (12)
2. 3 ch, 1 dc in same s, * 2 dc in next s * x11, 1 sl st in first s (24)
3. 3 ch, 2 dc in next s, * 1 dc, 2 dc in next s * x11, 1 sl st in first s (36)
4. 3 ch, 2 dc in next s, * 2 dc, 2 dc in next s * x11, 1 dc, 1 sl st in first m (48)
5. 3 ch, 2 dc, 2 dc in next s, * 3 dc, 2 dc in next s * x11, 1 sl st in first s (60)
6. 3 ch, 1 dc, 2 dc in the next s, * 4 dc, 2 dc in the next s * x11, 2 dc, 1 sl st in the first s (72)
7. 3 ch, 4 dc, 2 sc in next s, * 5 dc, 2 dc in next s * x11, 1 sl st in first s (84)
8. 3 ch, 2 dc, 2 dc in next s, * 6 dc, 2 dc in next s * x11, 3 dc, 1 sl st in first s (96)
9. 3 ch, 6 dc, 2 dc in next s, * 7 dc, 2 dc in next s * x11, 1 sl st in first s (108)
10. 3 ch, 3 dc, 2 dc in next s, * 8 dc, 2 dc in next s * x11, 4 dc, 1 sl st in first s (120)
11. 3 ch, 8 dc, 2 dc in next s, * 9 dc, 2 dc in next s * x11, 1 sl st in first s (132)
12. 3 ch, 4 dc, 2 dc in next s, * 10 dc, 2 dc in next s * x11, 5 dc, 1 sl st in first s (144)
13. 3 ch, 10 dc, 2 dc in next s, * 11 dc, 2 dc in next s * x11, 1 sl st in first m (156)
14. 3 ch, 5 dc, 2 dc in next s, * 12 dc, 2 dc in next s * x11, 6 dc, 1 sl st in first s (168)
- Finish round, but do not cut the thread as it will be used to crochet the top to the rest of the pieces.
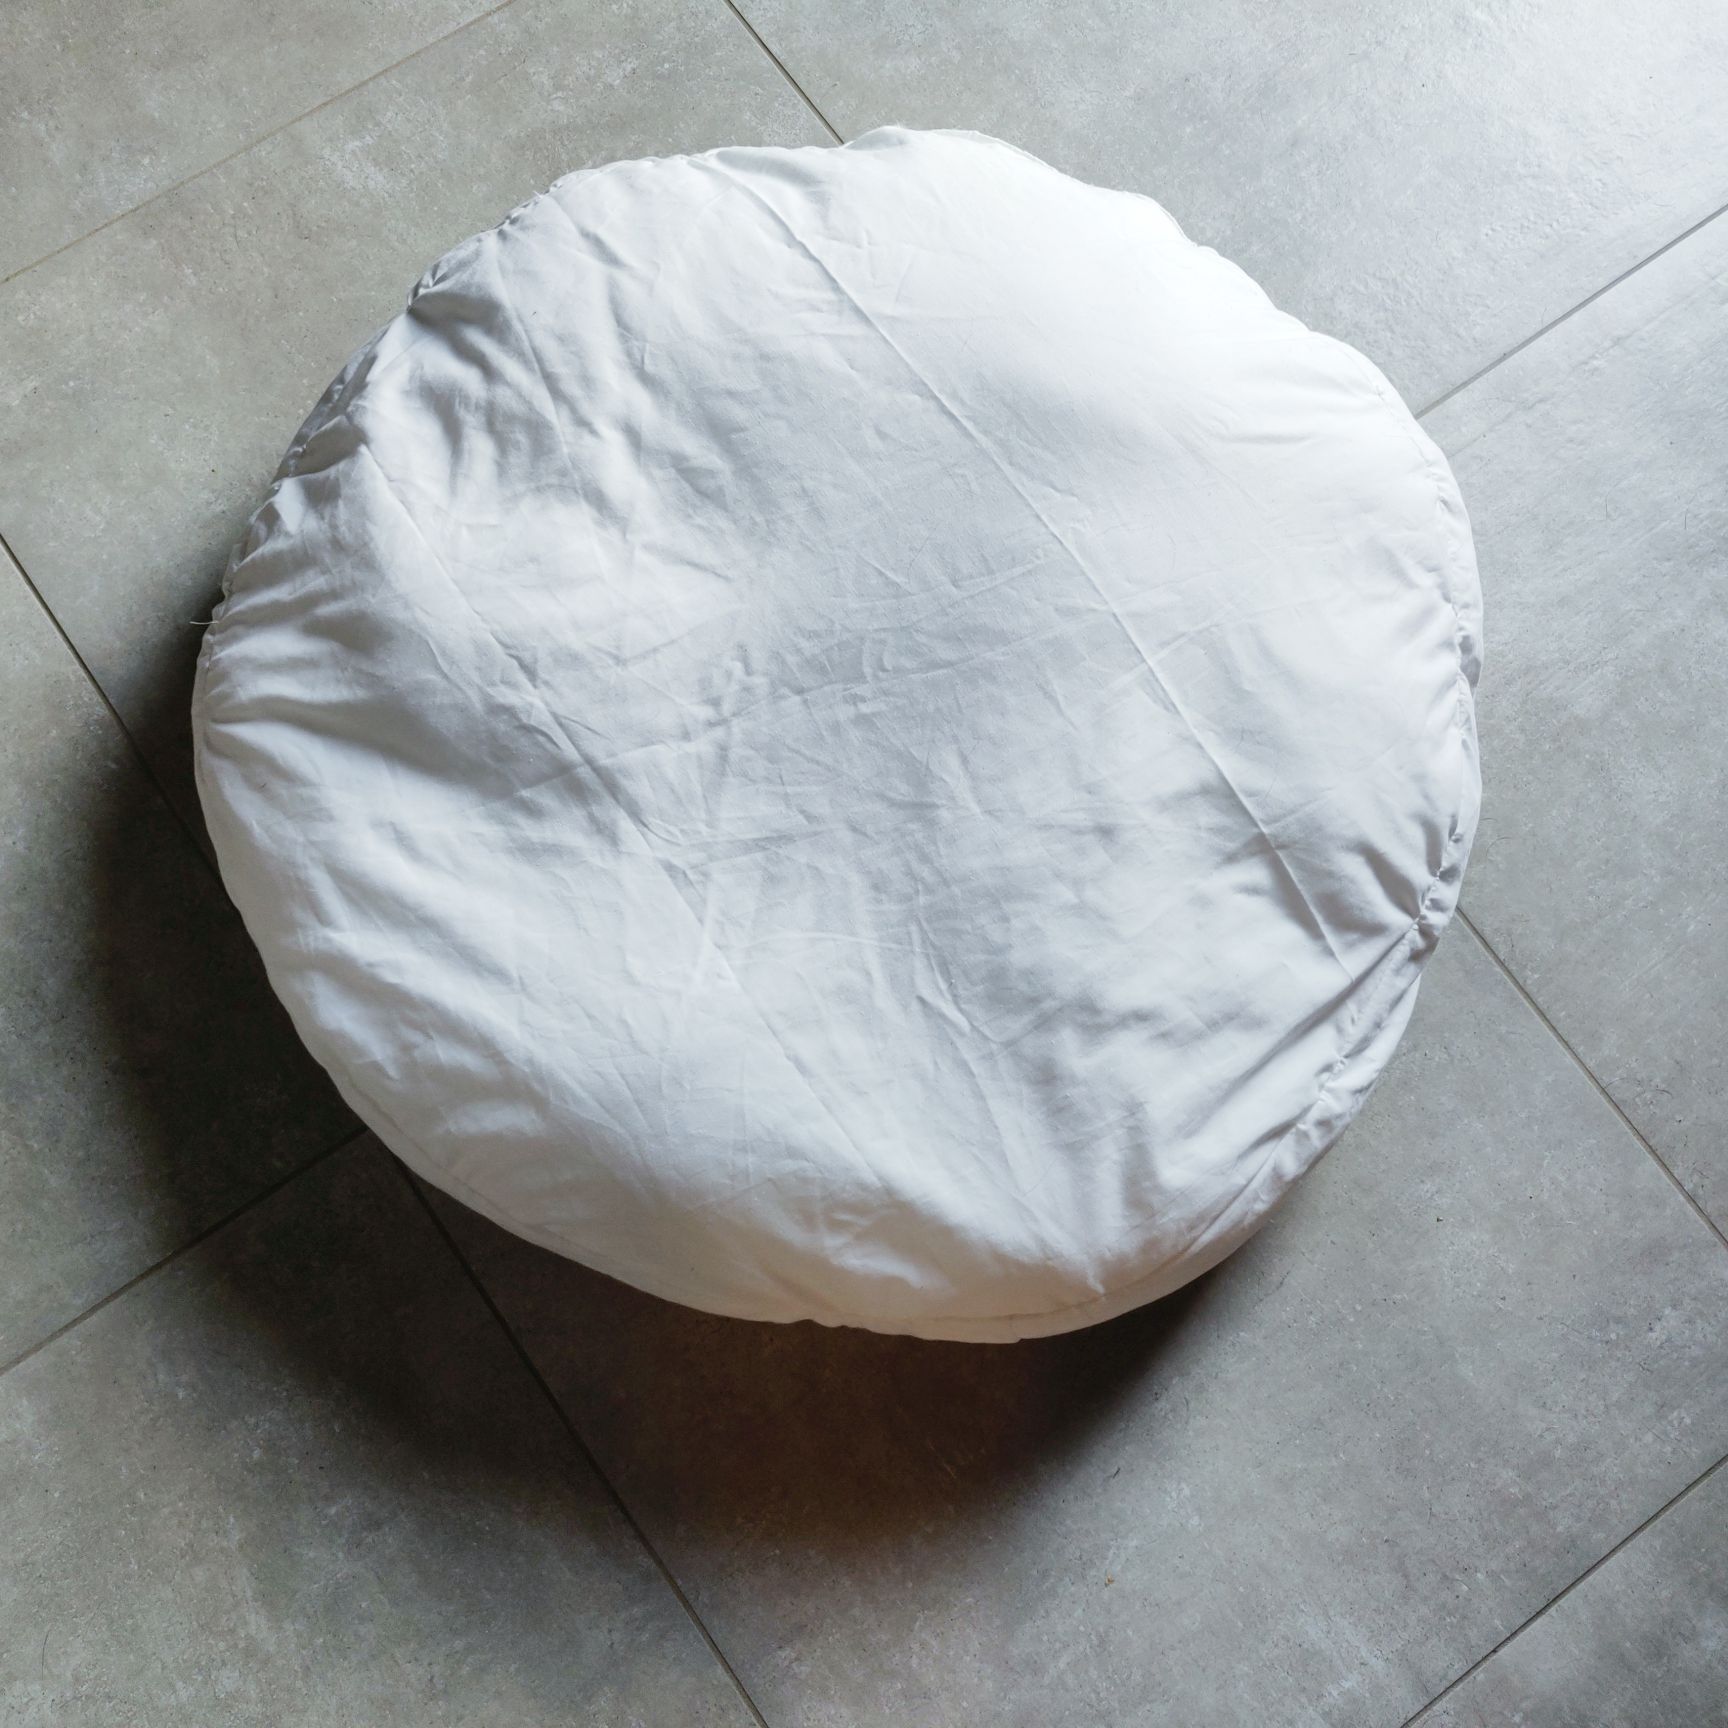
Cushion filling
You can either find a round cushion filler in the same size as the dog bed, or you can sew your own.
In the illustration here you can see where the different parts are cut from.
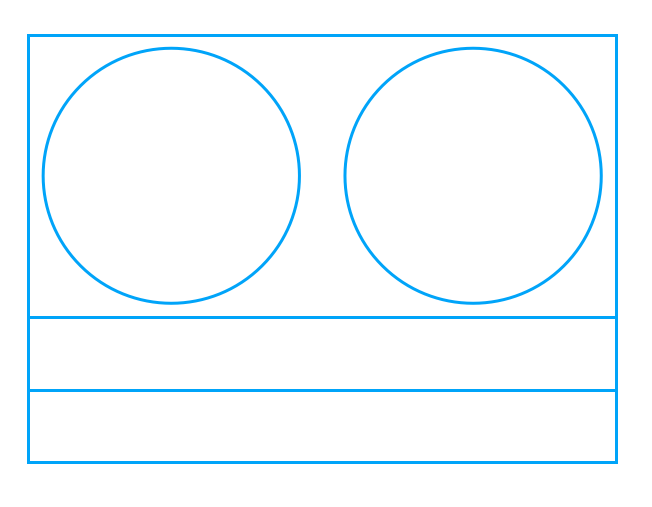
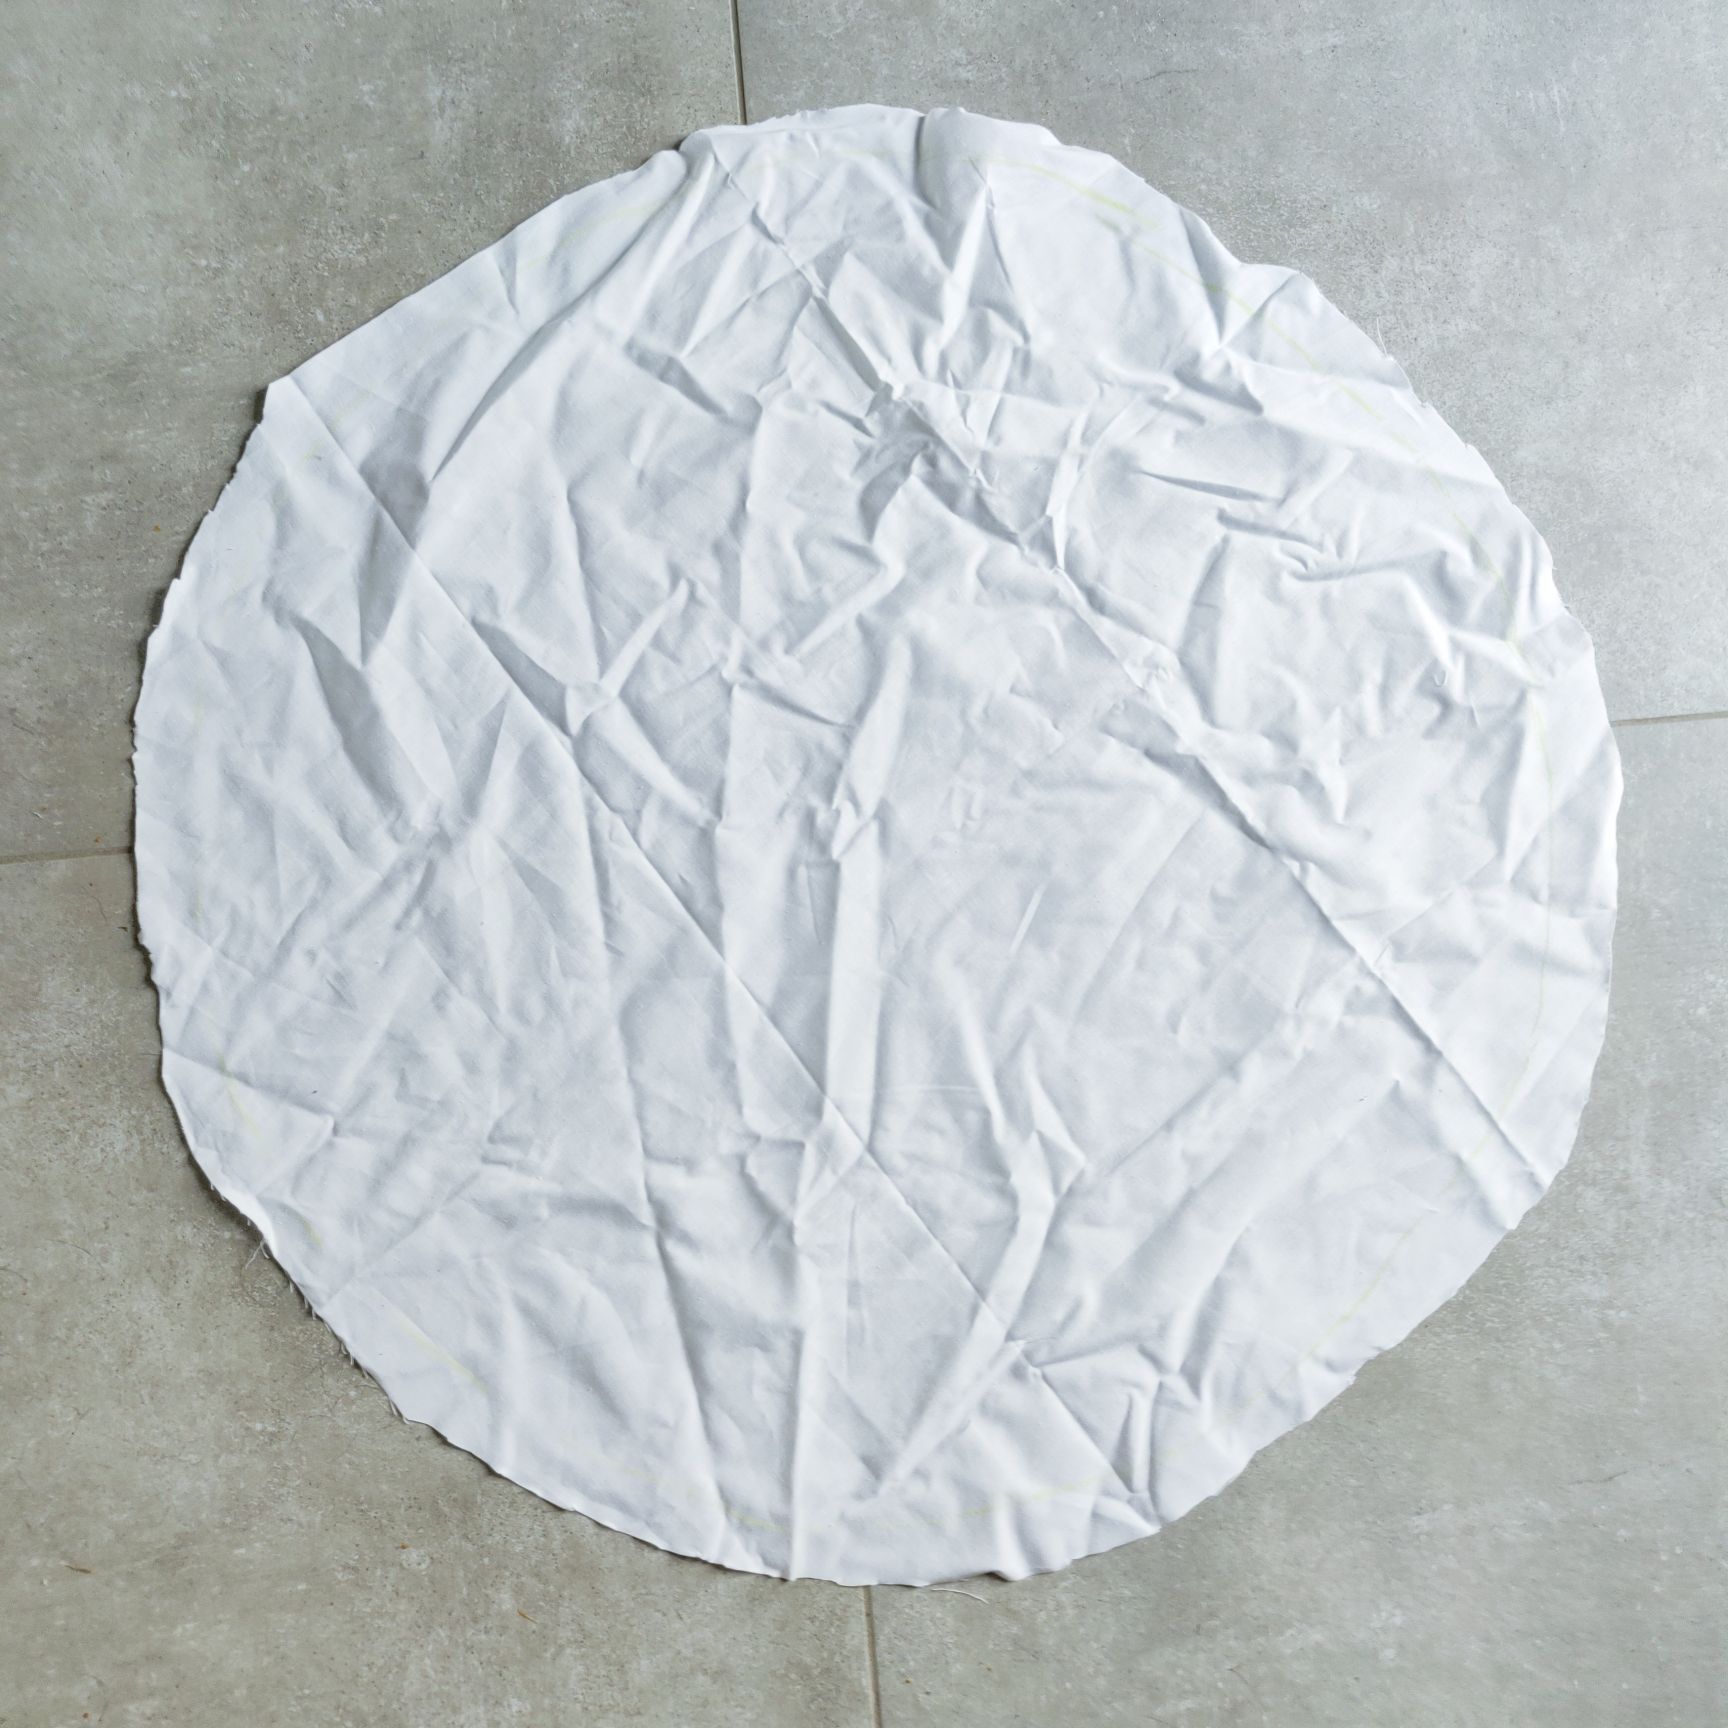
Draw two circles the same size as the top. Cut the circles approx. 1-2 cm from the edge.
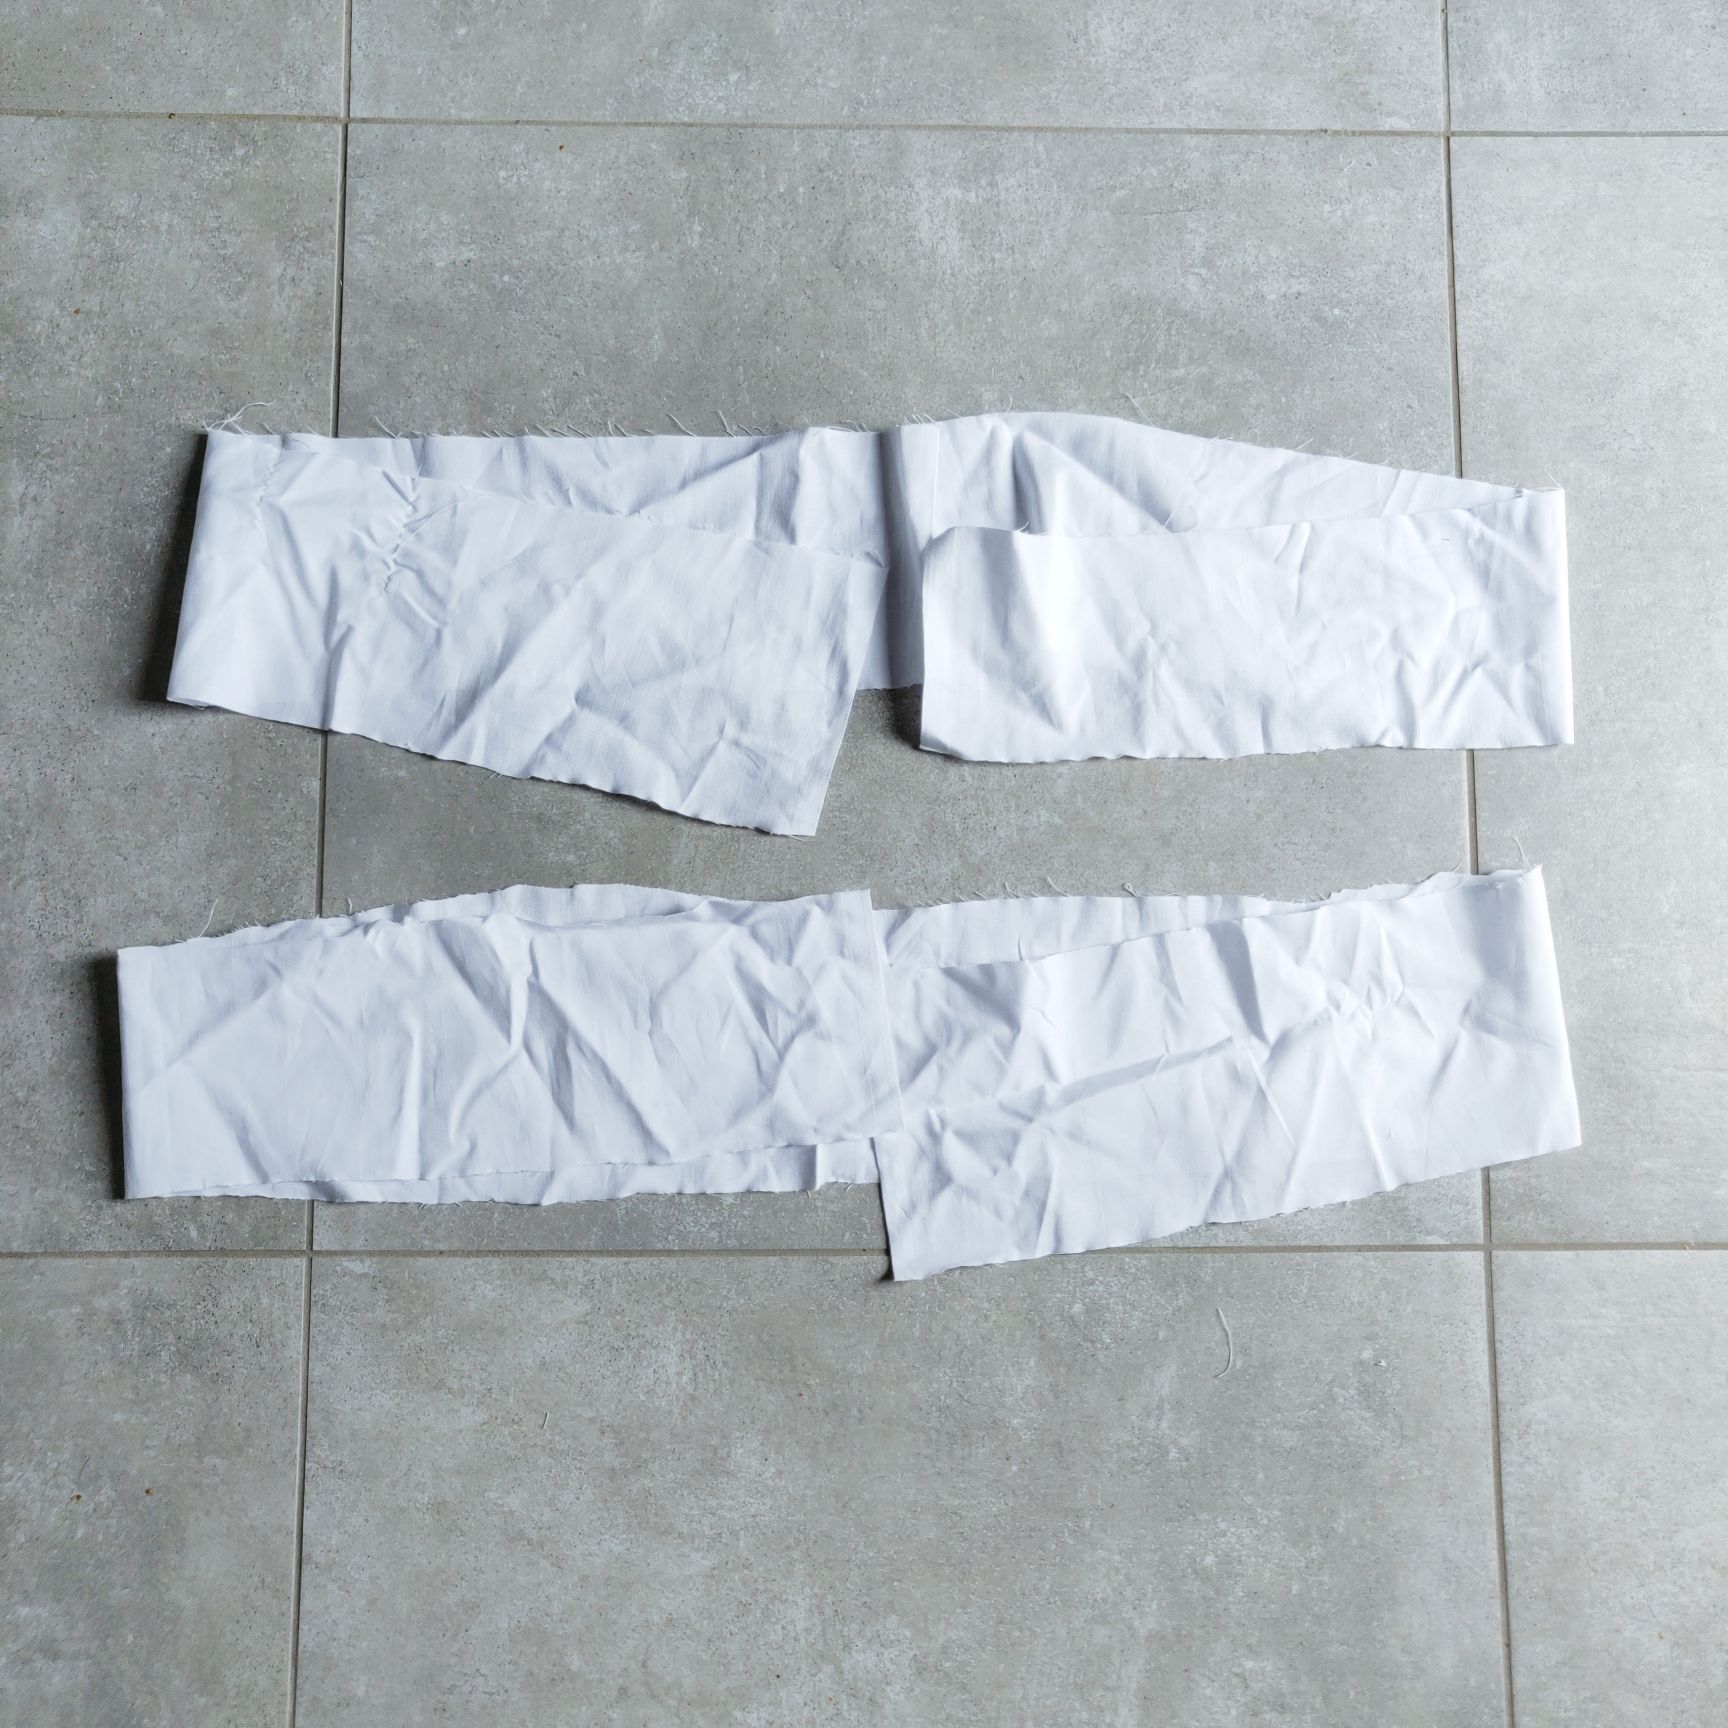
Cut a border strip about 15 cm wide and long enough to reach around the perimeter of the round circles (about 2 meters). If you do not have a piece that is 2 m long or more, then sow together two strips using the leftover fabric from the circles.
Sew edge and top together, possibly with stitching. Do the same with the bottom but be sure to flip the cover over before closing completely, fill it with 1 kg of wadding and sew the opening together.
Assembly
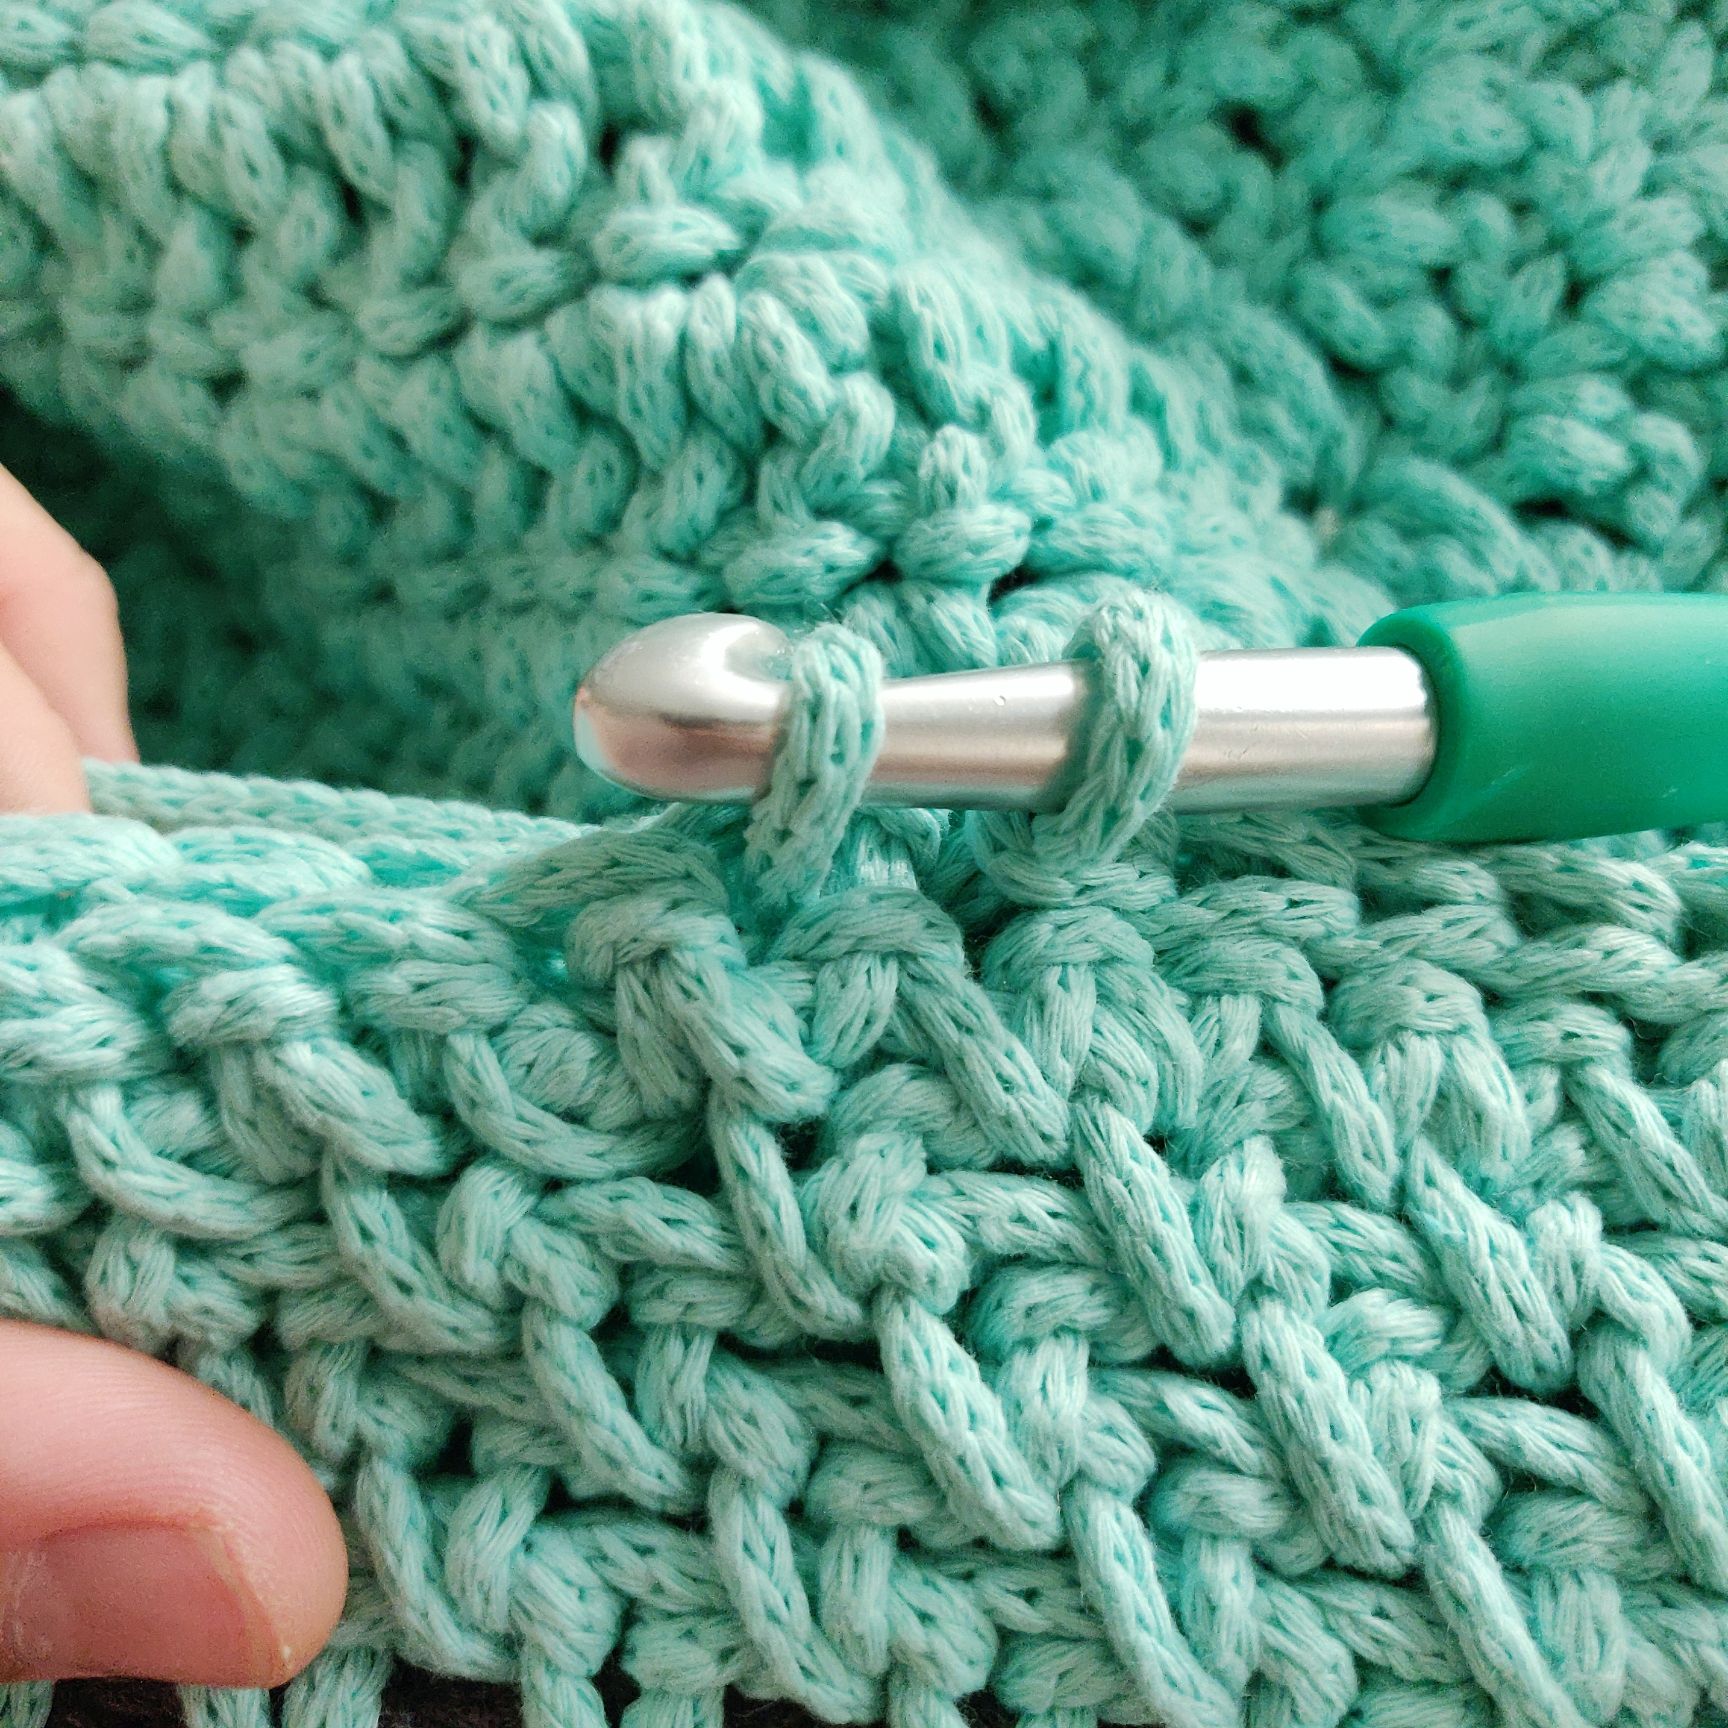
Turn the wrong side to the bottom and sides and place the top with the wrong side up.
Crochet sl st through both stitch loops on the side and the back stitch loops (the one at the top right now) at the top.
Repeat this for approx. 60 sl st around.
Turn the right side out and insert the cushion filling.
Cut a long piece of thread to sew the last stitches together. Continue sewing through both stitch loops and the back stitch loop on the top so there are a number of visible stitch loops.
Feel free to use #ritokrea and #ritohobby when sharing photos of the finished project on social media so we can see the result :-)
Designer: Mikkel Beck Hansen, Unkeldesign
 Österreich
  Belgique
  Bosna i Hercegovina
  България
  Κύπρος
  Česká republika
  Danmark
  Eesti
Eesti  Føroyar
  Suomi
Suomi  France
  Deutschland
  Ελλάδα
  Kalaallit Nunaat
  Magyarország
  Ísland
  Ireland
  Italia
  Latvija
  Liechtenstein
  Lietuva
  Lëtzebuerg
  Malta
Malta  Isle of Man
  Nederland
  Norge
Norge  Polska
  Portugal
  România
  Slovensko
  Slovenija
  España
  Sverige
  Schweiz
  Ukraїna
  United Kingdom