Free crochet pattern for Men’s hat
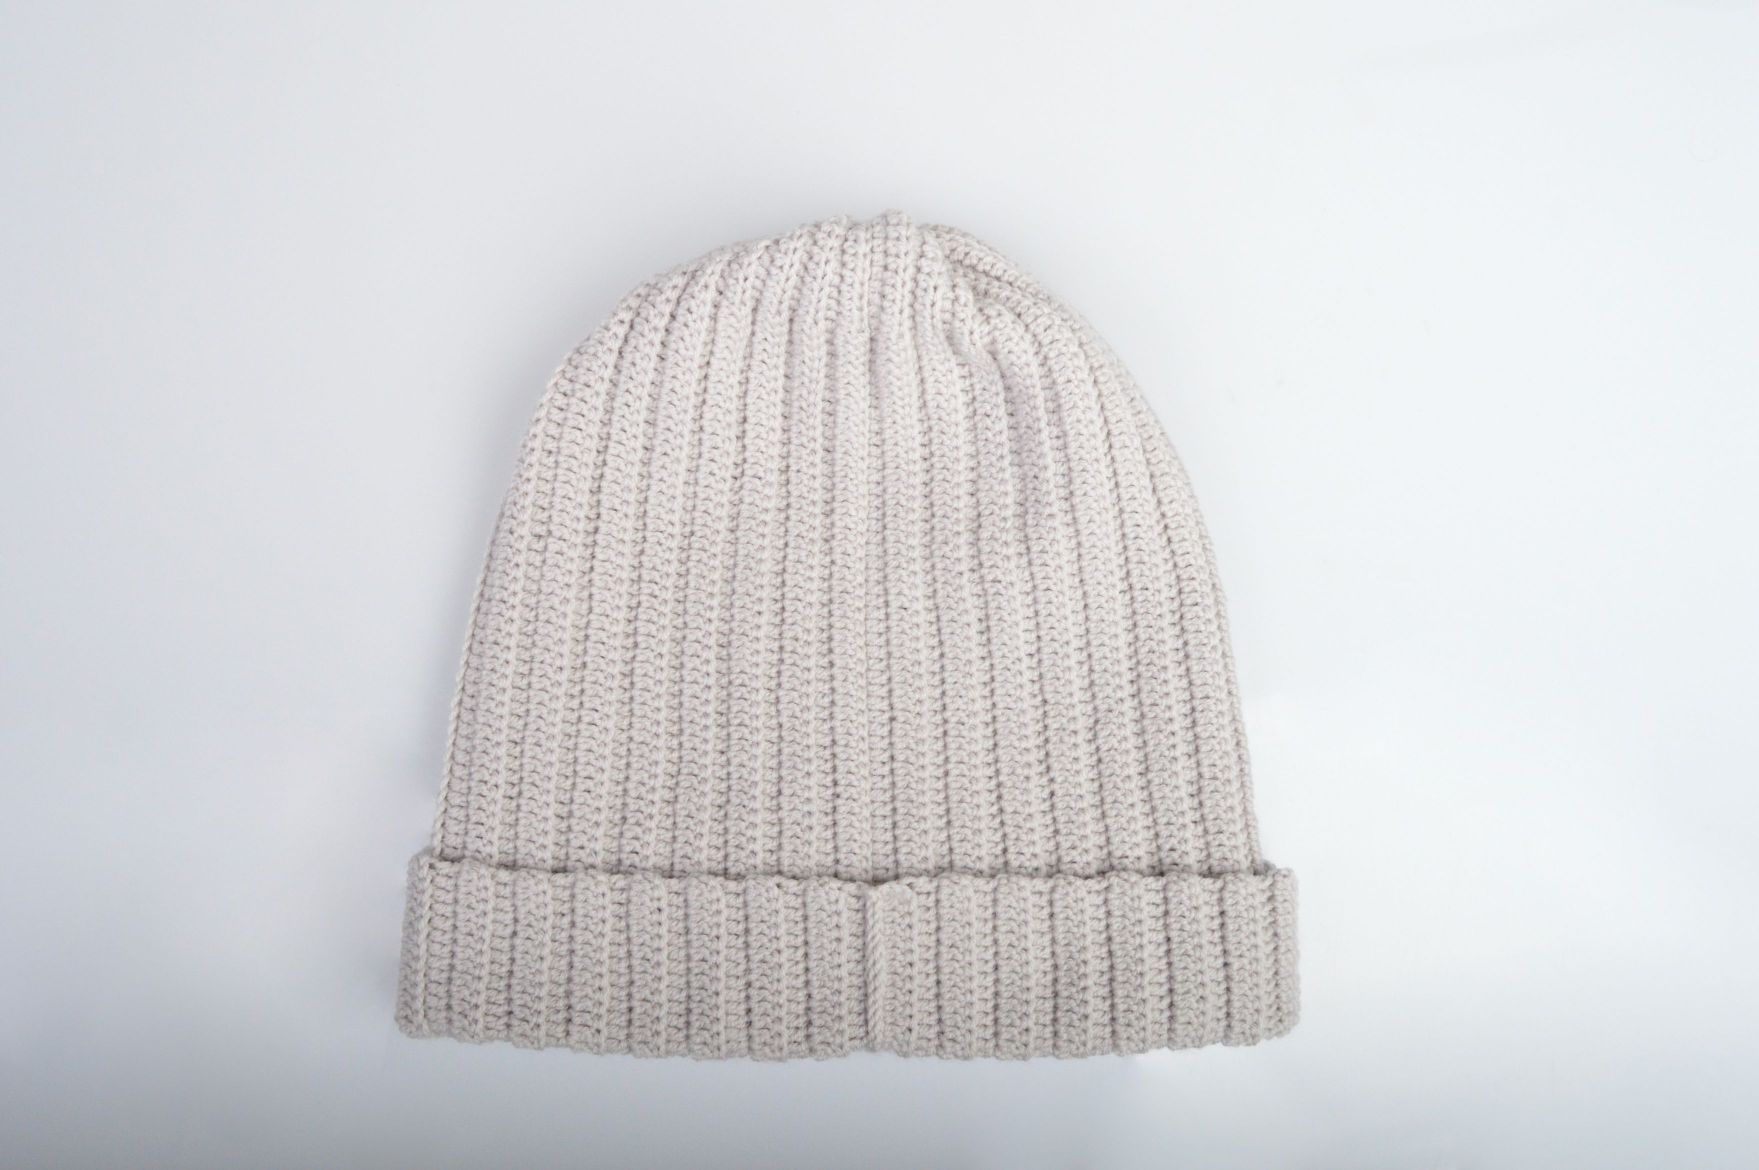
Here you get a free crochet pattern for a nice Men's hat. The hat is crocheted in Infinity Hearts Baby Merino, which is 100% soft merino wool. The pattern makes it possible for the hat to be adjusted so it can fit most men.
Measurements
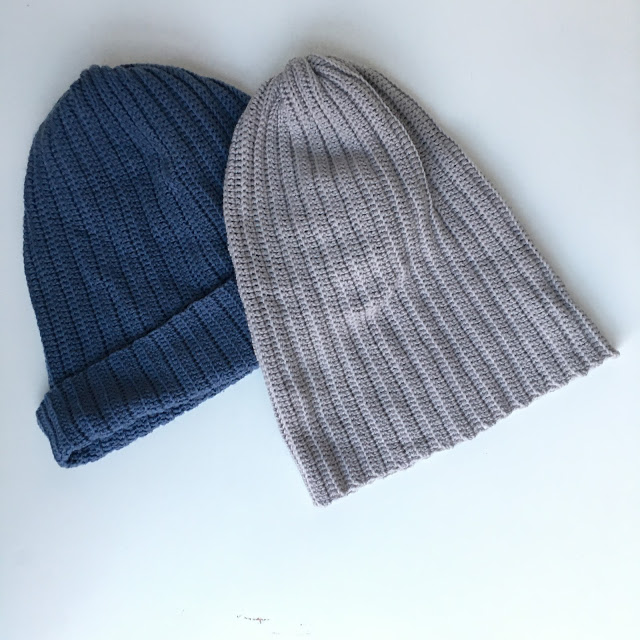
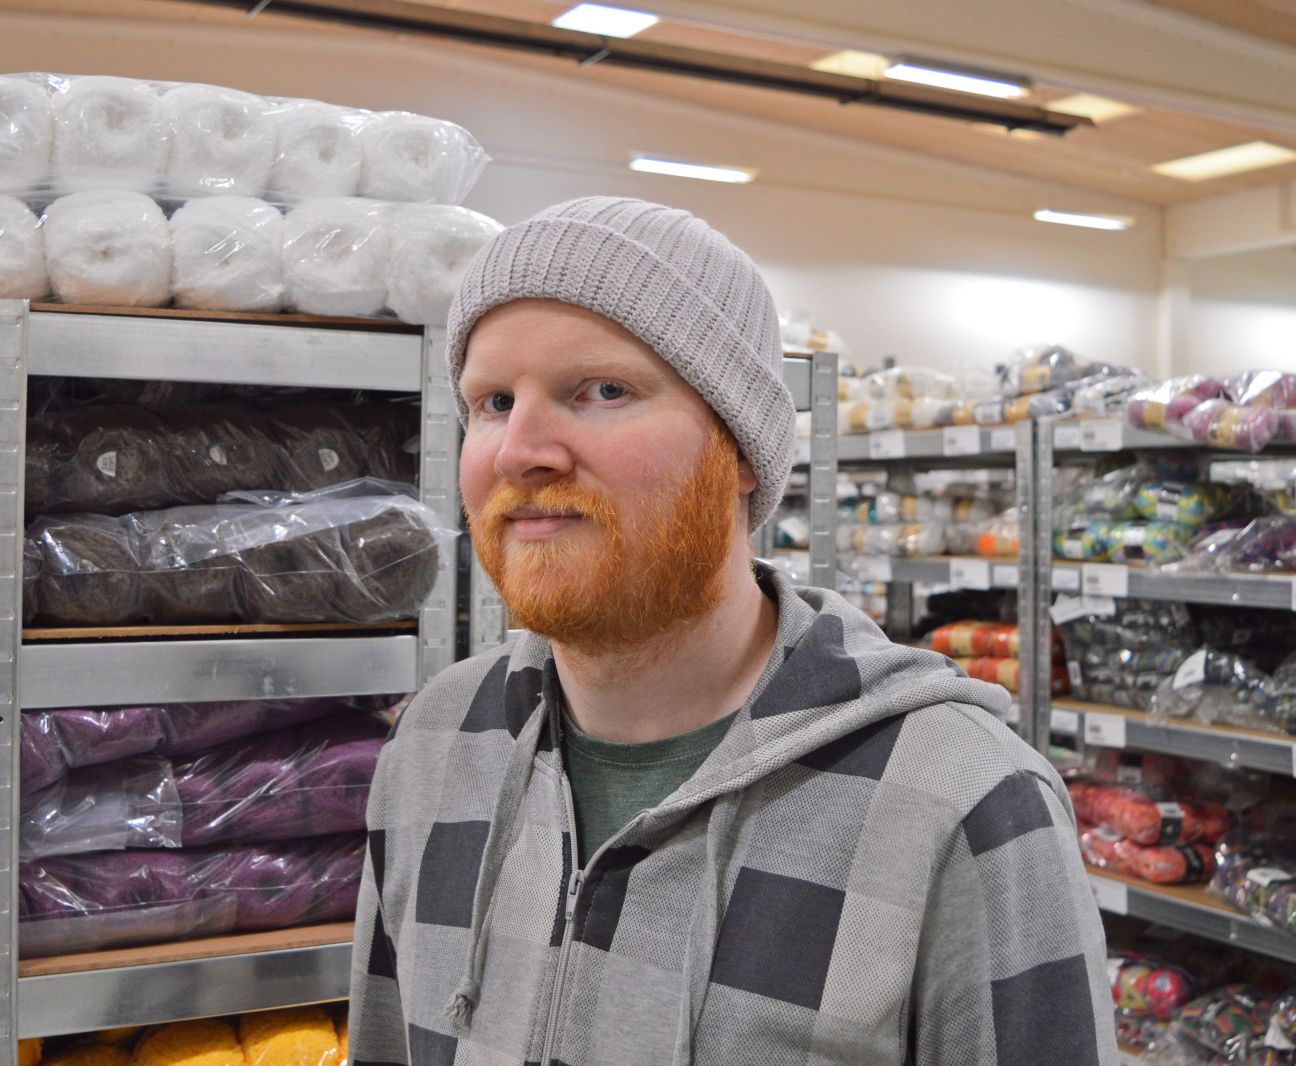
This crochet pattern is for a one-size hat that should fit a head circumference of 56-62 cm, and you will be using approx. 2 skeins of Infinity Hearts Baby Merino. It should be able to fit most men. The hat can be worn in two ways – you can either fold the edge or give it a "younger" look by leaving it as a long beanie without the fold.
You can always make fewer rows to create a smaller hat and tailor it by casting on fewer ch in the beginning to make it shorter.
In order to get the most accurate size, it is best if you measure the head circumference before you start crocheting. When determining the length of the hat, you should stretch it out when you measure it, as the hat is very stretchable. The best way to ensure that you get the right size is by measuring it on the person you are knitting for as you go along.
If you want a thicker hat, you can crochet two hats and sew them together along the edges and perhaps add some stitches on the top as well.
Tension
Always do a crochet swatch when crocheting garments! For this project, though, you can also follow measurements instead of tension.
10x10 cm = 27 tr in BLO x 15 rw
Materials
- Crochet hook size 3.00 mm
- Needle
- Measuring tape
- Scissors
Yarn consumption
- 2 skeins of Infinity Hearts Baby Merino in the colour you prefer
Abbreviations
ch - chain stitch
rw - row
tr - treble
htr - half treble
BLO - back loop
dc - double crochet
(x) - number of stitches after finished row
Instructions
Cast on 85 ch.
1st rw: Begin in 3 ch from the hook and make 71 tr, 12 htr in the last 12 ch, turn with 1 ch (83)
2nd rw: 12 htr in BLO, 71 tr in BLO, turn with 2 ch
3rd rw: 71 tr in BLO, 12 htr in BLO, turn with 1 ch
Repeat row 2+3 until the hat measures approx. 46 cm (approx. 64 rows) when unstretched. Alternatively, you can aim for a specific circumference and stretch the piece until you reach the preferred measurements.
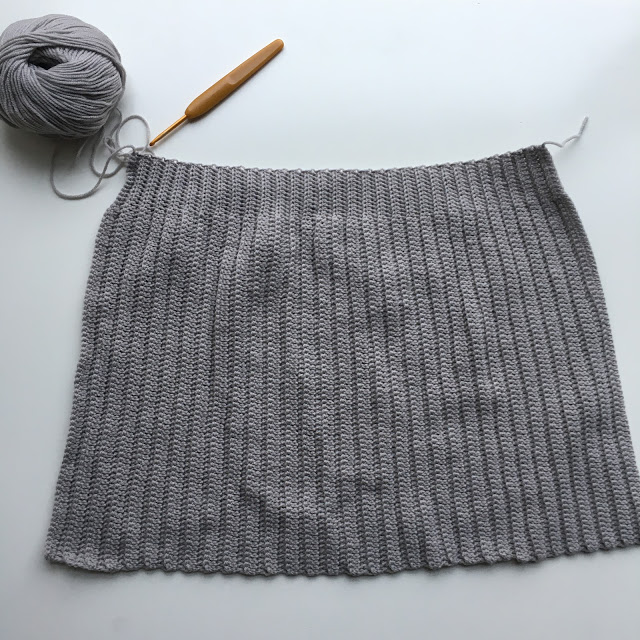
In the photo above, you can see how it should look once you have made a few rows. Here, the hook is shown at the top of the hat (by your htr). You can stretch the piece and measure it to see if it fits with the head circumference (measure the bottom – by your tr).
You finish by joining the sides from the bottom (after row 2 is finished). This is done by putting the two sides together and crocheting them together with dc. Now crochet all the way to the top and leave a long tail for sewing the top of the hat.
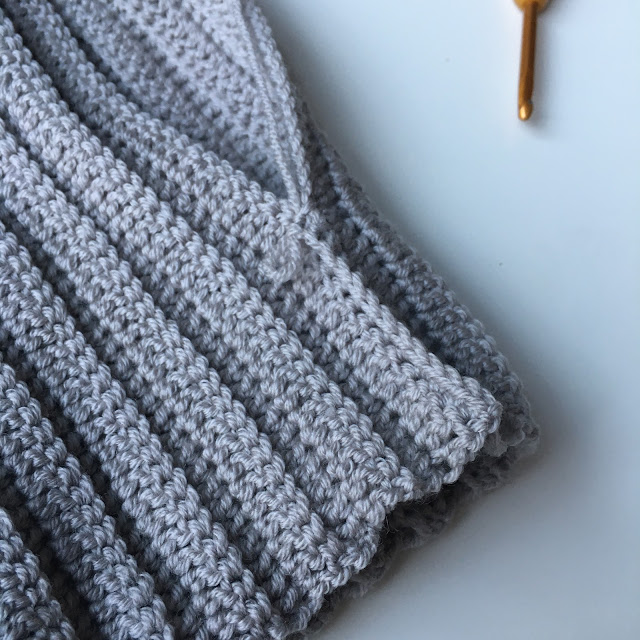
Crochet the hat with dc from the bottom up.
The side where you have crocheted everything together is now the wrong side. Stay on this side, put the needle in the leftover tail and now lead the needle alternately on the inside and outside of the treble stitches. When you have made it all the way around, you pull so that the top opening becomes smaller.

Lead the needle alternately through the inside and the outside of the half treble stitches all the way around and pull it closed.
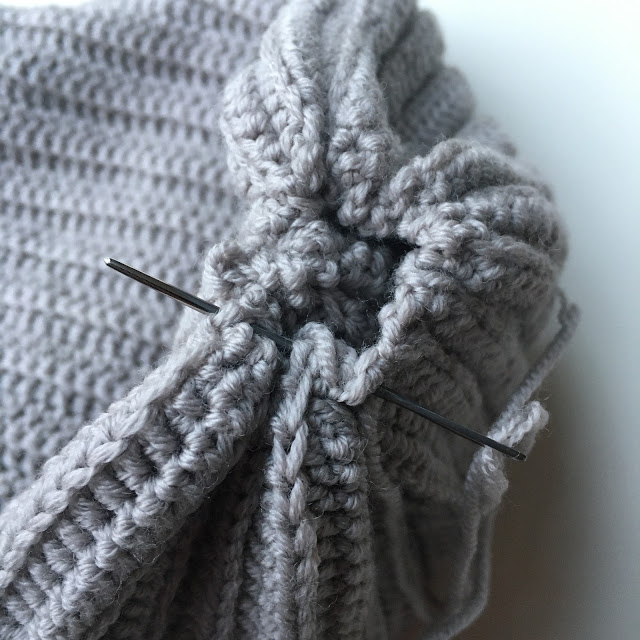
Lead the needle through the hat with bigger spaces to close the opening firmly.
Now finish by weaving in the end and your hat is ready to wear!
If you want a thicker hat, you just make one more using the same measurements and sew or crochet them together (wrong side on the wrong side) by the edge at the bottom. Then you can fold the hats into one and you now have a thicker hat!
Designed by: Annaskjemt (Anna Skjemt)
 Österreich
  Belgique
  Bosna i Hercegovina
  България
  Κύπρος
  Česká republika
  Danmark
  Eesti
Eesti  Føroyar
  Suomi
Suomi  France
  Deutschland
  Ελλάδα
  Kalaallit Nunaat
  Magyarország
  Ísland
  Ireland
  Italia
  Latvija
  Liechtenstein
  Lietuva
  Lëtzebuerg
  Malta
Malta  Isle of Man
  Nederland
  Norge
Norge  Polska
  Portugal
  România
  Slovensko
  Slovenija
  España
  Sverige
  Schweiz
  Ukraїna
  United Kingdom