Free Crochet Pattern: Dangling Christmas Elf
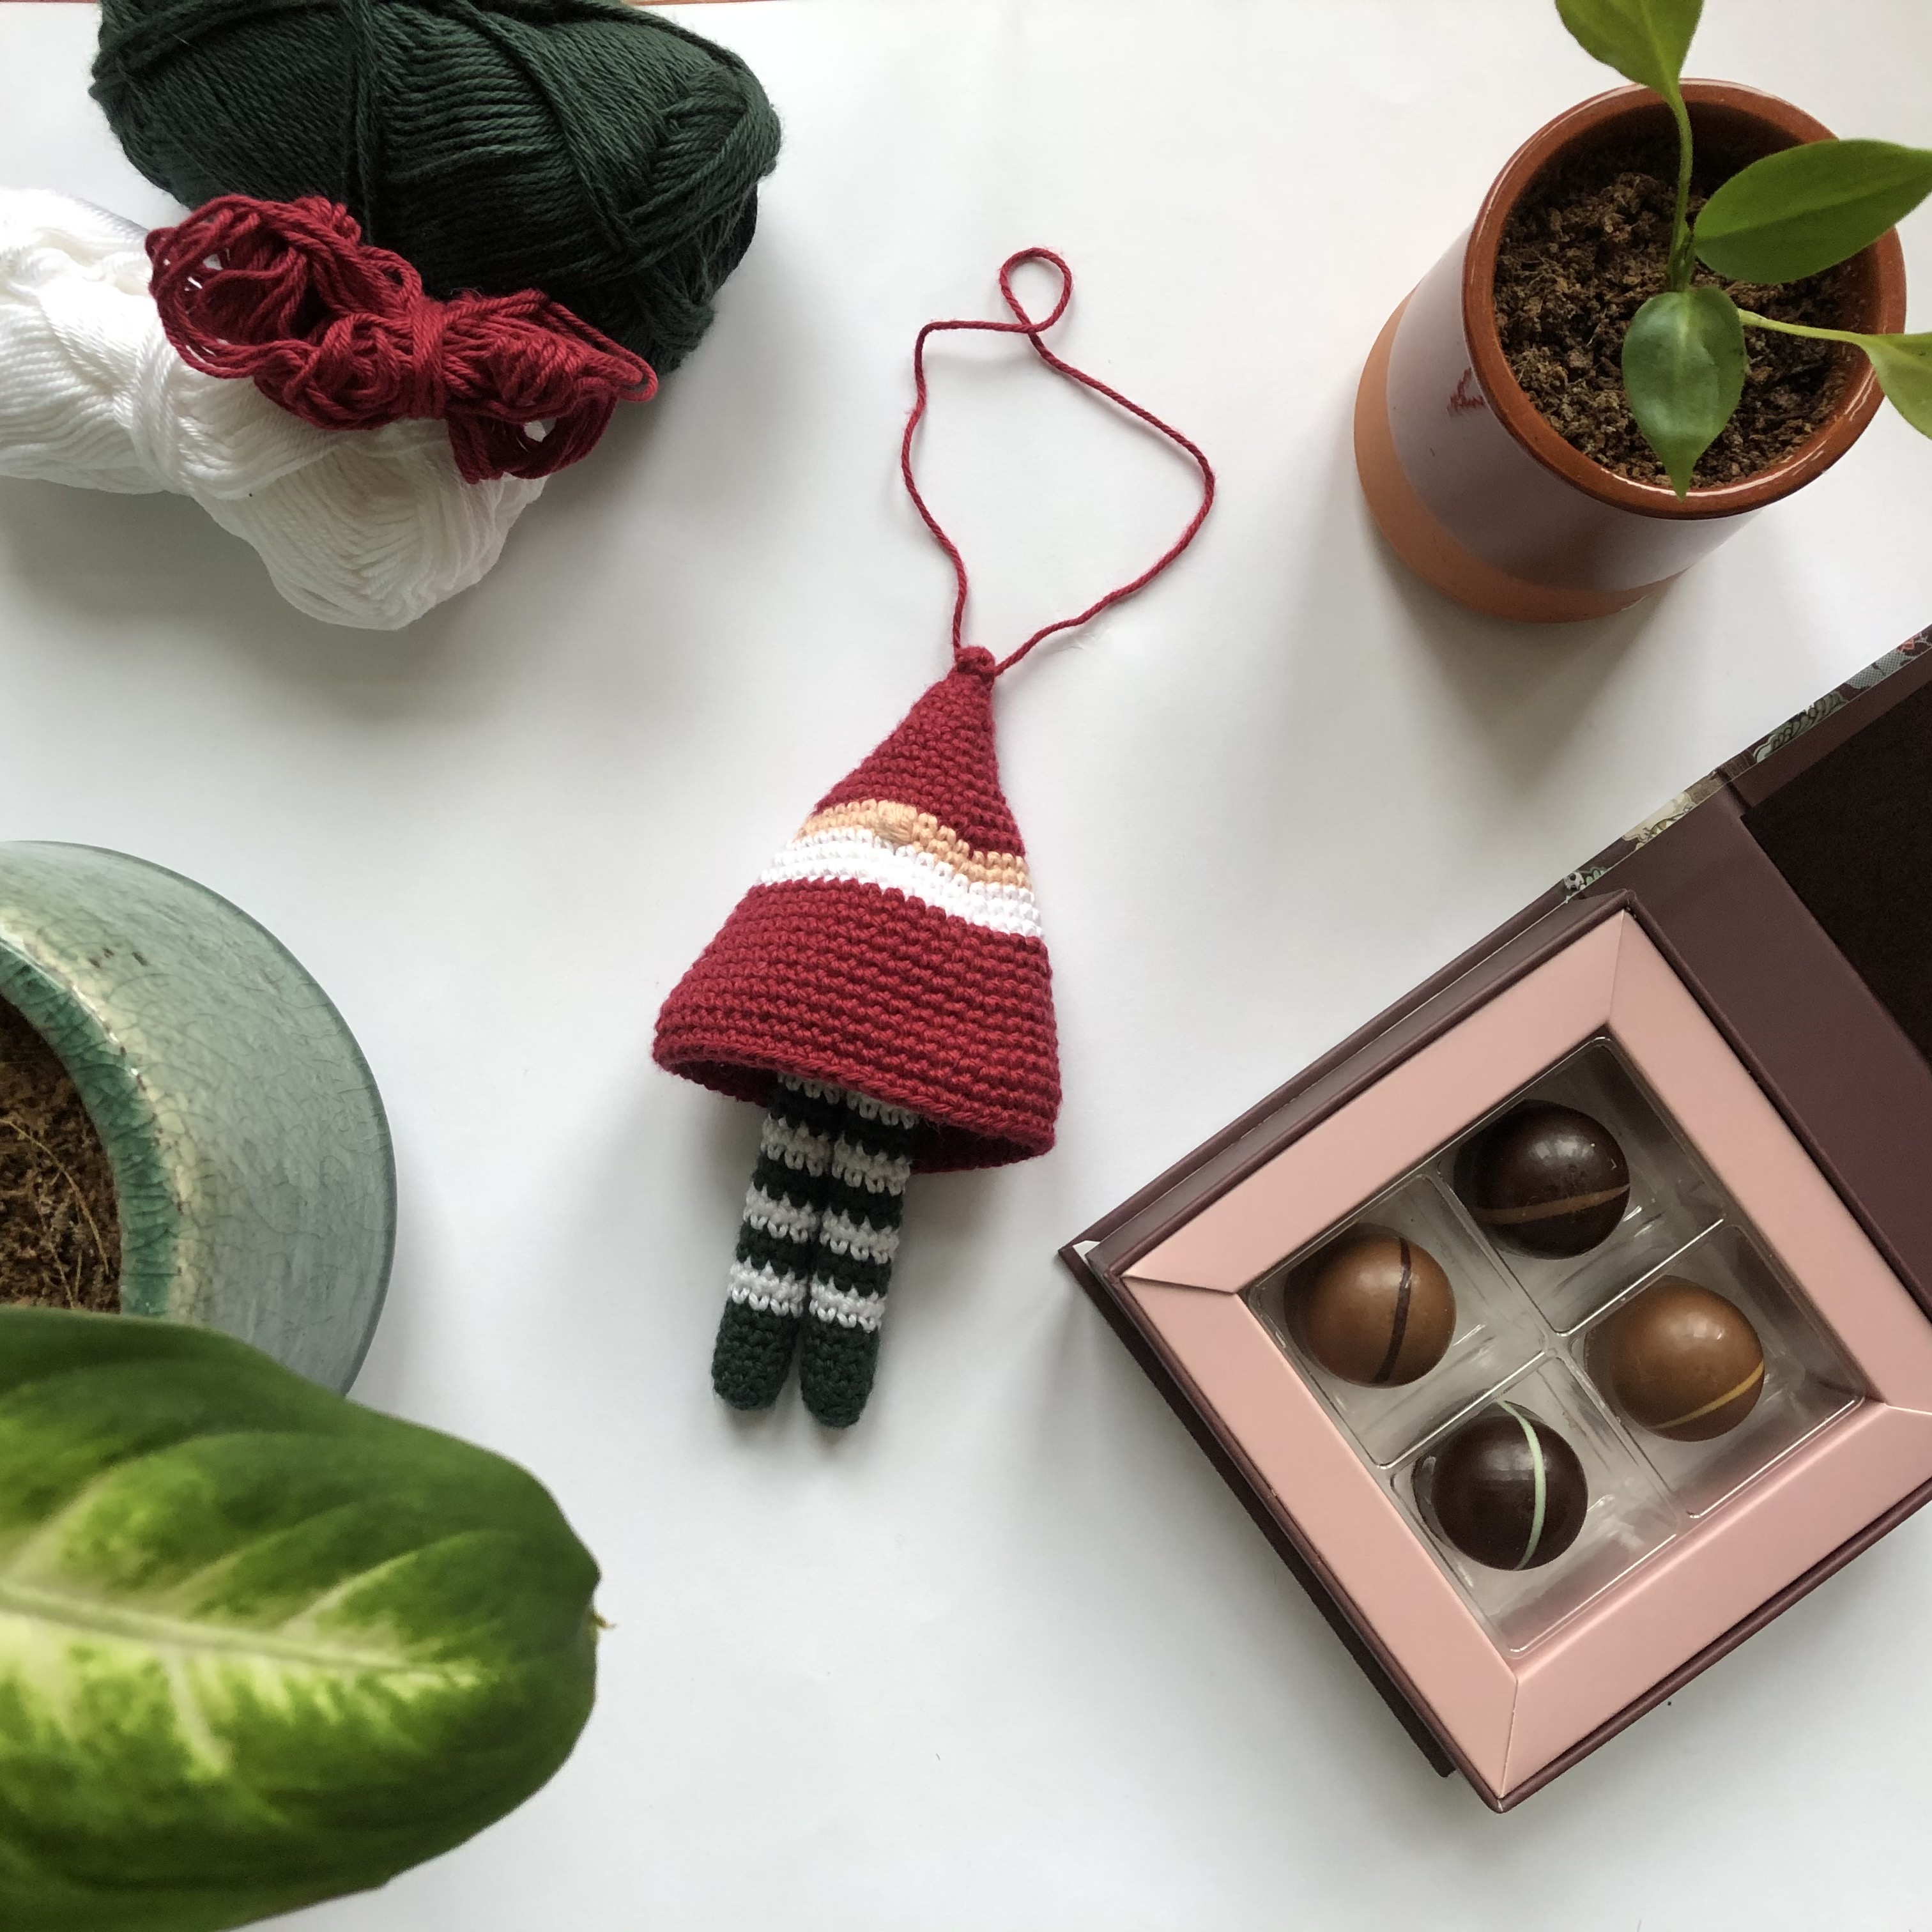
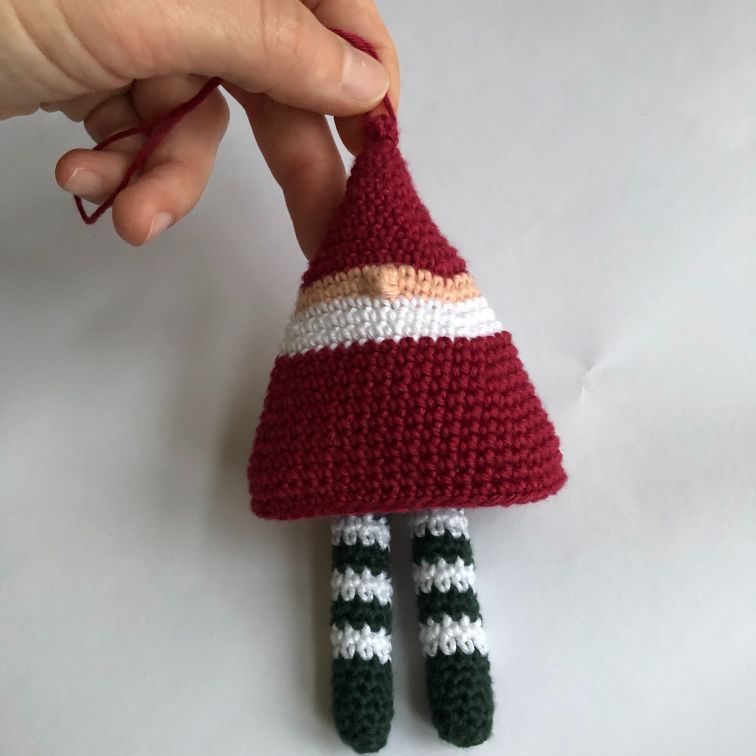
The Dangling Christmas Elf is crocheted from the top down in amigurumi style. The Christmas elf is a ‘hollow’ with legs dangling from inside like a bell. The legs are stuffed with filling. The Christmas elf is knitted using Infinity Hearts Rose 8/4, which consists of 100% cotton.
Measurements
The Christmas elf becomes approx. 15cm tall, depending on where you choose to place the legs. Note that your crochet tension may affect the size and yarn consumption.
Materials
- Crochet hook size 2.50 or 3.00mm (depending on the crochet tension)
- Darning needle for weaving in ends and sewing on the legs
- Stuffing
Yarn consumption
Infinity Hearts Rose 8/4 in the colours:
- 205 Light Peach, alternatively another skin colour (just a little leftover yarn for 2 rounds)
- 24 Bordeaux (approx. 20 grams) (the colour for the hat and the clothes)
- 241 Petrol Green (approx. 15 grams) (striped socks)
- 172 Off White (approx. 15 grams) (striped socks and beard)
Abbreviations
dc = double crochet
inc = increase
sl st = slip stitch
Technical explanation
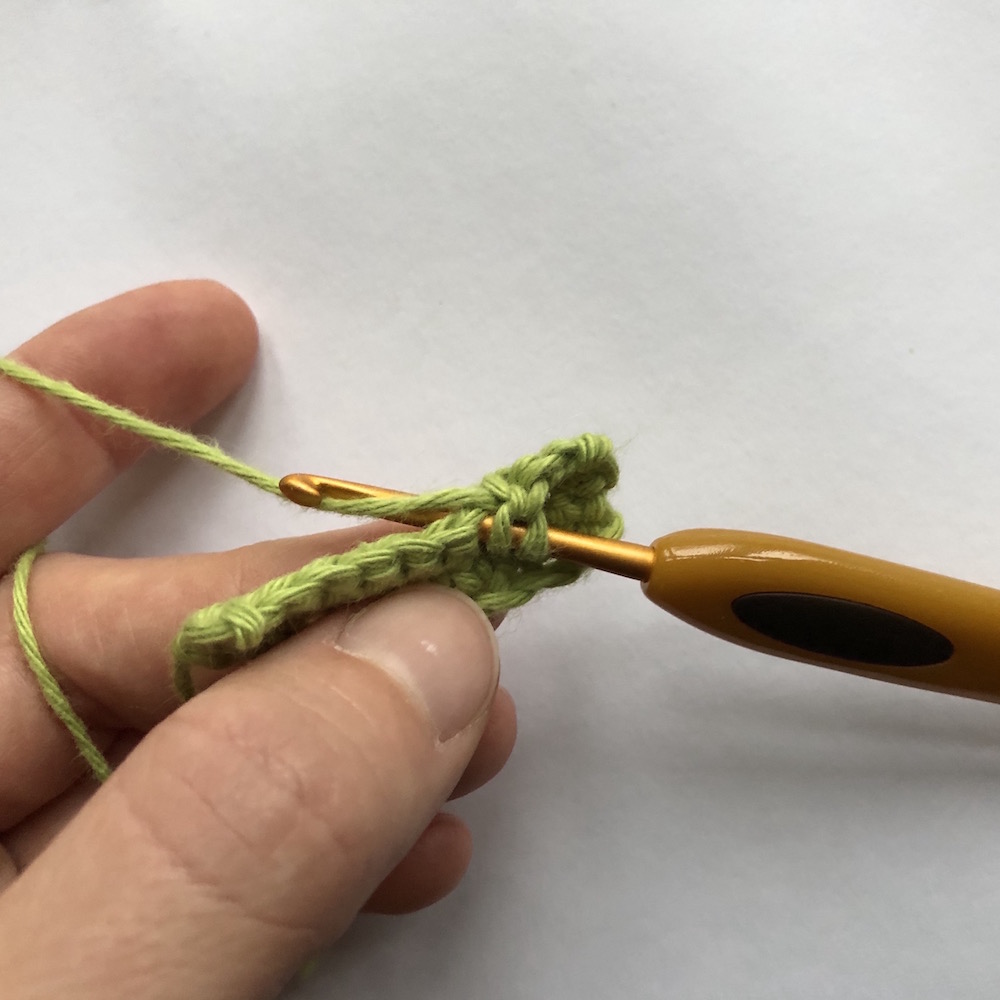
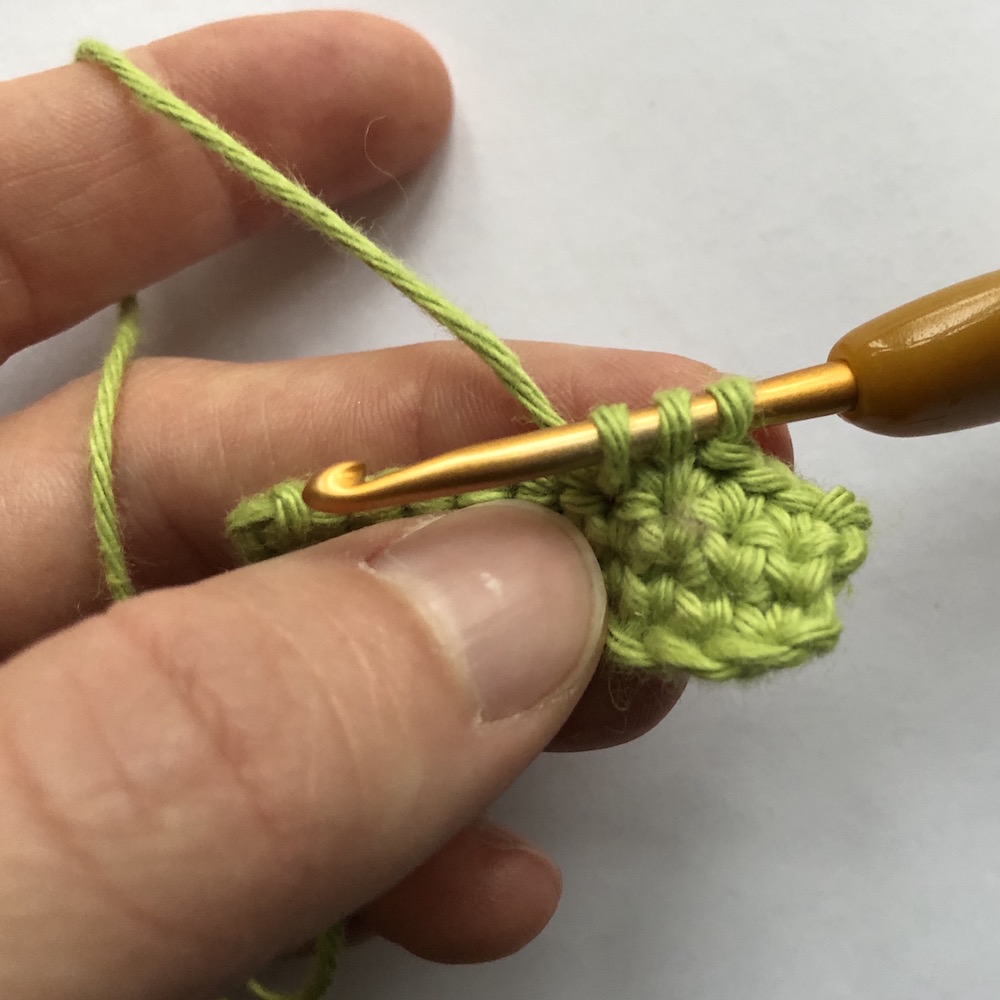
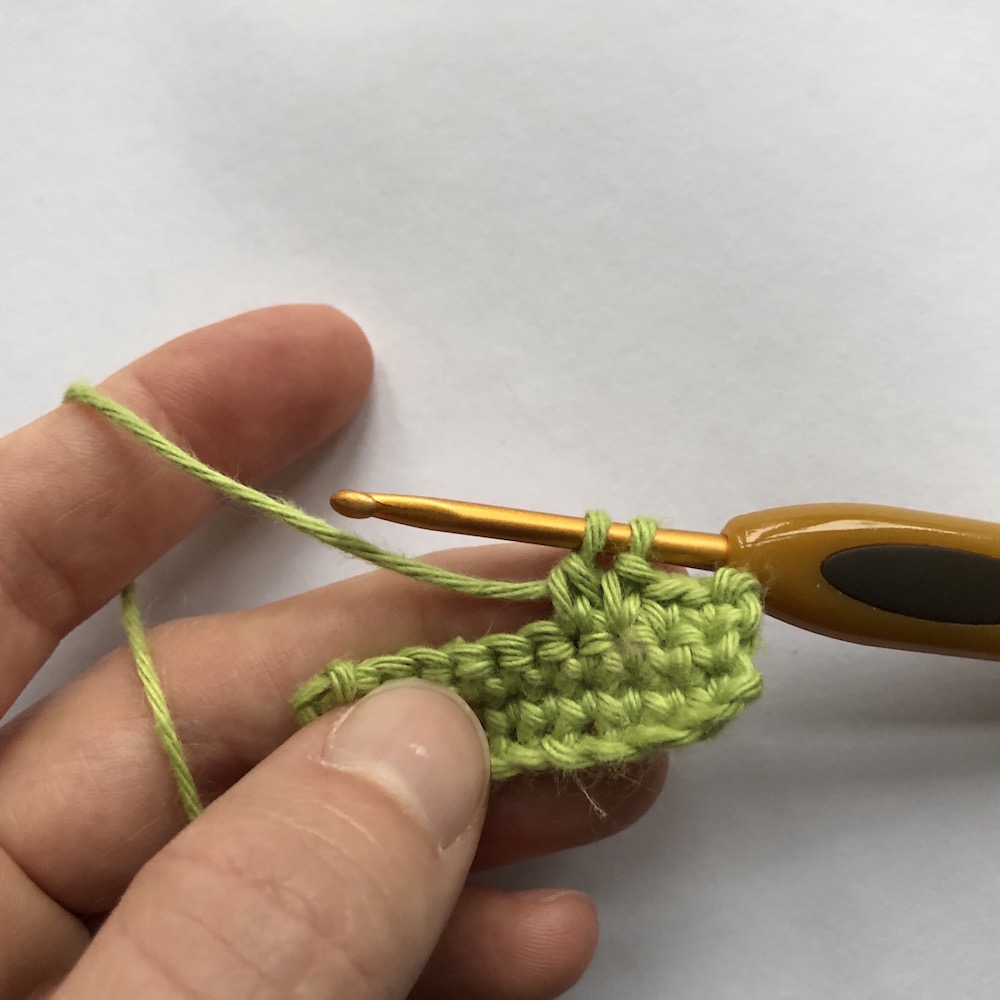
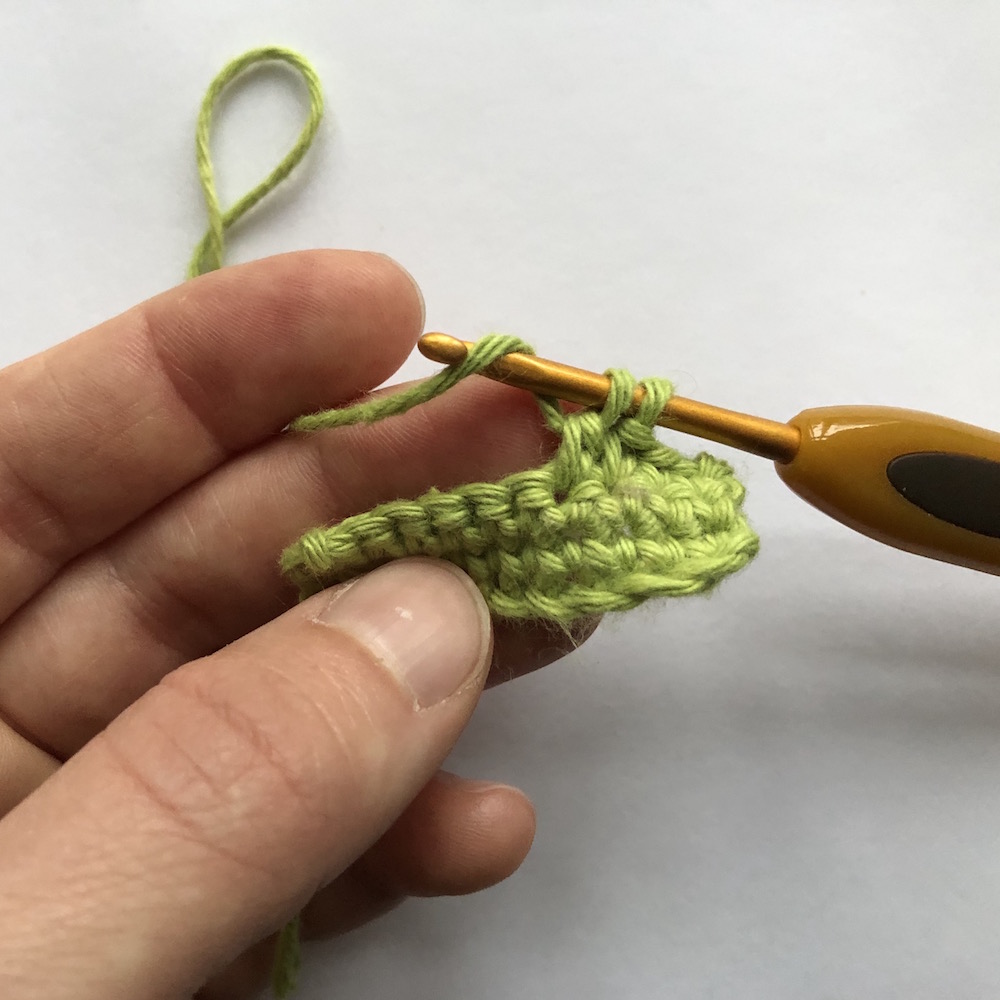
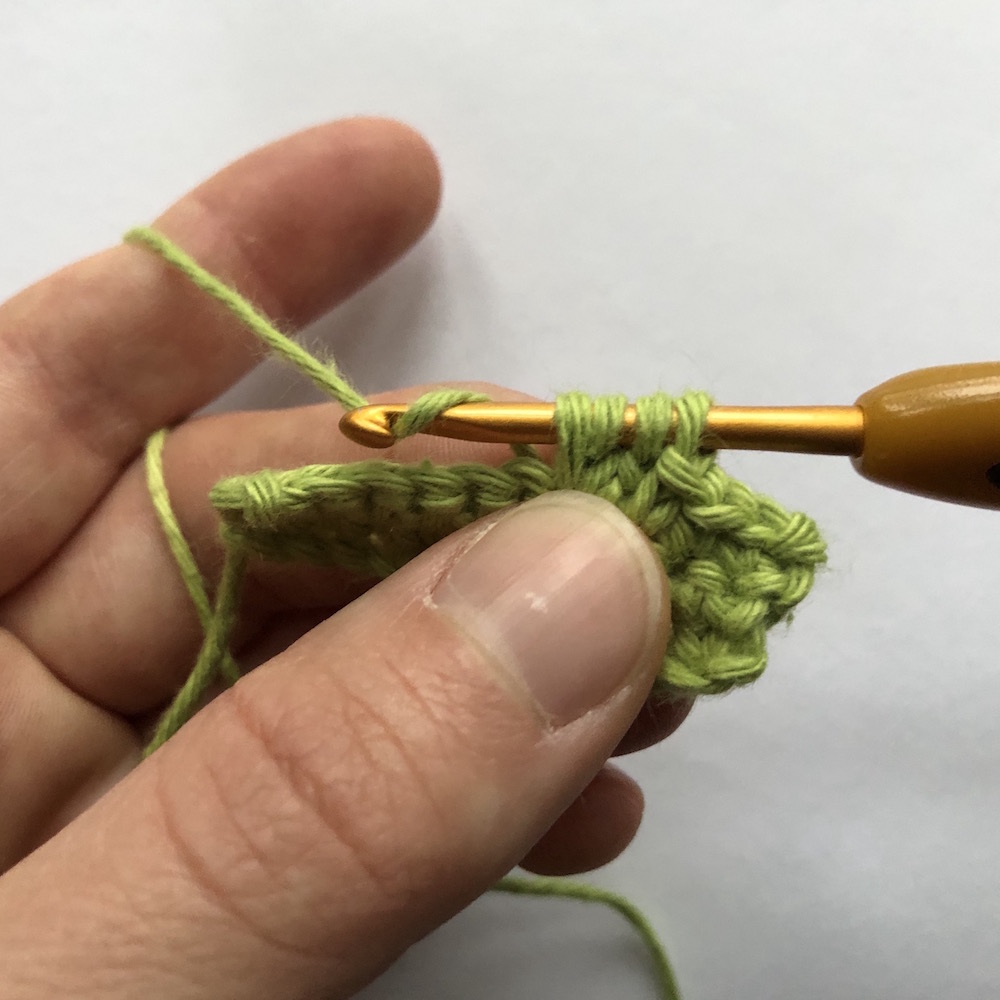
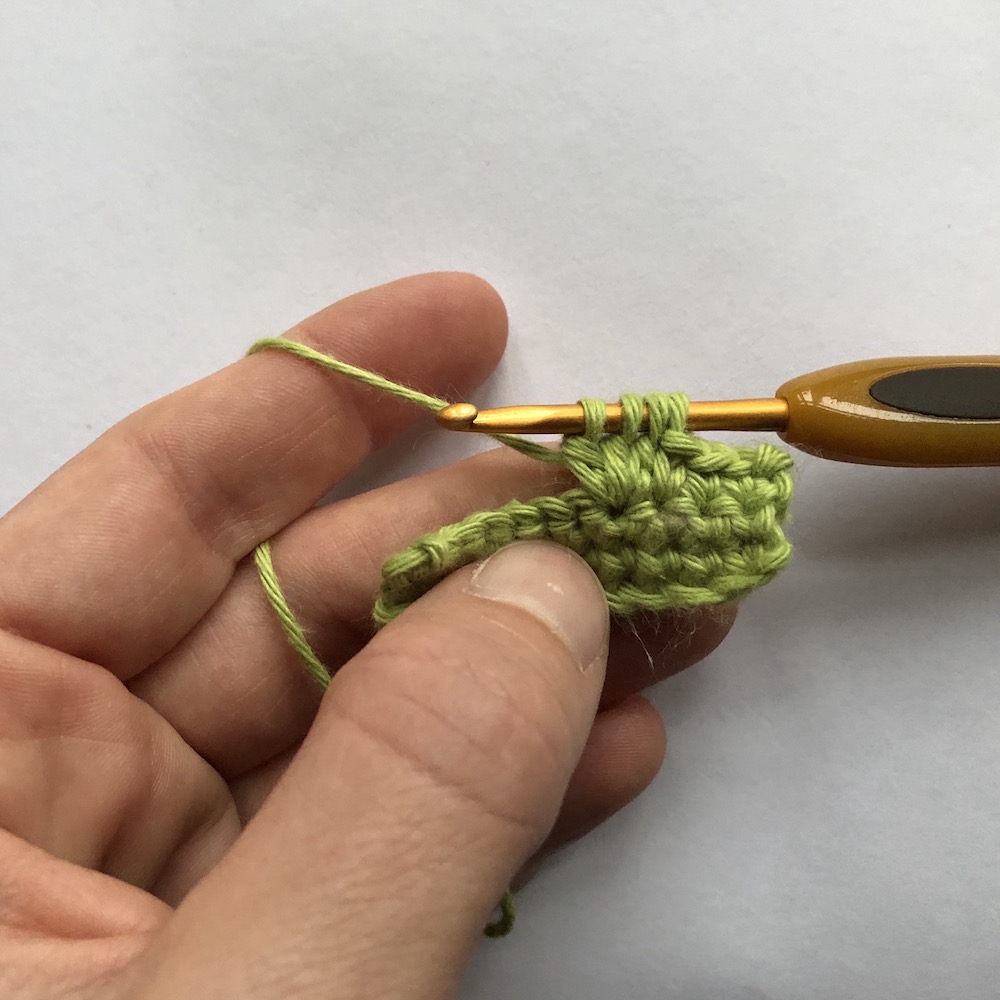
Bobble stitch:
Crochet a bobble stitch by making 3 unfinished treble stitches in one stitch. Yarn over needle and insert into the stitch, yarn over and bring it back. You now have three stitches on the needle, yarn over and pull it through the first two of the stitches on the needle so you now have 2 stitches left on the needle. Repeat this two more times in the same stitch (on the elf), you now have 5 stitches on the needle. Yarn over and pull through all 5. Make sure the bobble is on the outside so that the nose is visible on the Christmas elf.
Instructions
Elf body pattern:
Start with the colour of the hat.
Rnd 1: 4 dc in a magic ring (4)
Rnd 2: dc in all stitches (4)
Rnd 3: (1 dc, inc in the next stitch) x 2 (6)
Rnd 4: dc in all s (6)
Rnd 5: (1 dc, inc in the next stitch) x 3 (9)
Rnd 6: dc in all s (9)
Rnd 7: (2 dc, inc in the next stitch) x 3 (12)
Rnd 8: (3 dc, inc in the next stitch) x 3 (15)
Rnd 9: (4 dc, inc in the next stitch) x 3 (18)
Rnd 10: (5 dc, inc in the next stitch) x 3 (21)
Rnd 11: (6 dc, inc in the next stitch) x 3 (24)
Rnd 12: (7 dc, inc in the next stitch) x 3 (27)
Rnd 13: (8 dc, inc in the next stitch) x 3 (30)
Change to the skin colour
Rnd 14: dc in all s (30)
Rnd 15: 9 dc, inc in the next stitch, 5 dc, bobble stitch, 3 dc, inc in the next stitch, 9 dc, inc in the next stitch (the bobble stitch is the elf’s nose, so you want to make sure that it stands out) (33)
Change to white (beard colour)
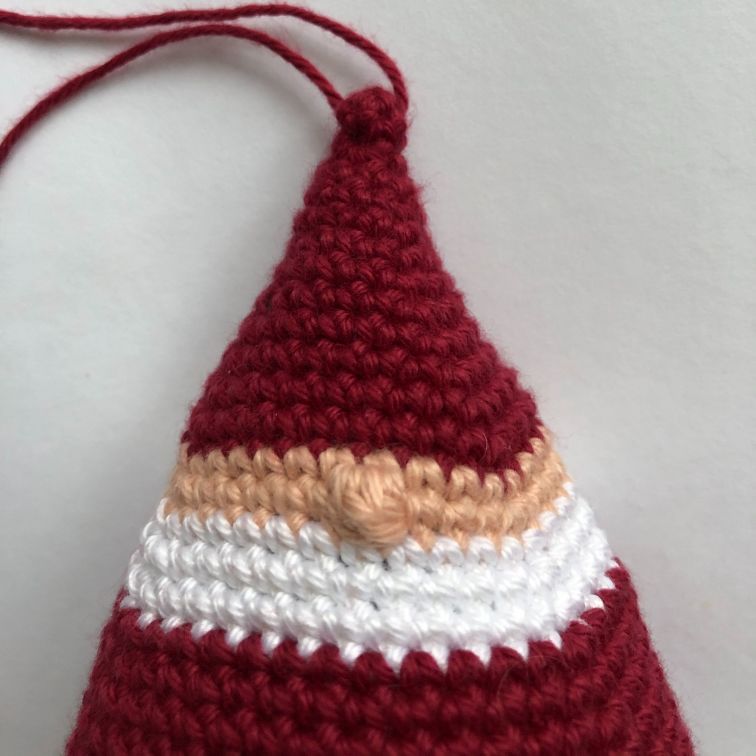
Rnd 16: dc in all s (33)
Rnd 17: (10 dc, inc in the next stitch) x 3 (36)
Rnd 18: dc in all s (36)
Change to red (the Christmas elf clothes)
Rnd 19: (11 dc, inc in the next stitch) x 3 (39)
Rnd 20: dc in all s (39)
Rnd 21: (12 dc, inc in the next stitch) x 3 (42)
Rnd 22: dc in all s (42)
Rnd 23: (13 dc, inc in the next stitch) x 3 (45)
Rnd 24: dc in all s (45)
Rnd 25: (14 dc, inc in the next stitch) x 3 (48)
Rnd 26: dc in all s (48)
Rnd 27: (15 dc, inc in the next stitch) x 3 (51)
Rnd 28-29: dc in all s (51)
Rnd 30: 1 sl st, cast off and weave in ends.
Leg pattern:
You crochet the legs from the feet and up. Crochet 2 pcs. Start with green
Rnd 1: 6 dc in a magic ring (6)
Rnd 2: (1 dc, inc in the next stitch) x 3 (9)
Rnd 3-7: dc in all s (9)
Change to white
Rnd 8-9: dc in all s (9)
Change to green
Rnd 10-11: dc in all s (9)
Change to white
Rnd 12: dc in all s (9)
Rnd 13: 10 dc (this is done to make the colour change an even stripe on the back of the leg, you can keep an eye on it and possibly adjust it as you go on your Christmas own elf)
Change to green
Rnd 14: dc in all s (9)
Rnd 15: 10 dc (9, the round start has simply been moved)
Change to white
Rnd 16: dc in all s (9)
Rnd 17: 10 dc
Change to green
Rnd 18-19: dc in all s (9)
Change to white
Rnd 20: dc in all s (9)
Rnd 21: 10 dc
Change to green
Rnd 22-23: dc in all s (9)
Change to white
Rnd 24: dc in all s (9)
Rnd 25: 10 dc
Change to green
Rnd 26: dc in all s (9)
Add stuffing to the leg (you can do this by using a pencil)
Rnd 27: 3 dc (this is to ensure that the colour change is even on the back of the leg, so only do this if it fits with your legs), press the opening closed and crochet 3 dc across. Finish with a sl st and weave in ends leaving a long tail. This is used to sew the leg on to the elf.

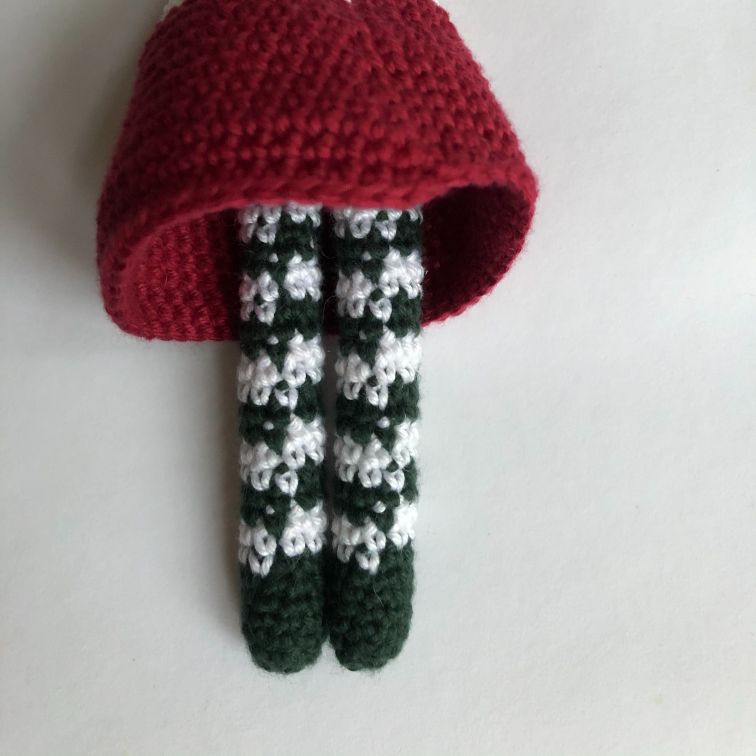
Finishing:
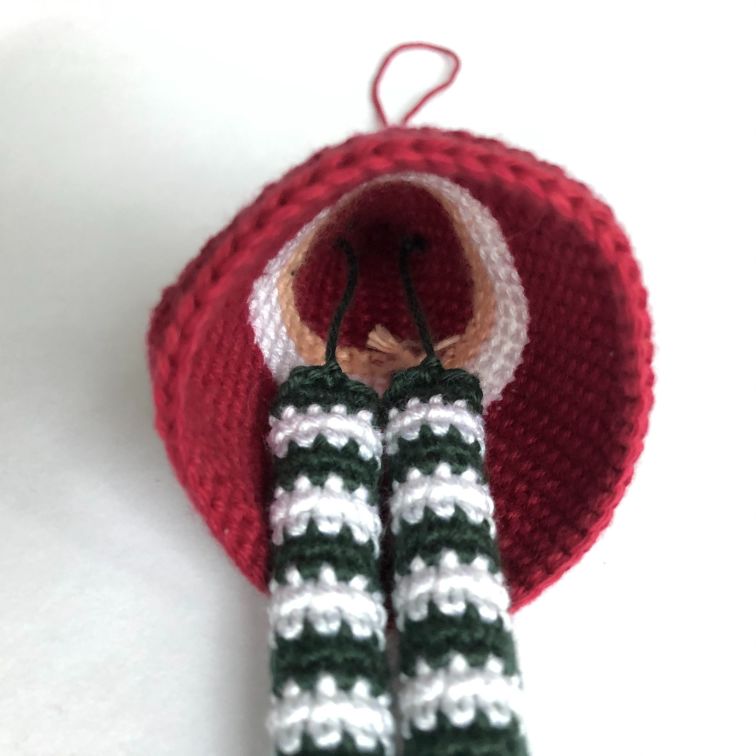
You attach the legs inside of the Christmas elf. The legs should not be sewn on tightly, but rather hang on a short piece yarn (this creates the dangling effect). You sew them onto a side each to create a little space between the two legs. The legs are sewn on around the 9th round on the inside, being careful not to sew through so the colour is visible on the outside, but just sew on the inside.
Alternatively, you can also choose yourself where you think the legs should be placed on the Christmas elf.
Pull a strand through the top of the Christmas elf hat and tie the knot on the inside. This is the strand you use to hang up the Christmas elf. You can adjust the length after preference.
Design by: @krea_lea (Lea Hansen)
 Österreich
  Belgique
  Bosna i Hercegovina
  България
  Κύπρος
  Česká republika
  Danmark
  Eesti
Eesti  Føroyar
  Suomi
Suomi  France
  Deutschland
  Ελλάδα
  Kalaallit Nunaat
  Magyarország
  Ísland
  Ireland
  Italia
  Latvija
  Liechtenstein
  Lietuva
  Lëtzebuerg
  Malta
Malta  Isle of Man
  Nederland
  Norge
Norge  Polska
  Portugal
  România
  Slovensko
  Slovenija
  España
  Sverige
  Schweiz
  Ukraїna
  United Kingdom