Weeping Willow Shrug
Design @krea_lea - Model: @loular89 - Photographer: @bydittemariesnedker
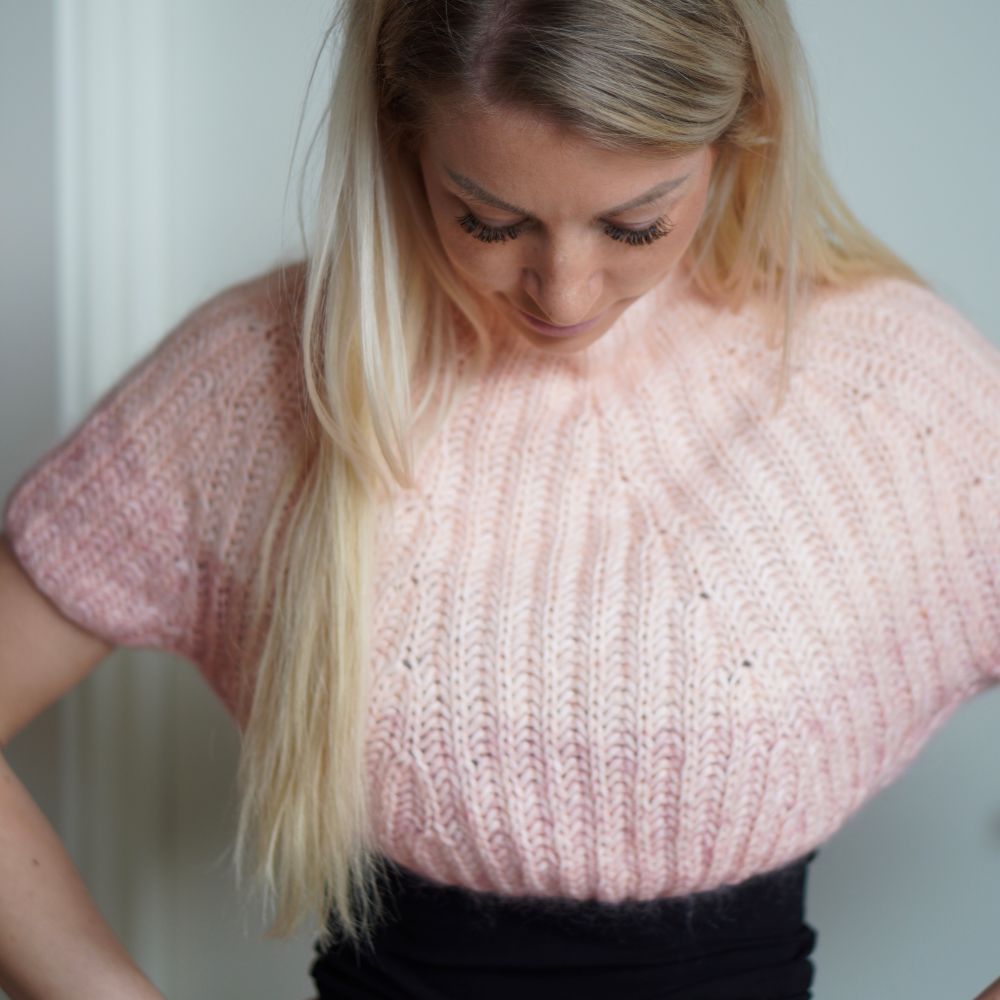
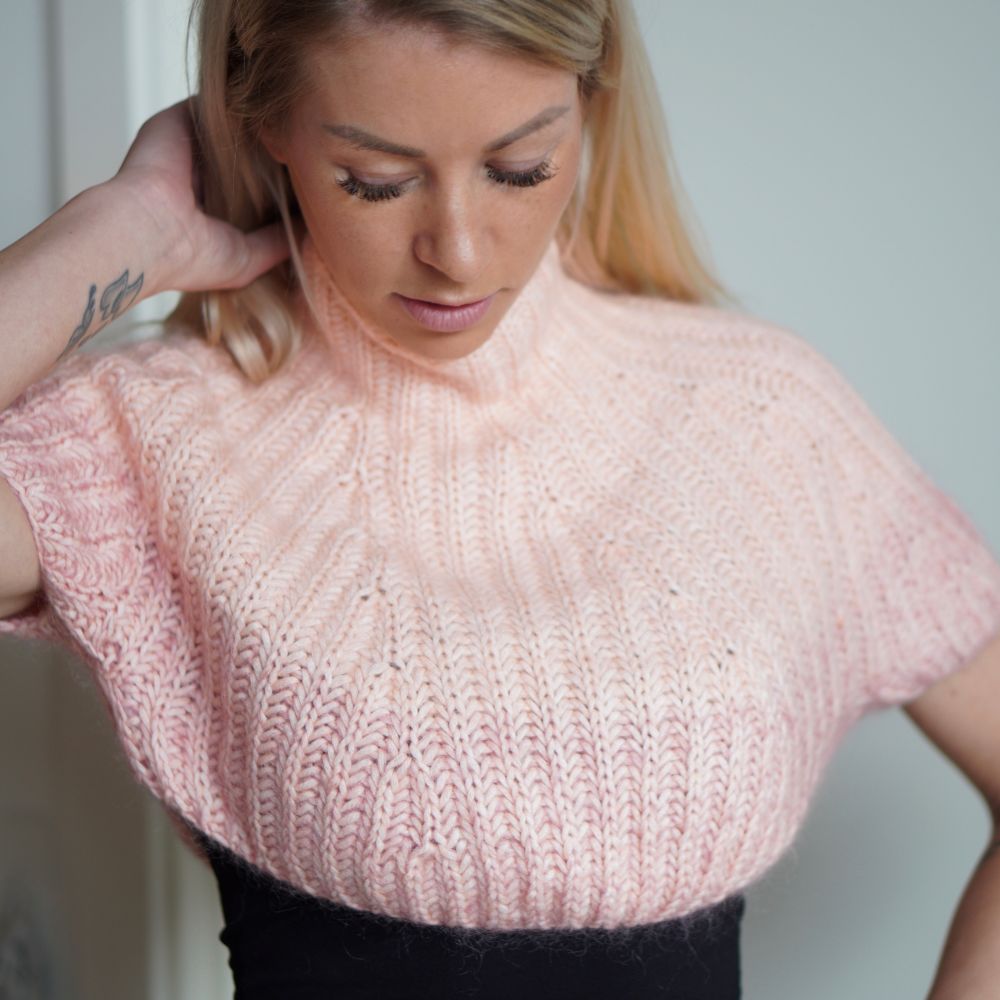
The picture on the left shows version 1, and the picture on the right shows version 2
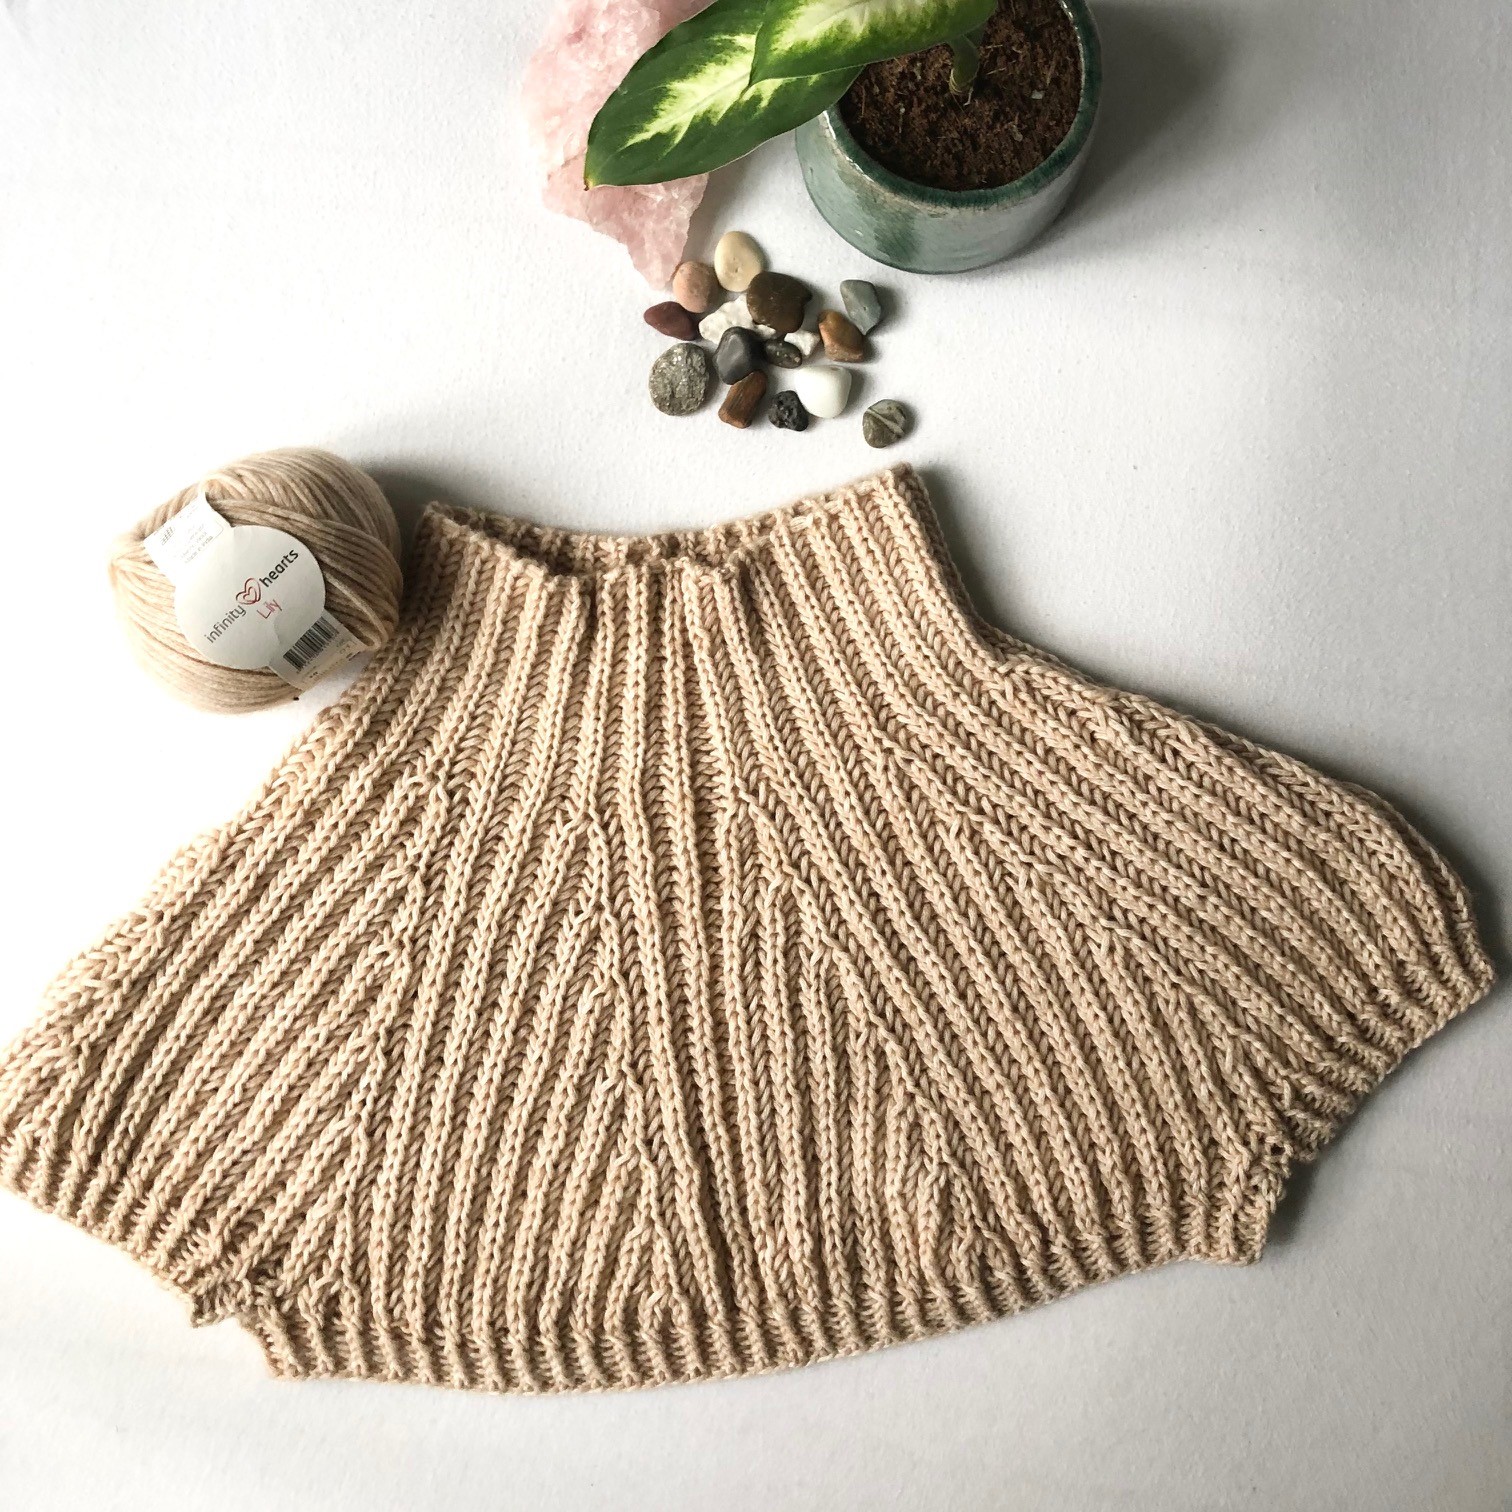
Version 1 (without effect yarn)
Yarn consumption - find a kit here
Size: S (M) L (XL)
Chest: 90cm (101cm) 109cm (123cm)
Infinity Hearts Lily: 4 (4) 4 (5) skeins
Needles
Circular needle size 5mm (40cm)
Circular needle size 6mm (40, 60, 80cm, and possibly 100cm for size L and XL)
If you don’t want to use the magic loop technique, you will also need double pointed needles in 6mm.
Version 2 (with effect yarn)
Yarn consumption - find a kit here
Size: S (M) L (XL)
Chest: 100cm (112cm) 120cm (136cm)
Infinity Hearts Lily 4 (4) 4 (5)
Mayflower Super Kid Silk or Viking Yarn Kid Silk 2 (2) 2 (3)
Needles
Circular needle size 4.5 (40cm)
Circular needle size 5.5 (40, 60, 80cm, and possibly 100cm for size L and XL)
If you don’t want to use the magic loop technique, you will also need double pointed needles in 5.5mm.
You will also need a yarn needle to weave in the ends, as well as 5 stitch markers for both versions.
Technique tutorials with picture and/or video guide
- Italian cast on - go to picture guide here.
- Fisherman’s rib - go to picture guide here.
- How to go from Italian cast on to knitting in the round - go to video tutorial here.
- Fisherman’s rib increases - go to picture guide here.
- Leave stitches unworked and cast on stitches under the armhole. Watch video tutorial here.
Abbreviations:
S = stitch
R = row
Inc =increase
Dec = decrease
Knitting tension:
11s x 34r of fisherman’s rib on needle 6. (v1 without mohair)
10s x 36r of fisherman’s rib on needle 5.5. (v2 with mohair)
Instructions
Cast on 48 (54) 60 (66) stitches with Italian cast-on technique on needle 5 (needle 4.5 if you are knitting with 1 mohair). As part of the Italian cast on you knit 2 rows back and forth to stabilise the work. See the technique tutorial.
Knit 9 (10) 10 (11) cm of fisherman’s rib.
Change to needle 6 (needle 5.5 if you are knitting with a mohair strand)
Knit 4 rounds. (start with a round of knit stitches).
On the next needle, M1 in the 1st stitch (which is a knit stitch) and again after every 5th stitch (which are also knit stitches)
Knit 4cm
M1 in the 3rd stitch and again after every 7th stitch
Knit 4cm
M1 in the 5th stitch (which is a knit stitch) and again after every 9th stitch (which are also knit stitches)
Knit 4cm
M1 in the 7th stitch (which is a knit stitch) and again after every 11th stitch (which are also knit stitches)
Knit 4cm
M1 in the 9th stitch (which is a knit stitch) and again after every 13th stitch (which are also knit stitches)
Knit 4cm
M1 in the 11th stitch (which is a knit stitch) and again after every 15th stitch (which are also knit stitches)
Knit 4cm
M1 in the 13th stitch (which is a knit stitch) and again after every 17th stitch (which are also knit stitches)
Knit 3 rounds (one round of purl stitches, one round of knit stitches, one round of purl). You now have 160 (180) 200 (220) stitches.
Now, you divide into body and sleeves.
Knit 25 (28) 30 (34) m (1st half of the back), leave 30 (34) 40 (42) cm unworked (right sleeve), cast on 4 (4) 4 (6) s, knit 50 (56) 60 (68) s (the front), leave 30 (34) 40 (42) s unworked (left sleeve), cast on 4 (4) 4 (6) s, knit 25 (28) 30 (34) s (2nd half of the back).
Now knit 4cm of fisherman’s rib on the body or until you have your desired length. Fasten off.
Alternative: If you want a more tight-fitting version, you can do the following instead of the 4cm:
Knit 3 rounds on the body (1 round of purl stitches, 1 round of knit stitches, 1 round of knit stitches).
Now, knit 3cm in twisted rib and fasten off.
Sleeves:
Join 4 (4) 4 (6) stitches in the 4 (4) 4 (6) stitches you cast on previously on the body.
Knit 4cm of fisherman’s rib.
Alternative: If you want a more tight-fitting version, you can do the following instead of the 4cm:
Knit 3cm in twisted rib and fasten off.
Assembly/finishing:
Weave in all loose ends and wash the shrug. Your new, warm shrug is now ready for use.
Feel free to use the hashtags #ritohobby and #weapingwillowkal when sharing photos of your project.
Design by: Lea Hansen (@krea_kea)


 Österreich
  Belgique
  Bosna i Hercegovina
  България
  Κύπρος
  Česká republika
  Danmark
  Eesti
Eesti  Føroyar
  Suomi
Suomi  France
  Deutschland
  Ελλάδα
  Kalaallit Nunaat
  Magyarország
  Ísland
  Ireland
  Italia
  Latvija
  Liechtenstein
  Lietuva
  Lëtzebuerg
  Malta
Malta  Isle of Man
  Nederland
  Norge
Norge  Polska
  Portugal
  România
  Slovensko
  Slovenija
  España
  Sverige
  Schweiz
  Ukraїna
  United Kingdom