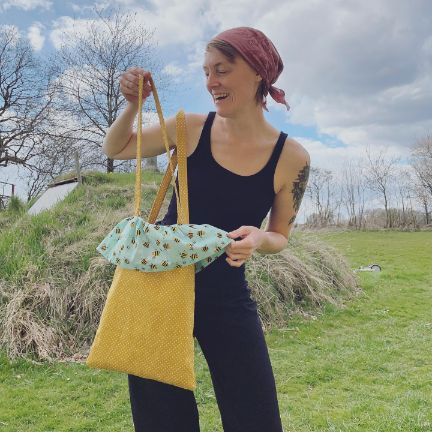
Free Shopping Bag Sewing Pattern
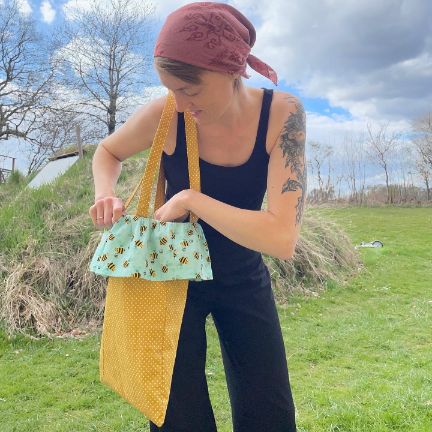
Measurements
approx. 40x30cm
Materials
Tools
Instructions
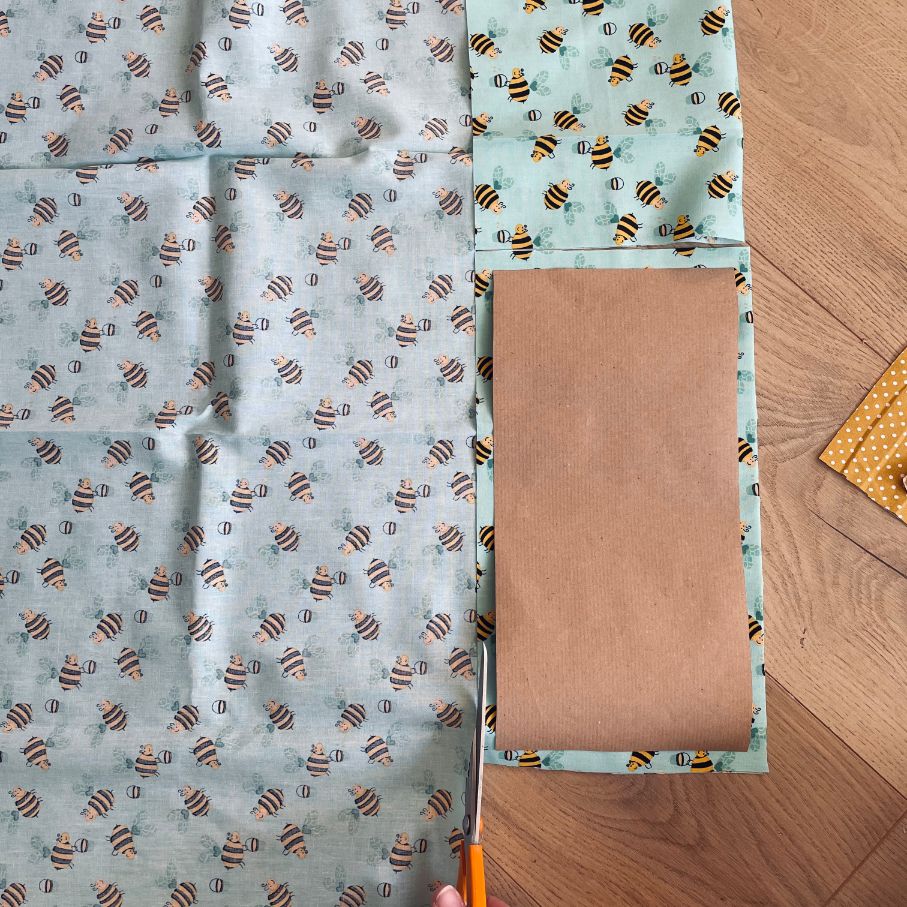
Cut out the parts:
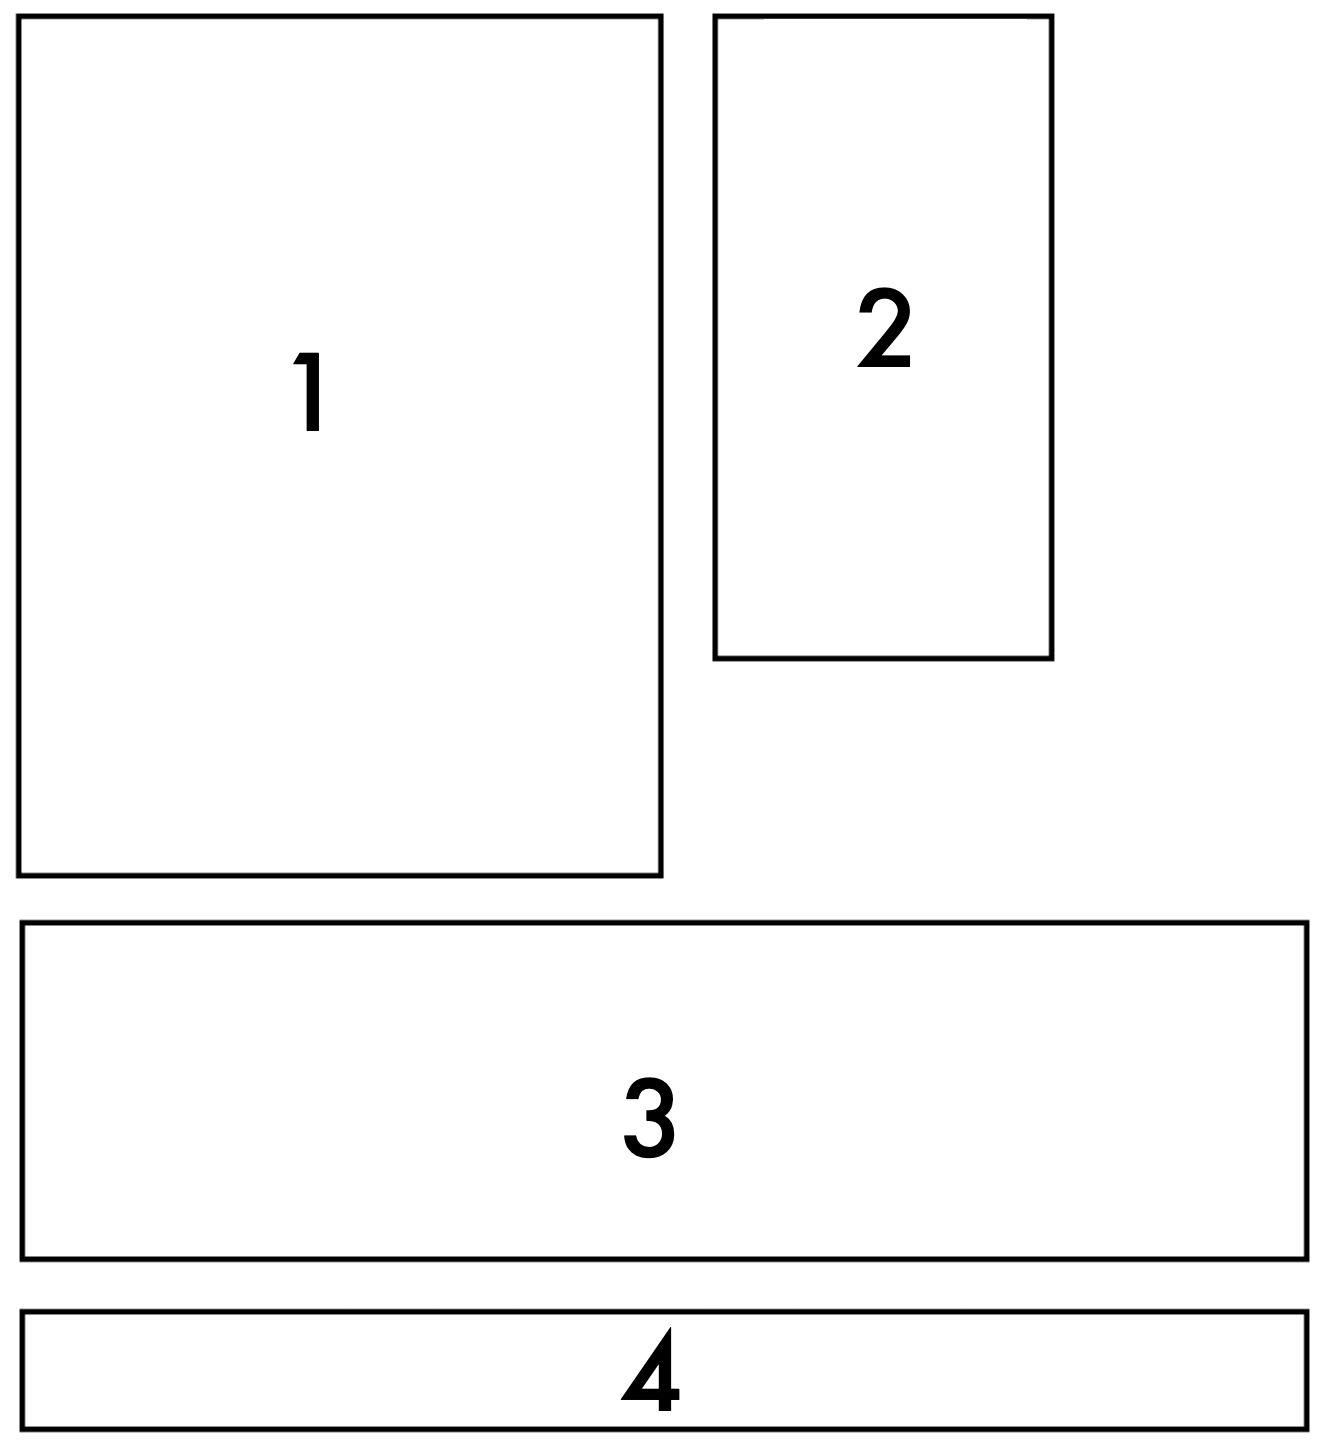
Part 1: The bag itself, 40x30cm, 4 times
Part 2: Pocket, 20x30cm, 2 times per. pocket
Part 3: The skirt, 15x40cm, 2 times
Part 4: Straps, 10x45cm, 2 times.
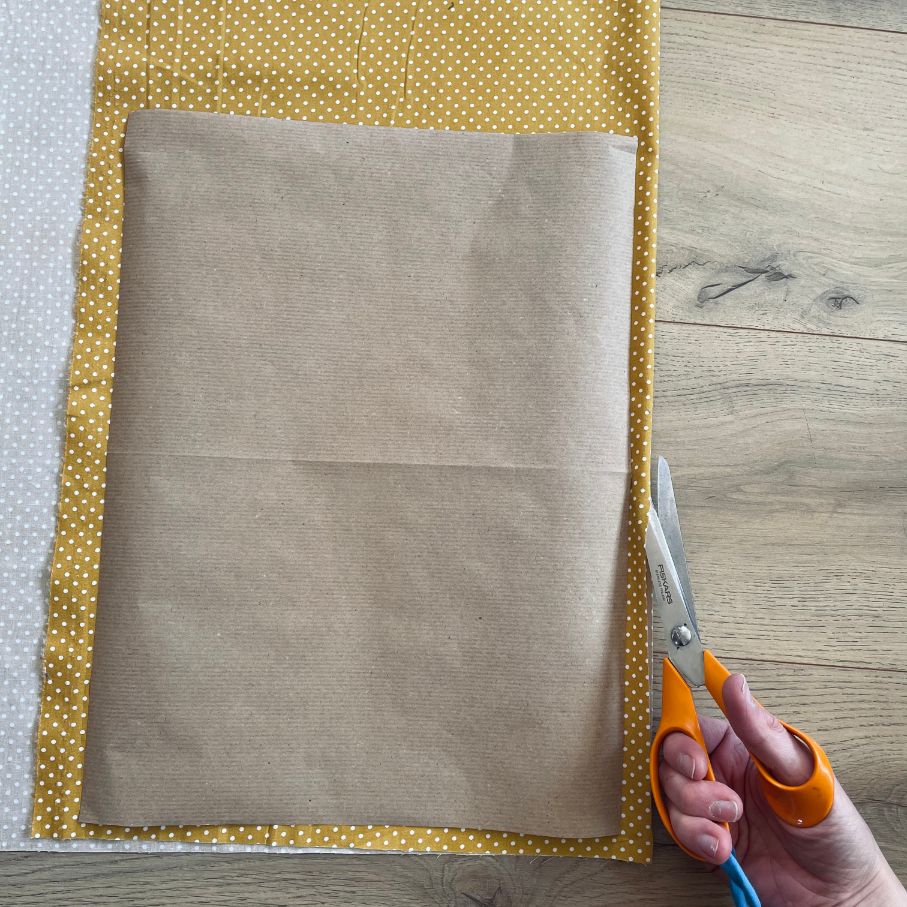
1. Start by drawing all the parts on (pattern) paper following the given measurements.
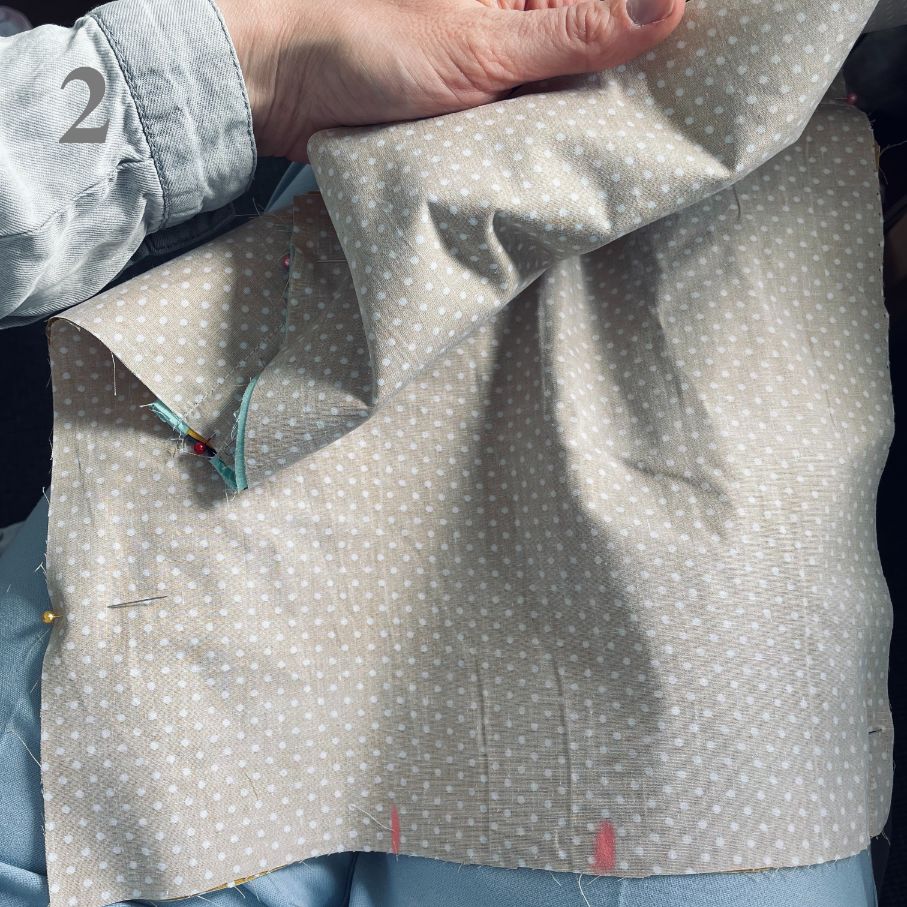
2. You cut according to the measurements. Possibly, cut the straps just half of the length and place the end against the fold when you need to cut the fabric.
3. Place the pieces on your fabric and REMEMBER that the straps must be folded if you have halved the length of your pattern paper.
4. All parts must be cut with a seam allowance of 1cm if you are sewing on a sewing machine, and 0.5cm if you are sewing with an overlocker.
Pockets:
1. Fold the two pocket pieces right sides together and sew both long sides.
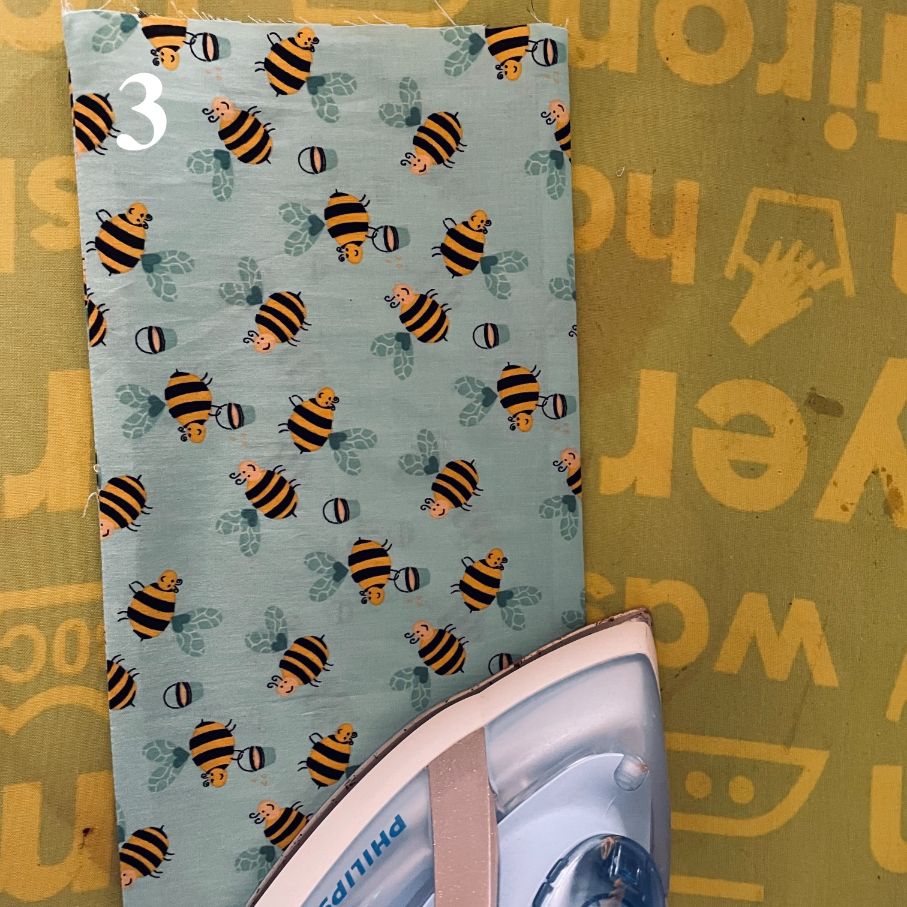
2. Iron the seams apart, turn the pocket right side out.
3. Iron the pocket nice and flat.
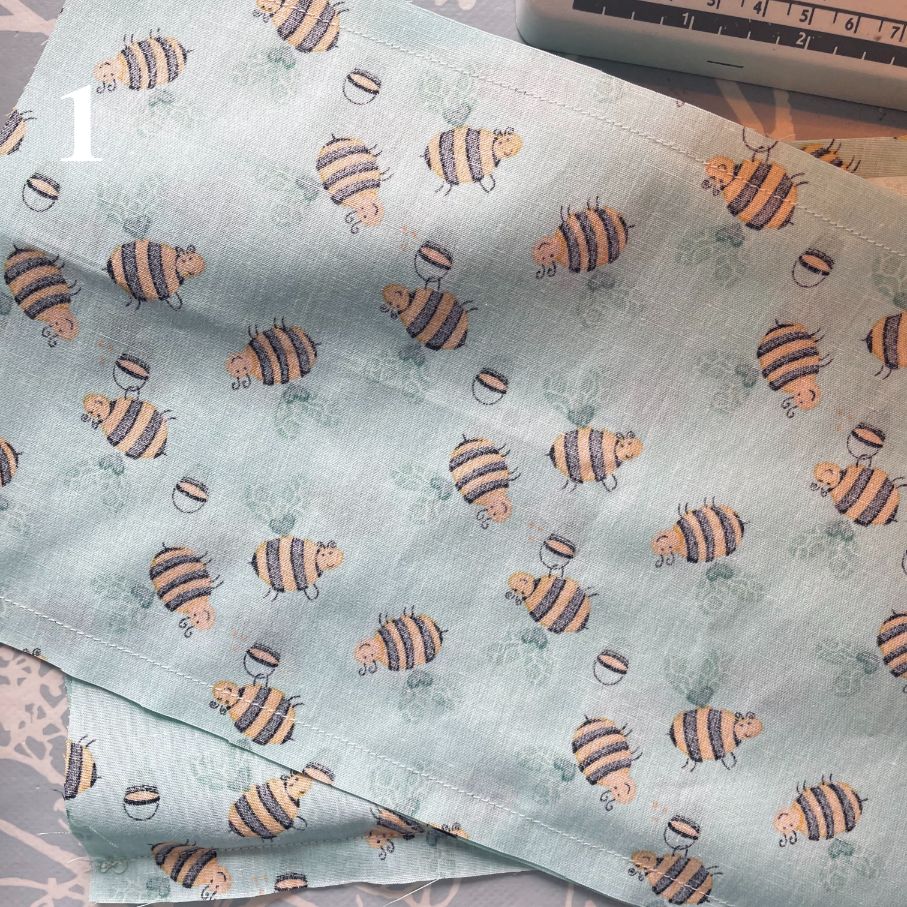
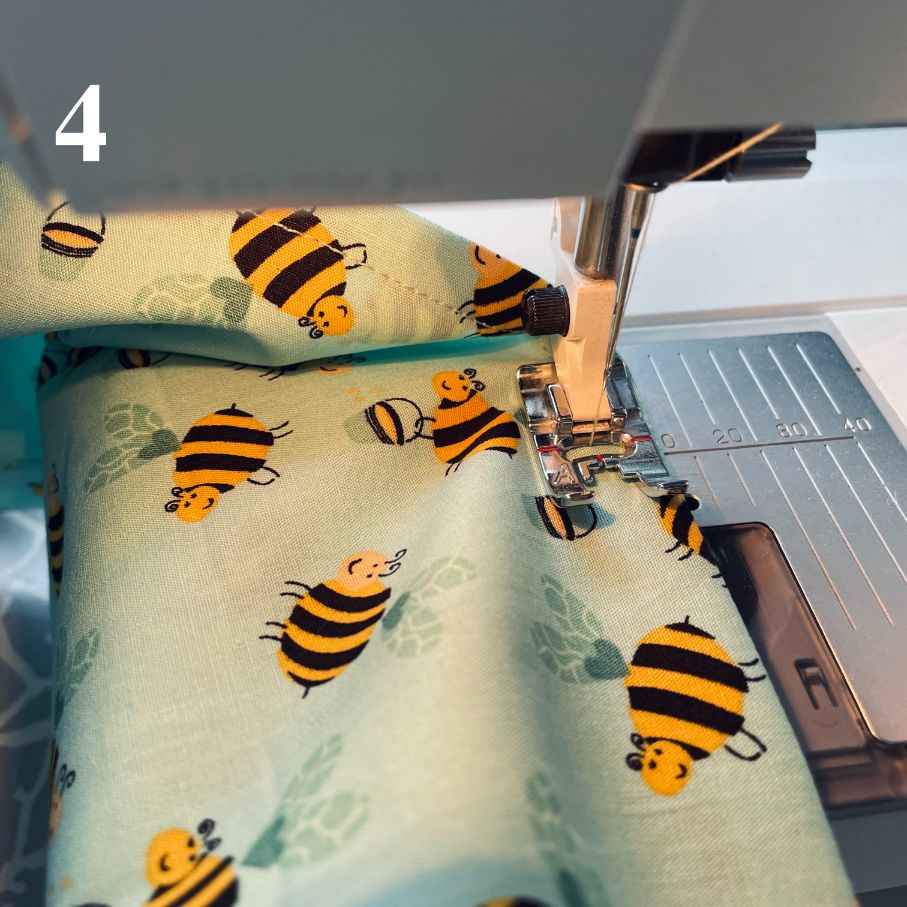
4. Sew a 2.5mm decorative stitch on the one long edge of the pocket (it should be at the top)
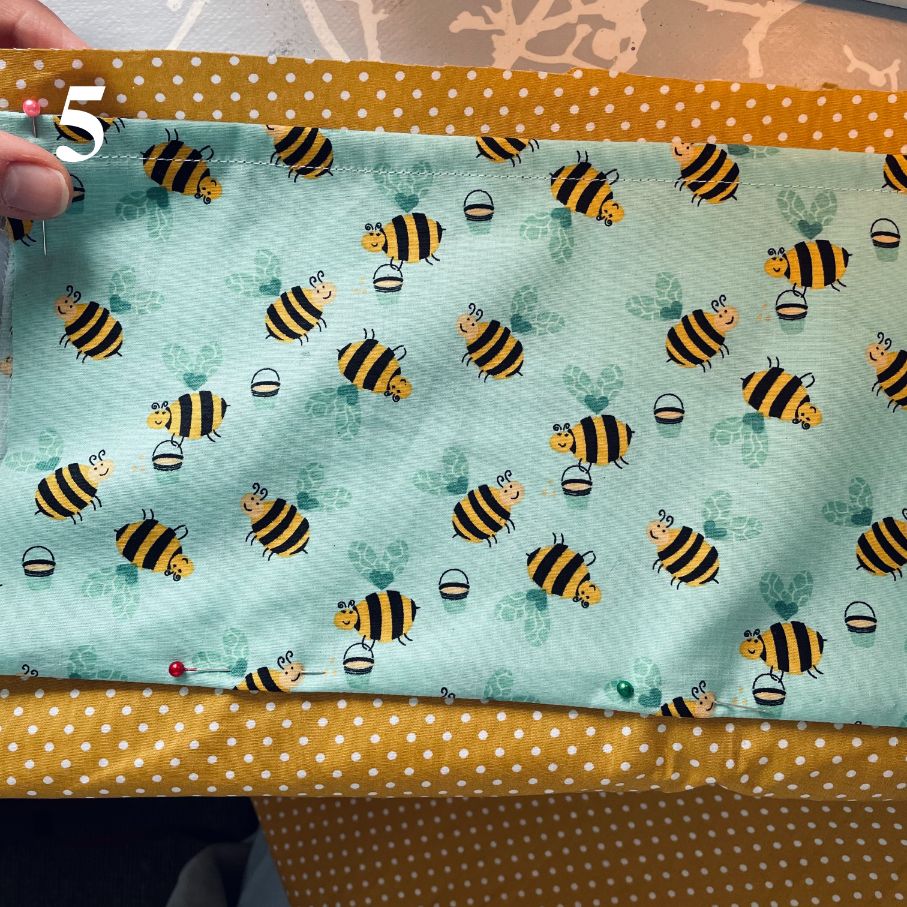
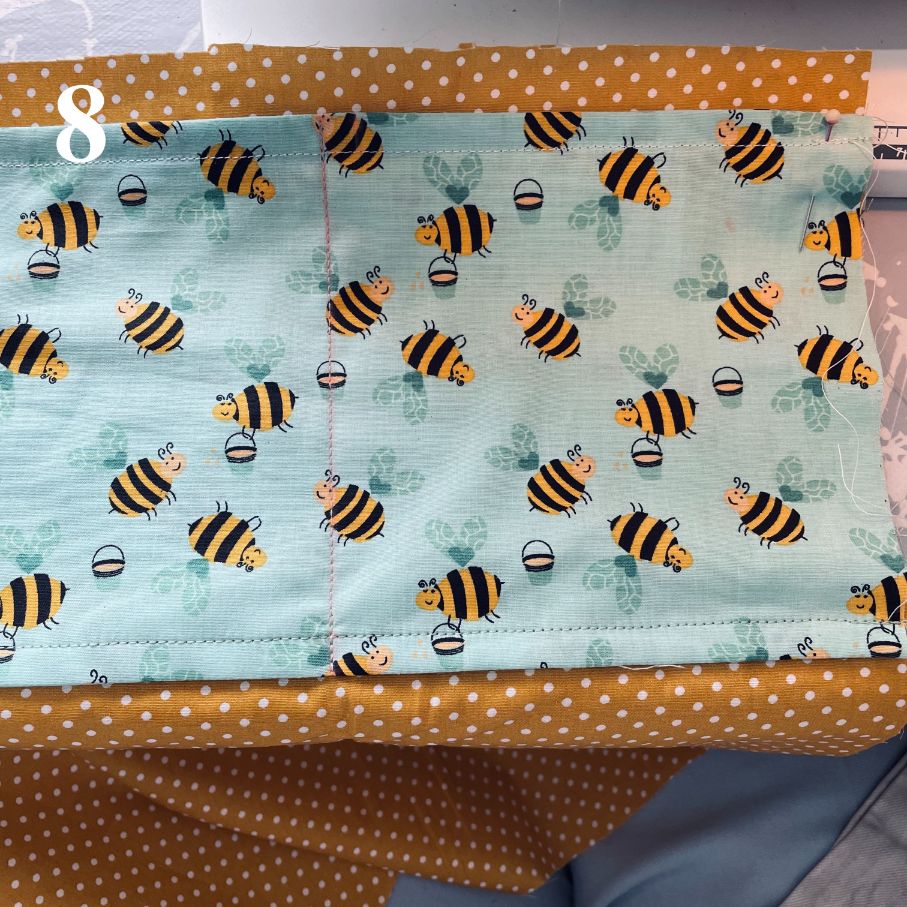
5. Pin the pocket to the right side of one of your front pieces 1.5cm down from the top edge.
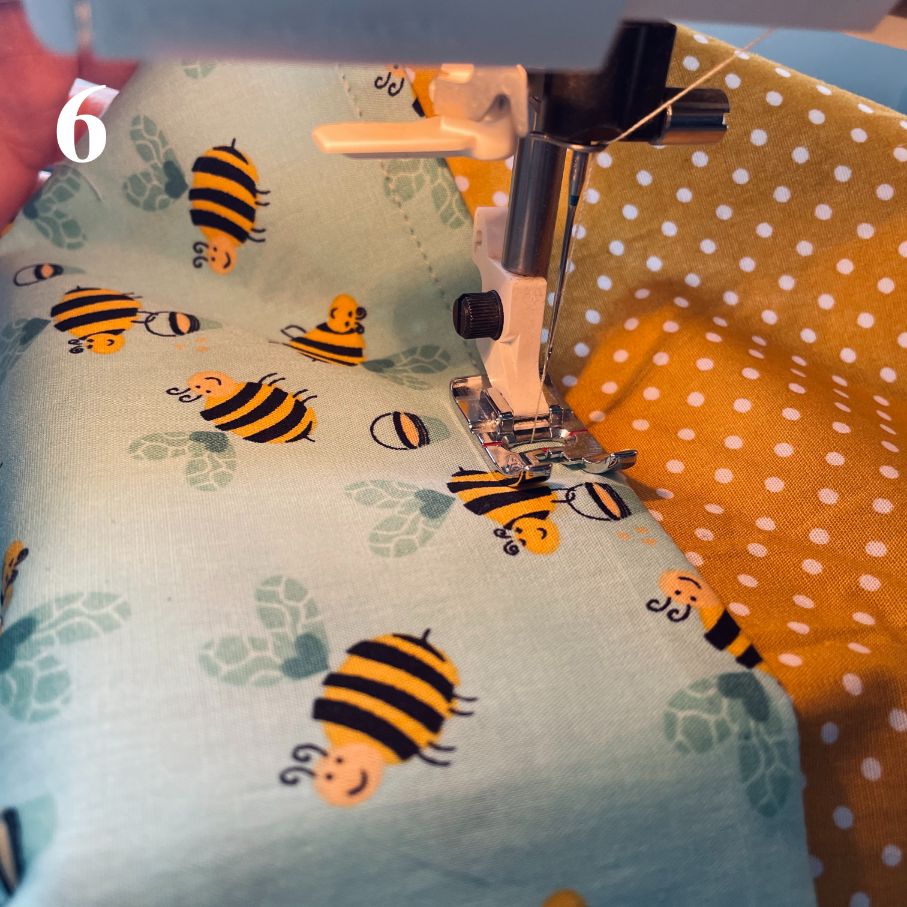
6. Sew the bottom edge of the pocket to your front piece, also with 2.5mm stitches.
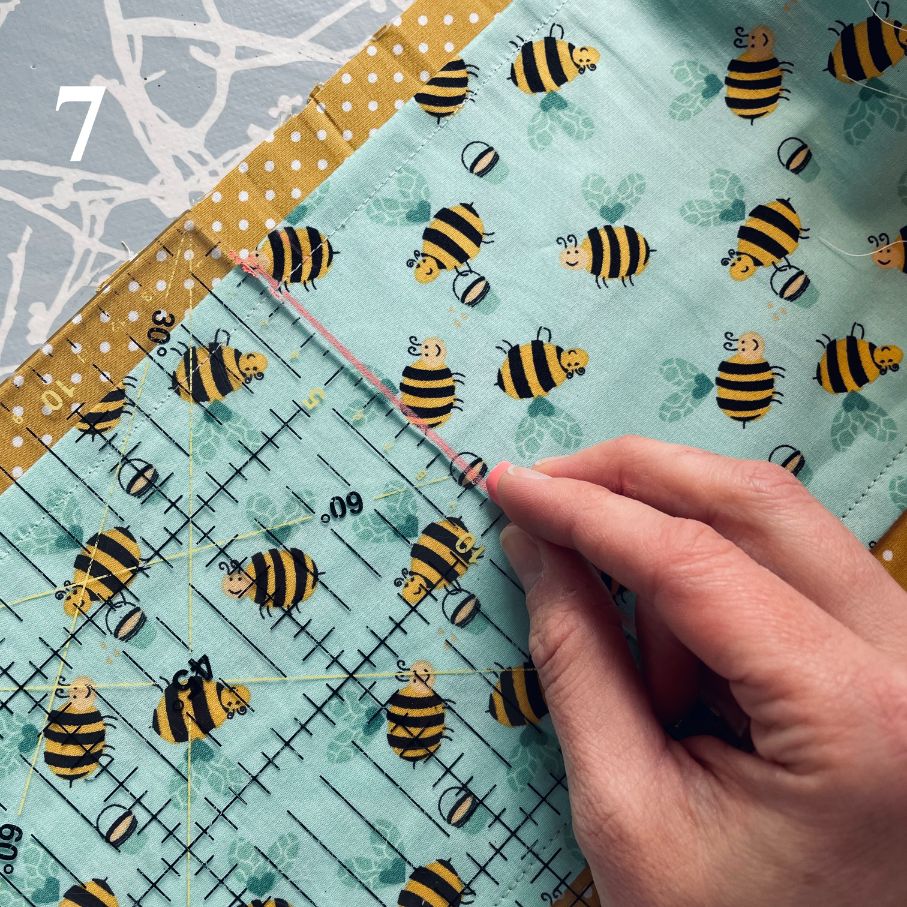
7. If you want a split pocket, take your ruler and use a piece of chalk to draw a straight line where you want to divide the pocket.
8. Sew with 2.5mm decorative stitching down along the chalk line.
Skirt:
1. Sew the skirt right sides together.
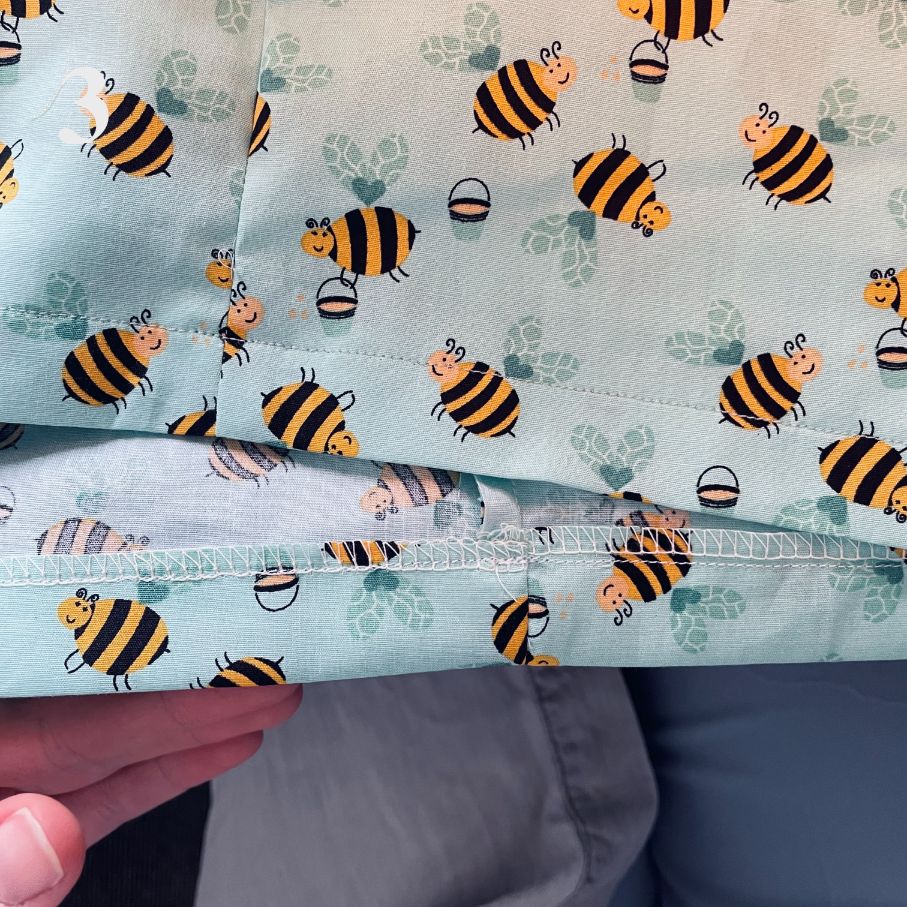
2. Iron a 2.5cm fold at the bottom of the skirt.
3. Sew with stitches 2.5mm 2cm into the fold. You can, if possible, overlock the edge before making the fold
4. Find the centre of both skirt sides and mark it with chalk on the top edge.
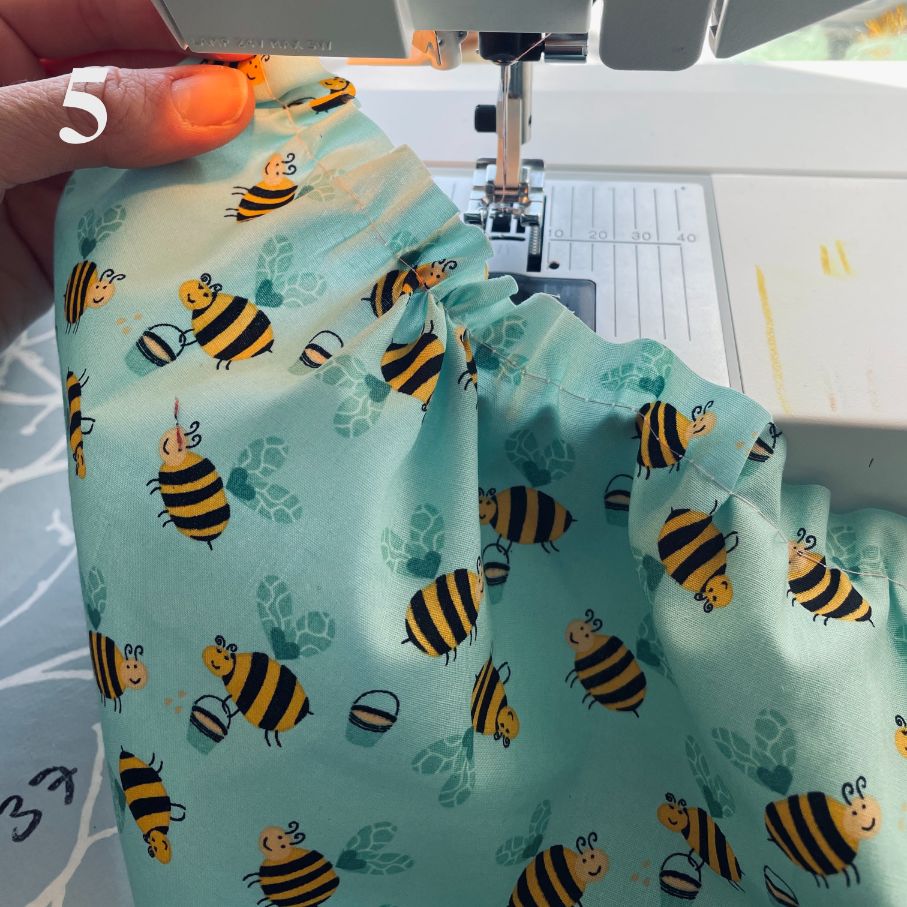
5. Using your maximum stitch length, sew along the top edge of your skirt. This is how you make creases:
Sew it all together:
1. Use chalk to mark the middle of both the top edges of your lining and the front of the bag.
2. Sew both lining parts together on the right sides. You sew along both sides and the bottom - and NOT the top. AND you make a turning hole at the bottom; i.e. there is 5cm that you do not sew at the bottom, possibly mark the hole with your chalk before sewing:
3. Sew both outer pieces right sides together; up along both sides and at the bottom (all the way at the bottom too, no turning hole) - and also NOT at the top here either.
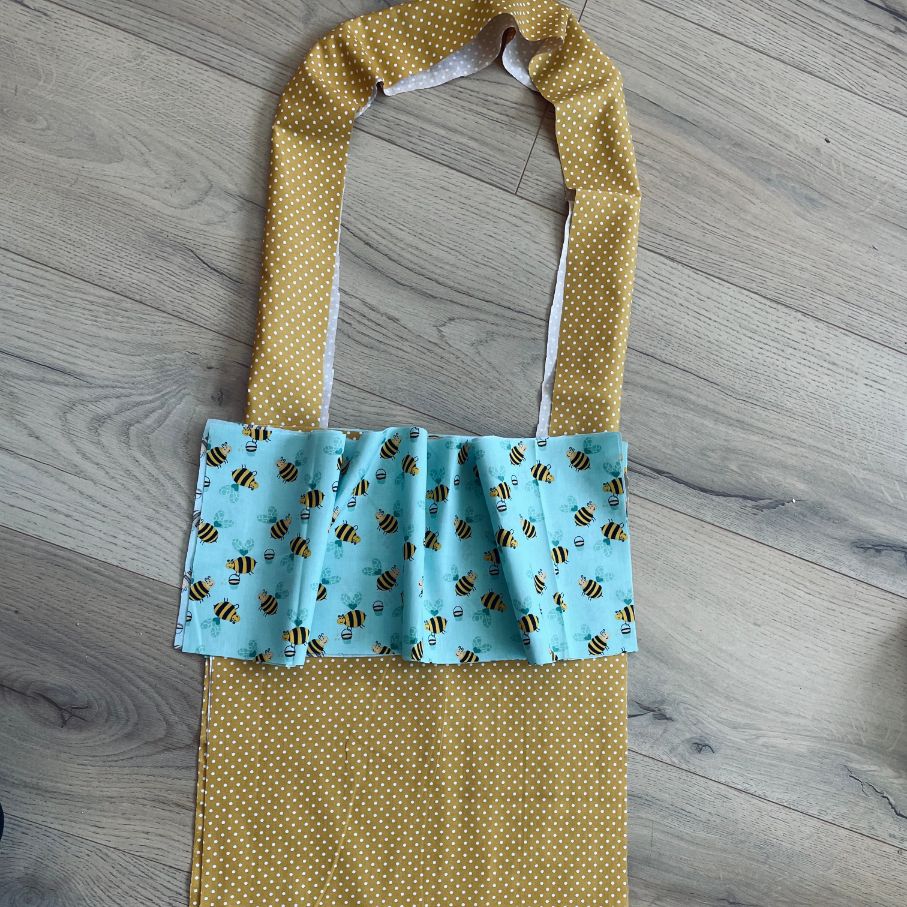
4. Pin the skirt to the front pieces right sides together with the marked centres facing each other.
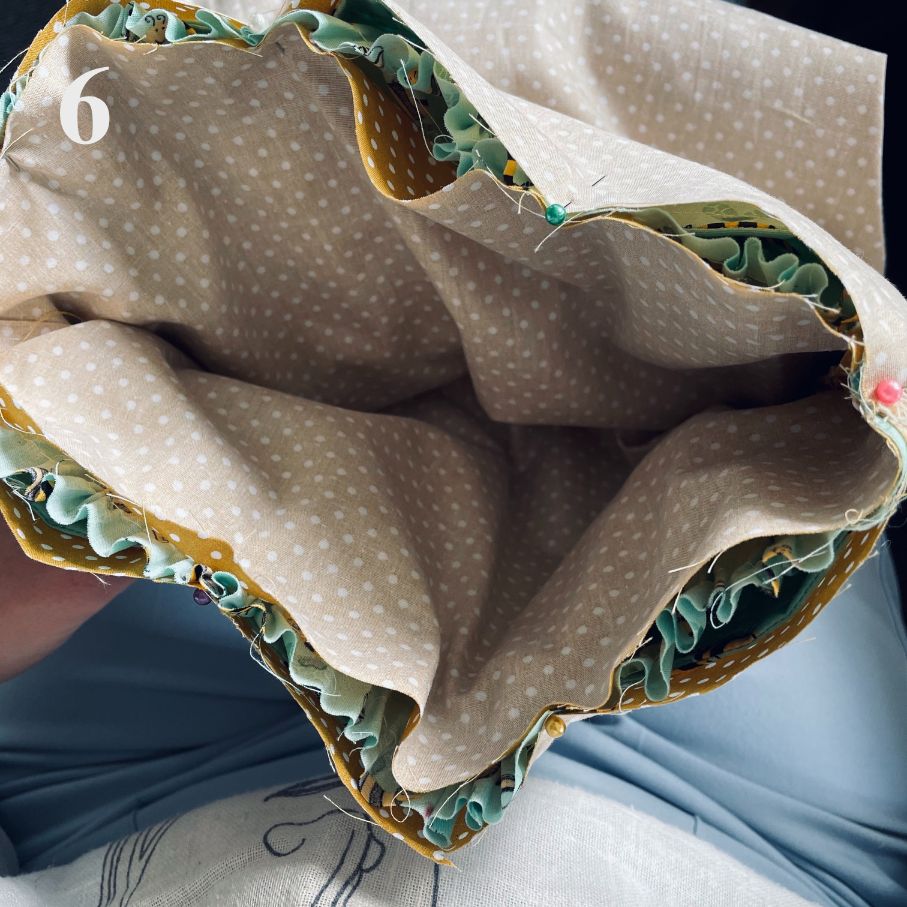
5. Put the front piece with the skirt down in the lining right sides together and fit the side seams in the lining to the side seams on the front pieces.
6. Pin it all together. When you open the bag, you look down at the wrong side of the front pieces and on the outside you see the wrong side of the lining.

7. Sew all the way around the top edge.
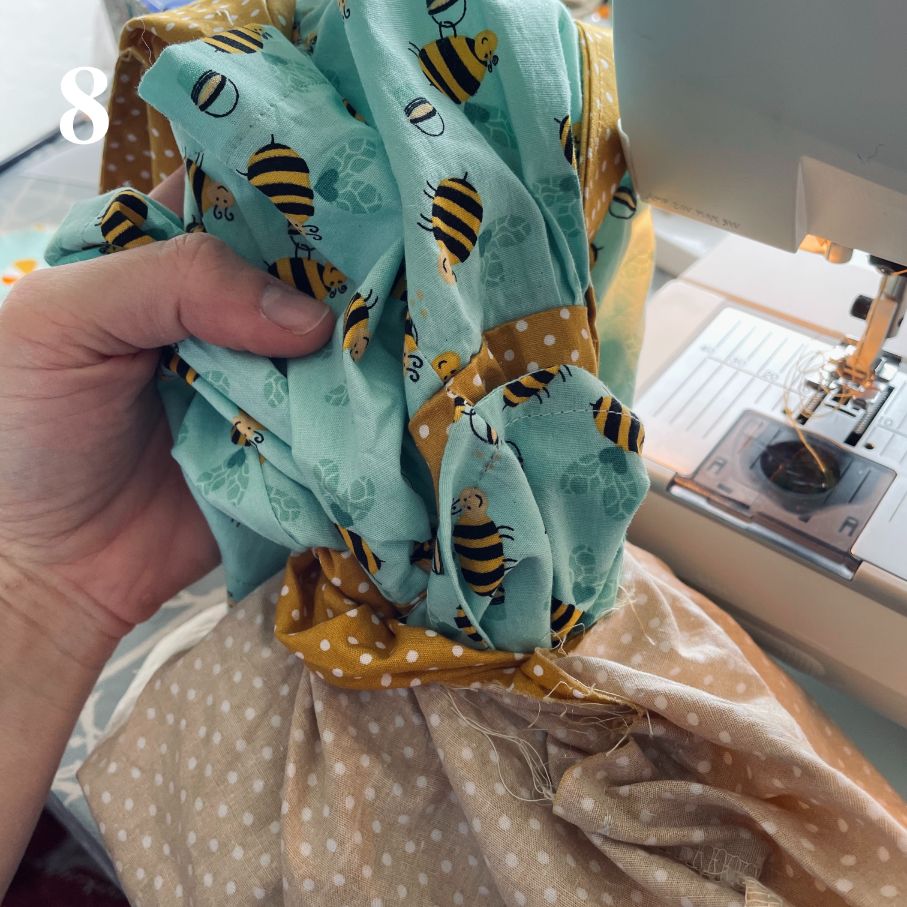
8. Turn the bag out of your turning hole in the bottom of the lining.
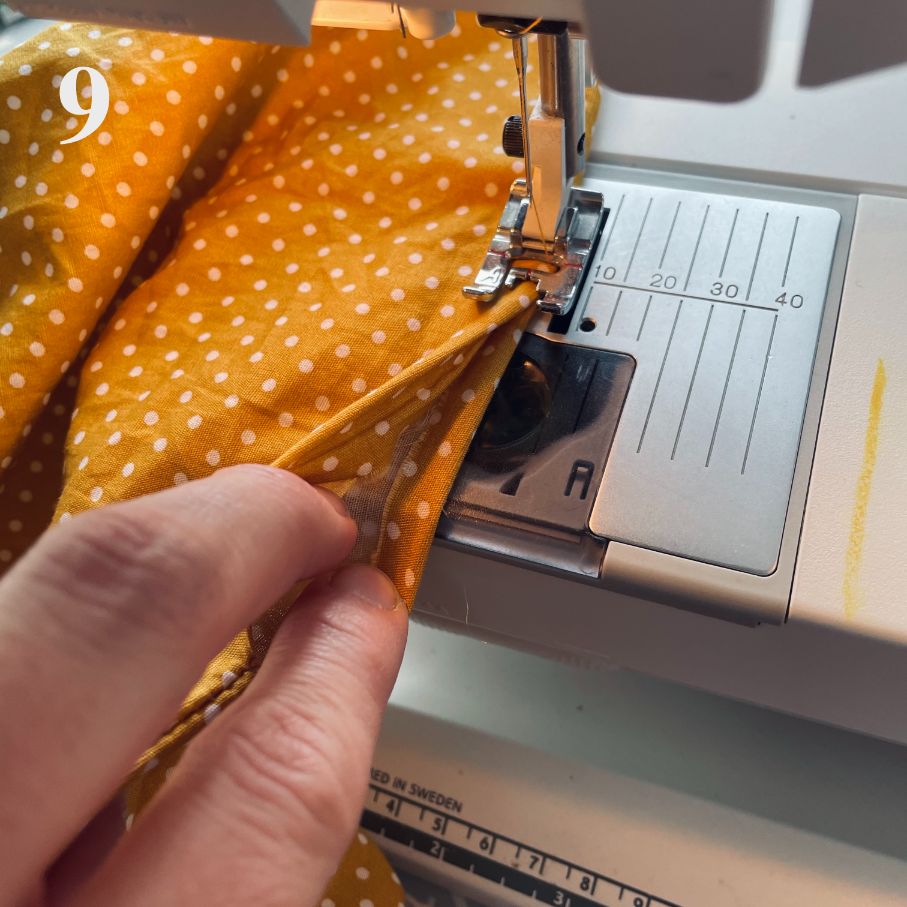
9. Fold the edges of your turning hole into the lining.
10. Sew with 1.5 or 2mm stitches across the hole.
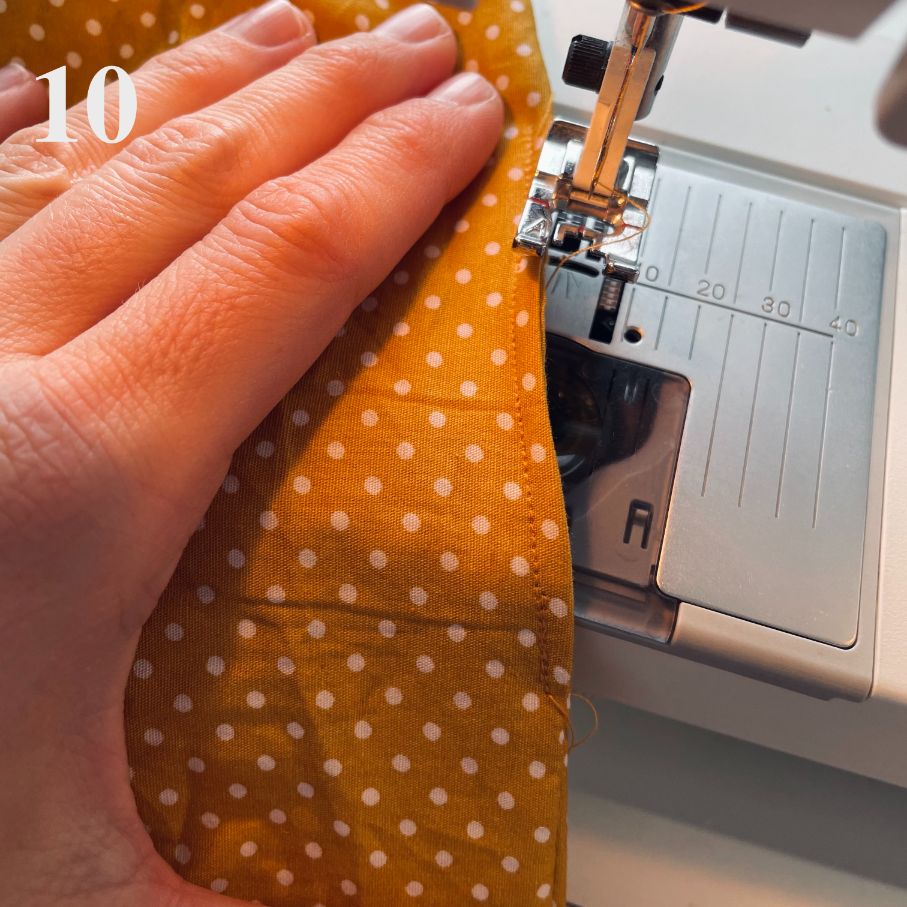
11. Iron the bag well so that it lies nice and flat.
Straps:
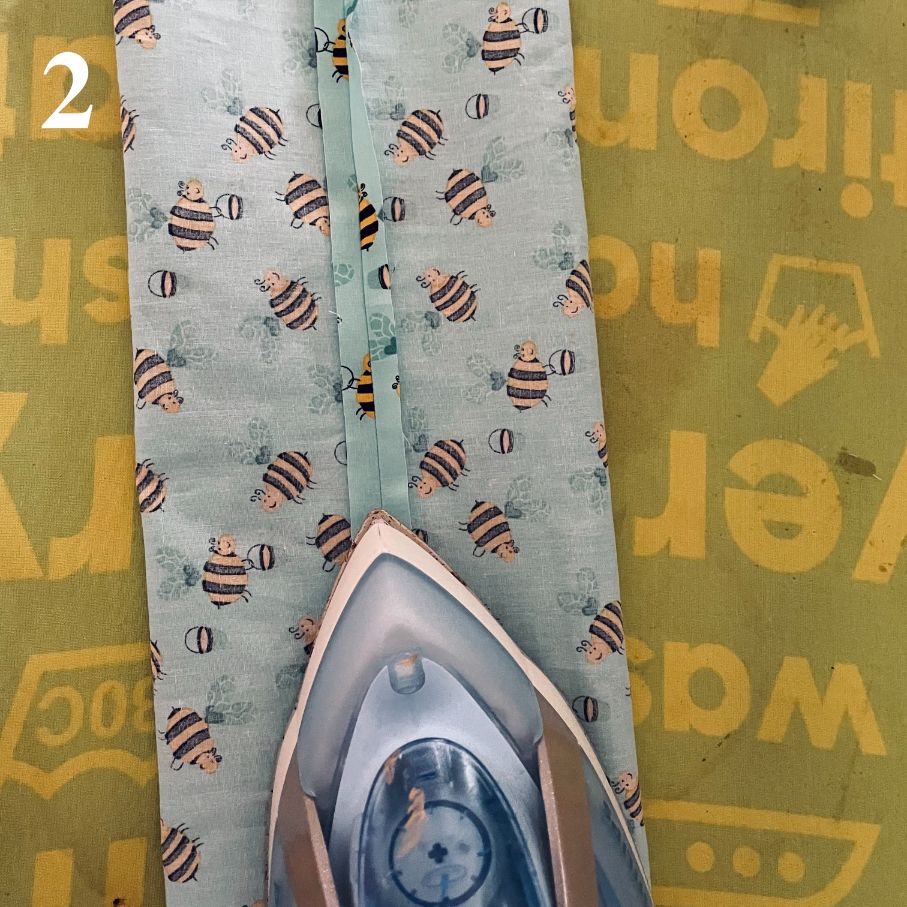
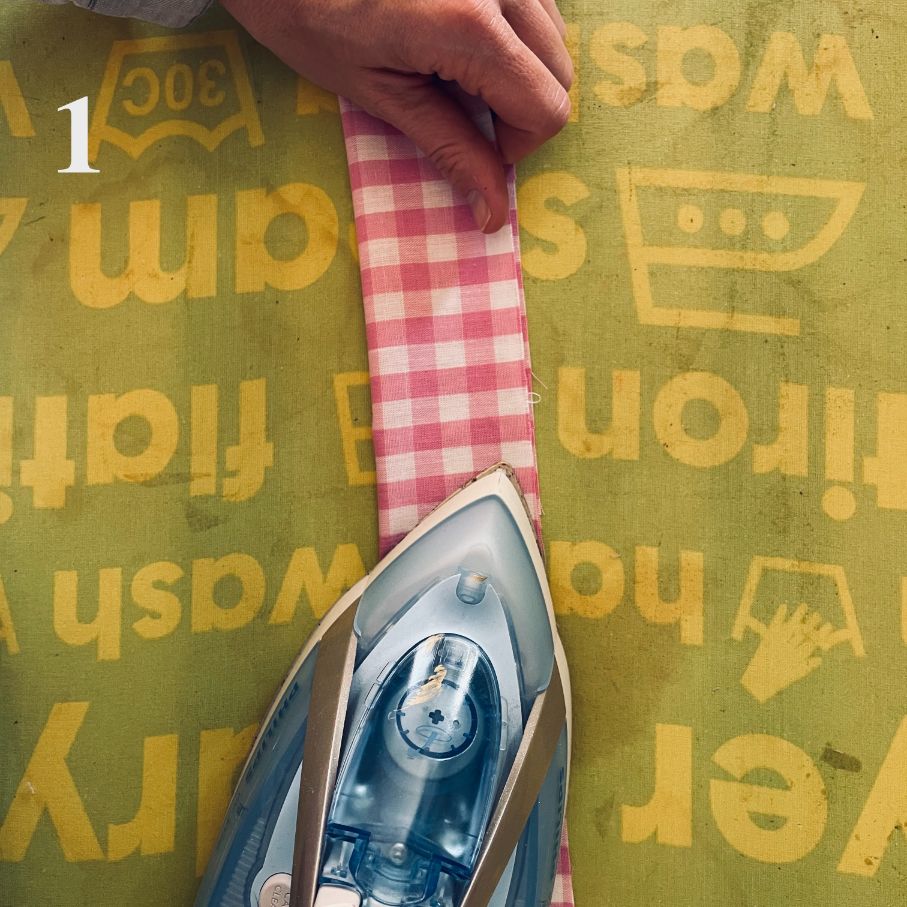
1. Fold the strap along the middle and iron all the way.
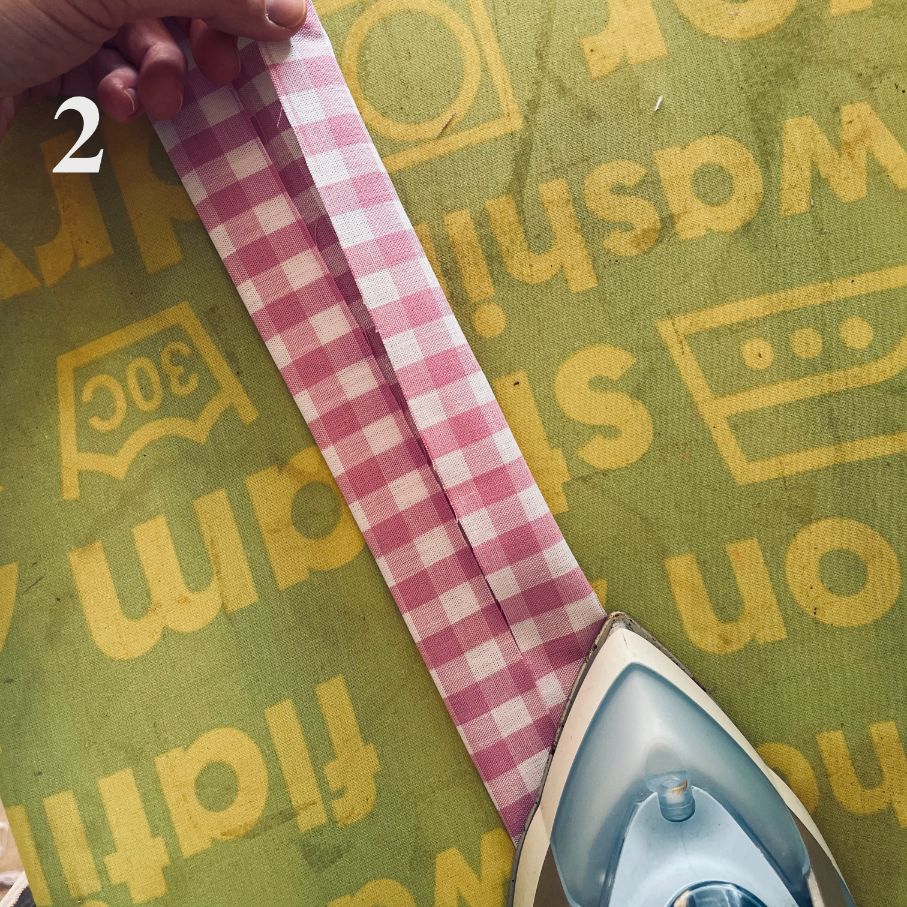
2. Fold it out and iron the edges on each side of the middle.
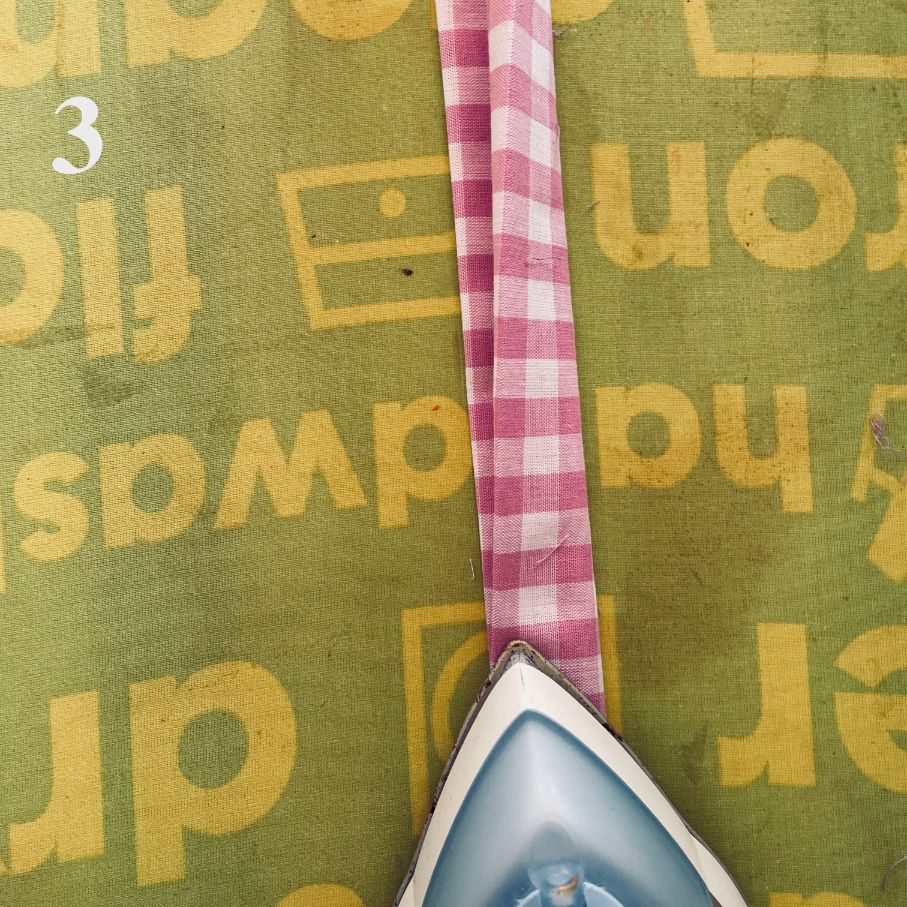
3. Fold it up again and once again iron down the middle - do the same for the other strap.
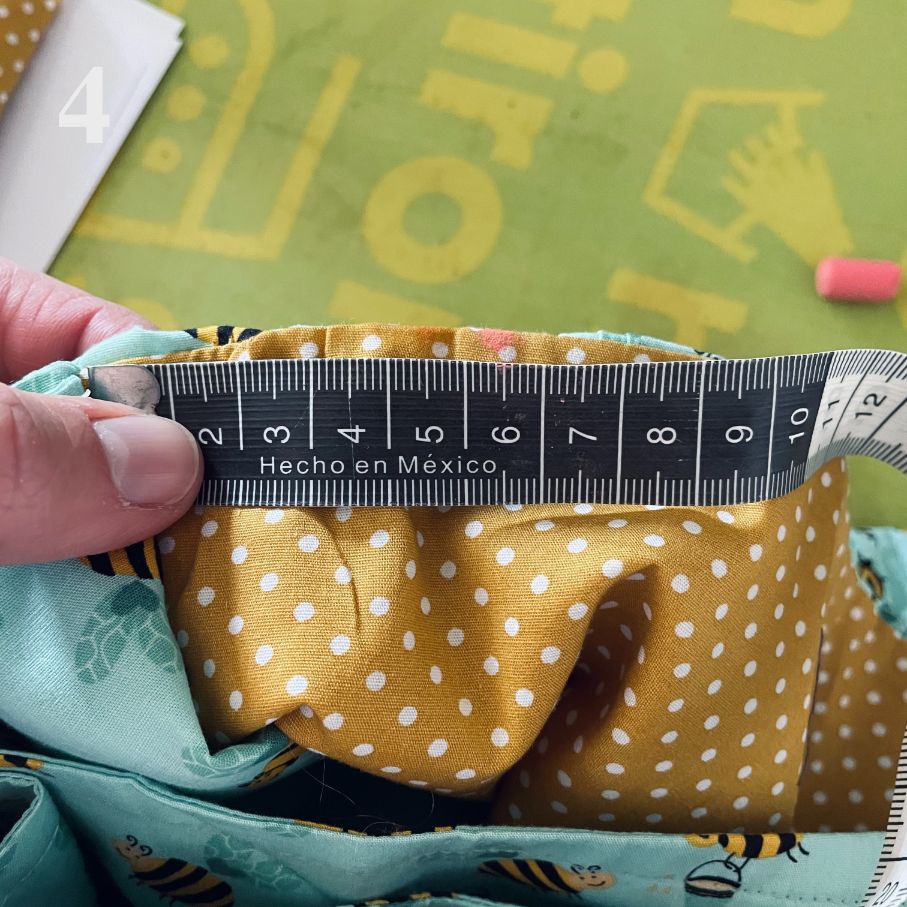
4. Measure from the side seams and out 5.5cm on each side of the seam and mark with chalk.
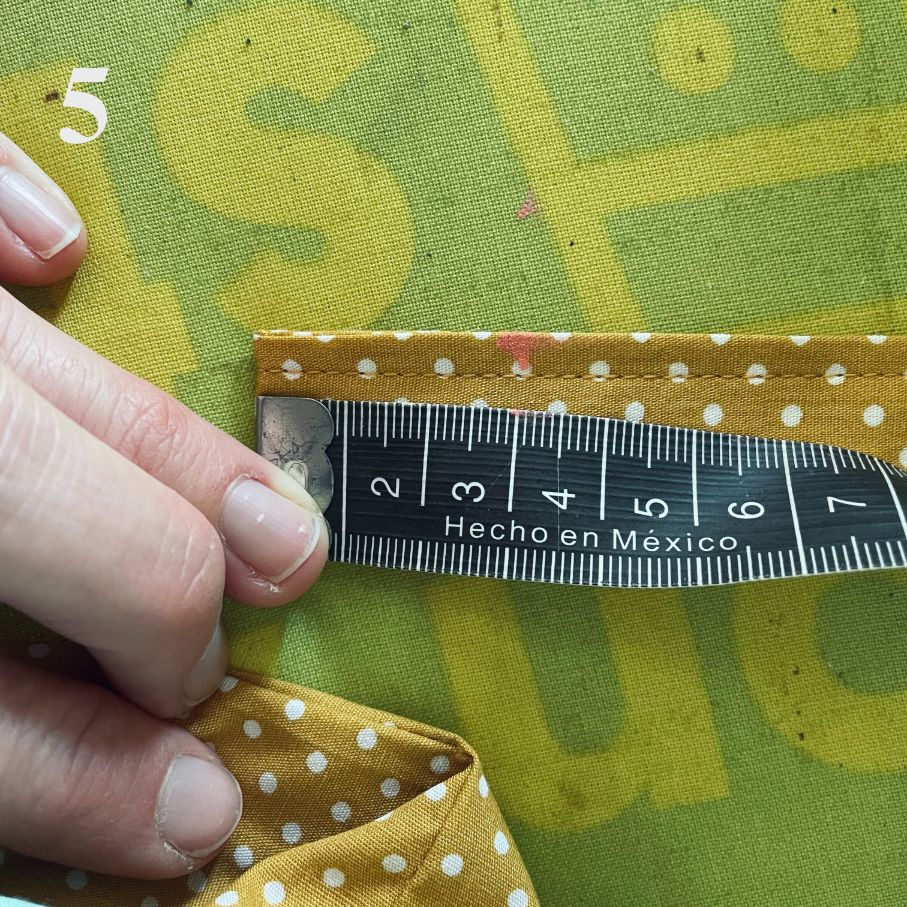
5. Measure 3cm up from both ends of your strap, mark with chalk.
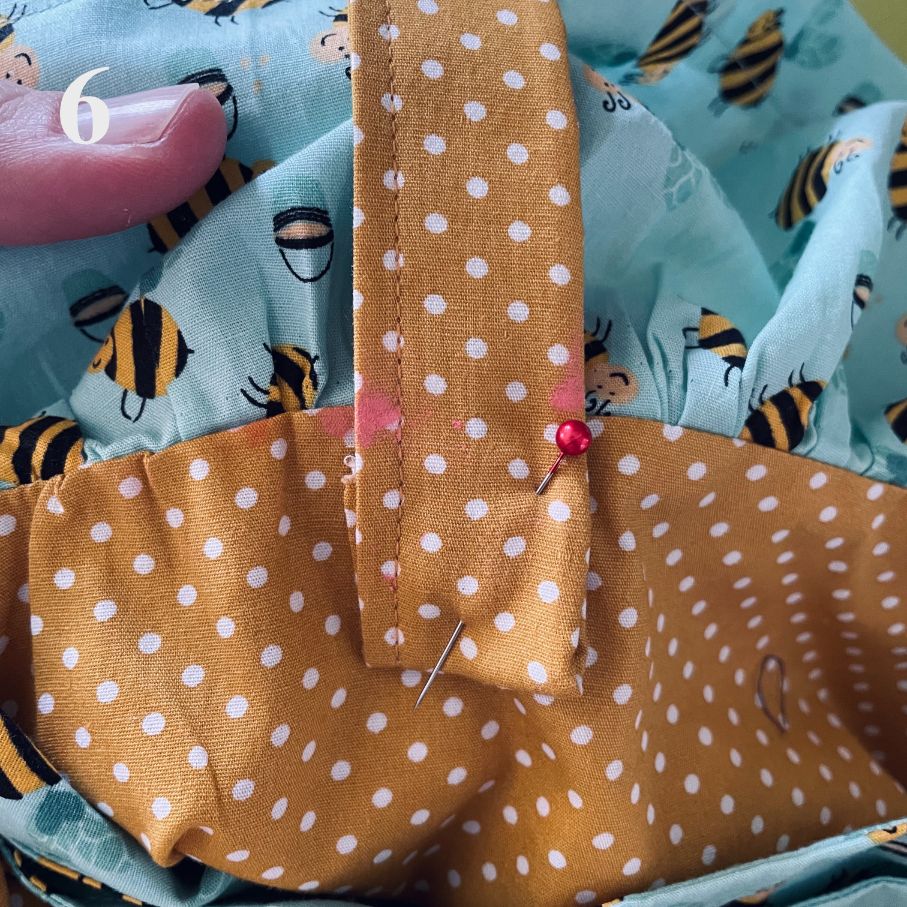
6. Place the ends of the straps so that their outer edge reaches the chalk line on the bag and so the chalk line on the strap hits the top of the bag. Be careful not to twist the straps when attaching them to either side of the bag.
7. Sew the straps attached like this in all four places.
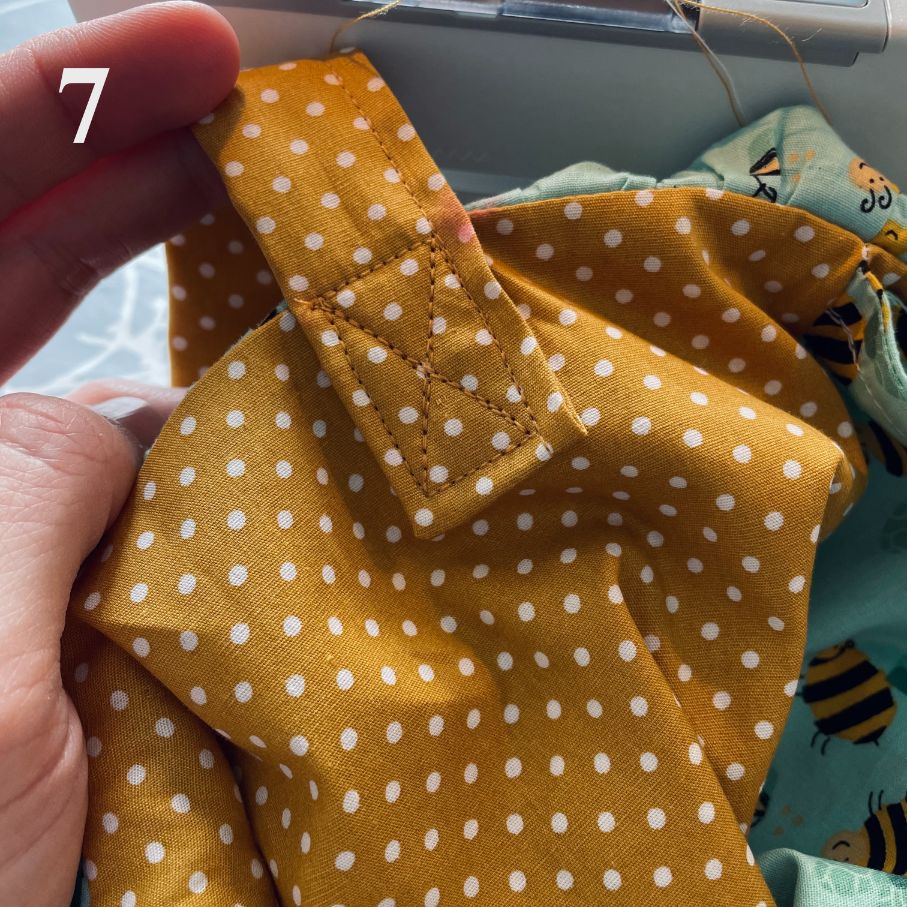
8. Possibly iron it once more to make it nice and flat. And now you are done!
Design by: Rain in May (Maj Leszczynski Suurballe) @rainin_may
 Österreich
  Belgique
  Bosna i Hercegovina
  България
  Κύπρος
  Česká republika
  Danmark
  Eesti
Eesti  Føroyar
  Suomi
Suomi  France
  Deutschland
  Ελλάδα
  Kalaallit Nunaat
  Magyarország
  Ísland
  Ireland
  Italia
  Latvija
  Liechtenstein
  Lietuva
  Lëtzebuerg
  Malta
Malta  Isle of Man
  Nederland
  Norge
Norge  Polska
  Portugal
  România
  Slovensko
  Slovenija
  España
  Sverige
  Schweiz
  Ukraїna
  United Kingdom