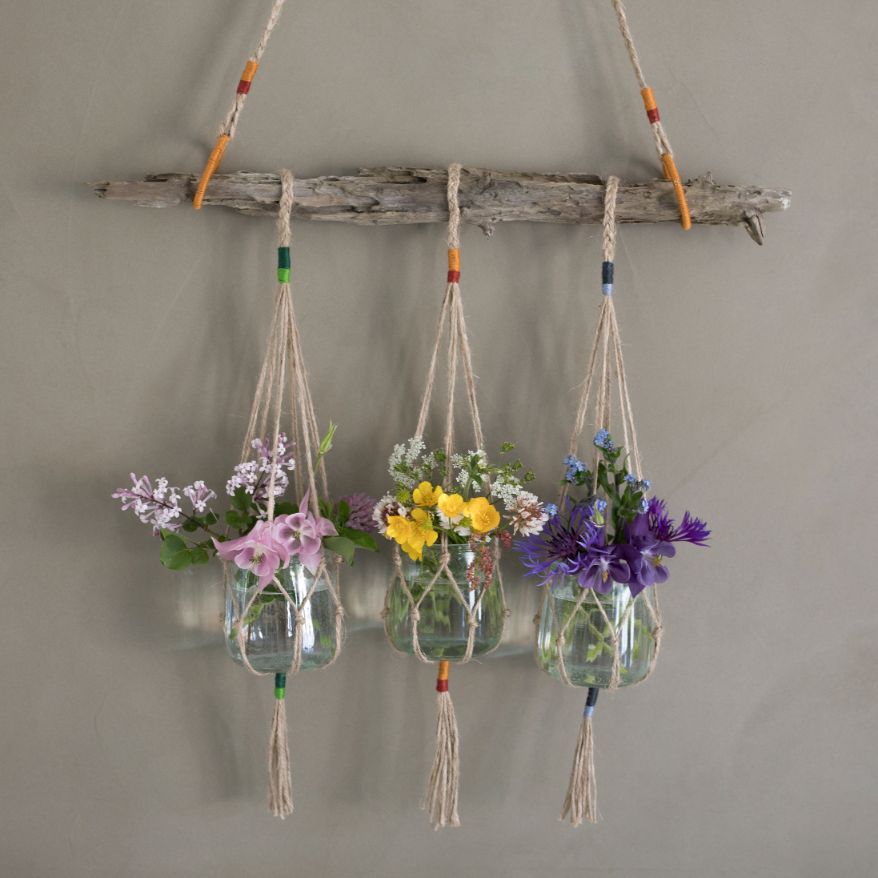
DIY Tutorial: Hanging pots
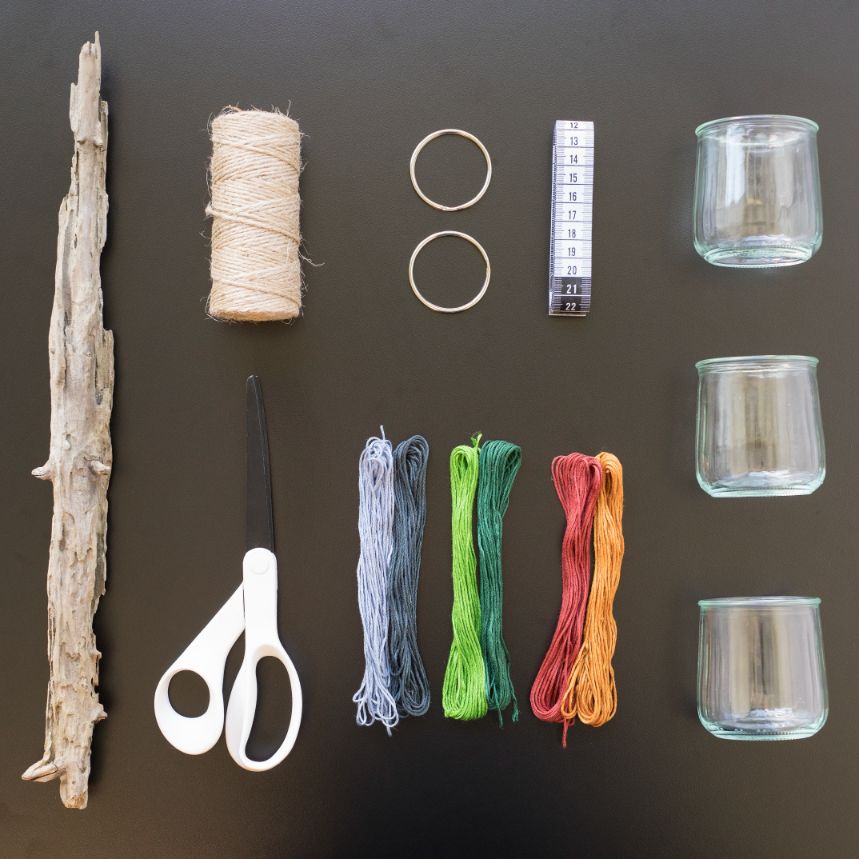
Materials
- Drift wood or Wooden dowels rods
- 3 x Glasses
- 1 x Jute twine
- 2 x Keyrings that will fit on the drift wood or wooden dowel rods
- 1 x Embroidery yarn (2x3 different matching colours)
Tools
Instructions
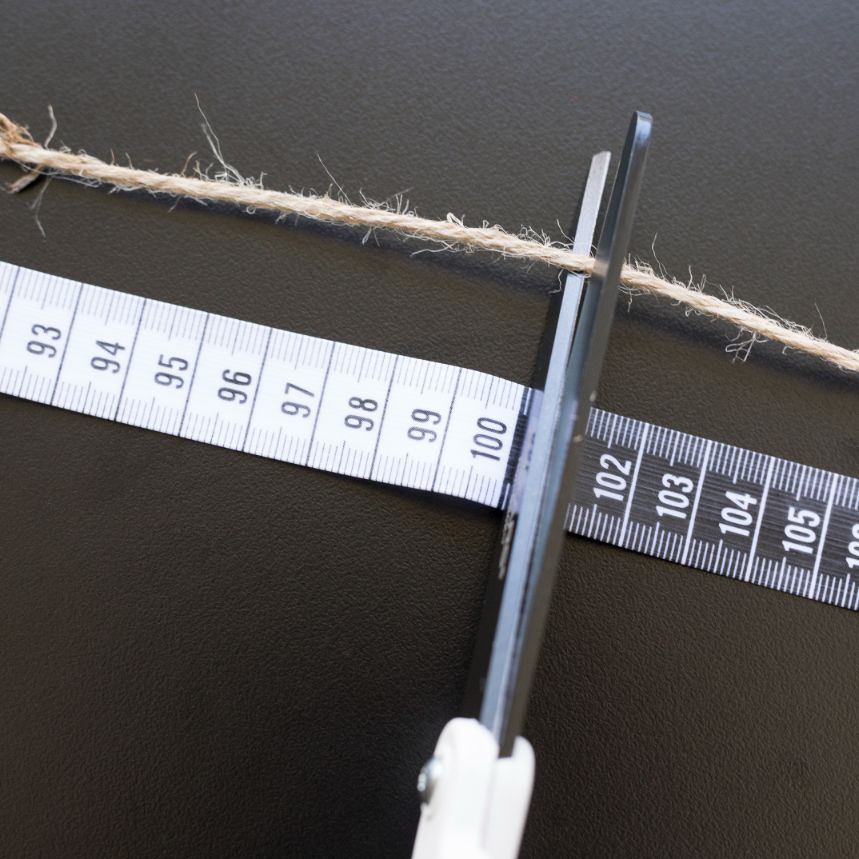
Cut 24 pcs. jute twine of 100cm
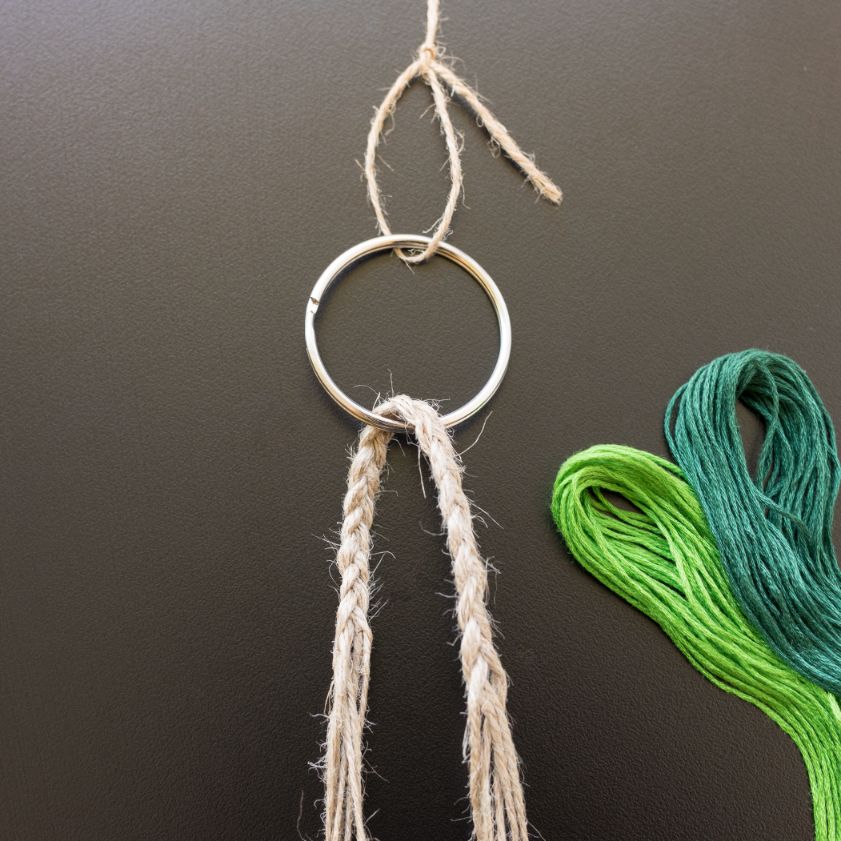
Cut an extra piece of the jute twine, which you to tie in one of the keyrings and then tie to your driftwood. Then you take 6 of your 24 jute twine cords, which you tie to the keyring, so you have a hold of it while you are braiding.
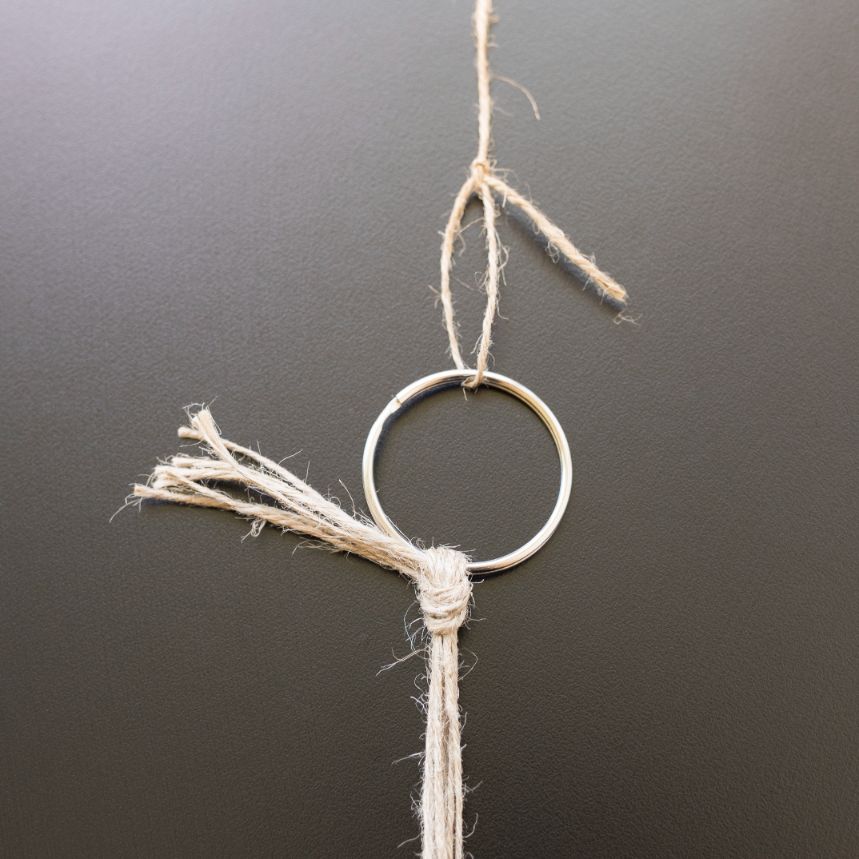
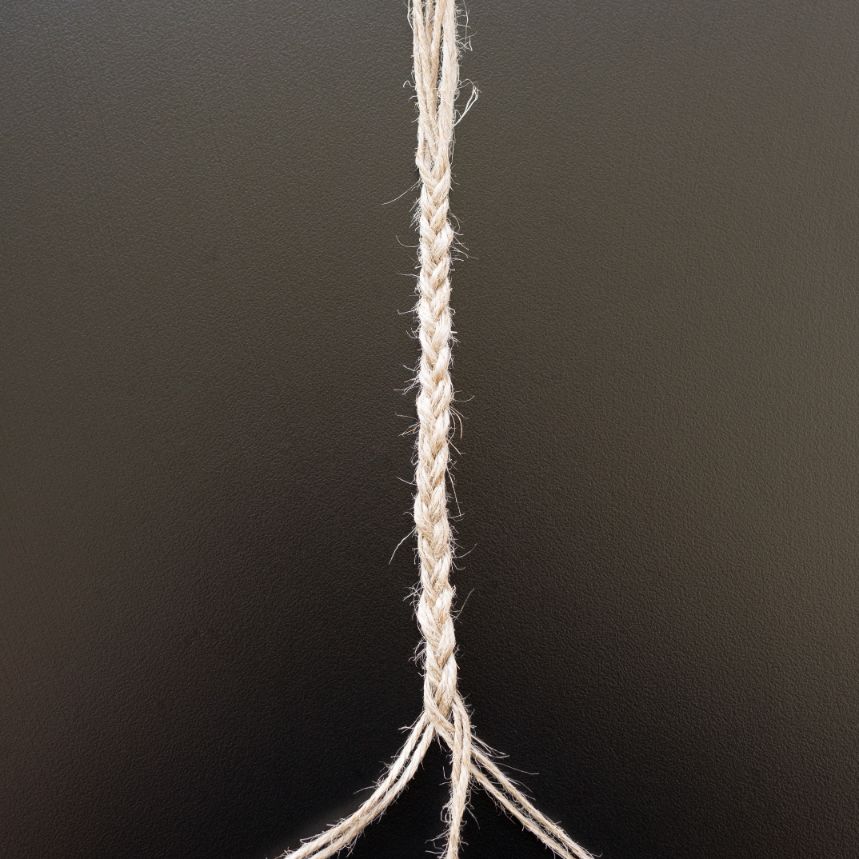
Find the middle and braid 10-12cm with two cords in each bundle.
Loosen the knot at the end and wrap the middle braided part around the keyring, so that the braided part later becomes the part in which the pot is hung.
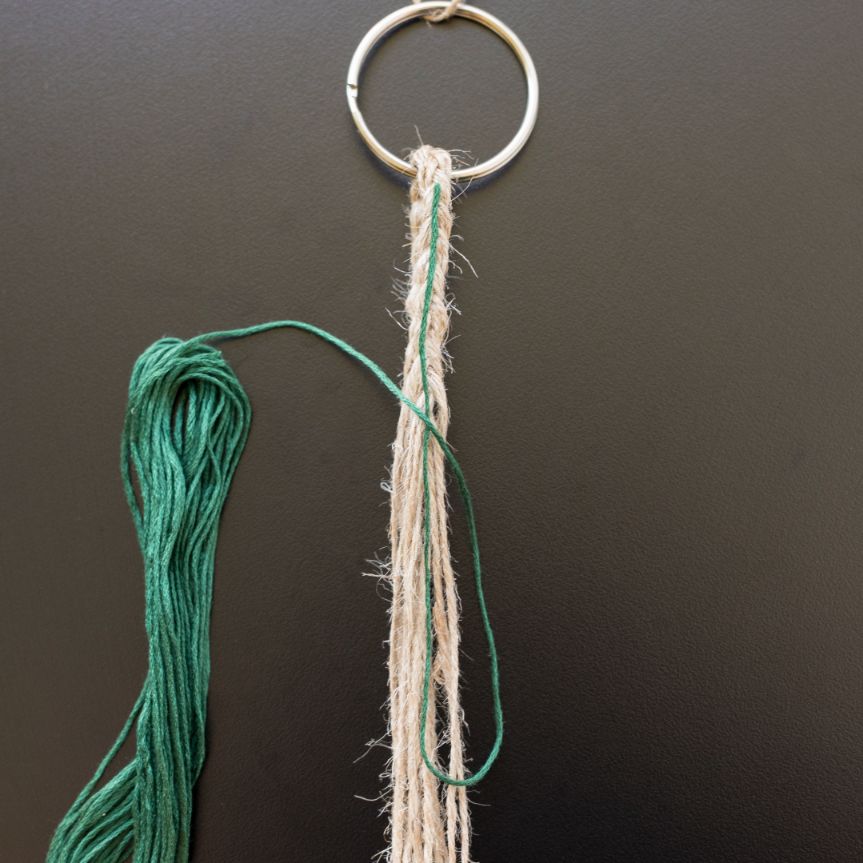
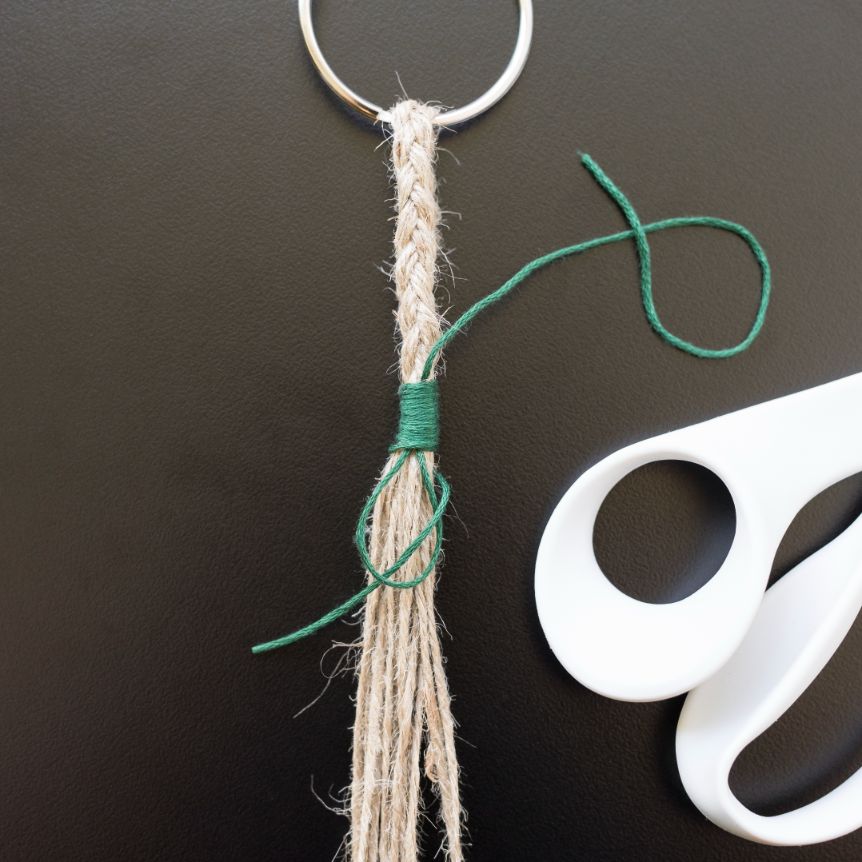
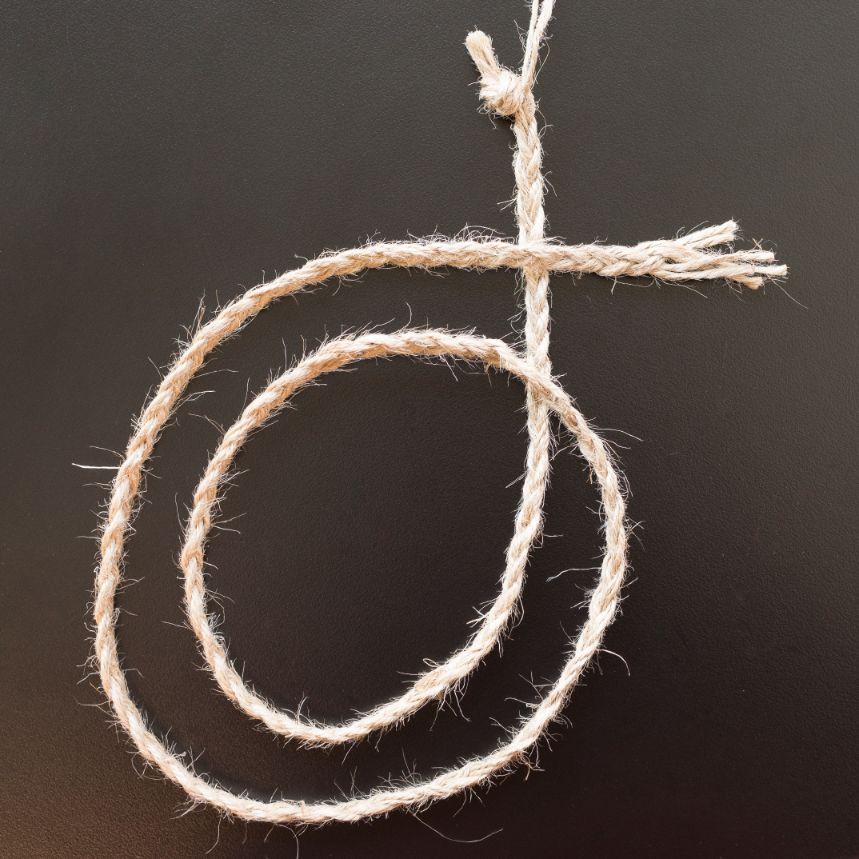
Find two skeins of embroidery thread in matching colours. Here, I have chosen to use light green and dark green. Start with the darker colour. Find the end of the embroidery thread and lay down the jute twine cord from the keyring. Now make a loop on the yarn so that the yarn skein is on your left side. Hold on with your left index finger and thumb where the dark green yarn crosses.
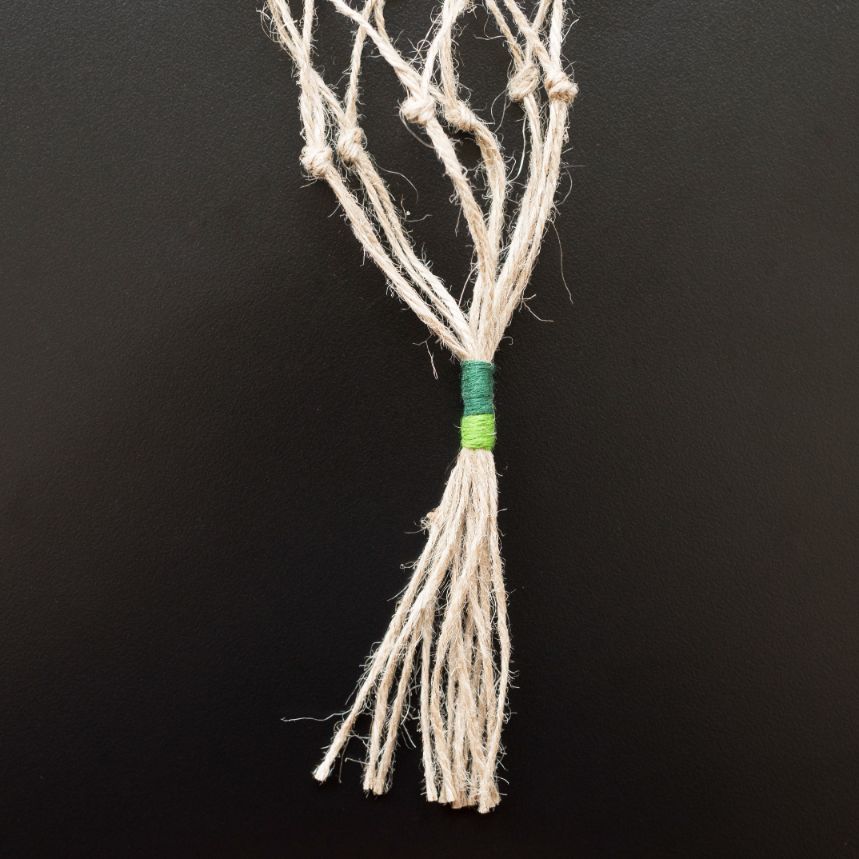
Twist the yarn skein tightly behind the jute twine several times. Start from the top where the braid ends and move down until you have approx. 1cm.
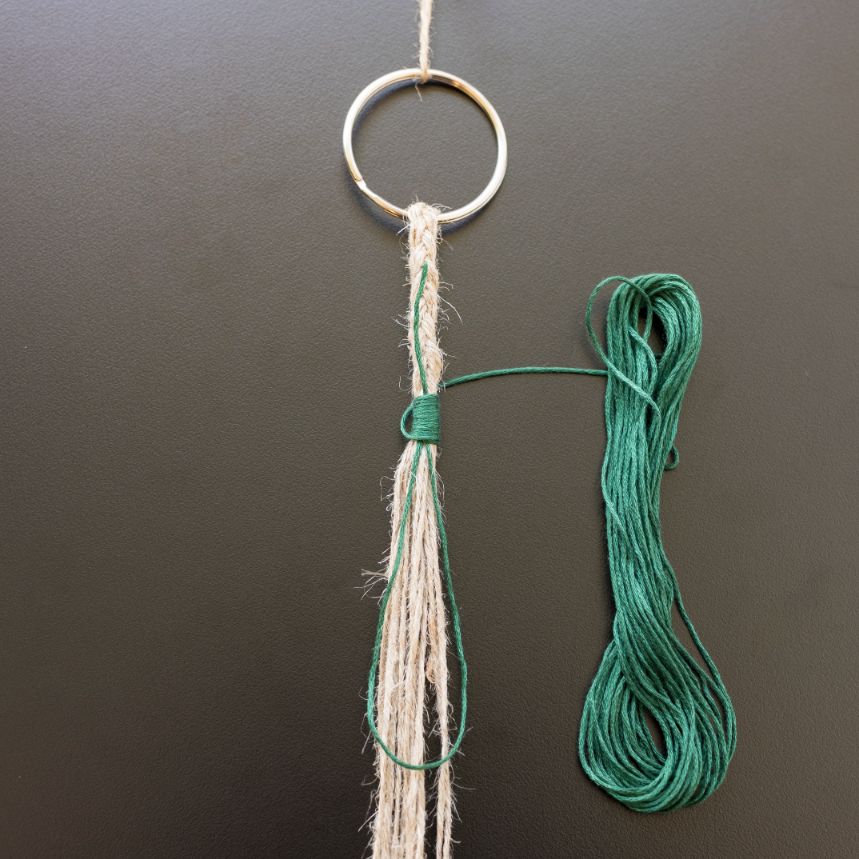
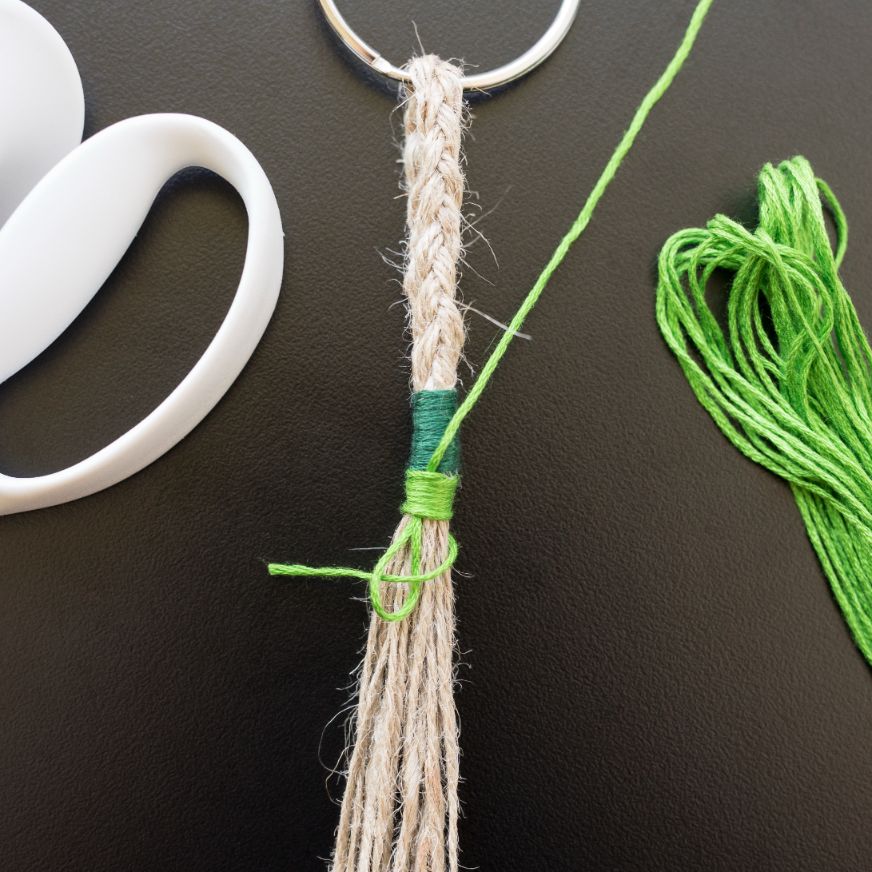
Cut the yarn skein off and bring the end through the bottom loop.
Pull in the upper dark green thread so that the lower loose end is hidden. Cut off the end and pull a little more in the top thread so that the end is hidden. Now pull down a little on the upper loose end and cut it off so that it is also hidden.

Repeat the same procedure with the light green embroidery thread. Make a piece of the light green approx. half the size of the dark green.
You are now done with the top part.

Now, you have to start tying the knots - they are tied by making a loop, where you bring the end through and tighten.

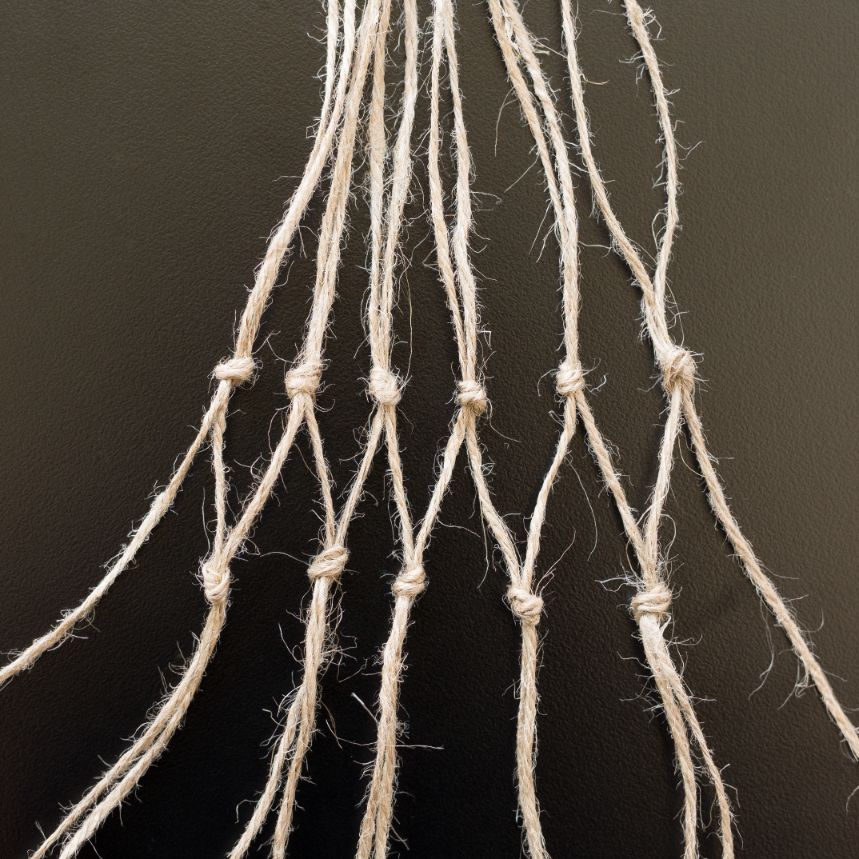
Divide the jute twine cords into pairs so you have 6 bundles of 2 cords. Tie the cords together in pairs approx. 16cm from the lower part of the light green yarn. Measure how it fits in relation to your glasses/pots.
Then tie a cord from bundle 1 together with a cord from bundle 2 approx. 4cm from the other knots. Then a cord from bundle 2 together with bundle 3 etc. so that it forms a zig-zag pattern as shown in the picture. Finally, you tie the first and last cord together so that the zig-zag pattern goes all the way around.
Insert one of your glasses/pots and hold the ends together to measure where you should wrap the yarn around next.
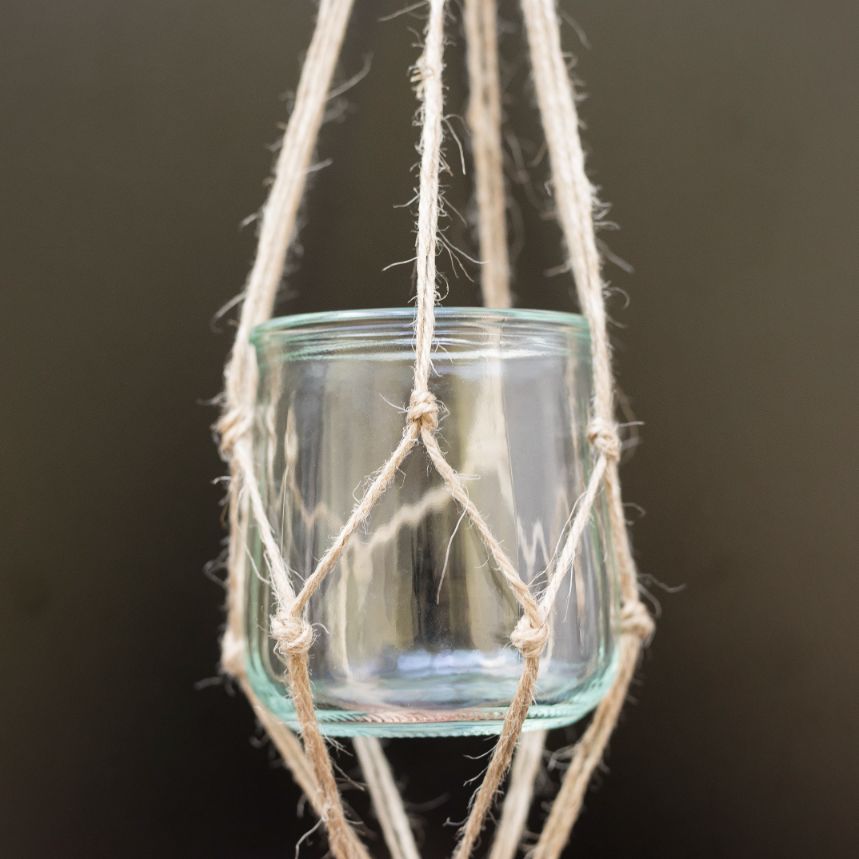
Remove the glass again and repeat the procedure from the top with the dark green embroidery yarn first and then the light green. Cut off the ends so you get a straight edge.
Take the project out of the keyring and select one of the bundles of embroidery thread that you have used. Wrap it around the two keyrings and finish with a double knot on the back or inside of the keyring.
Take the last 6 cords and tie a knot at one end while tying it on just like the keyring before. Divide the cords into 3 bundles of two cords and braid the whole cord.
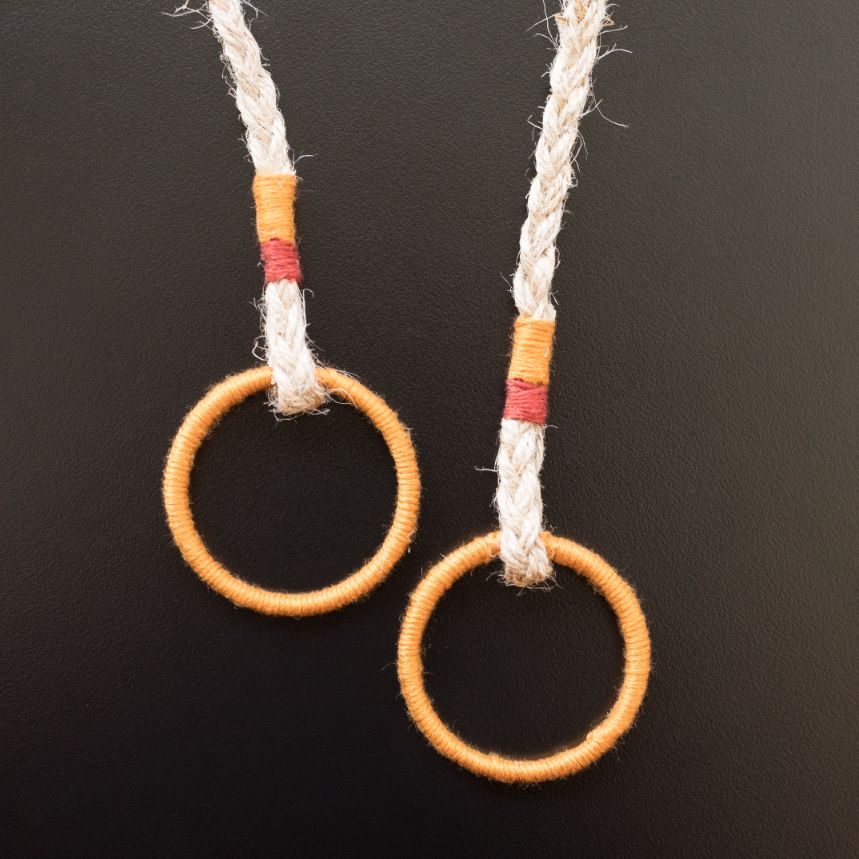
Tie the knot at the end up again and wrap the ends around the keyrings and finish it with two matching colours, just as you did with the green embroidery yarn. Cut off the ends.
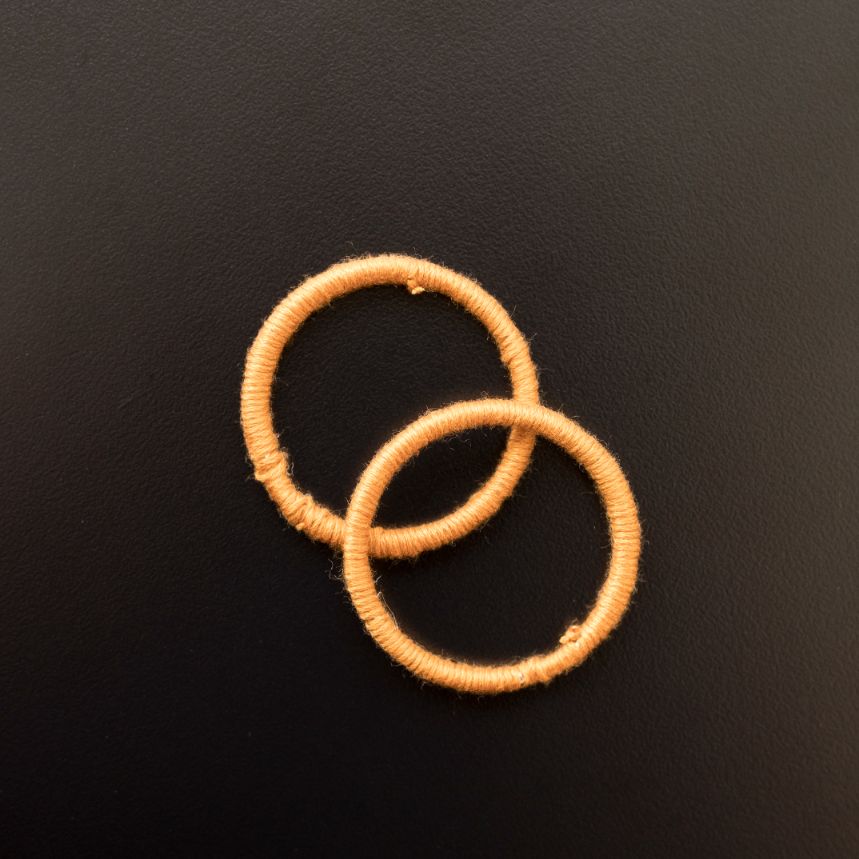
Make two similar rings and put them on your driftwood. Bring the keyrings with the braided cord in between and place the keyrings around the ends of the driftwood. Hang up the finished project and put flowers, plants or tealight candles in the pots.
 Österreich
  Belgique
  Bosna i Hercegovina
  България
  Κύπρος
  Česká republika
  Danmark
  Eesti
Eesti  Føroyar
  Suomi
Suomi  France
  Deutschland
  Ελλάδα
  Kalaallit Nunaat
  Magyarország
  Ísland
  Ireland
  Italia
  Latvija
  Liechtenstein
  Lietuva
  Lëtzebuerg
  Malta
Malta  Isle of Man
  Nederland
  Norge
Norge  Polska
  Portugal
  România
  Slovensko
  Slovenija
  España
  Sverige
  Schweiz
  Ukraїna
  United Kingdom