Swan Solid Smock Top
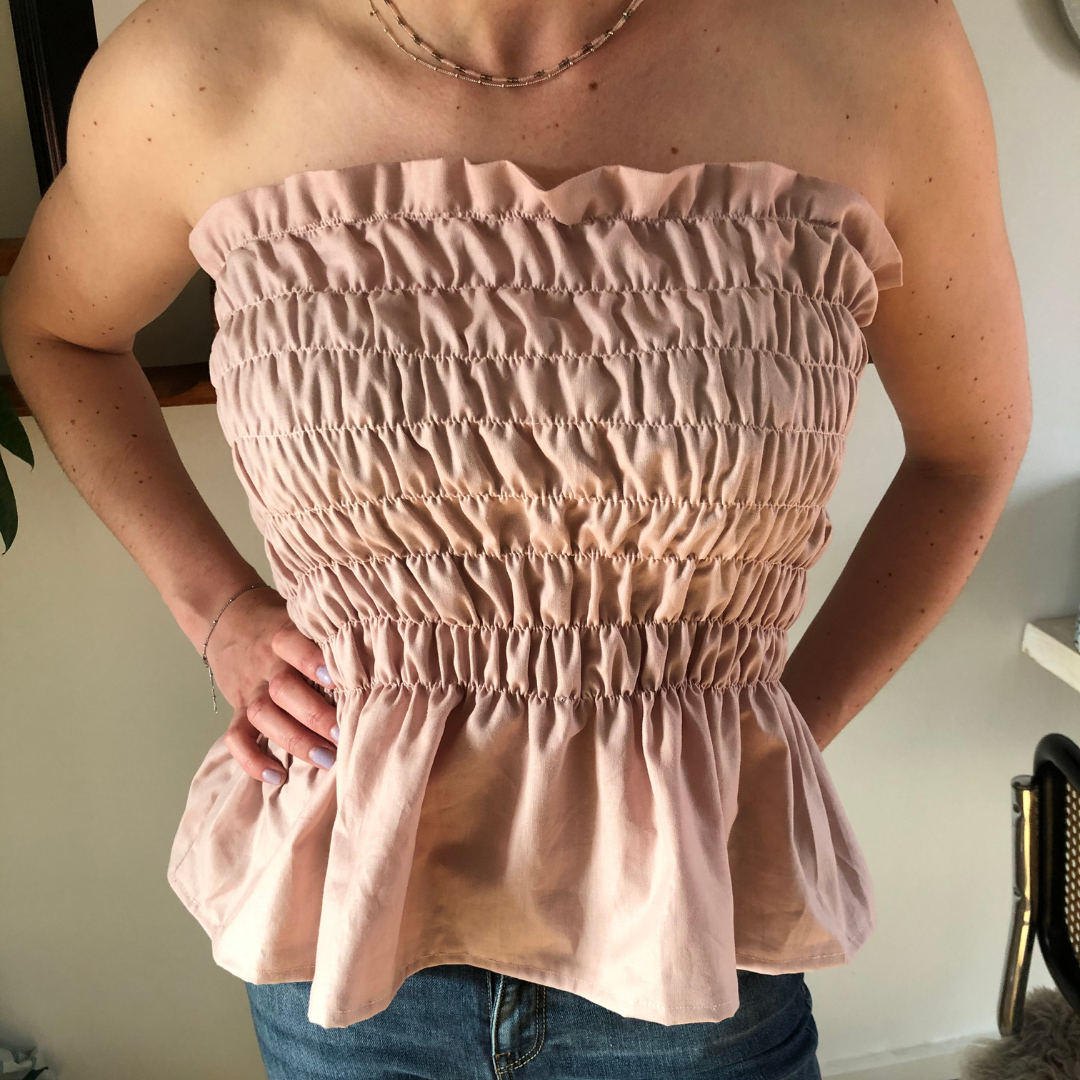
A very simple and nice smock top that can be sewn both with and without sleeves.
Size
Chest circumference under 104 cm (Chest circumference over 104 cm)
Tools
- Sewing machine
- Scissors
- Wonderclips or Needle pins
- Seam gauge
- Pattern paper
- Possibly a presser foot
Materials
- 2 (4) x Swan Solid Cotton Canvas Fabric - 405 Misty Pink
- 1 x Scanfil Elastic Thread White 20 m
- 1 x Gütermann Sewing Thread Cotton 1829 Dusty Pink 100m
- 1 x Elastic material
Instructions
The width of the fabric becomes the circumference of the top. NOTE: If you have a chest measurement larger than 110 cm, you should sew the smock lengthwise instead of the width of the fabric.
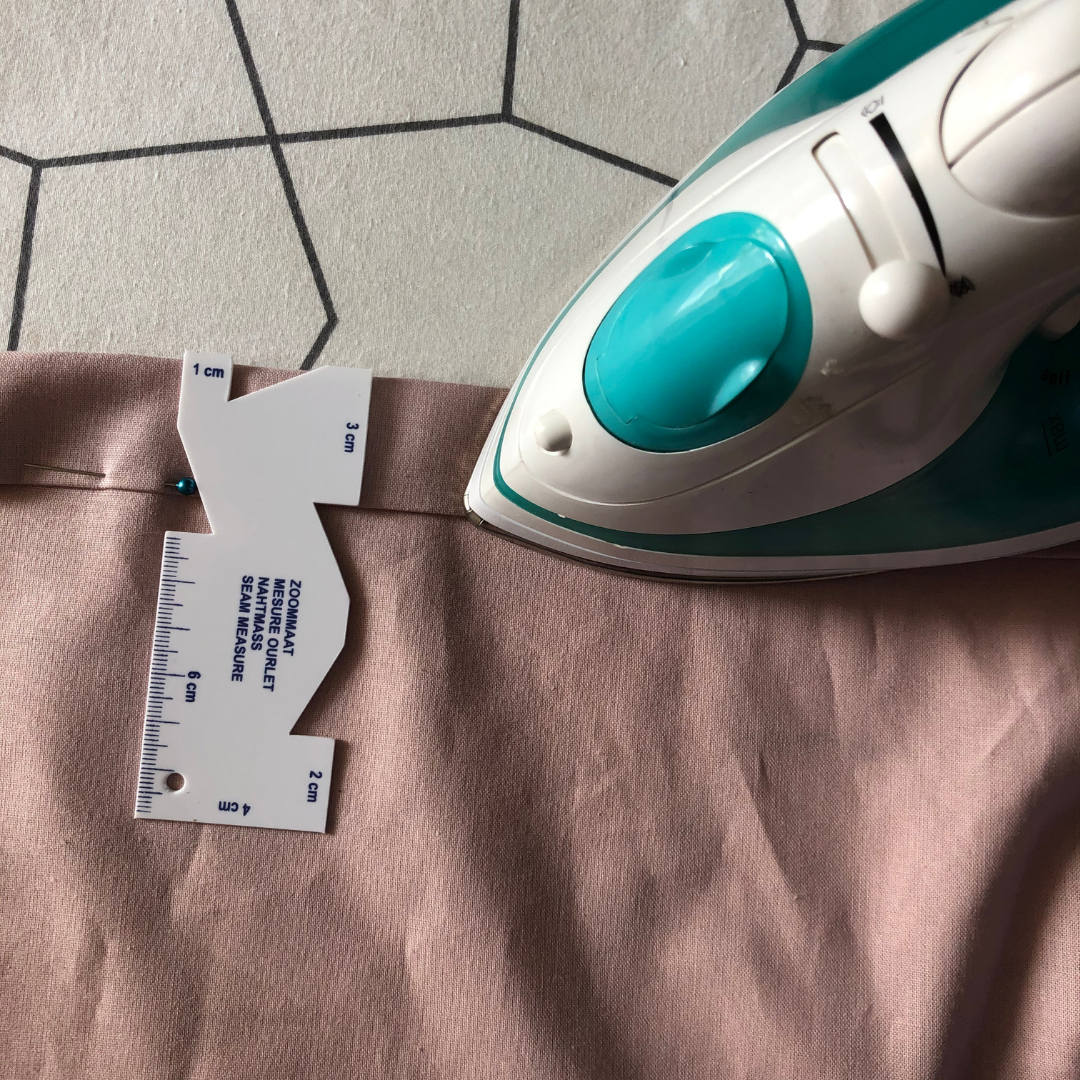
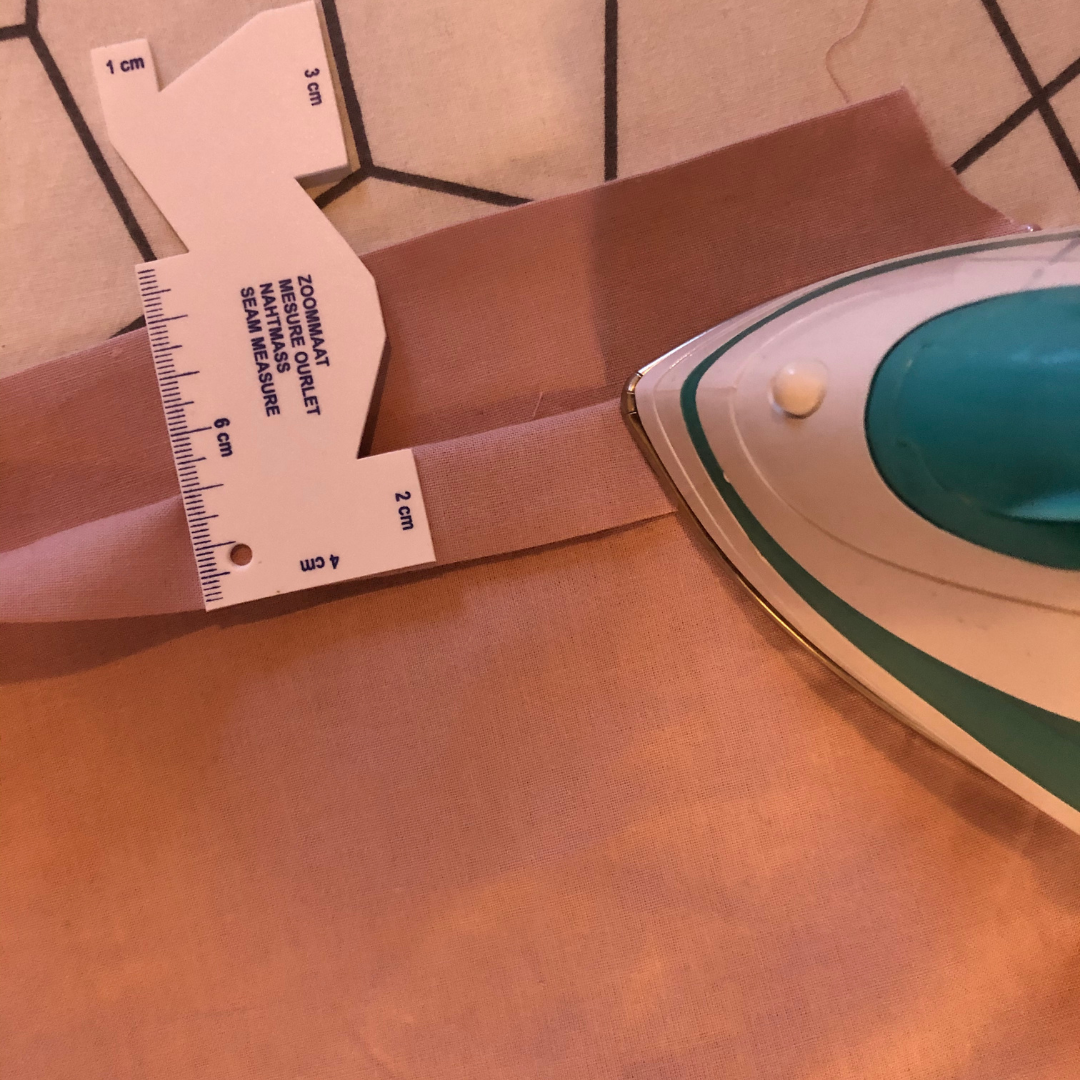
Start by folding an edge with the width you want between the smock. This will be the top edge of the top, cutting across the chest. Iron it so you have more control over the width and so it's easier to sew.
Now you need to start sewing the smock.
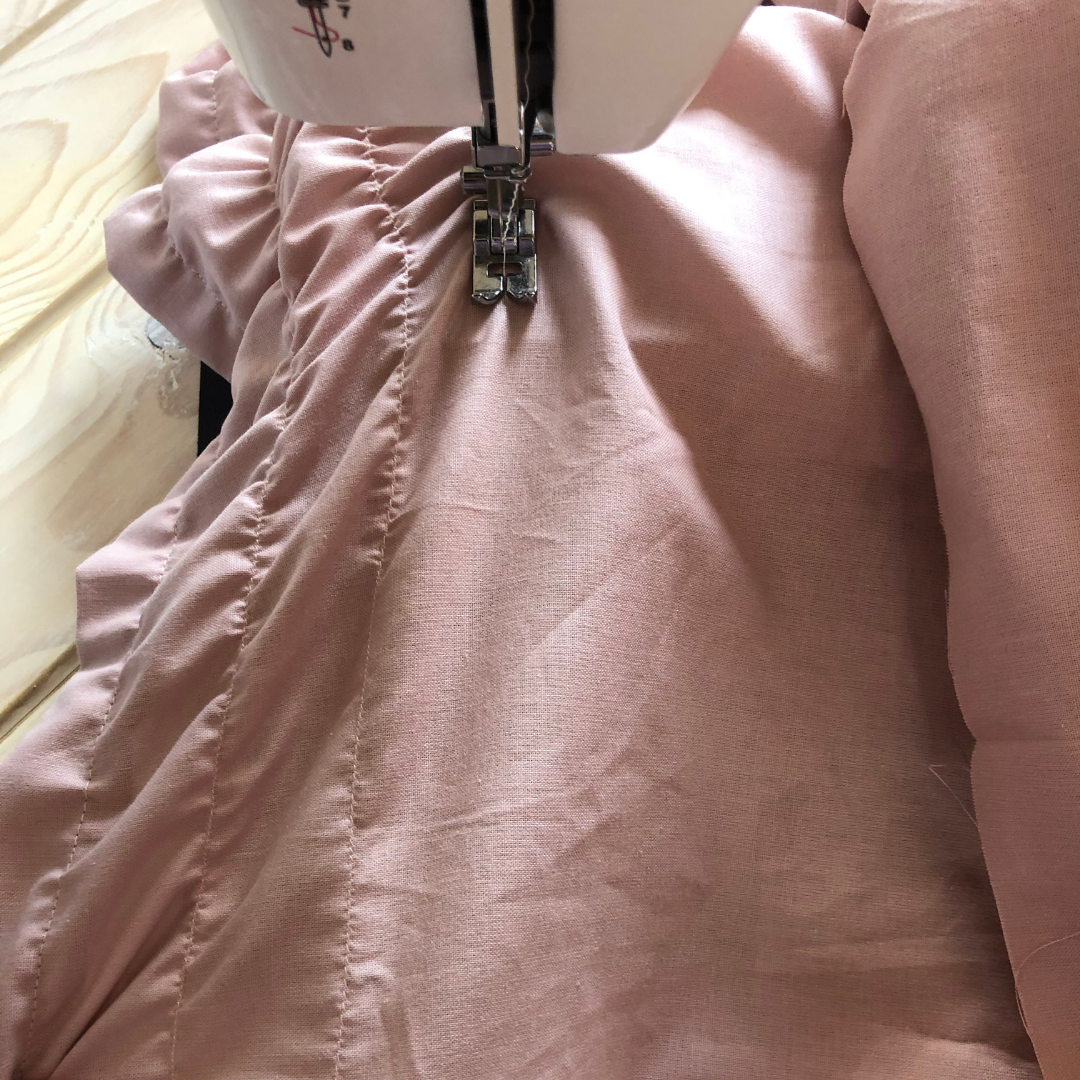
Thread your sewing machine with elastic thread in the bobbin and regular sewing thread in the top thread.
Set the seam length to the longest possible option.
NOTE! Always make a test to see how the smock looks in the fabric you are sewing in. Whether the stitch length should be increased or decreased slightly to get the best smock effect depends on the thickness and lightness of the fabric. You can adjust the thread tension too, to change the smock effect.
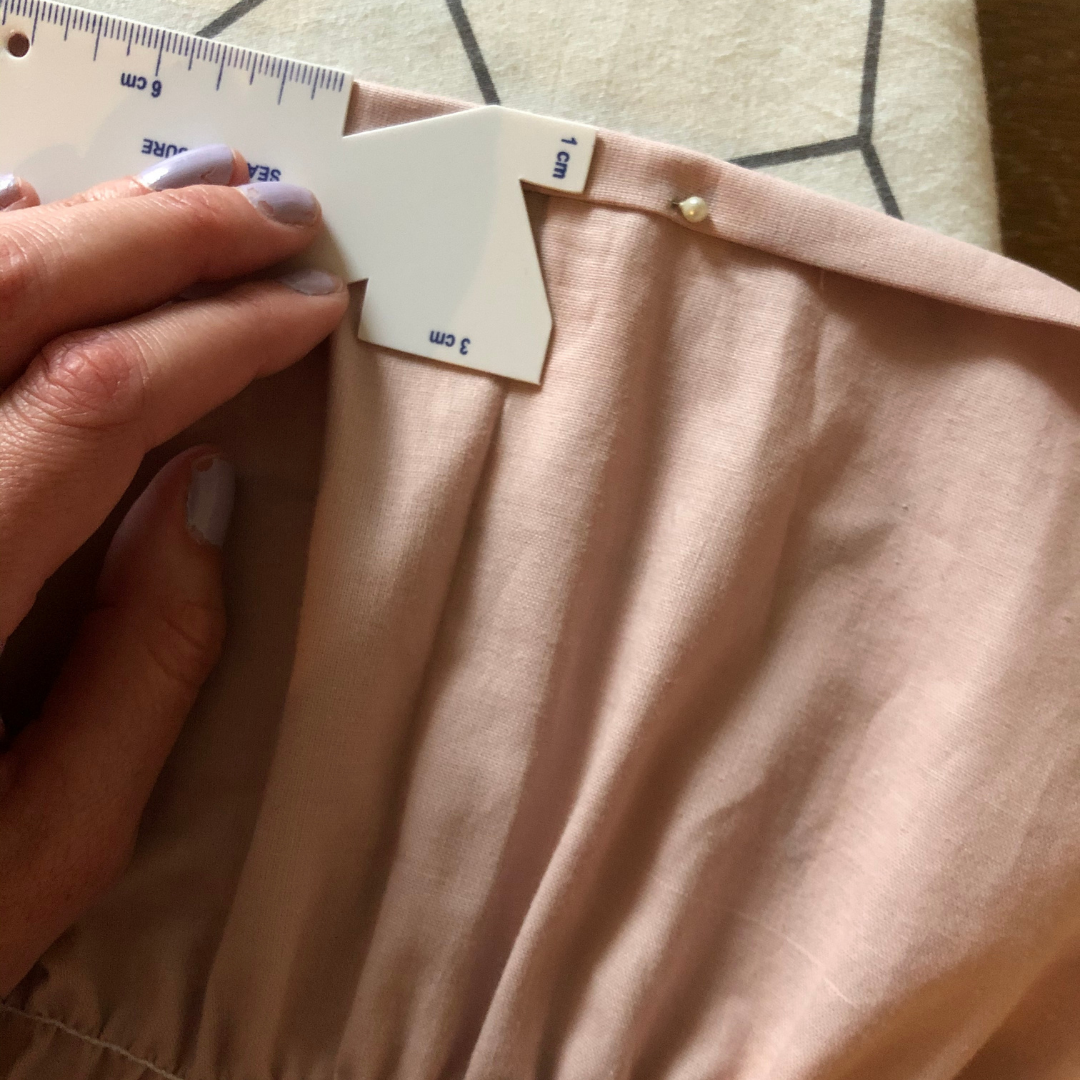
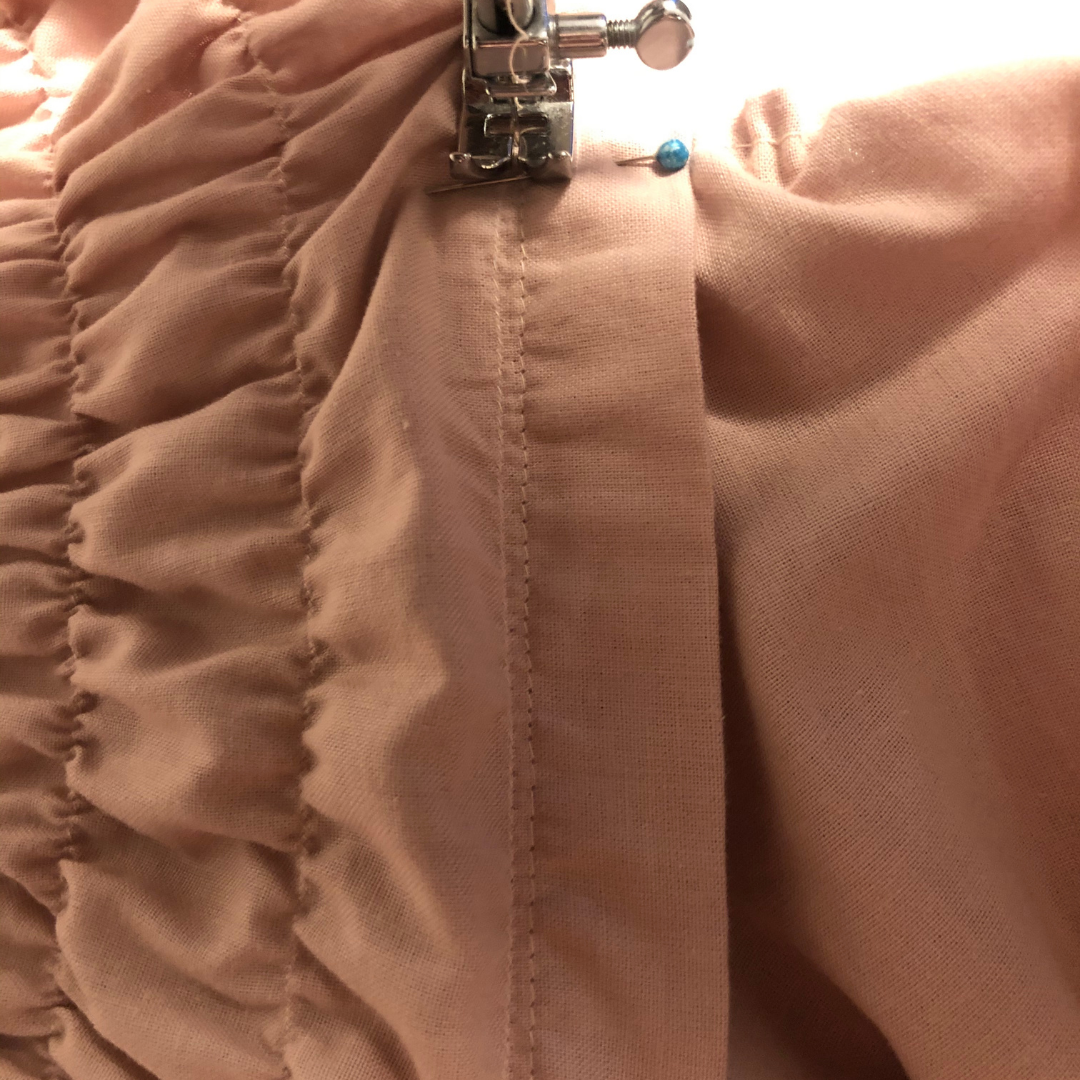
Sew the turnover on the edge as your first smock stitch at the distance from the edge that you want between the creases. (Here 4 cm.) The wider the distance the bigger the smock wrinkles you get. With 1 cm between the lines of wrinkles you get small tight wrinkles.
NOTE! Remember that when you sew the smock, you have to sew on the right side, so the elastic material and the wrinkle are on the wrong side.
The first seam you just sew straight out, like a regular seam.
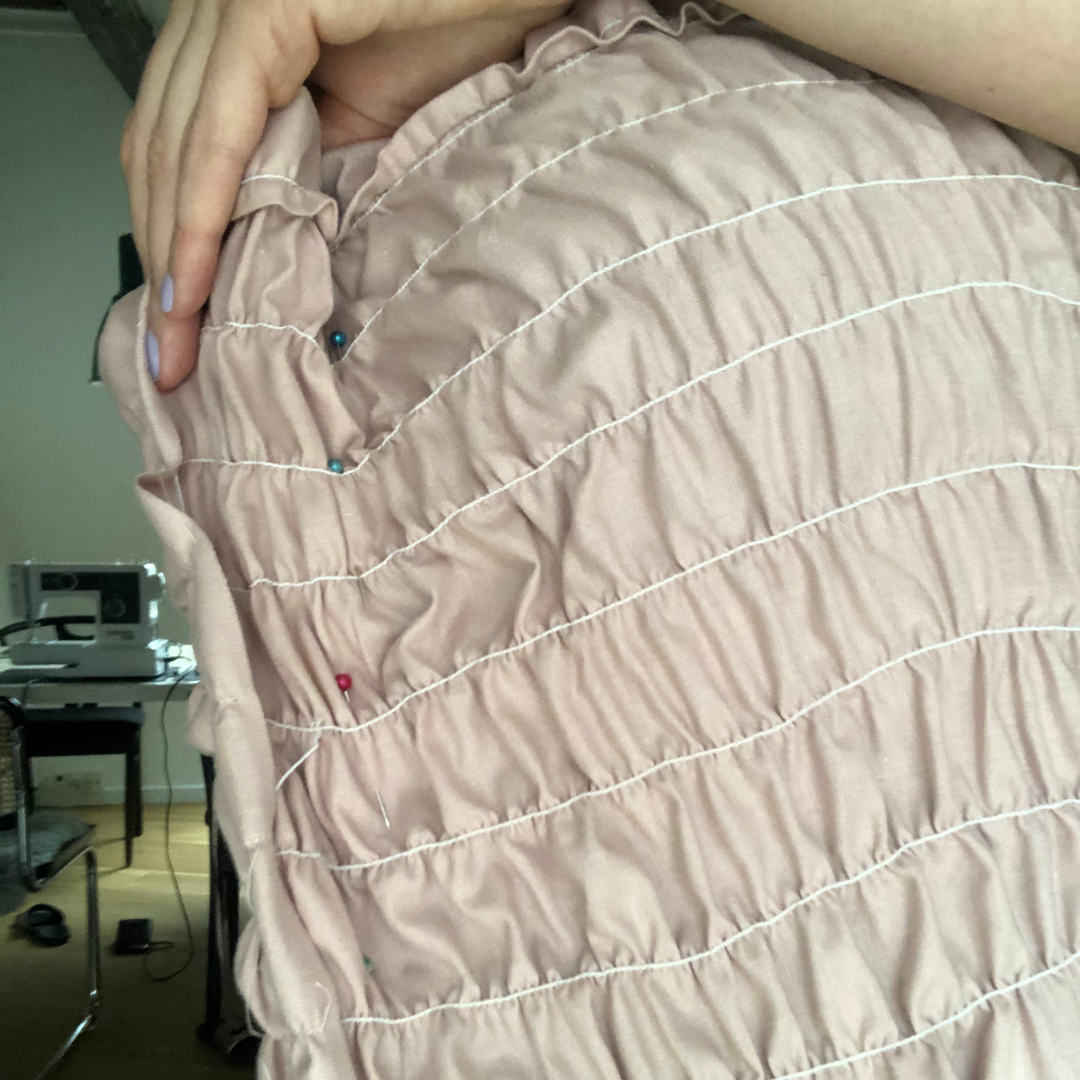
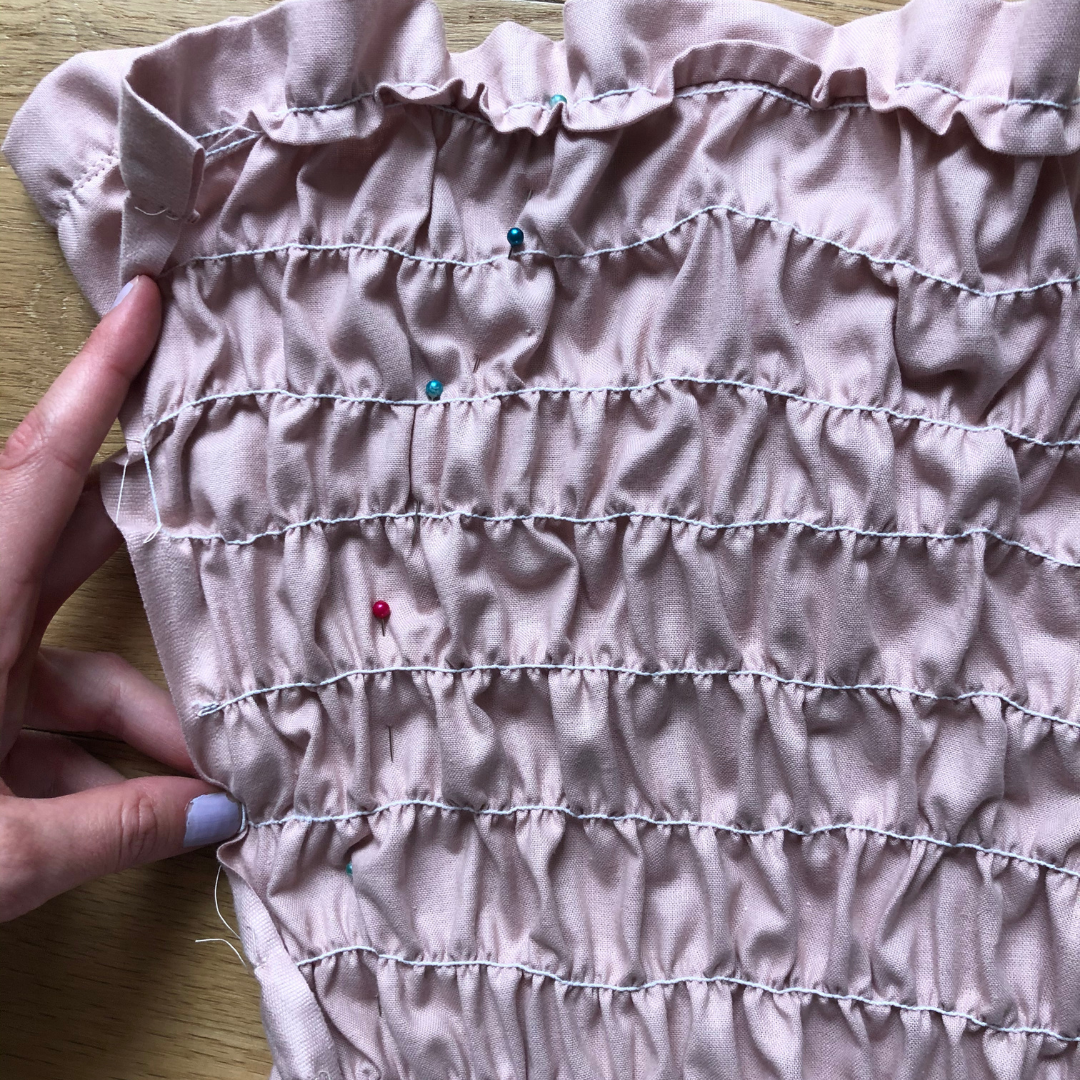
Then you can use the seam gauge and insert needles all the way down the first seam, to keep the same width between the lines. Or you can use a measurer on the presser foot.
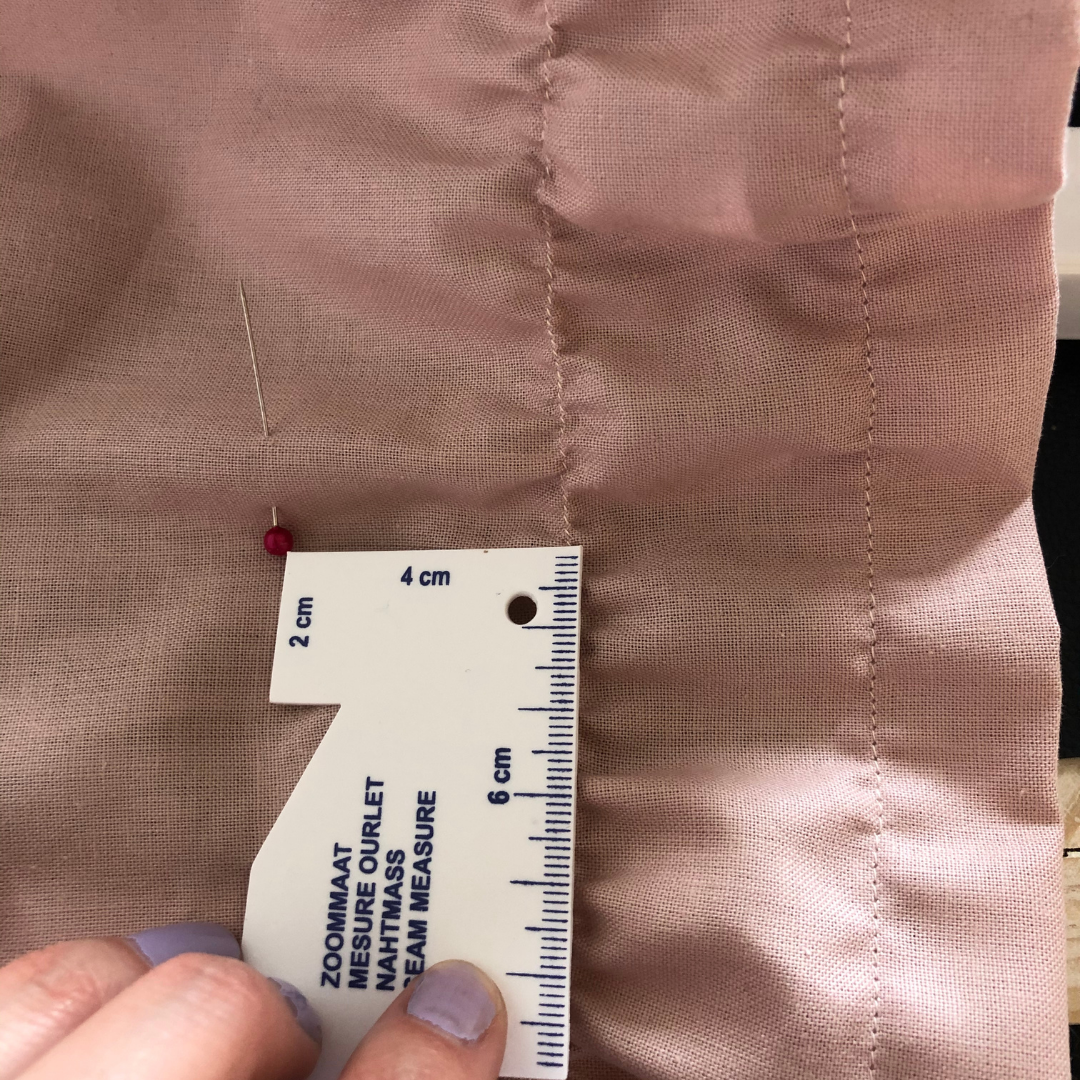
For the next seams, make sure to stretch the fabric all the way out when sewing. That way you get the best smock effect.
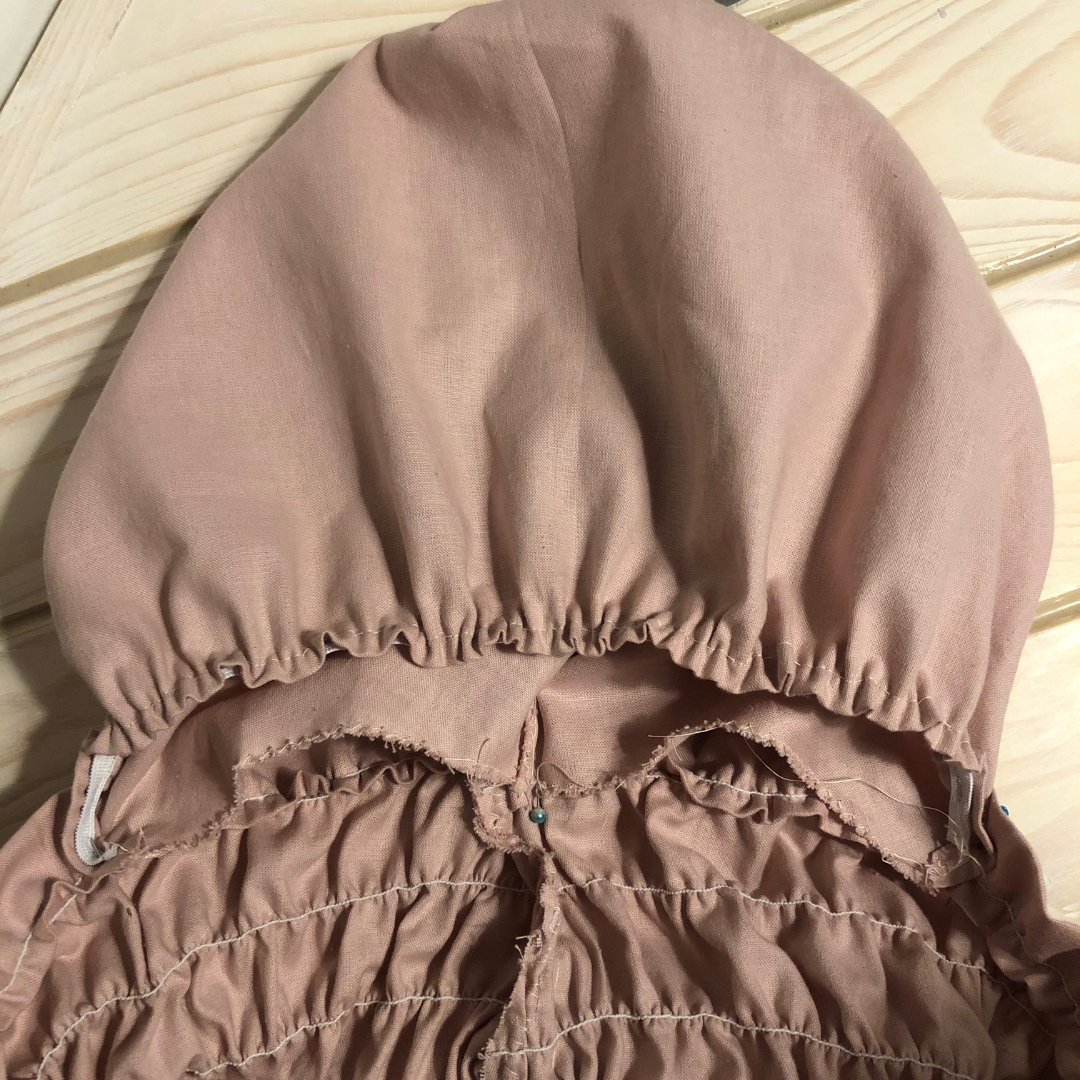
Sew as many smock seams as you need to get the wrinkles down to around your belly button (or as far as you want).
Hold the fabric around yourself and insert needles where it fits. Tighten the fabric slightly so it can hold itself around your body. Now sew the fabric together into a tube that fits your bust size.
Next, cut the excess fabric lengthwise to make it the desired length. REMEMBER to make room for a turnover at the bottom too.
Fold the edge around twice, iron it and make a neat finish with a stitch all the way around.
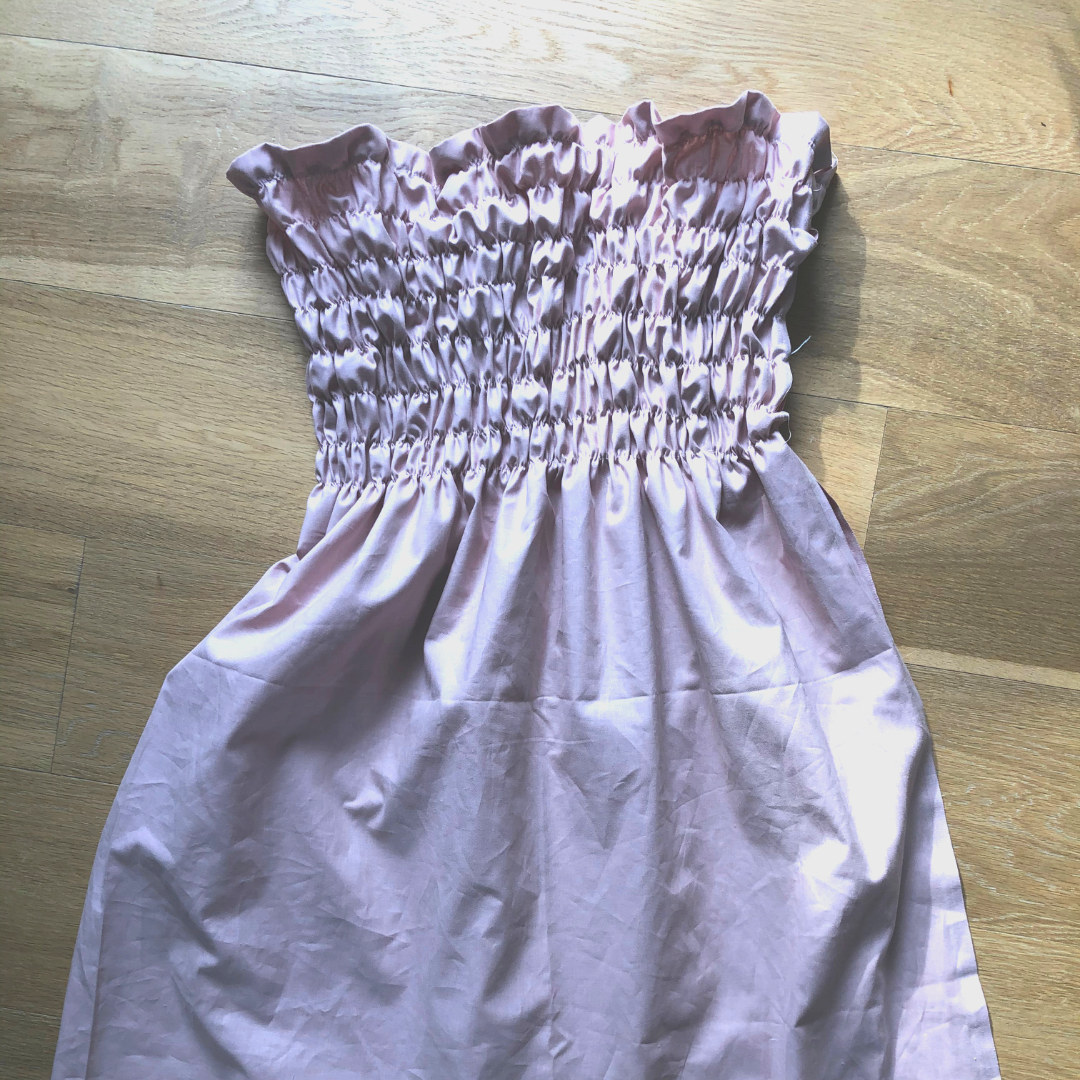
Now the Smock top is finished without sleeves.
You can iron over the smock wrinkles to make them more obvious and "solid" in shape.
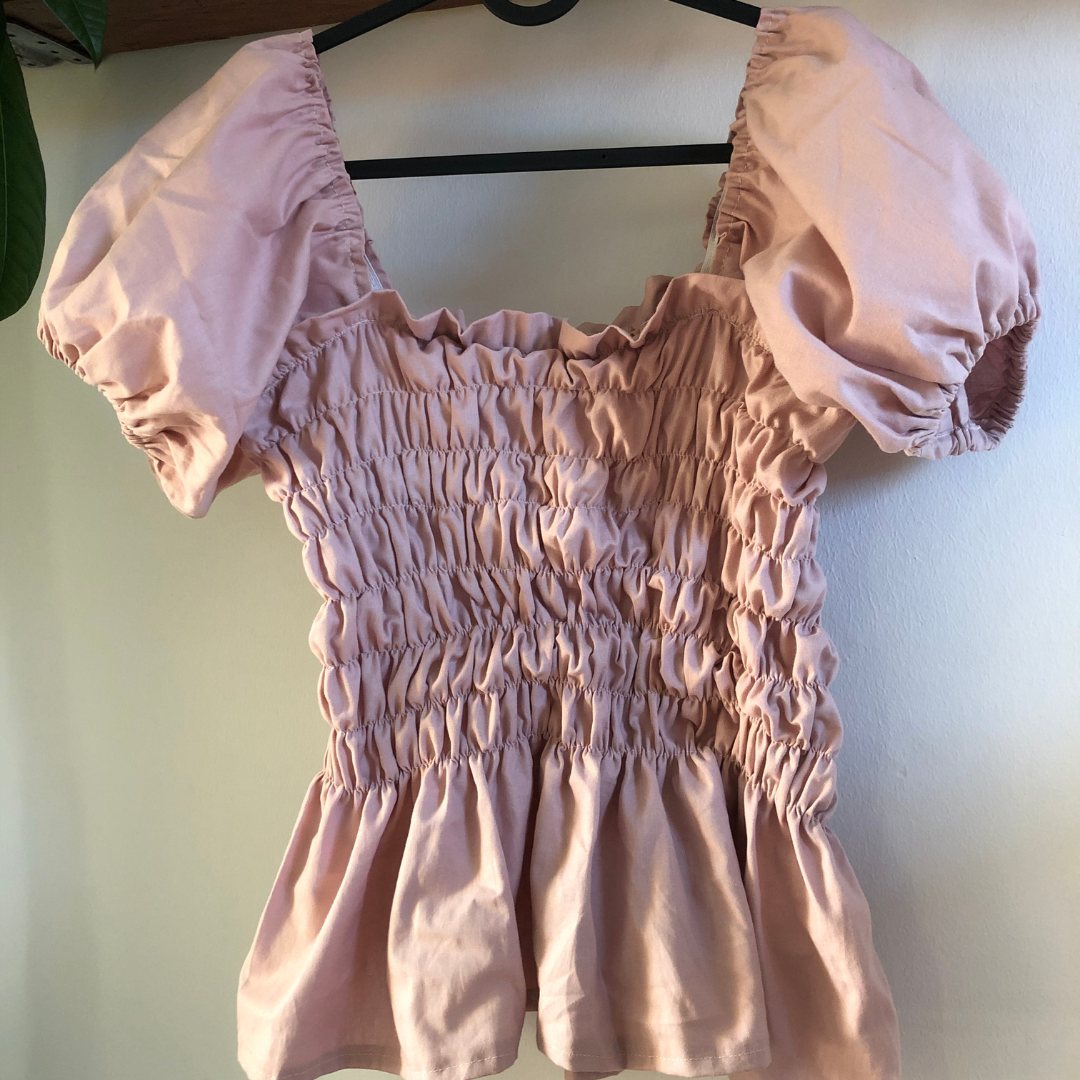
Smock top with sleeves
Cut the sleeves according to this shape:
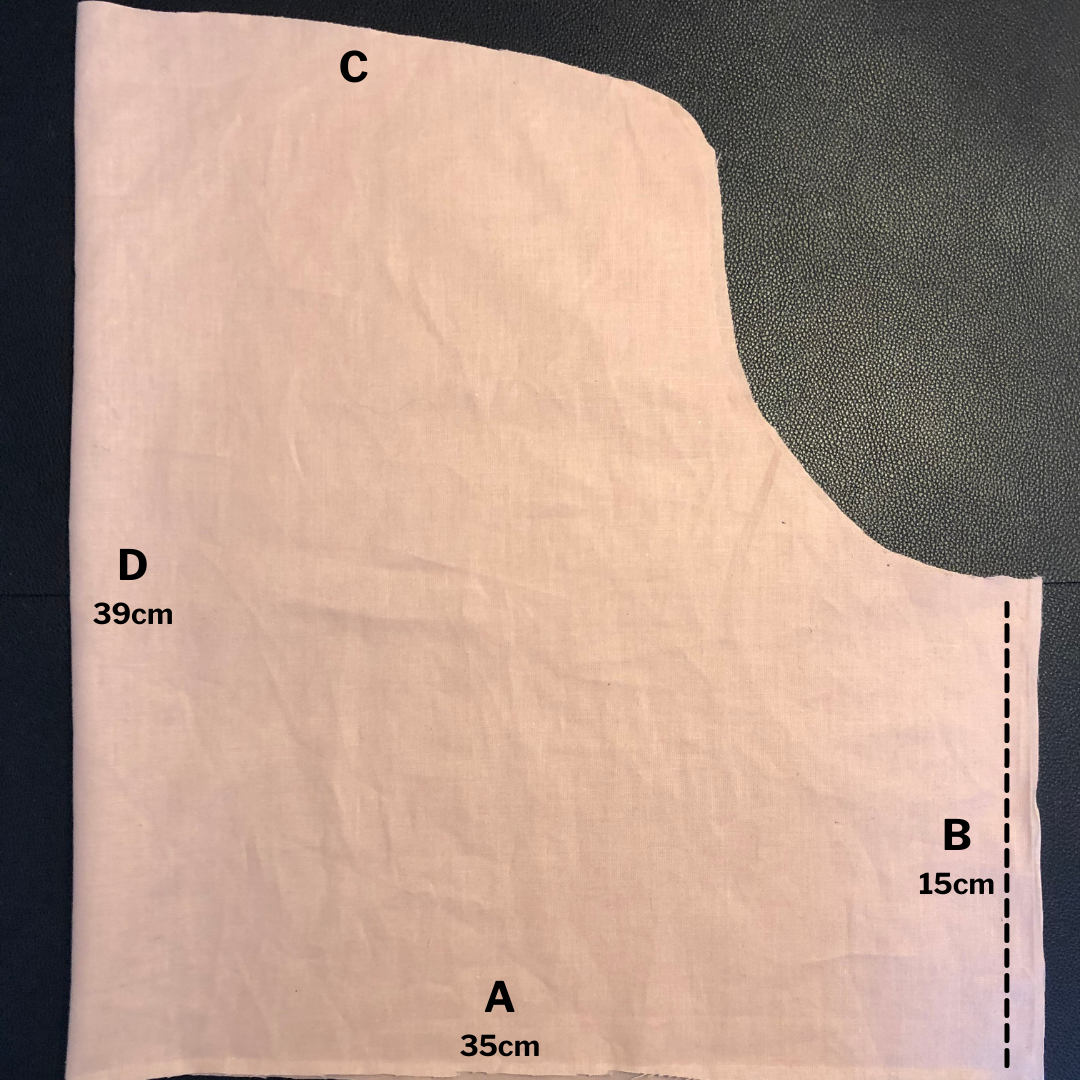
The longer you make Side B, the bigger puff sleeves you will get.
The longer you make Side A, the more volume you get on your puff.
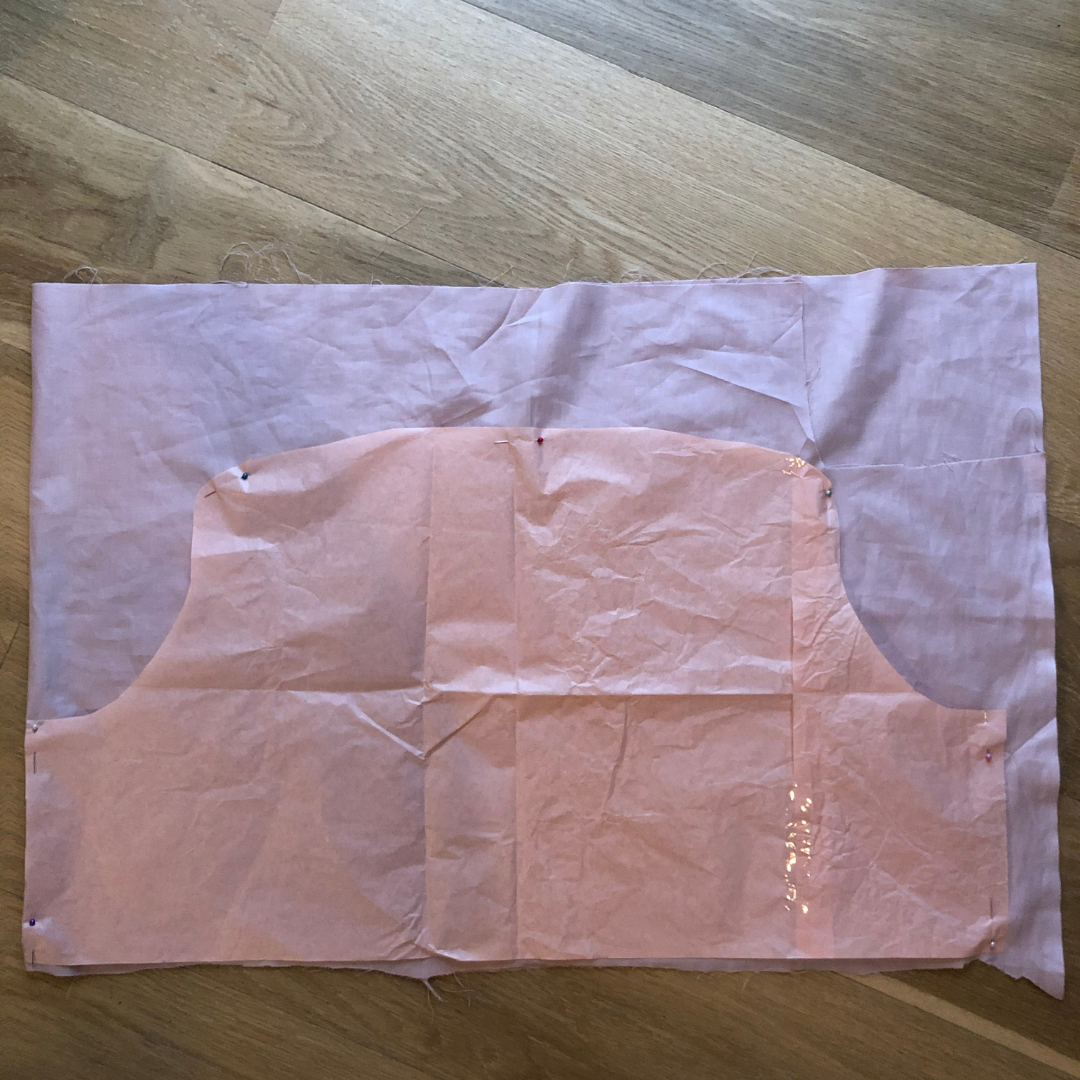
Remember to fold the paper when you cut out the pattern so it's symmetrical. When you cut the fabric, you can also fold it so that you cut both sleeves at the same time and thus have two identical pieces of fabric. Remember to unfold the pattern paper to full size if you do this.
Sew the sleeve together into a tube. (sew along the dotted line, at the B side)
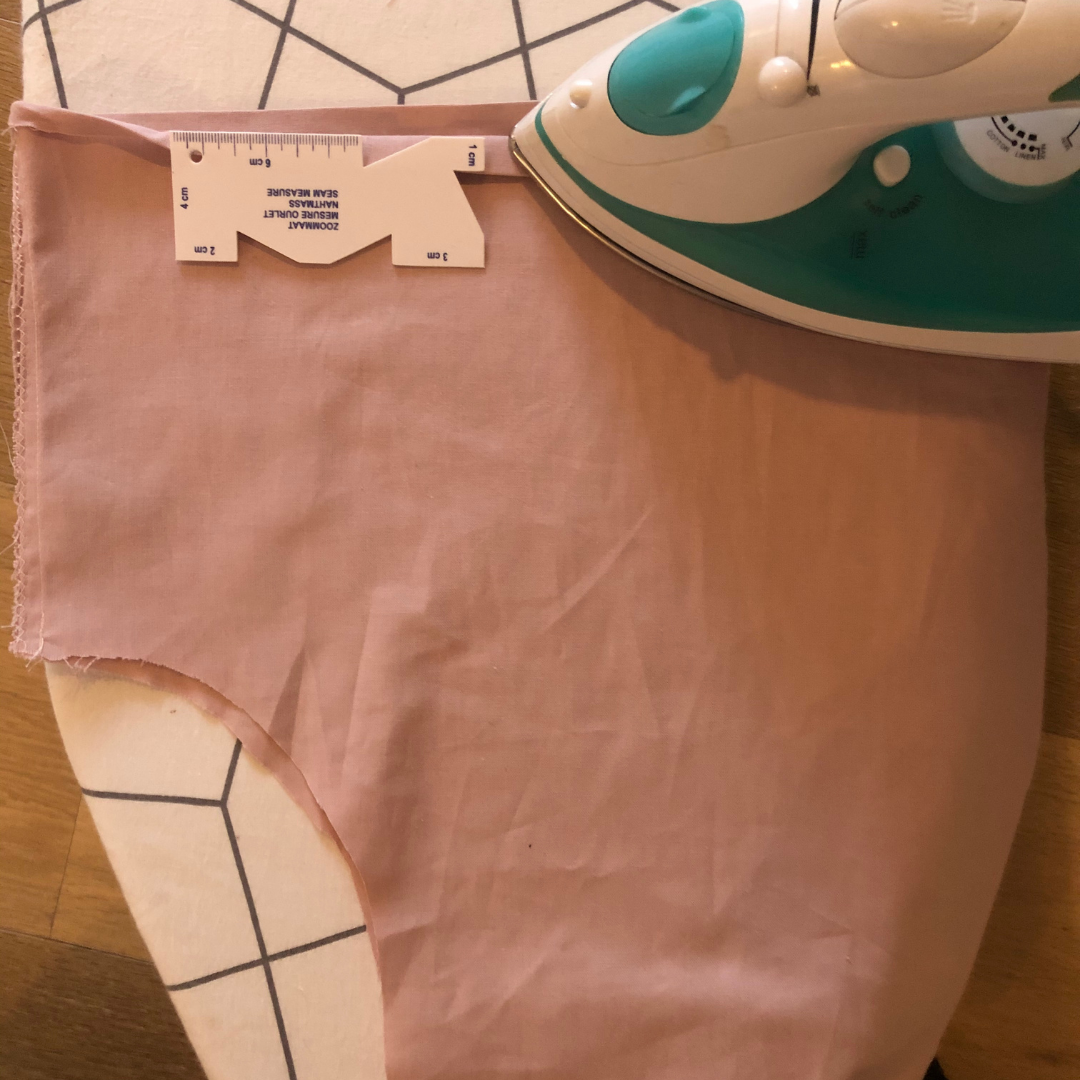
Fold and iron a running stitch along the A side.
Measure the circumference of your arm (where the sleeve will side) and cut a amount of elastic material in the same length.
Insert the elastic material into the running stitch. Tie a knot and then close the loop with a stitch.
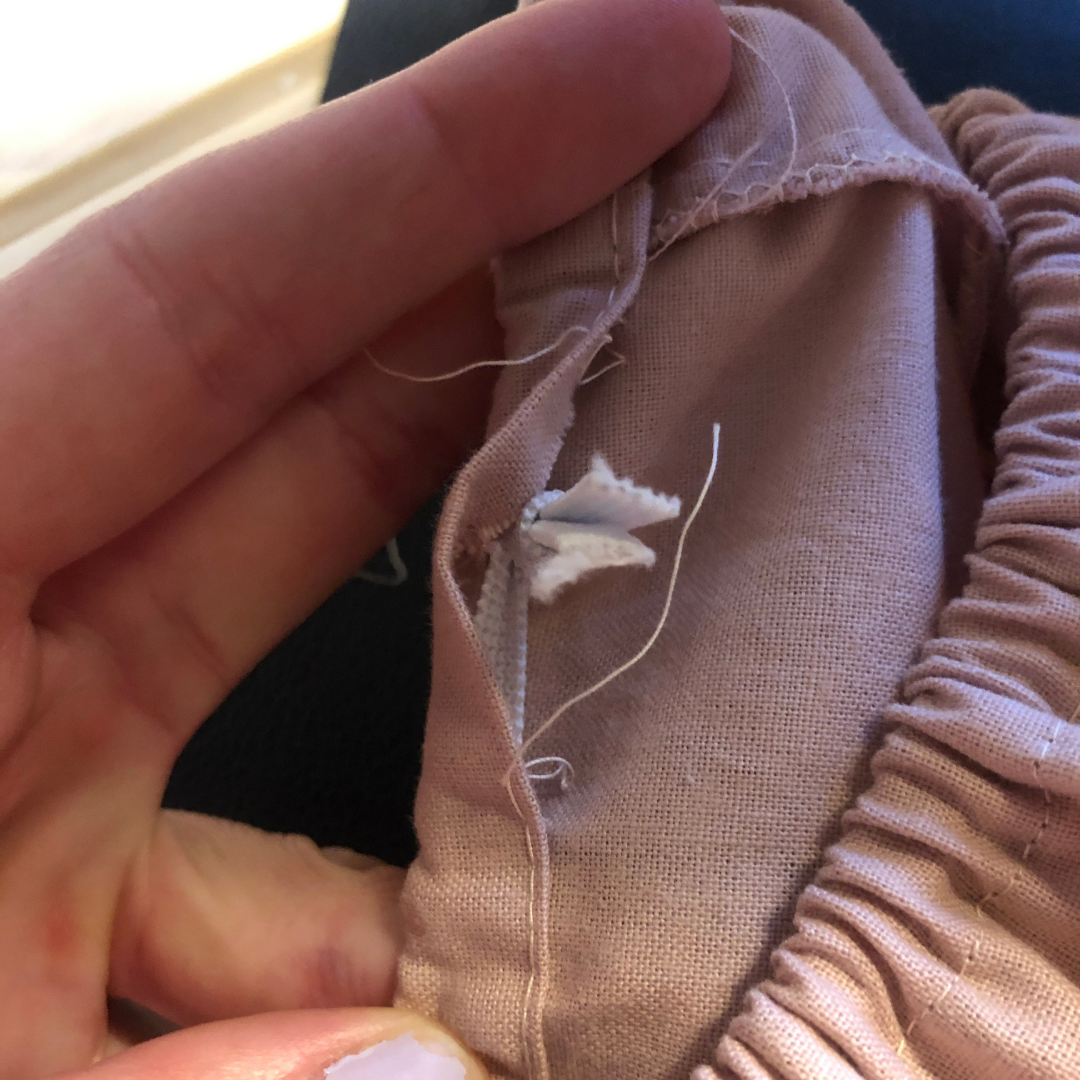
Measure from the edge of the top front and back and cut a piece of elastic material in the same length.
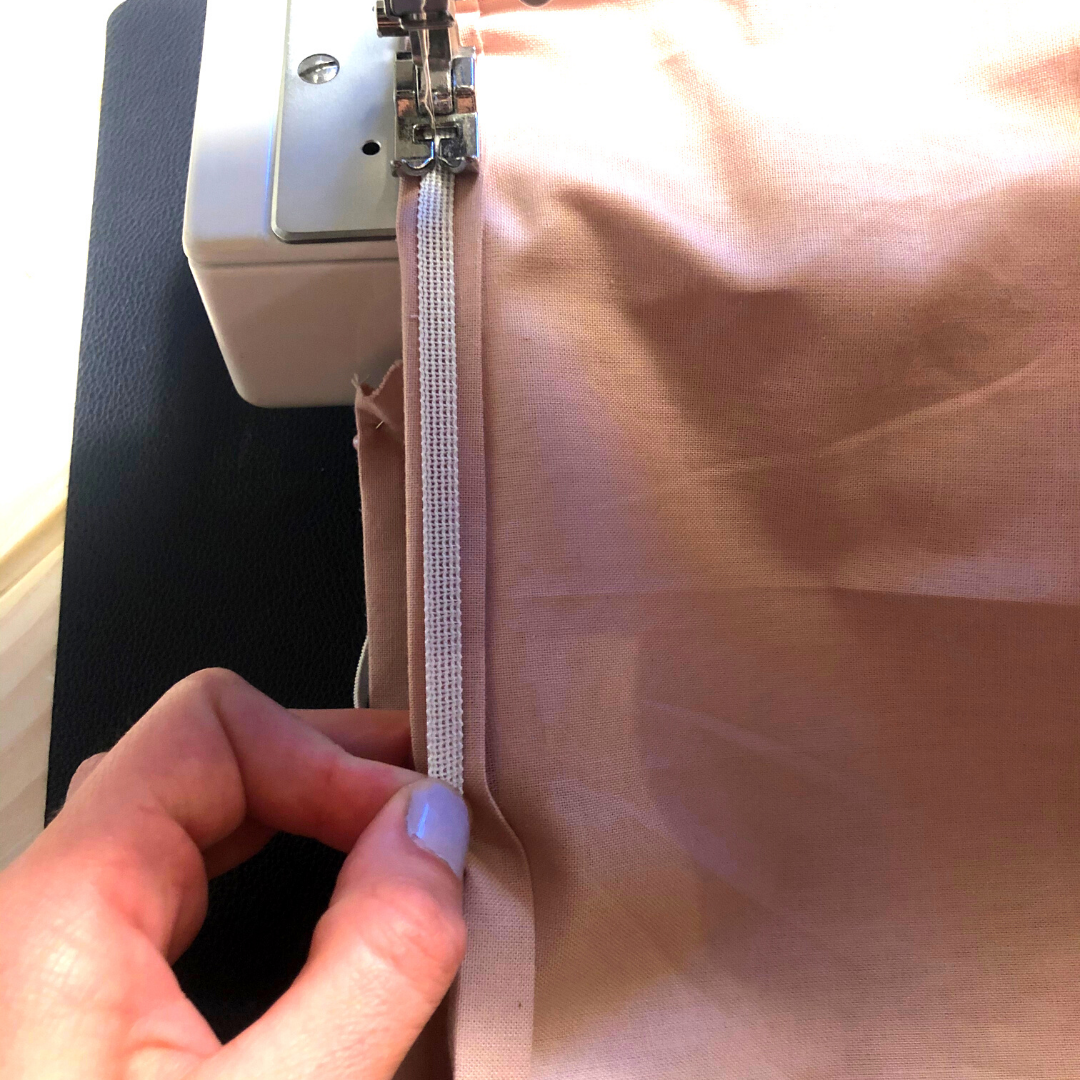
Make a 2 cm (C side) fold at the shoulders of the sleeve and sew the elastic material in place WHILE stretching the elastic material to reach all the way from end to end of the fabric. This will create a ruffle effect across the shoulder.
Make a running stitch at the edge of the sleeve.
Attach the sleeve to the top with wonderclips or pins.
Try the top on to see if the sleeve fits properly.
Sew the sleeve on. Sew on top of the seam already at the top.
The top is now finished and with sleeves
 Österreich
  Belgique
  Bosna i Hercegovina
  България
  Κύπρος
  Česká republika
  Danmark
  Eesti
Eesti  Føroyar
  Suomi
Suomi  France
  Deutschland
  Ελλάδα
  Kalaallit Nunaat
  Magyarország
  Ísland
  Ireland
  Italia
  Latvija
  Liechtenstein
  Lietuva
  Lëtzebuerg
  Malta
Malta  Isle of Man
  Nederland
  Norge
Norge  Polska
  Portugal
  România
  Slovensko
  Slovenija
  España
  Sverige
  Schweiz
  Ukraїna
  United Kingdom