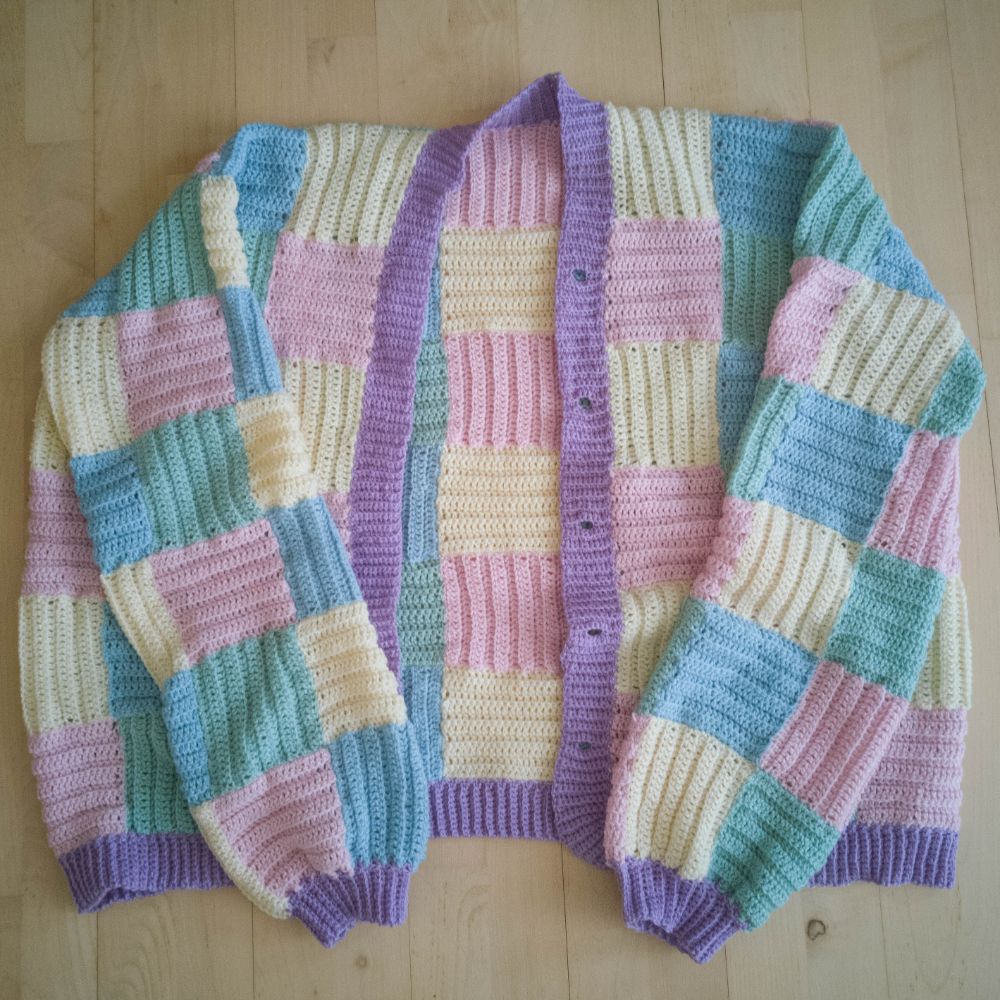
Free Crochet Pattern: Oversized Square Cardigan
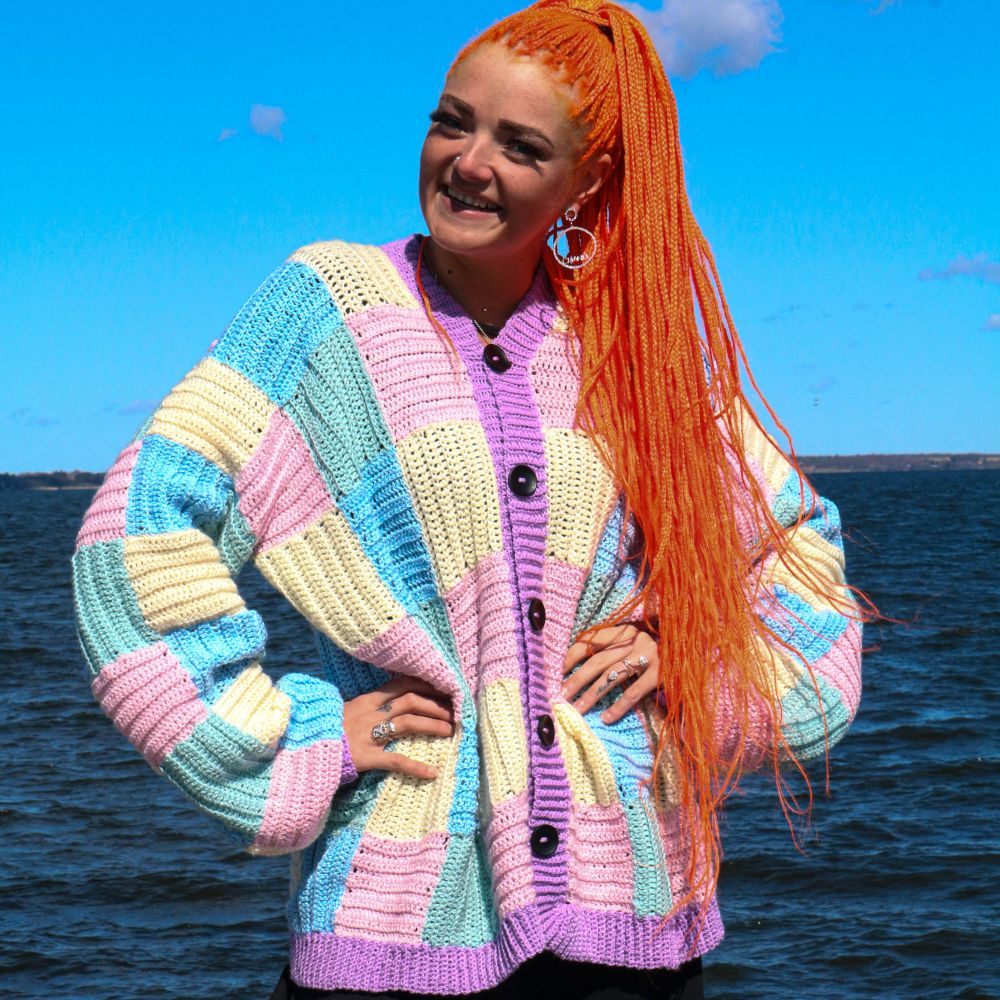
A big lovely cardigan made of crocheted squares with Infinity Hearts Iris. Good for beginners.
Size
Chest: 67cm
Length: 68cm
Arm length: 60cm
Materials
Yarn consumption
- Infinity Hearts Iris – 15 Sea Green, approx. 155g
- Infinity Hearts Iris - 19 Light Blue, approx. 155g
- Infinity Hearts Iris - 17 Pink, approx. 165g
- Infinity Hearts Iris - 03 Off White, approx. 165g
- Infinity Hearts Iris - 16 Purple, approx. 83g
Abbreviations
ch – chain stitch
dc - double crochet stitch
sl st - slip stitch
tr - treble stitch
BL - back loop
Instructions
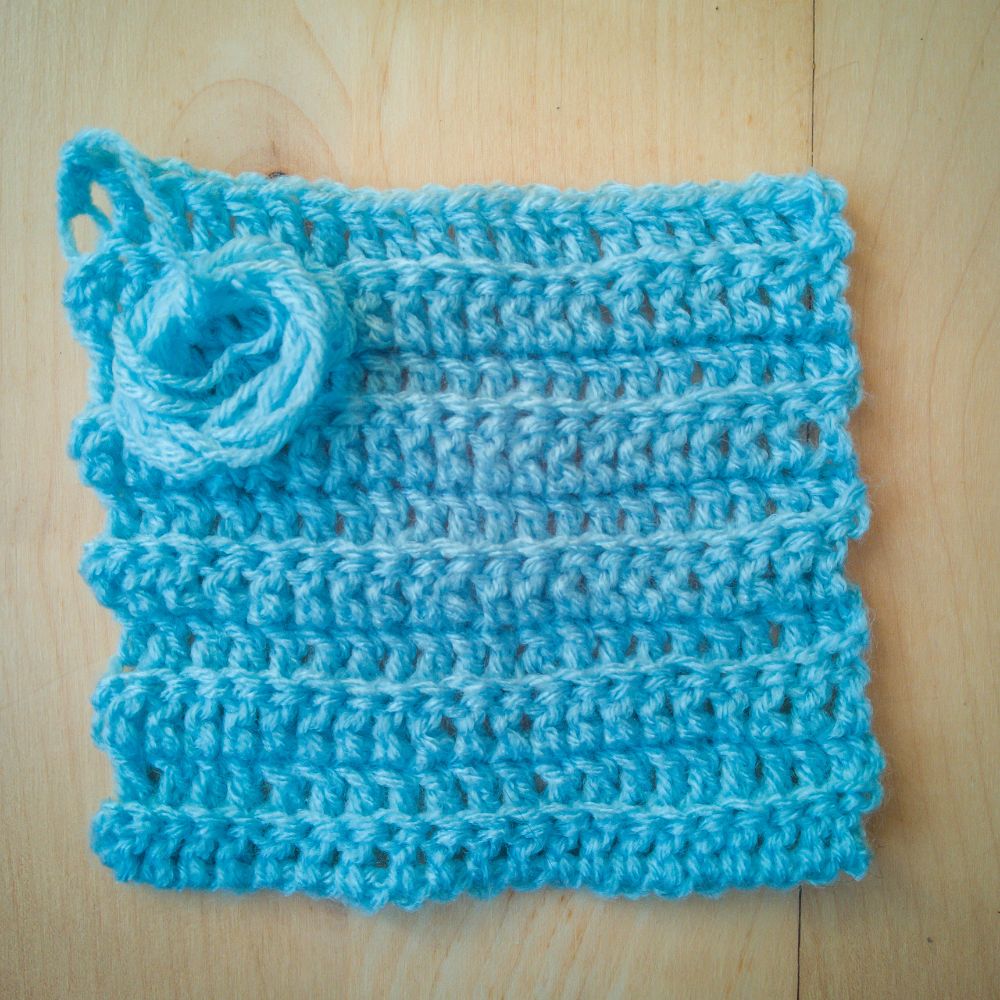
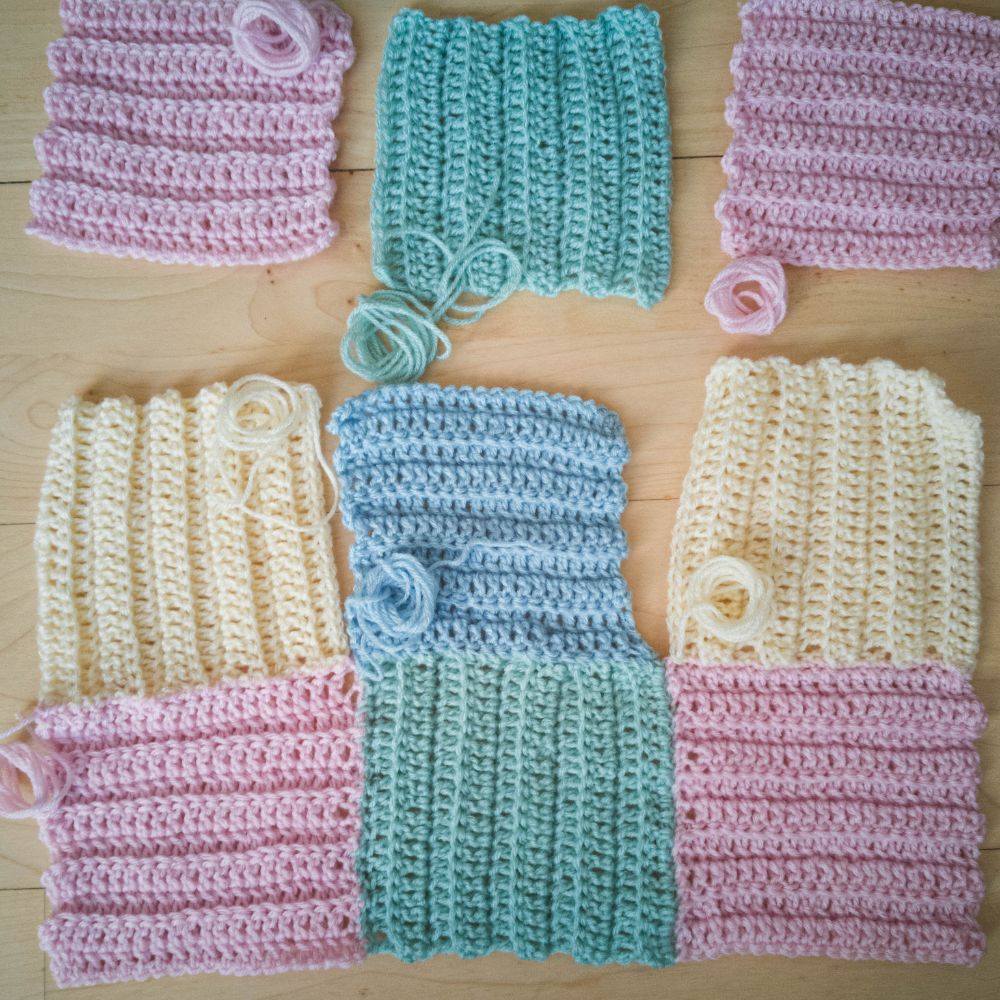
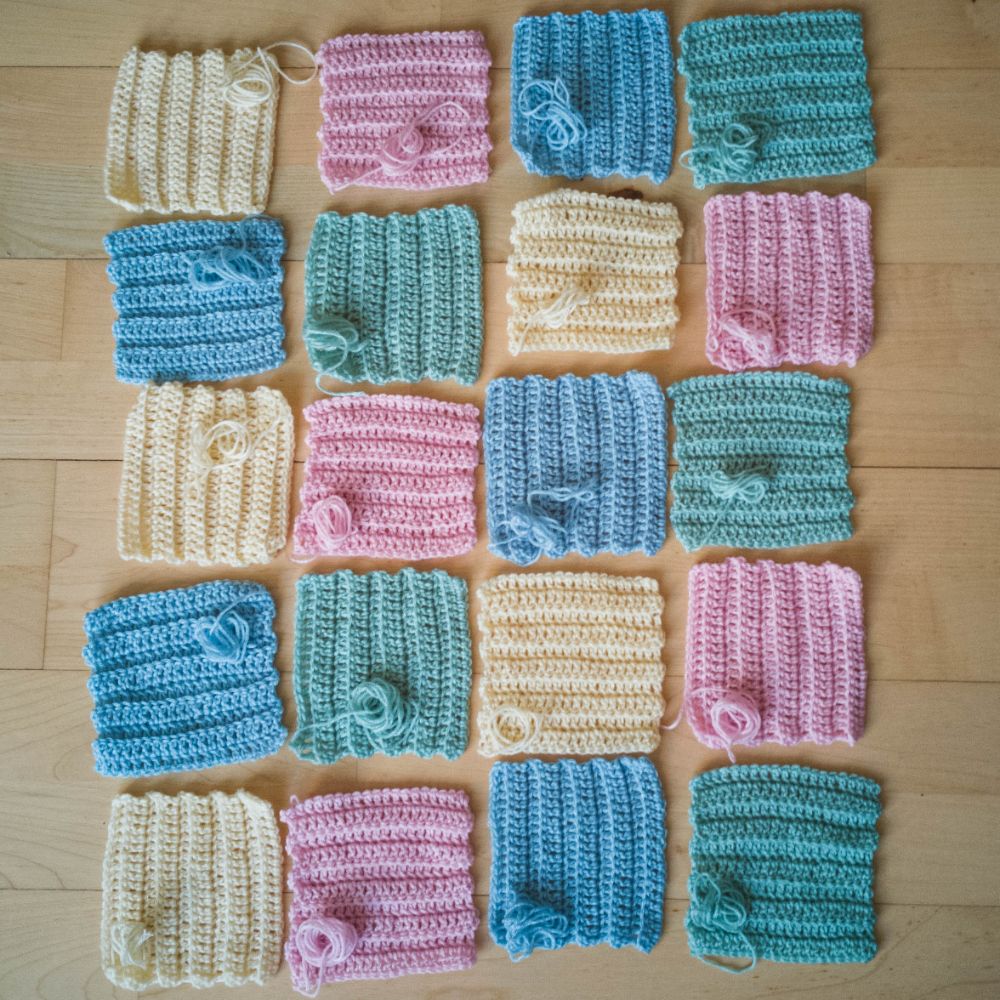
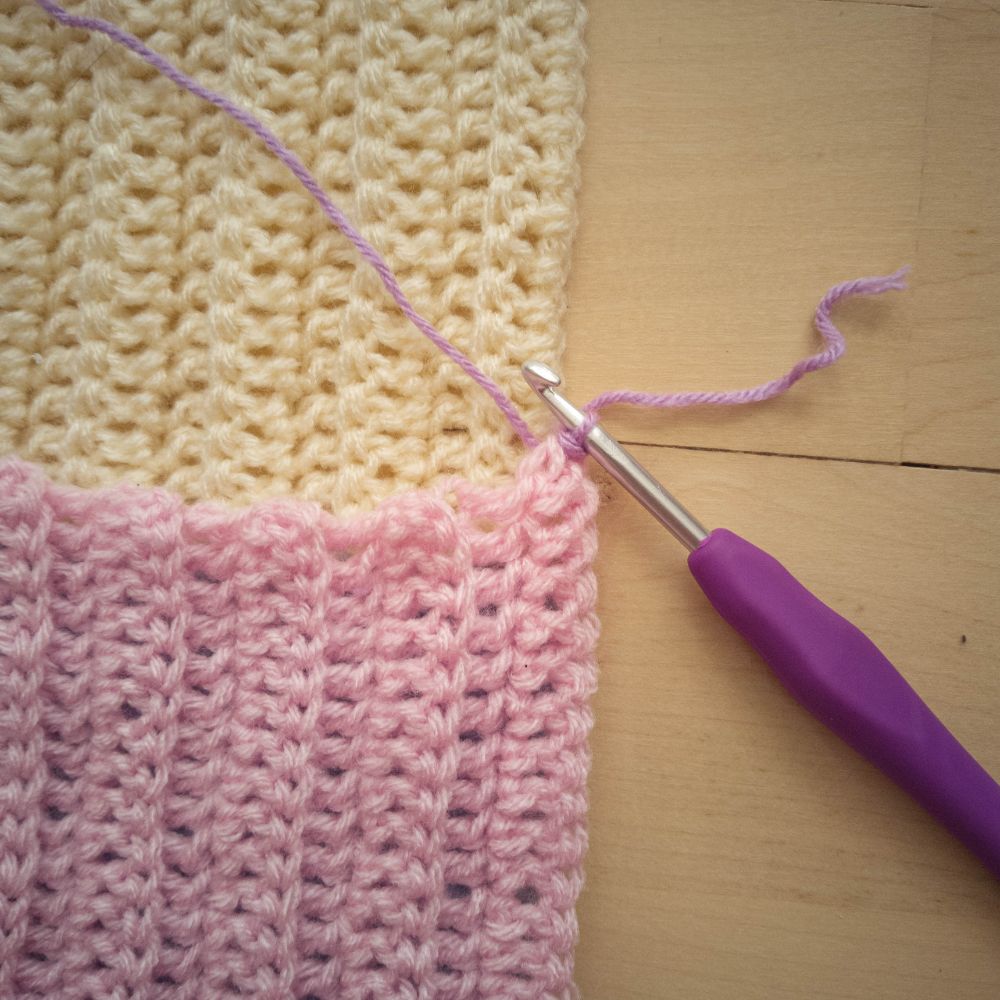
Squares
Start with sea green, light blue, off white or light pink. Turn the work with 2 chain stitches after each row.
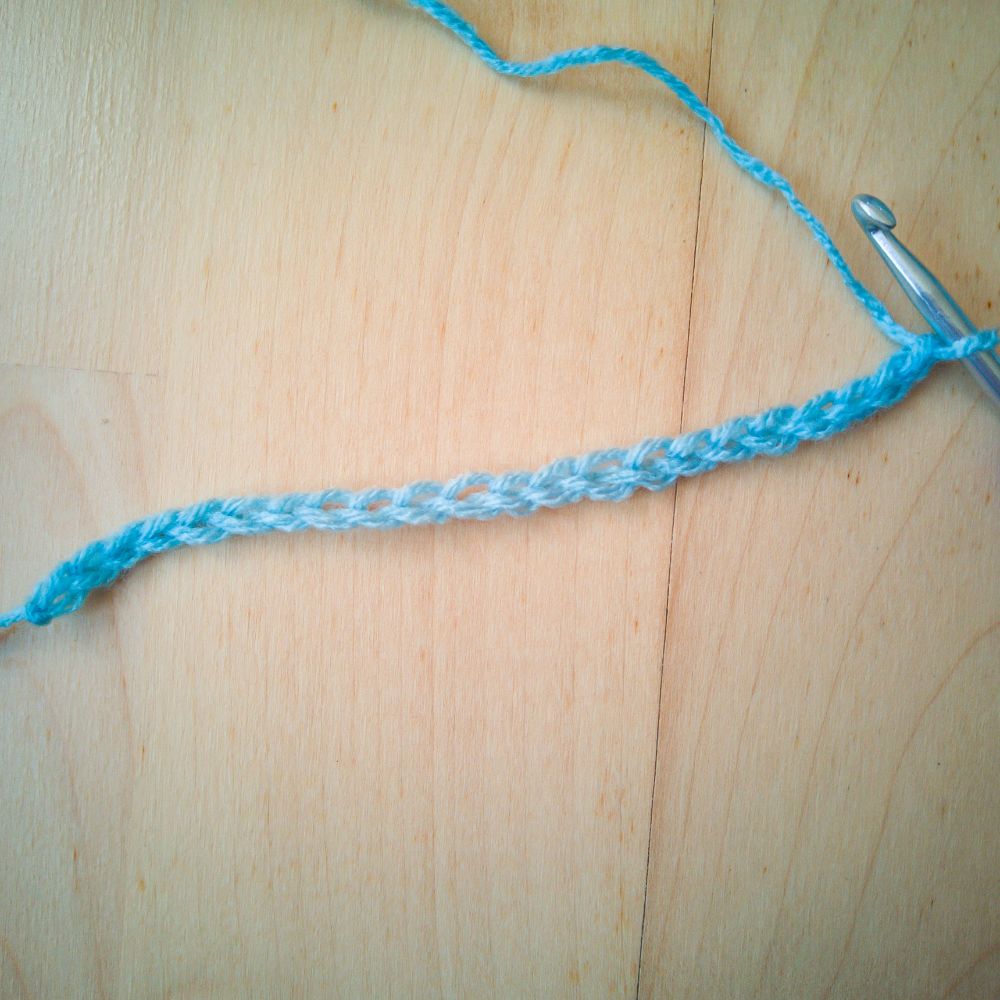
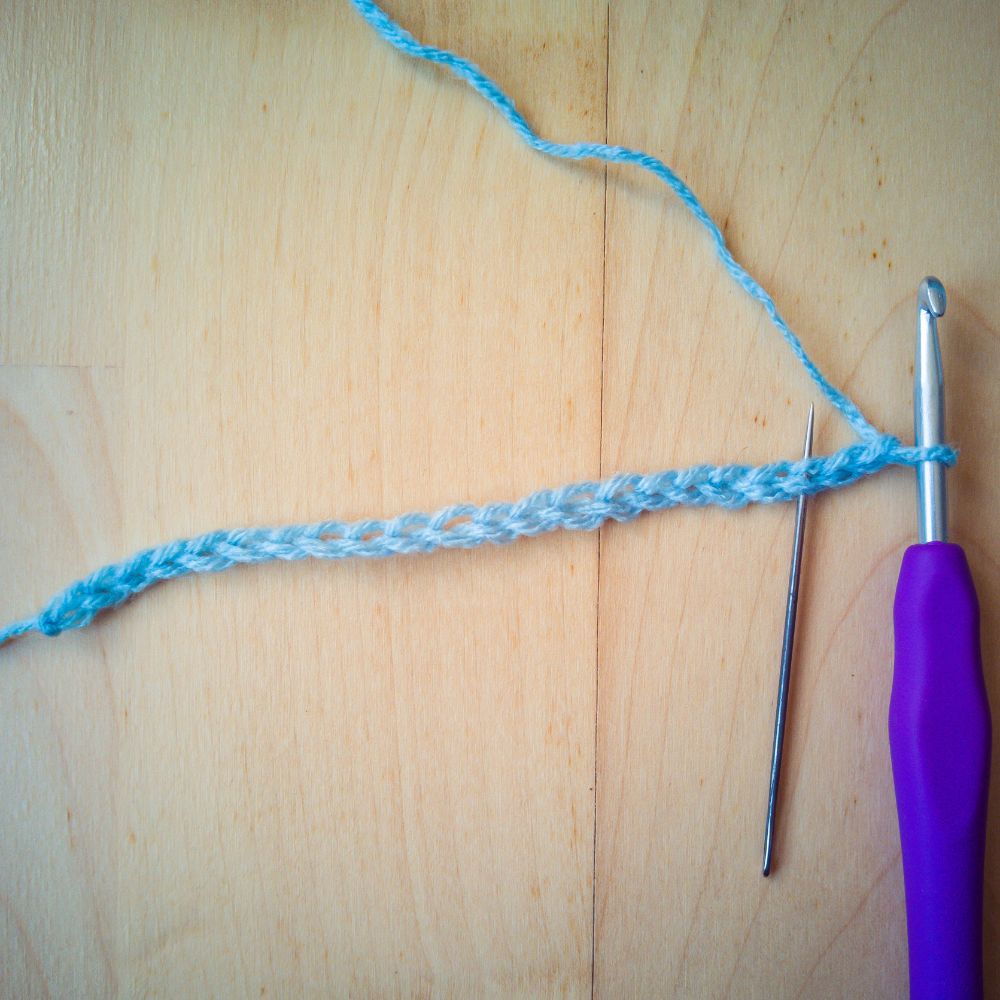
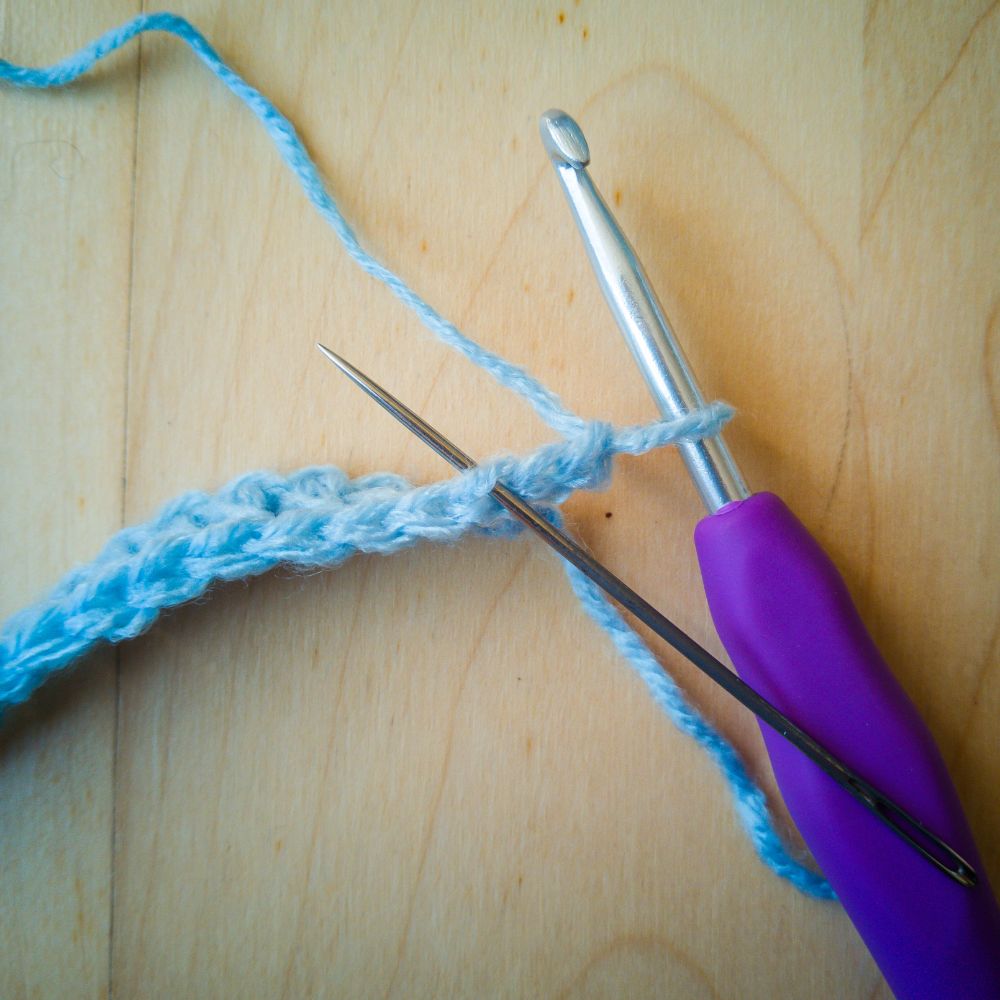
1st row: Cast on 20 ch + 2 for turning the work. (22)
2nd row: Start in 3rd stitch from the crochet hook and work tr in all stitches. (20)
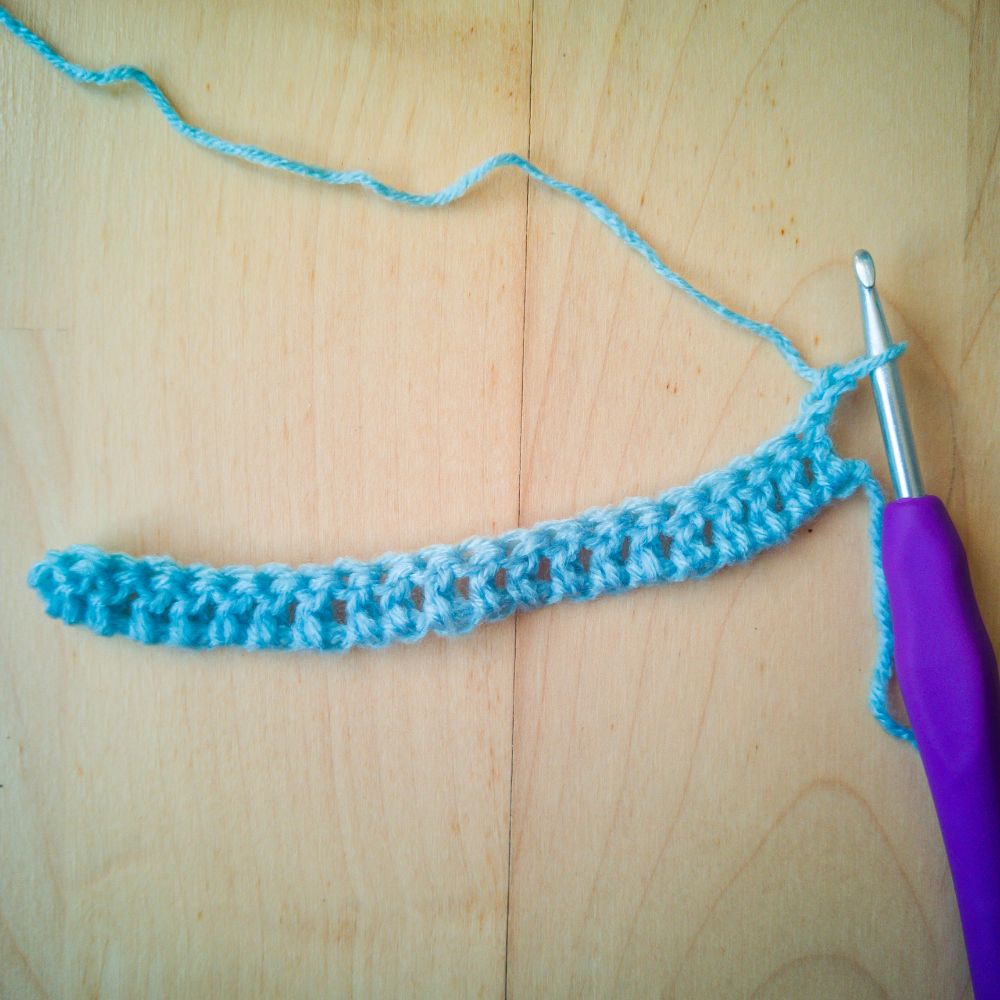
3rd row: Make 20 tr in back loop. (20)
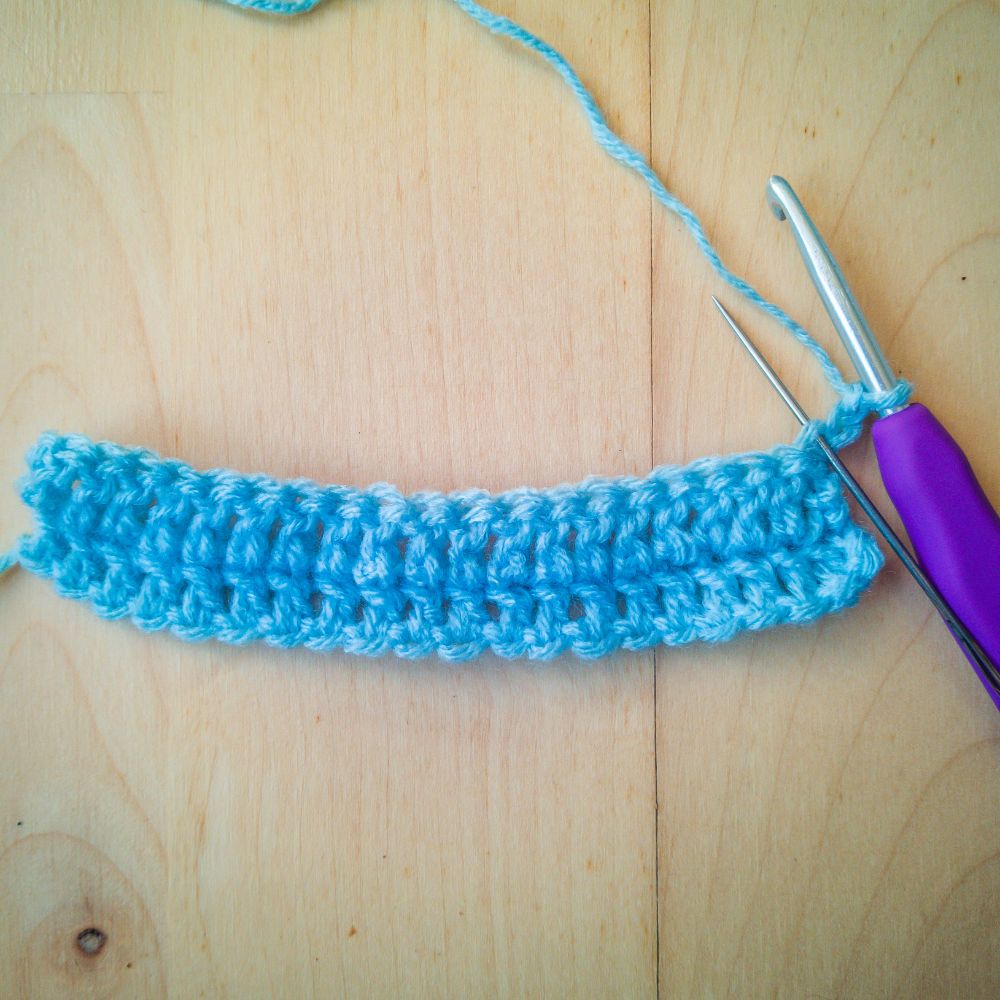
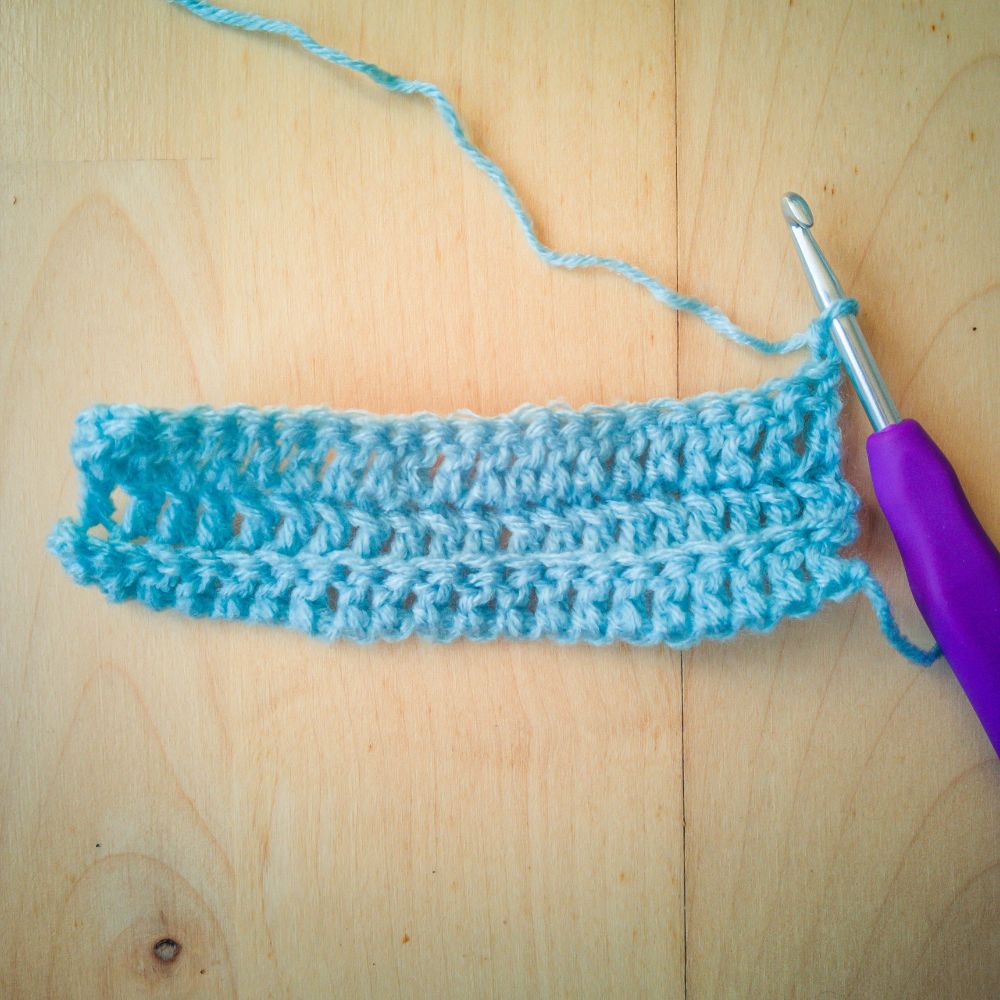
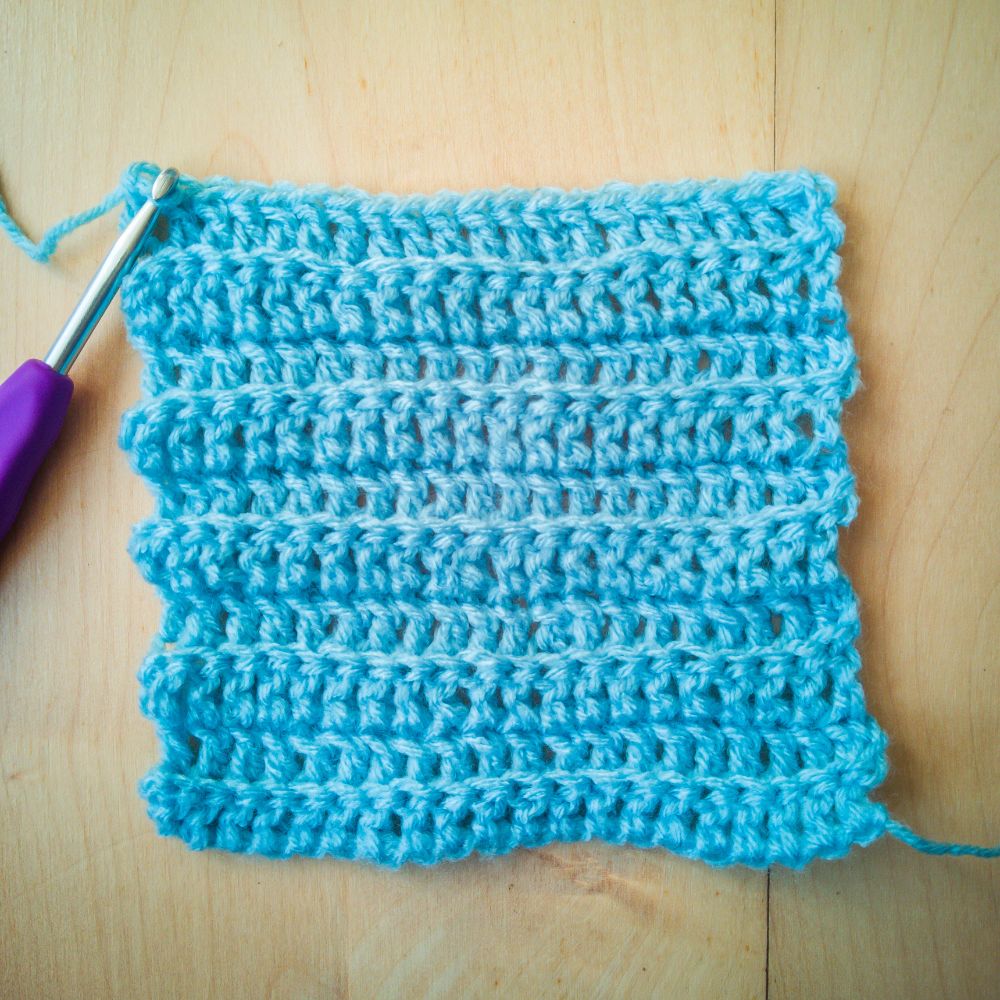
Repeat 3rd row 8 times so you have 10 rows of 20 tr.
Break the yarn and leave a long tail for finishing. Weave in the other yarn strand from the start of the work.
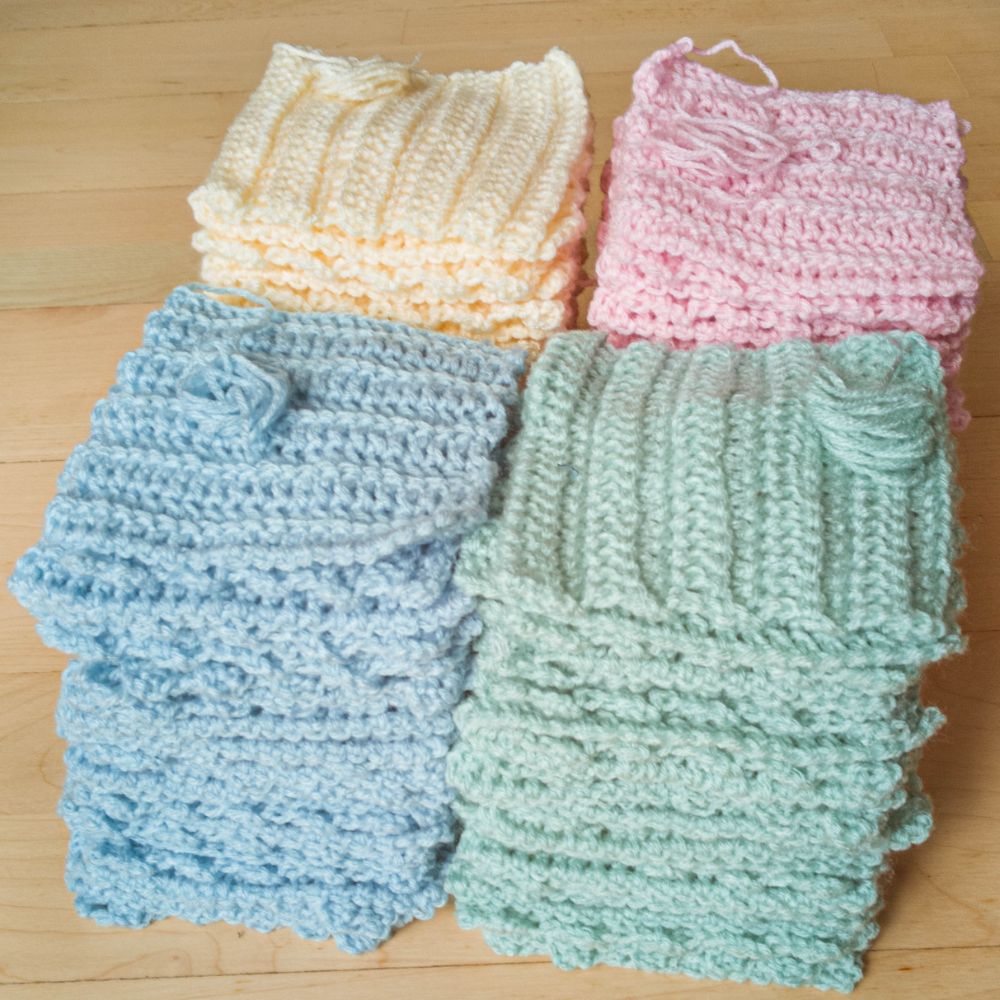
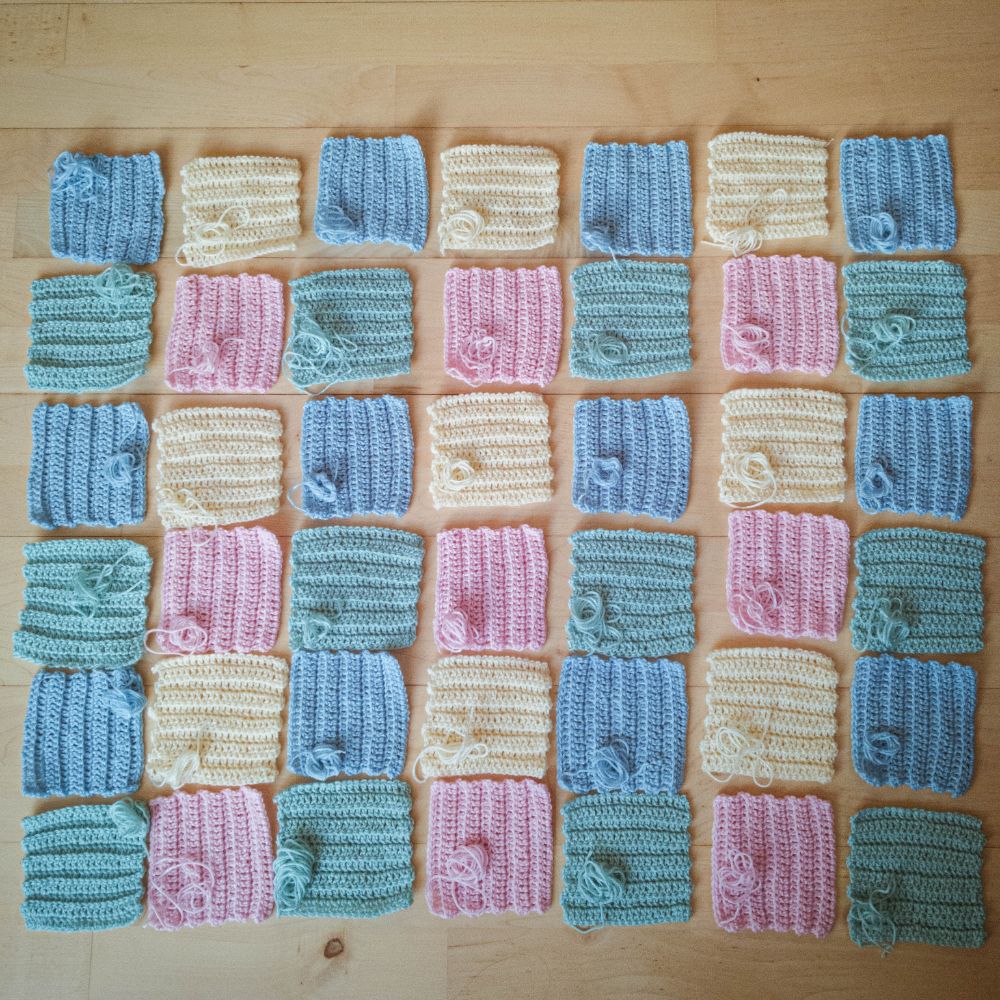
Repeat until you have a total of 28 green, 28 blue, 31 light pink and 31 yellow squares. (If you want shorter sleeves, you can just leave out 2 squares of each colour)
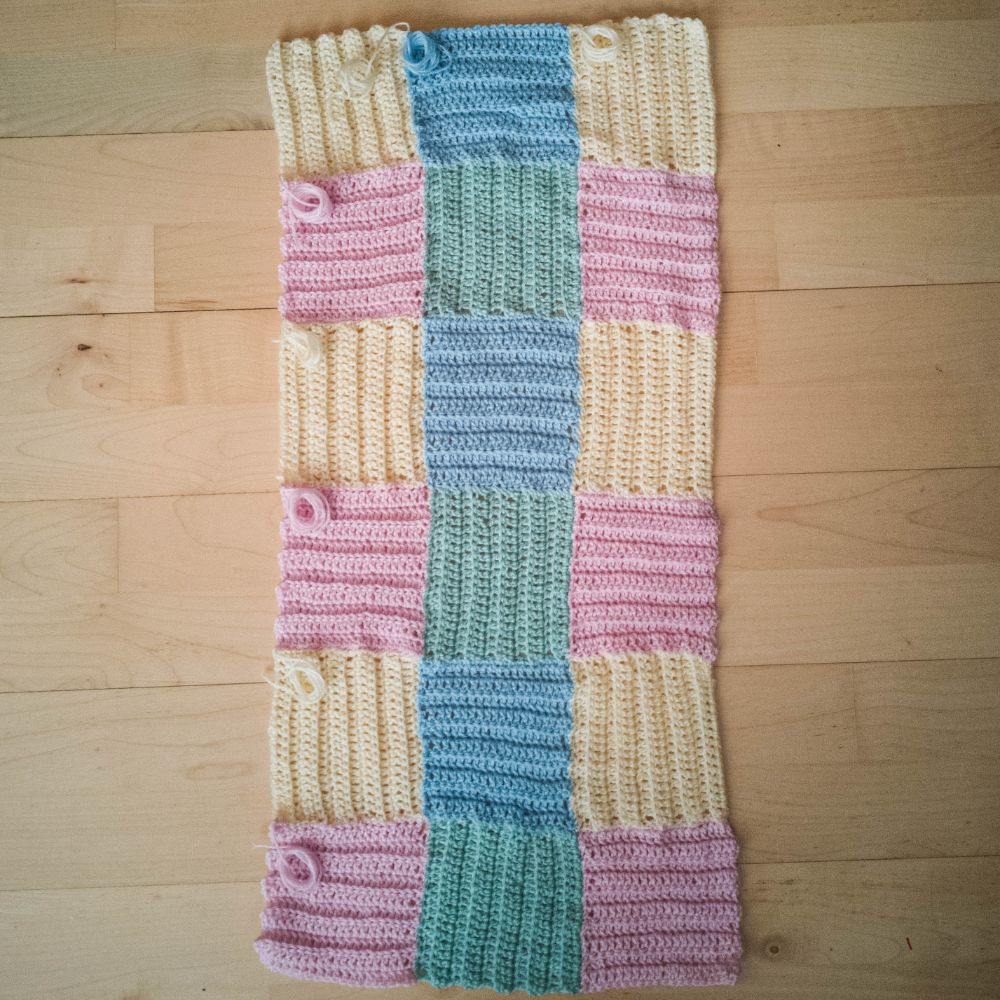
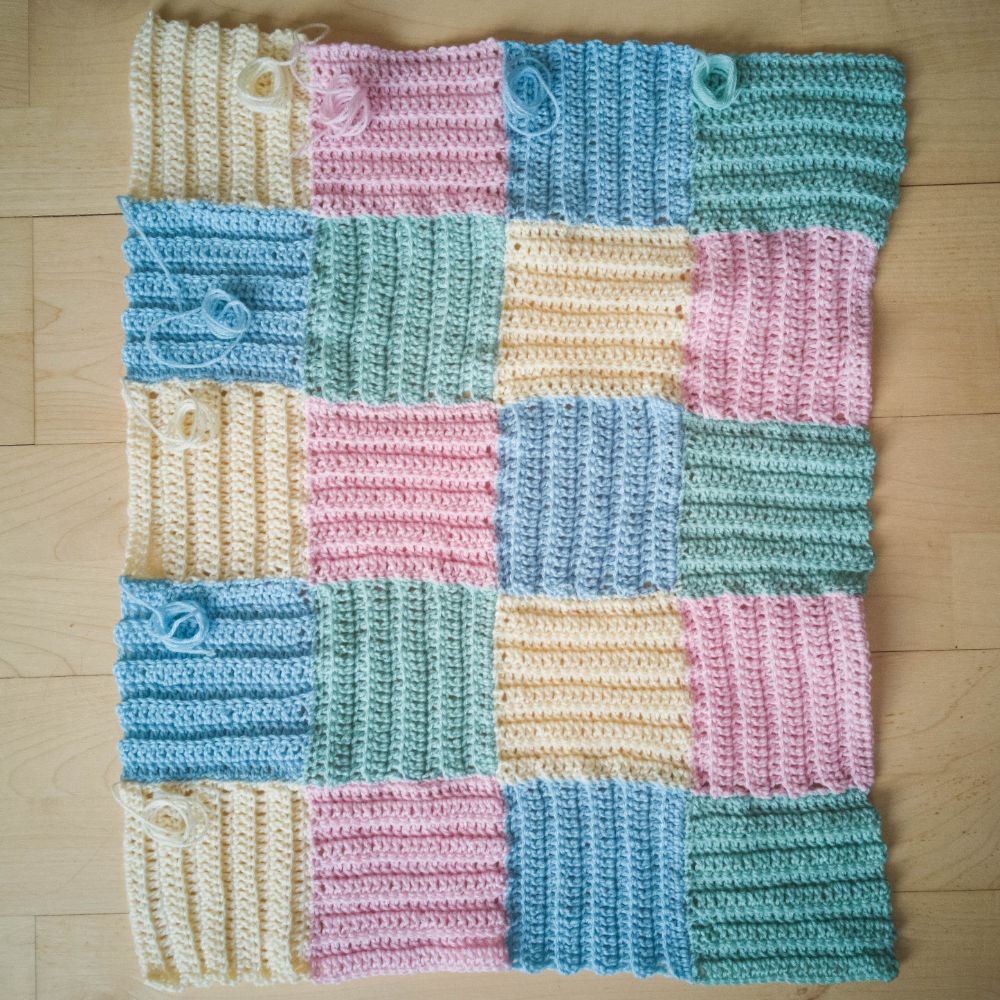
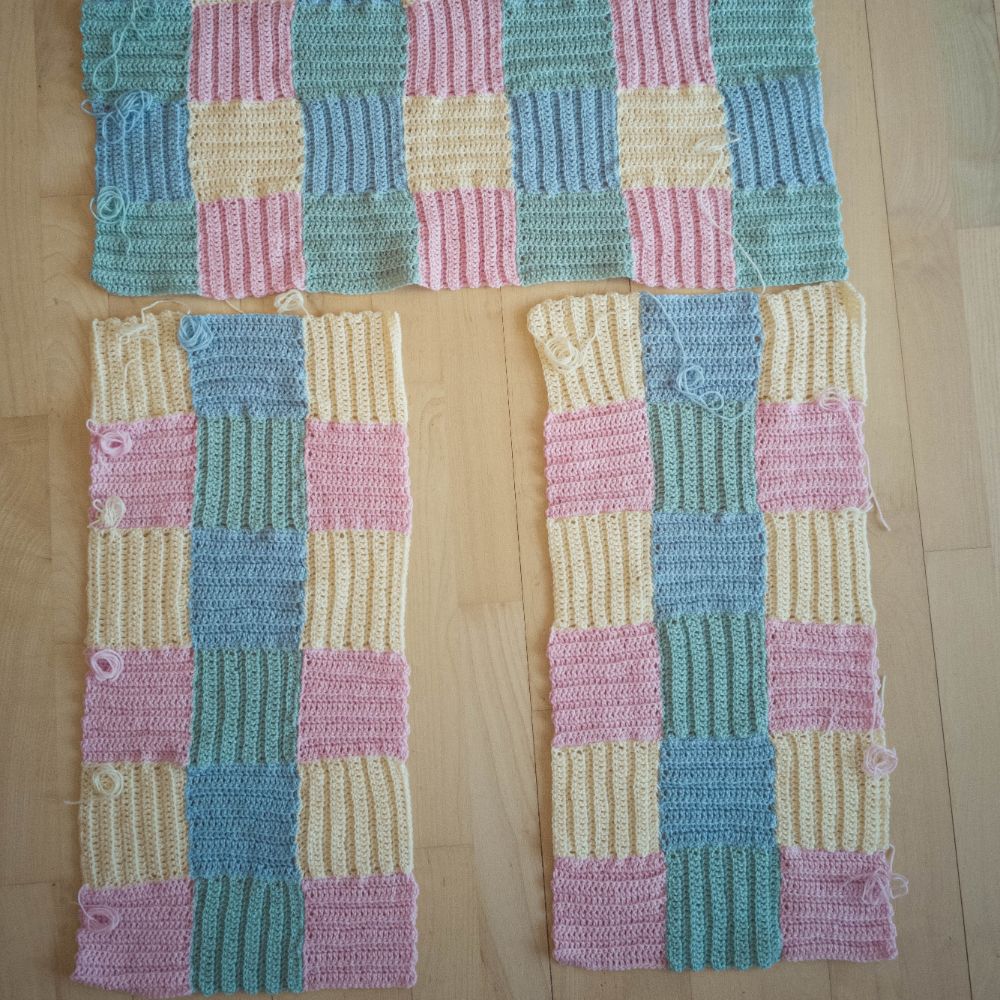
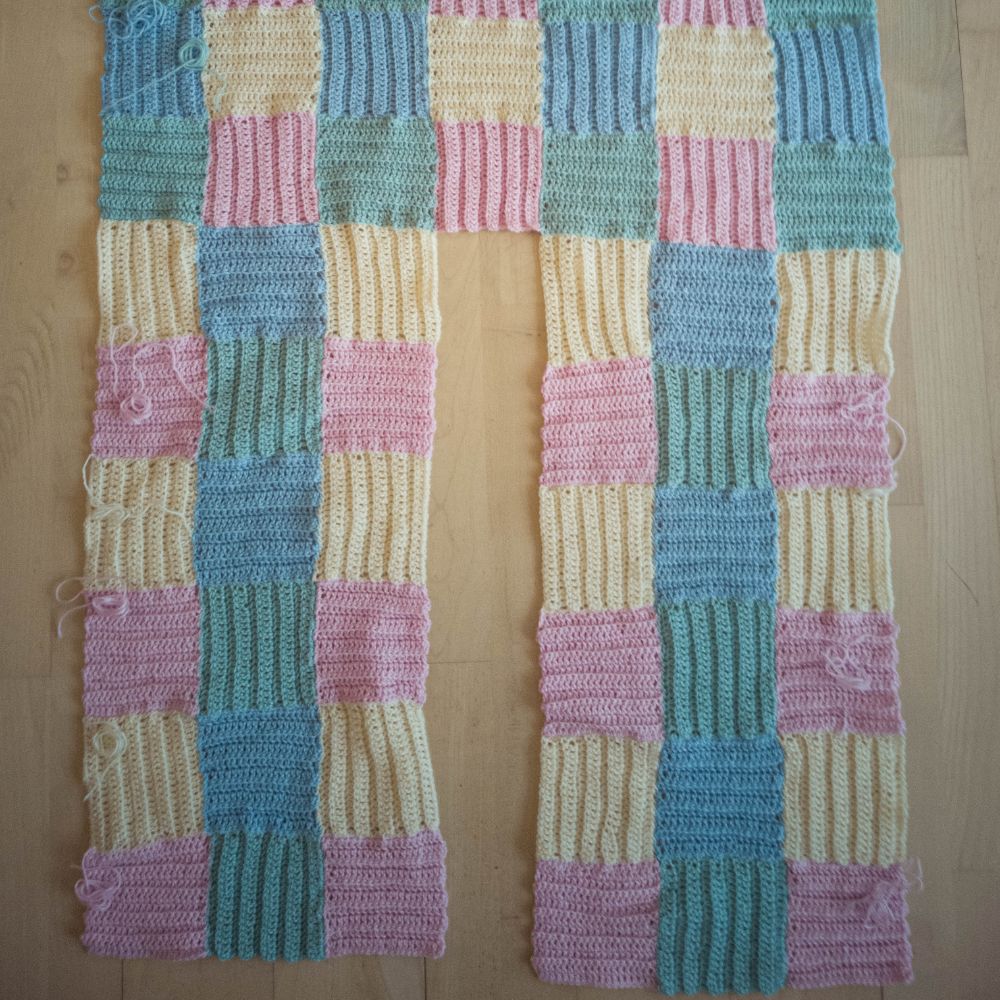
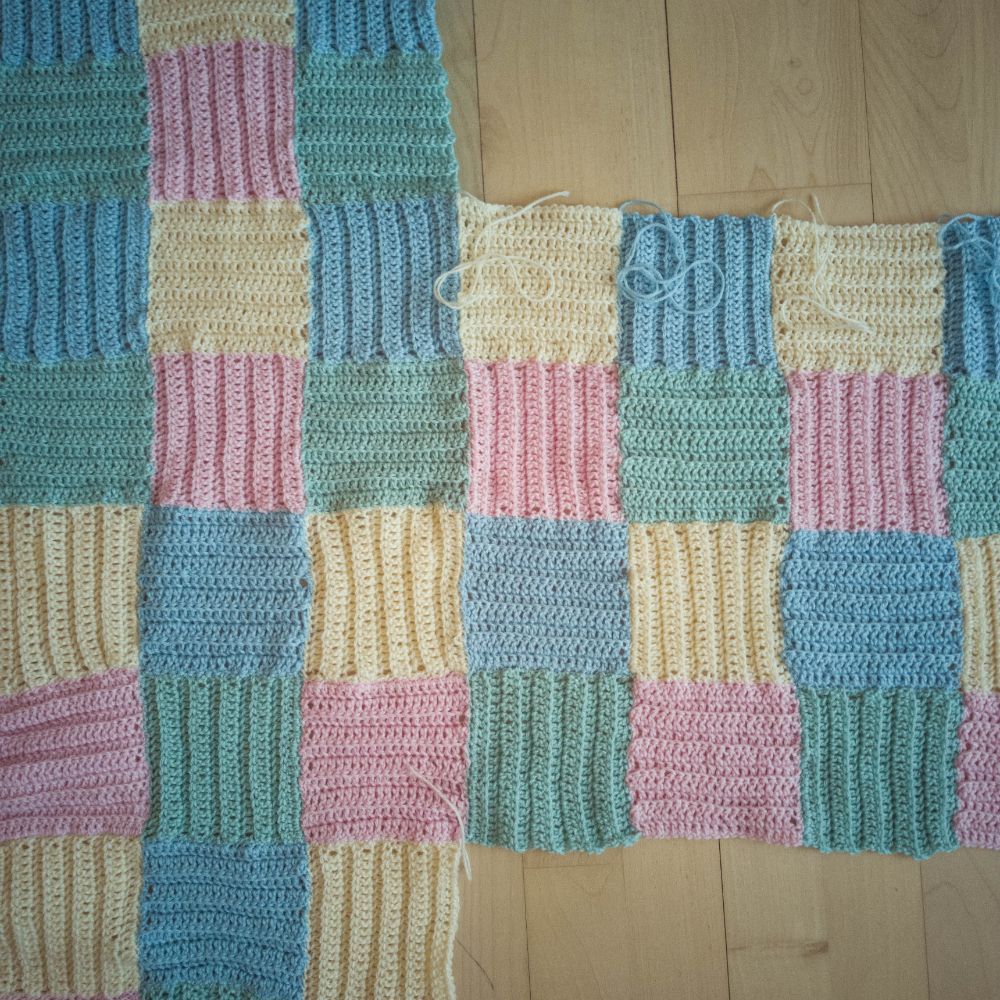
Front panels
Start with the left front panel. One panel is 3 x 6 squares. Follow the pattern below:
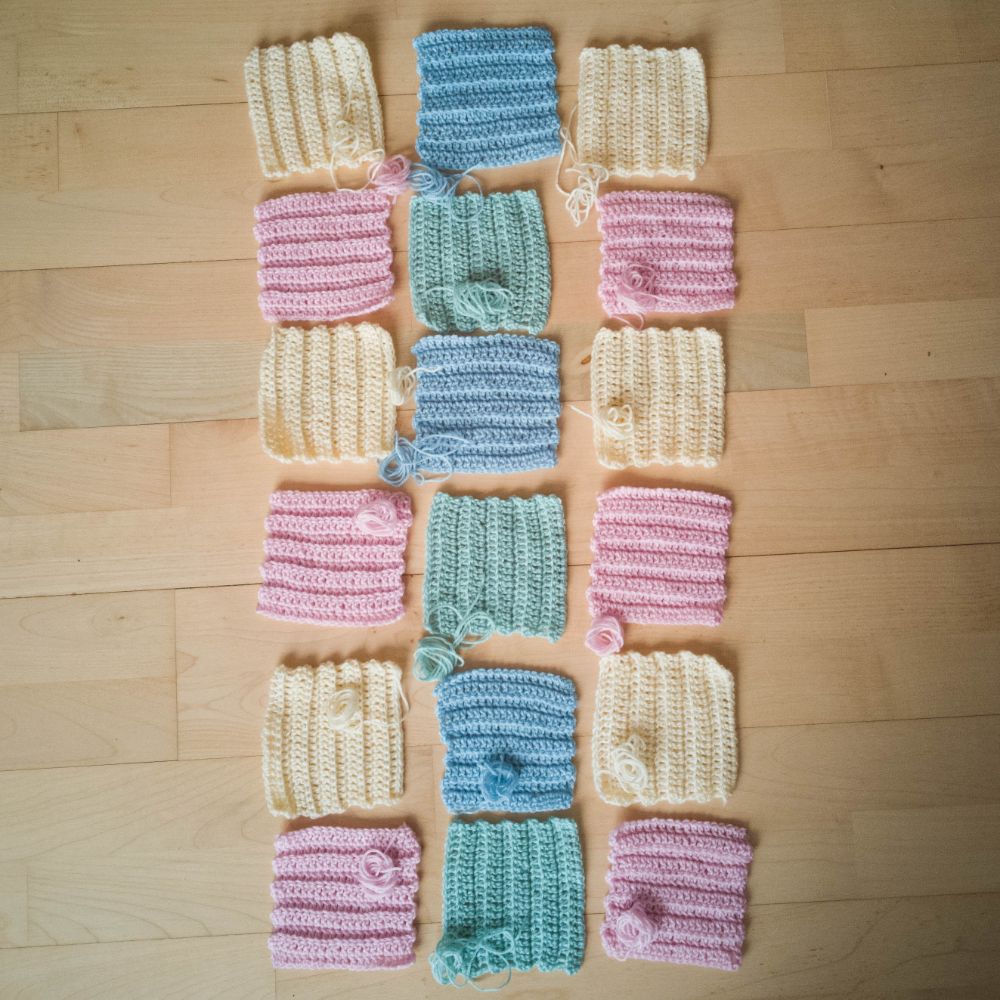
Position the squares so that the corner with the yarn tail is in the lower left corner, except for the outer vertical row to the left. Here the squares are placed so that the yarn tail is in the upper right corner.
Start with the bottom square on the right side. Sew the square together with the one to the left using the yarn tail. When you reach the top, continue with the tail and sew the square above it attached as well. When you reach the end on the left side of the square, fasten off the yarn tail.
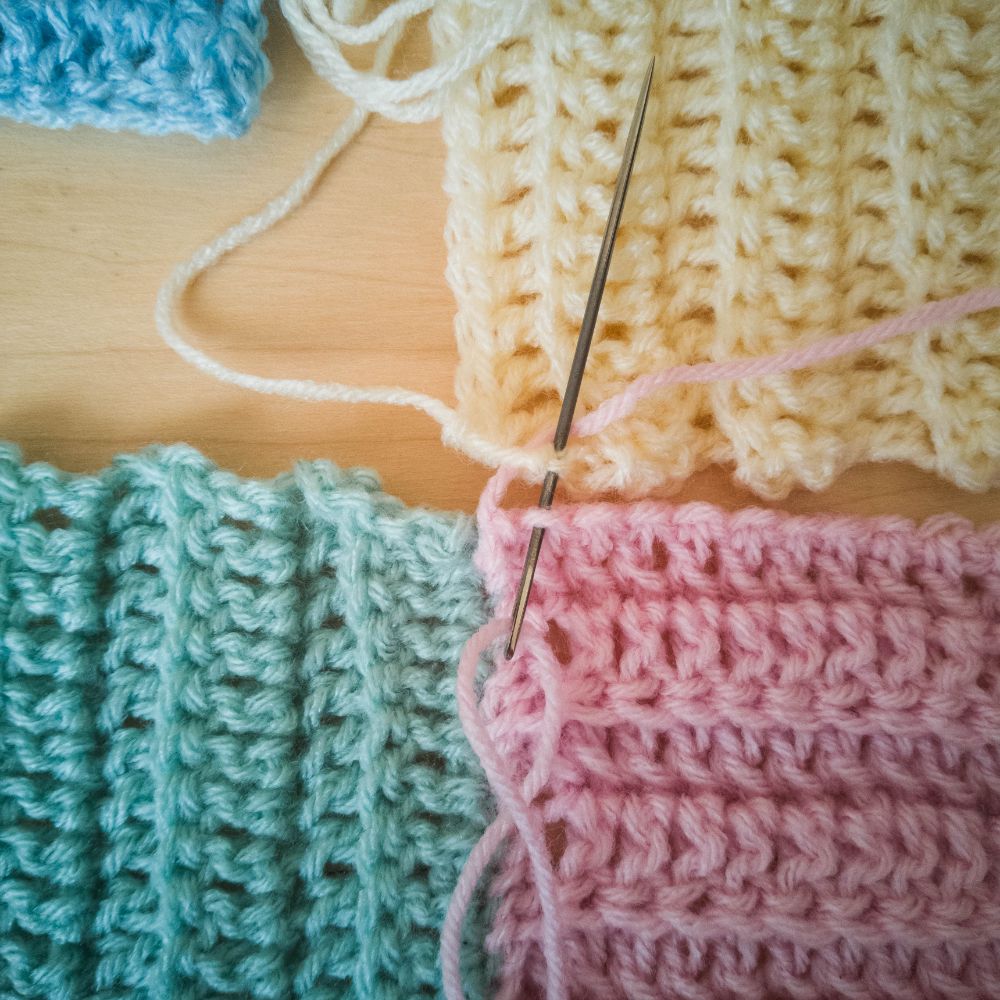

Continue as before with the next squares in the bottom row. When you reach the last square, you only need to sew on the one above. Once you have sewn the rows together and reach the left side, do not cut or fasten off the yarn. Leave it for sewing again later on.
Continue like this with all the squares. Once you have sewn the top ones together with the ones next to them, leave the yarn tail for sewing later.
Now make the second panel by mirroring the placement of the squares in relation to the yarn tails.
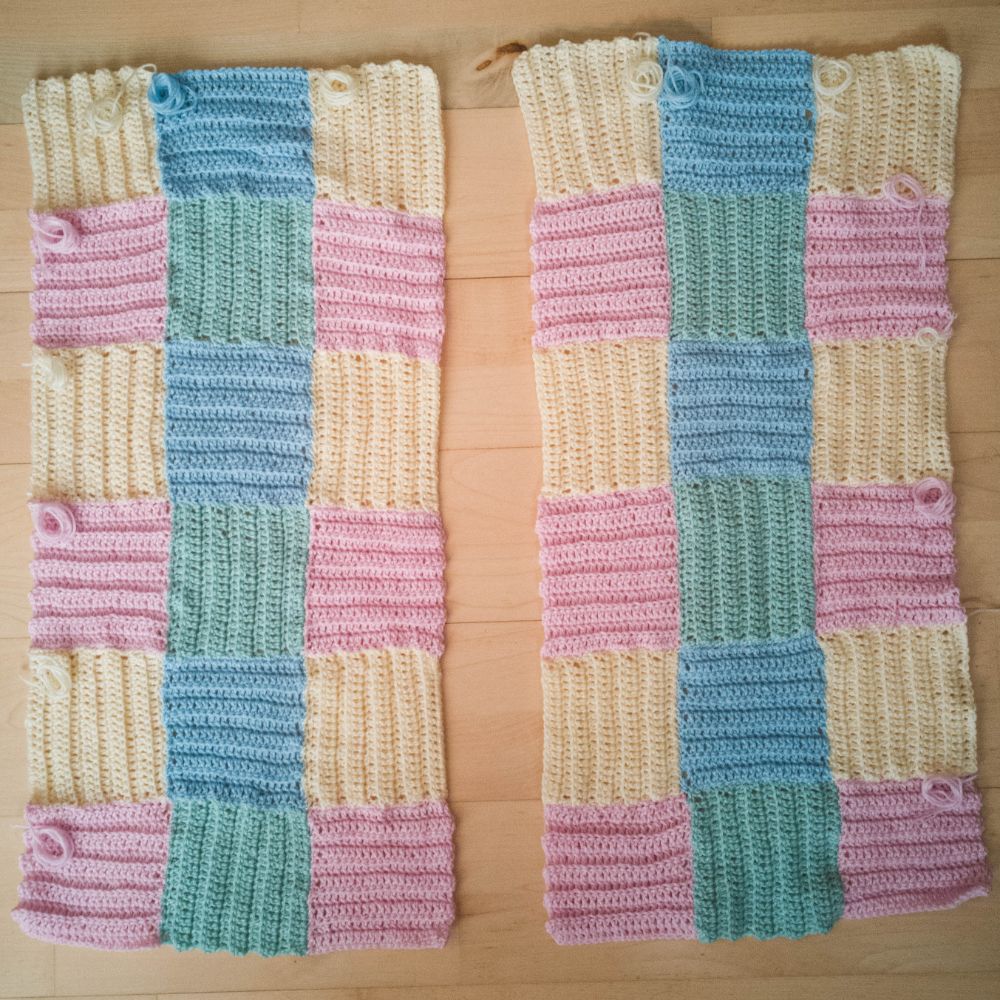
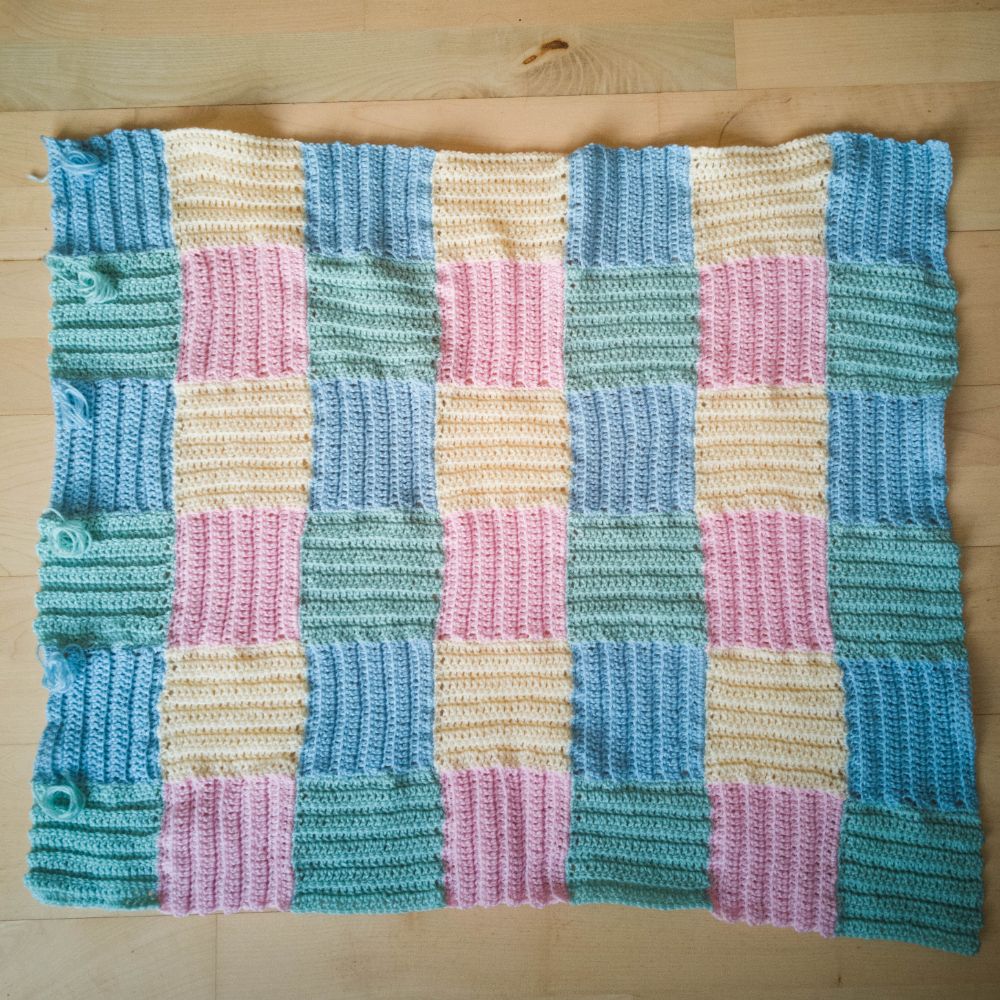
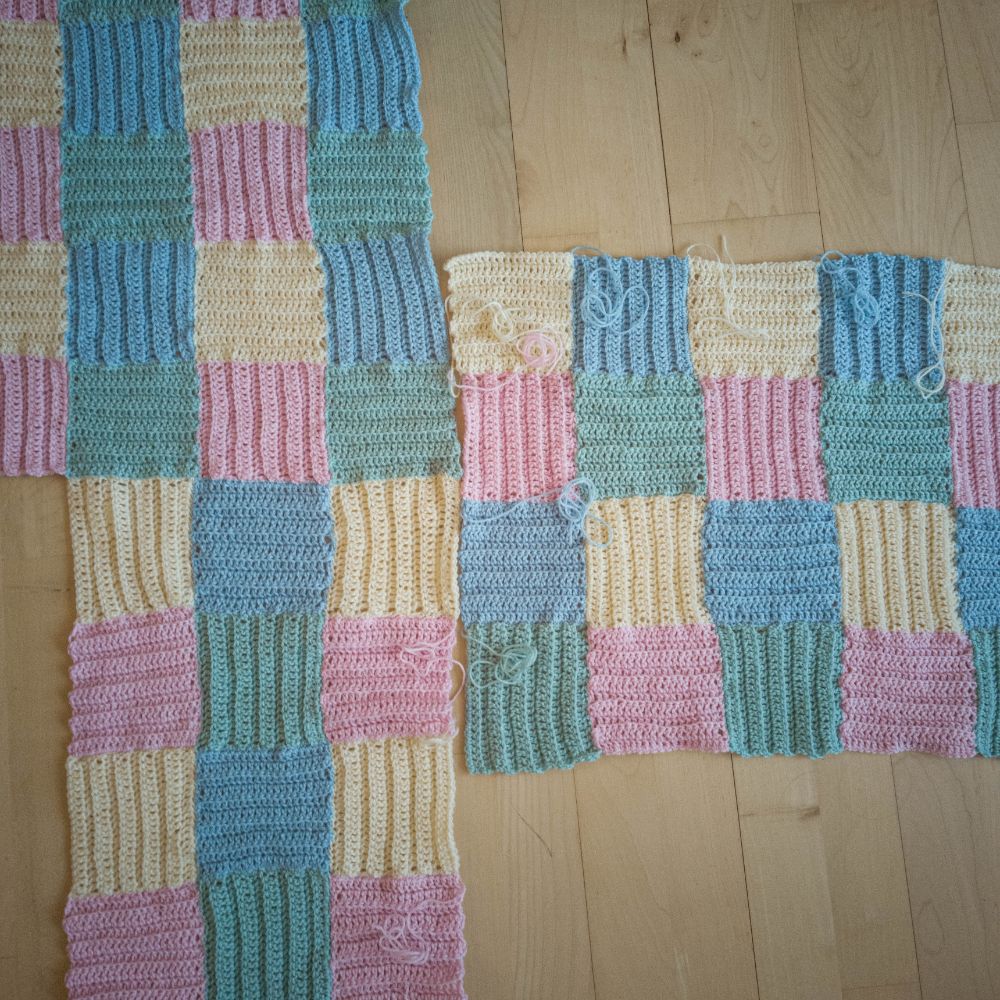
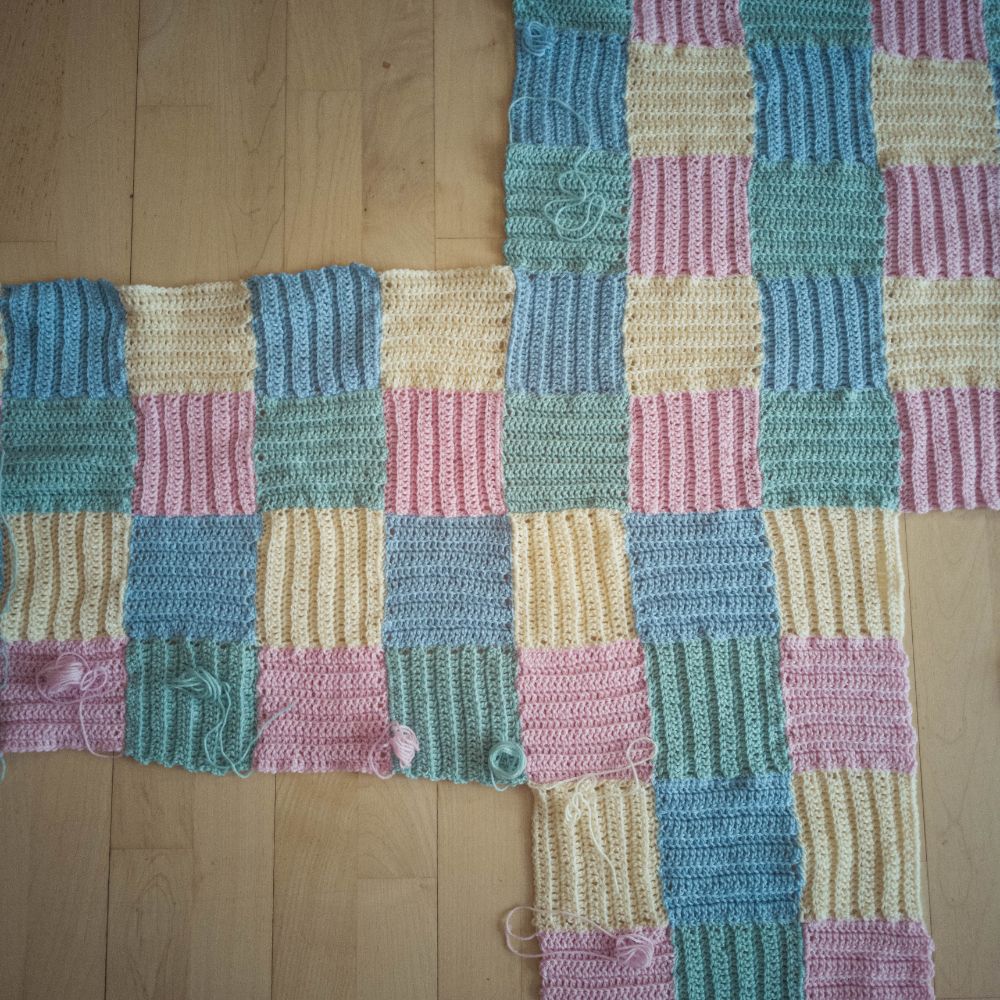
Back piece
Place the squares in the same way as with the left panel, with the yarn tail in the lower left side and the last vertical row to the left with yarn tail in the upper right corner. Follow the pattern below:
Now sew the squares together the same way as before. Here, you don't leave a tail of yarn for sewing later. Weave in all ends.
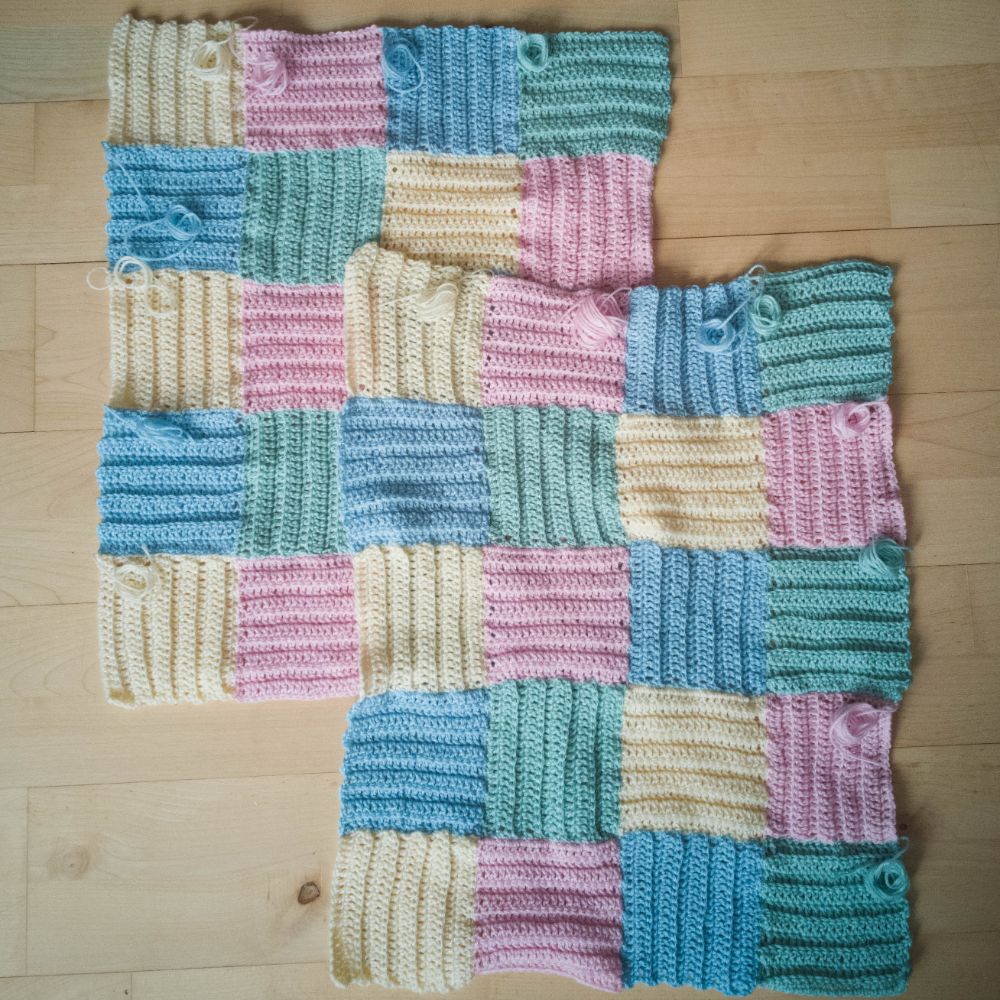
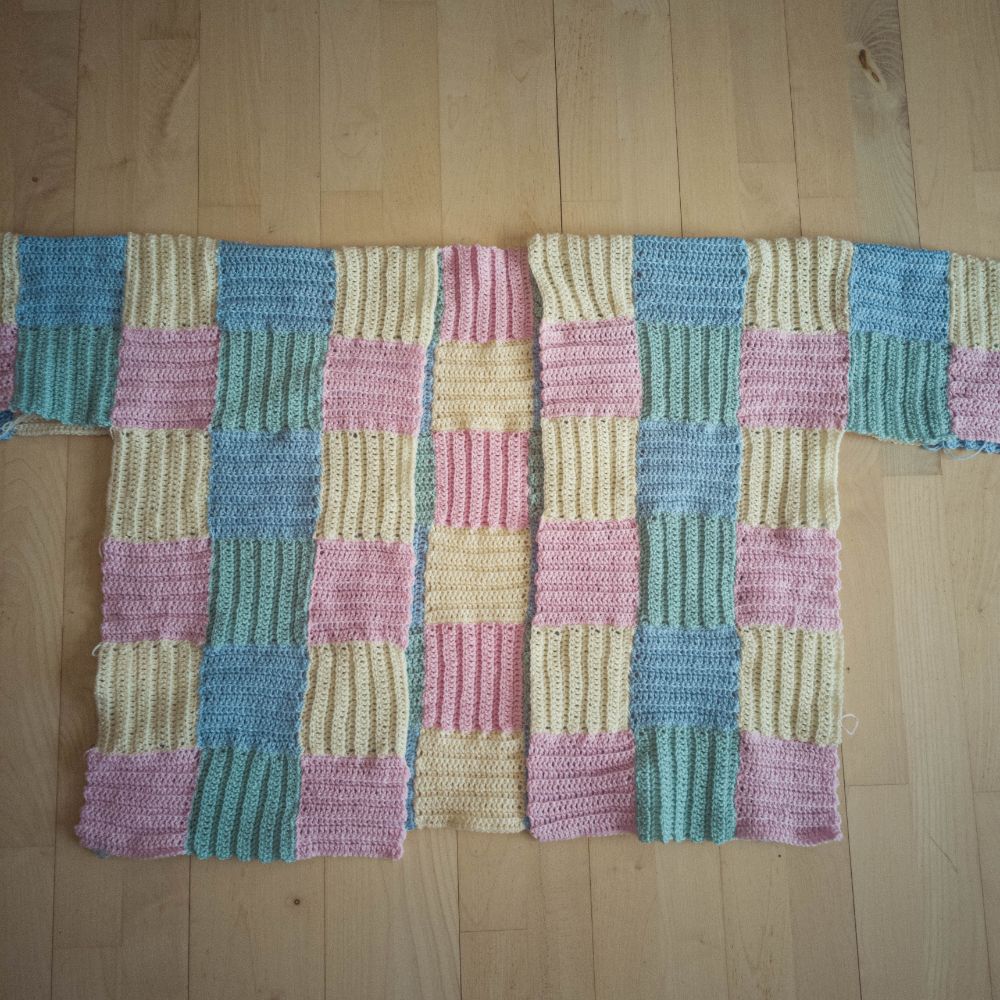
Sleeves
Again, place the squares with the sewing needle in the lower left corner and the outer row in the upper right corner. Sew the squares together and leave the yarn strands to the left and the top for sewing.
Do the same for the other sleeve with the squares placed mirror inverted to the yarn strands.
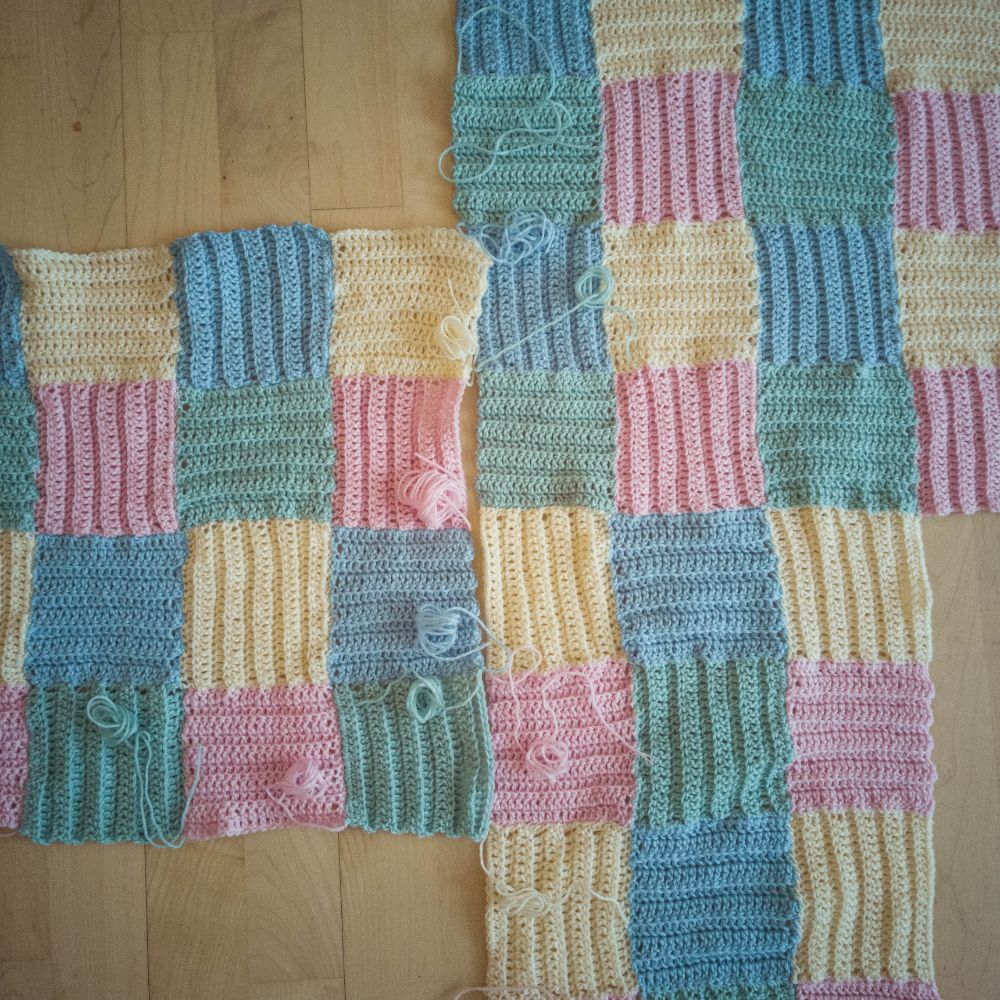
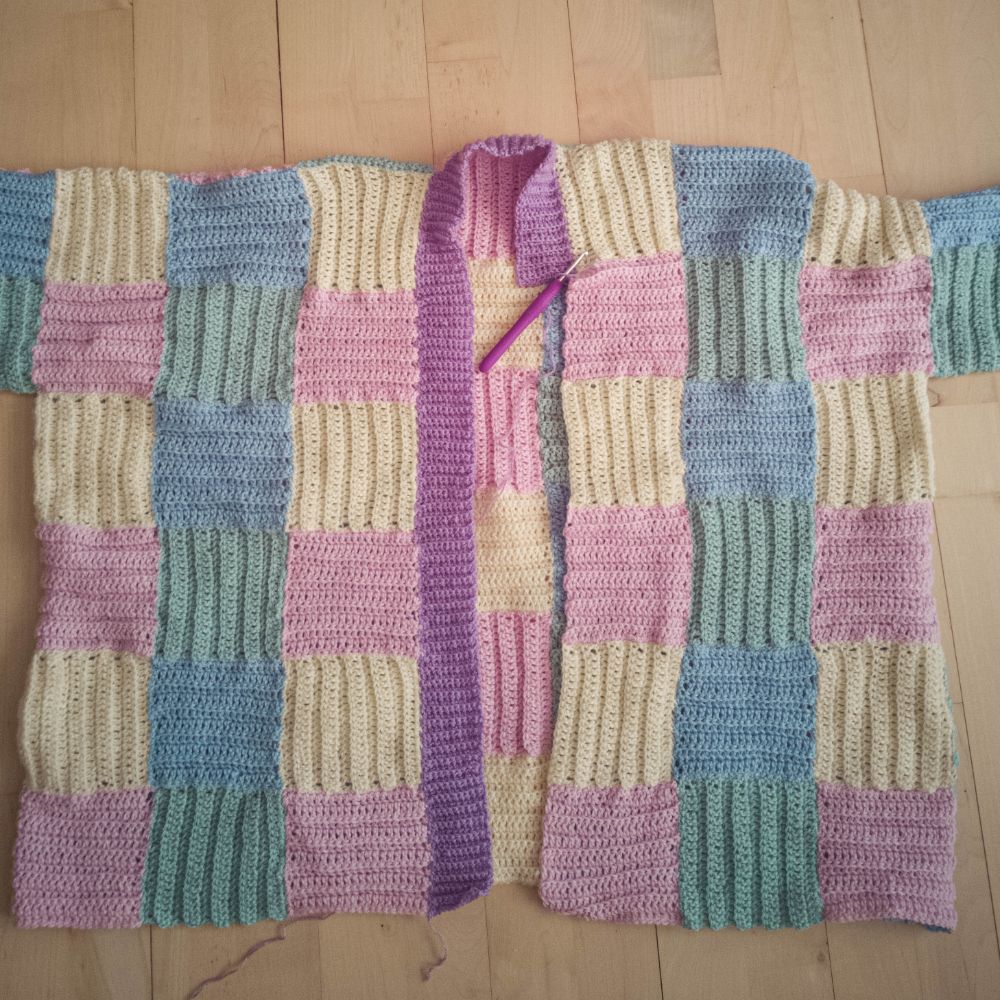
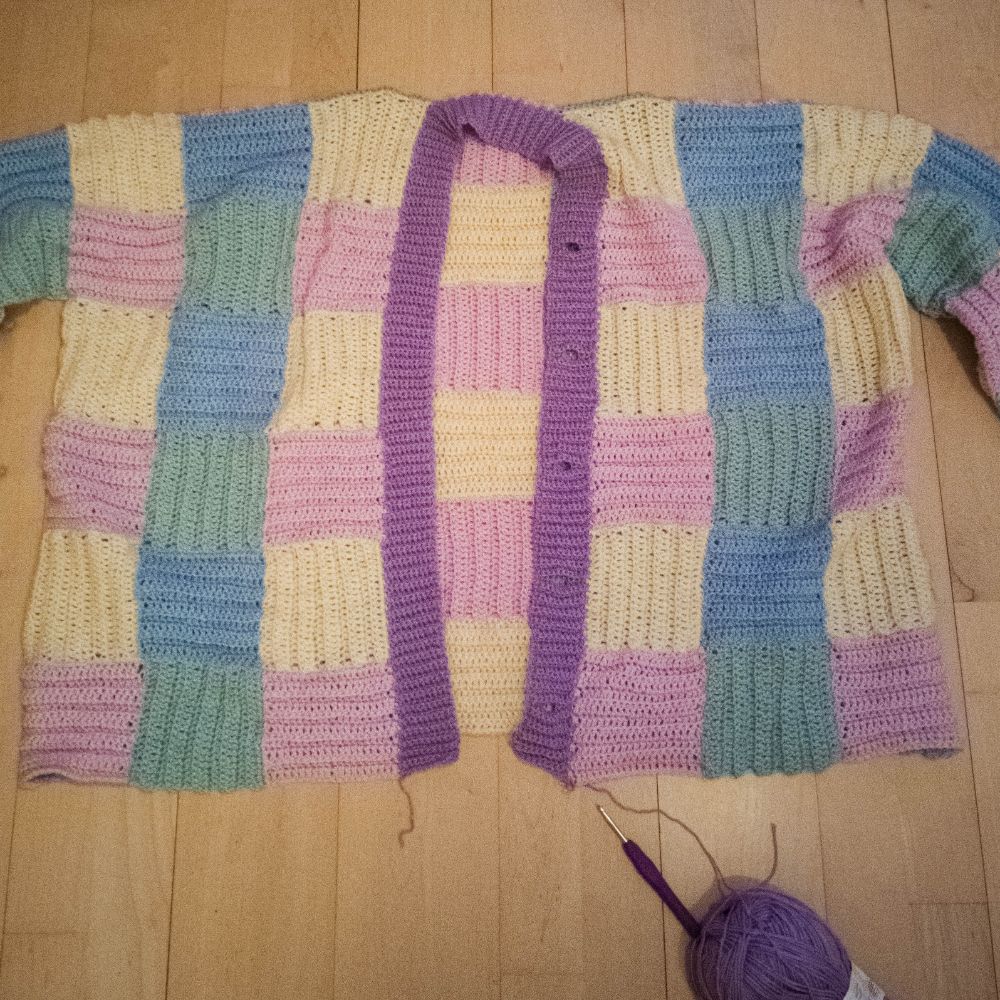
Assembly/finishing
Now you sew all the squares together. Start by sewing the front panels to the back piece using the yarn tail at the top of the front panels so it leaves an empty vertical row in the middle.
Sew the sleeves on partially to the front panel and back piece using the strands at the top of the sleeves.
You will now see that you have some leftover yarns tails on the front panels. You can also use them for sewing, just weave in the ends that you don’t use.
You can now fold the work in the middle to create a front and a back. Start by sewing the side of the front panels to the back piece.
Then sew the sides of the sleeves together.
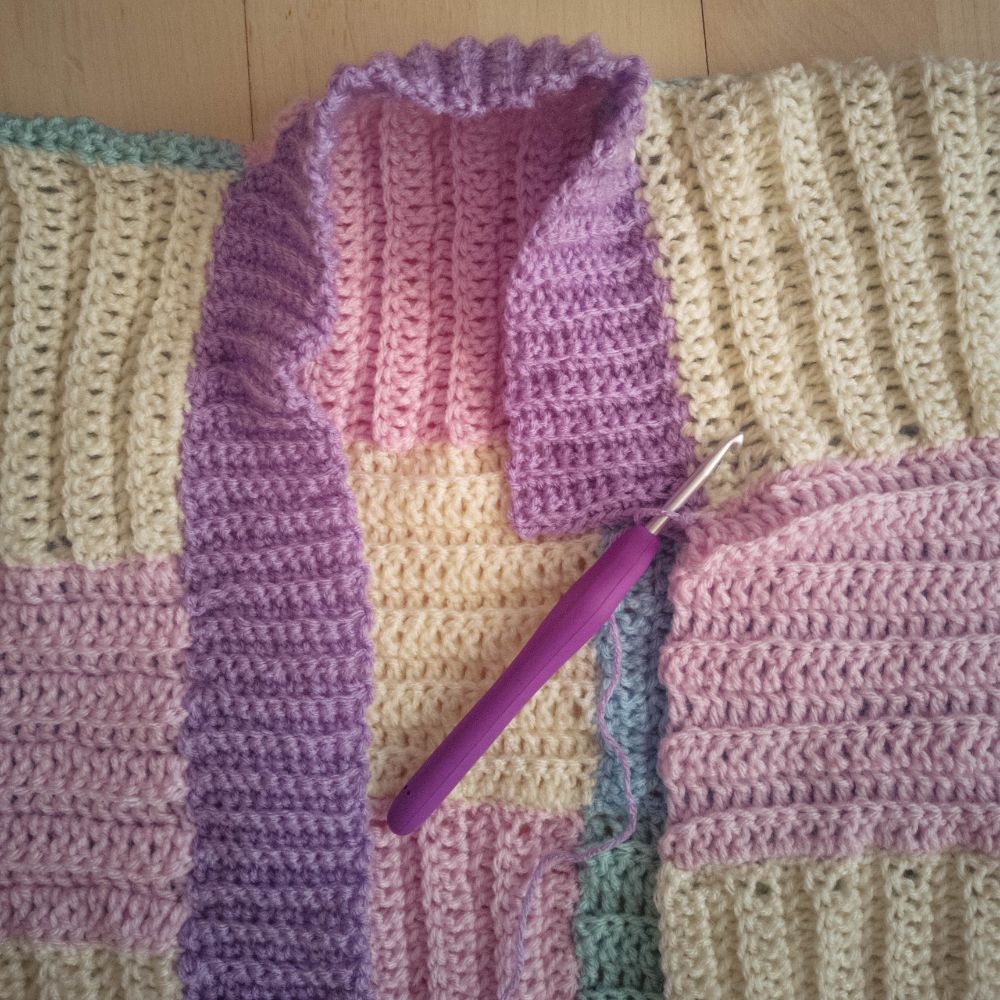
Rib edge
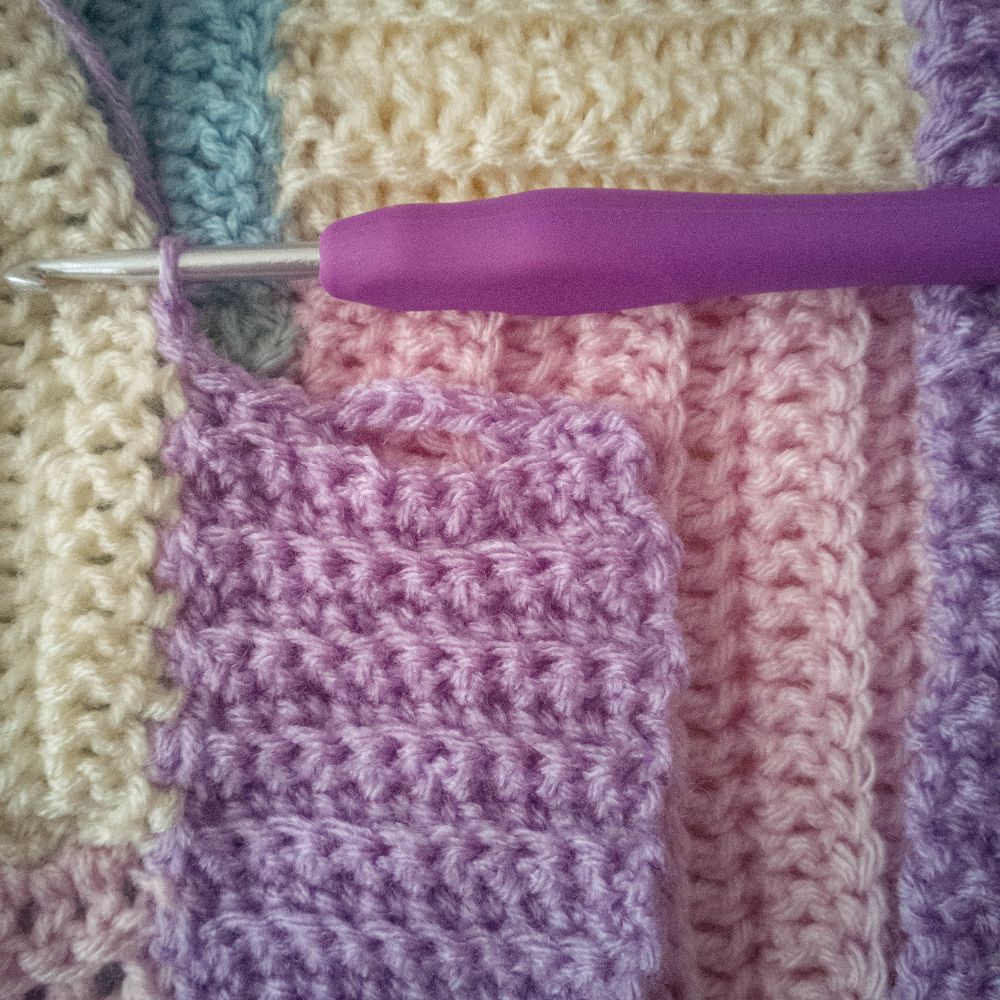
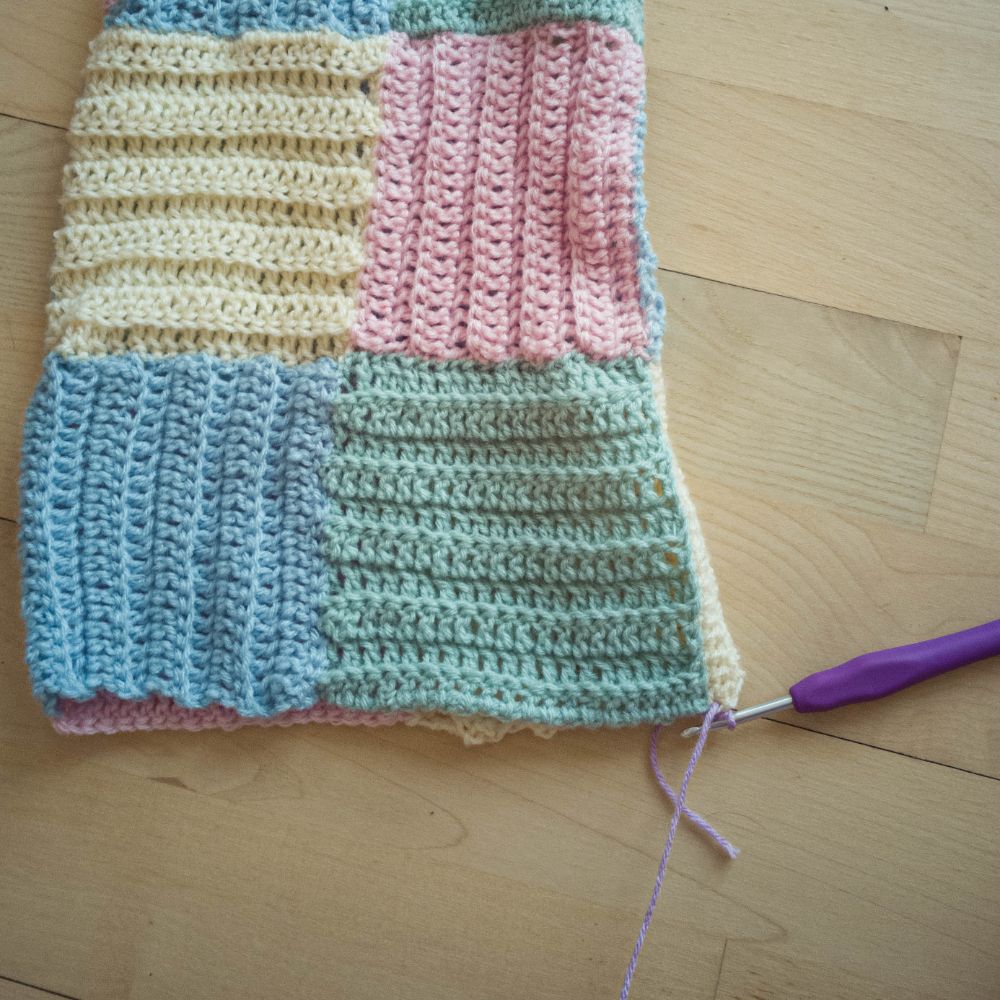
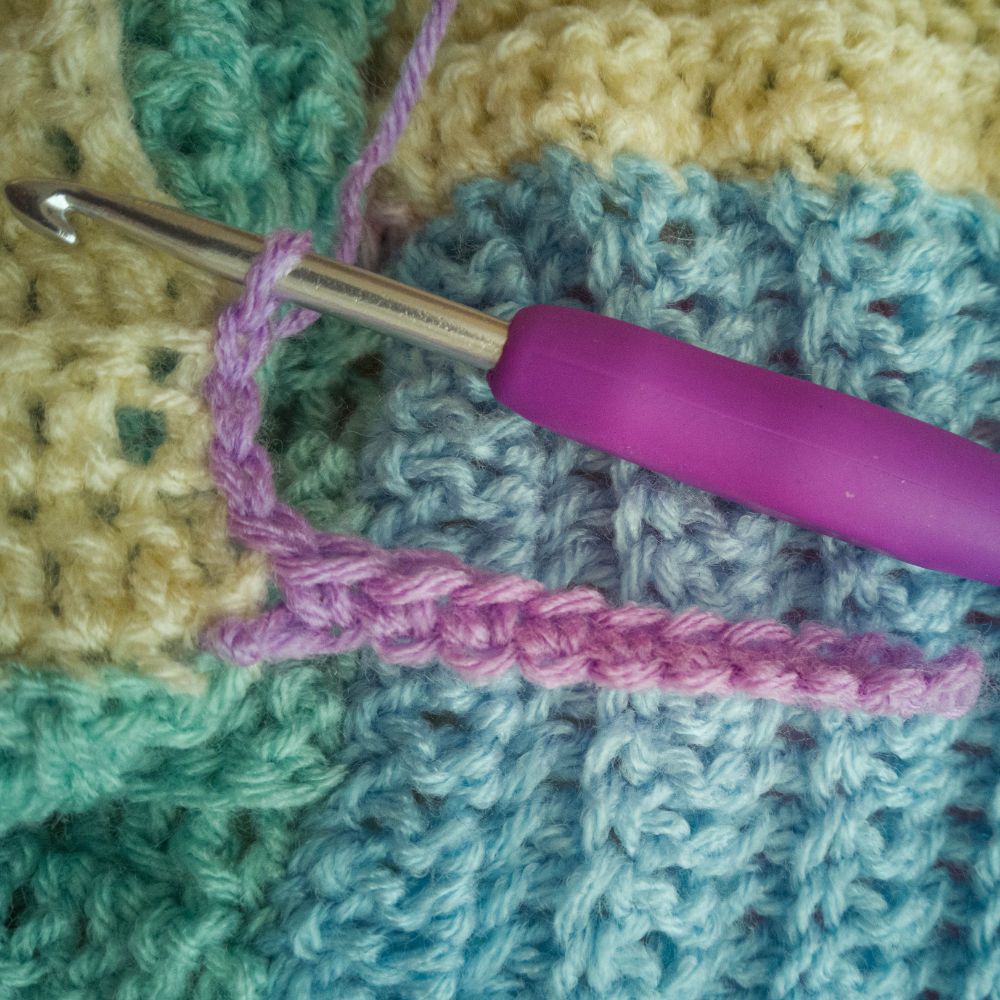
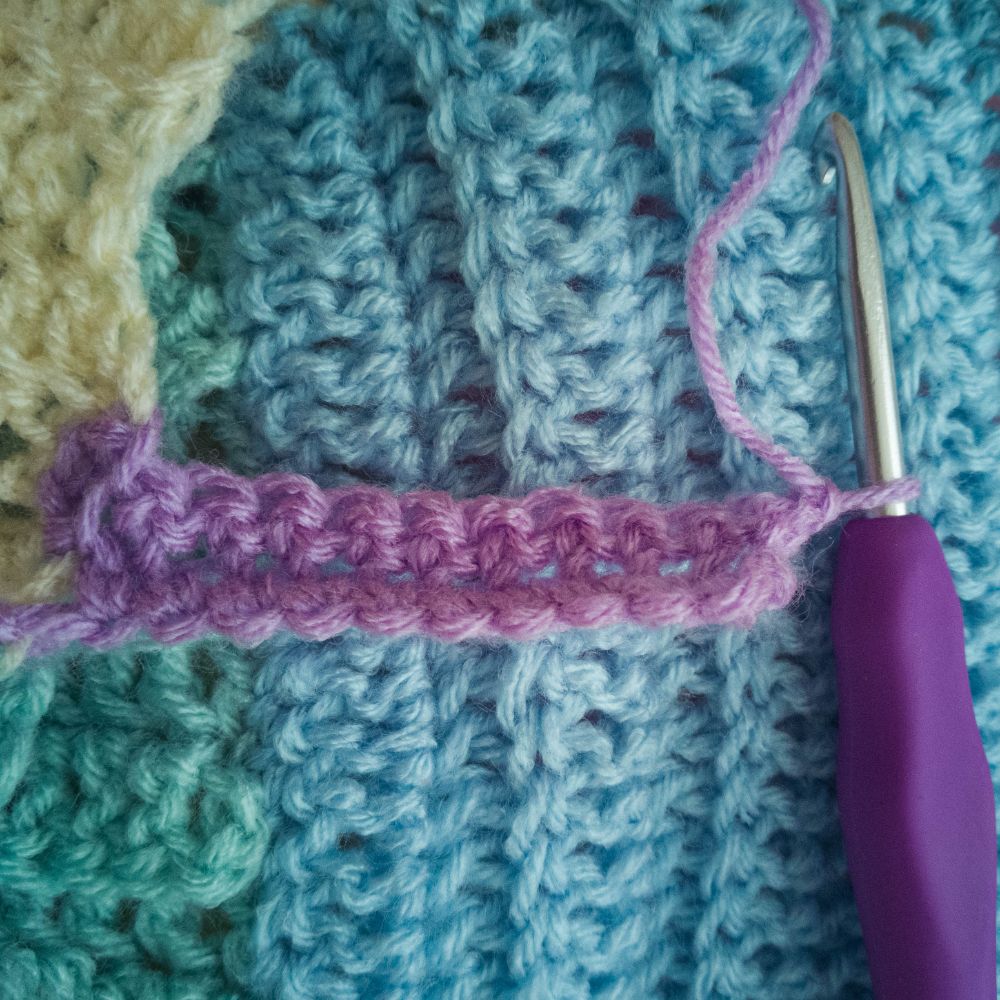
Now crochet a rib edge all the way around.
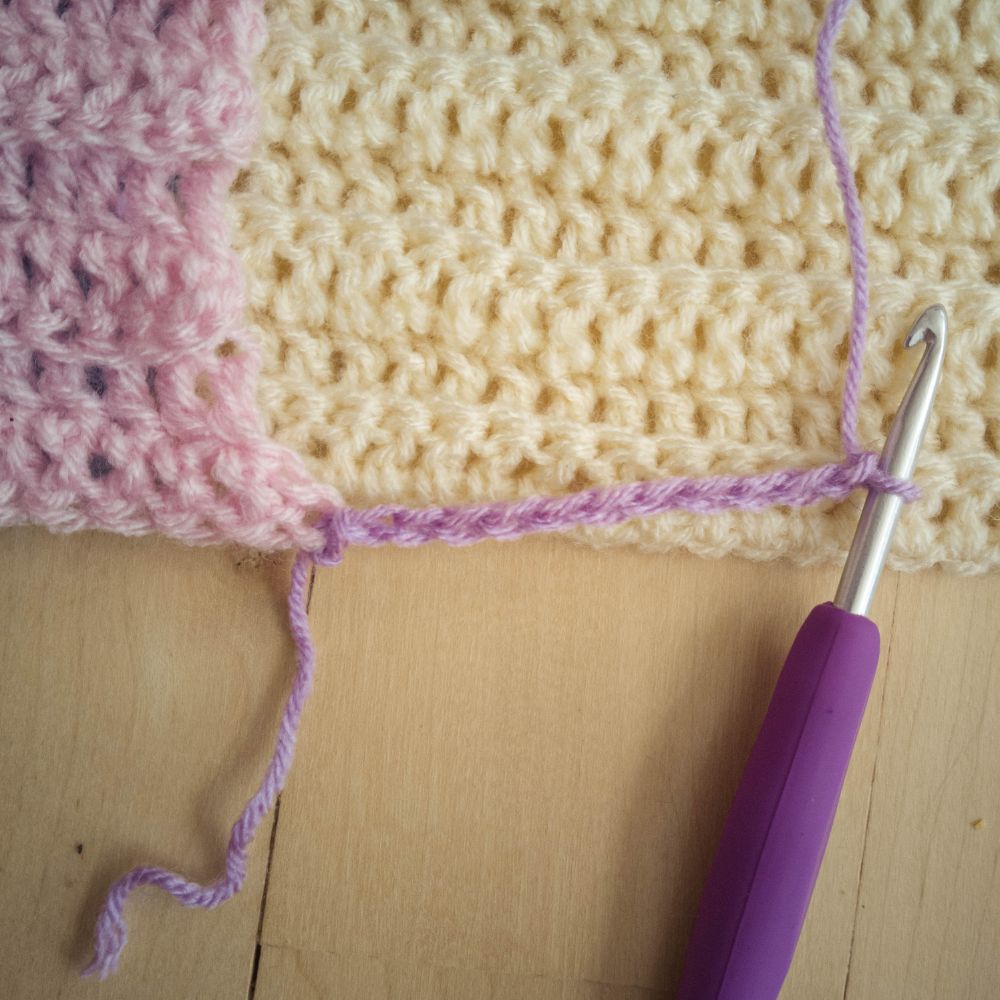
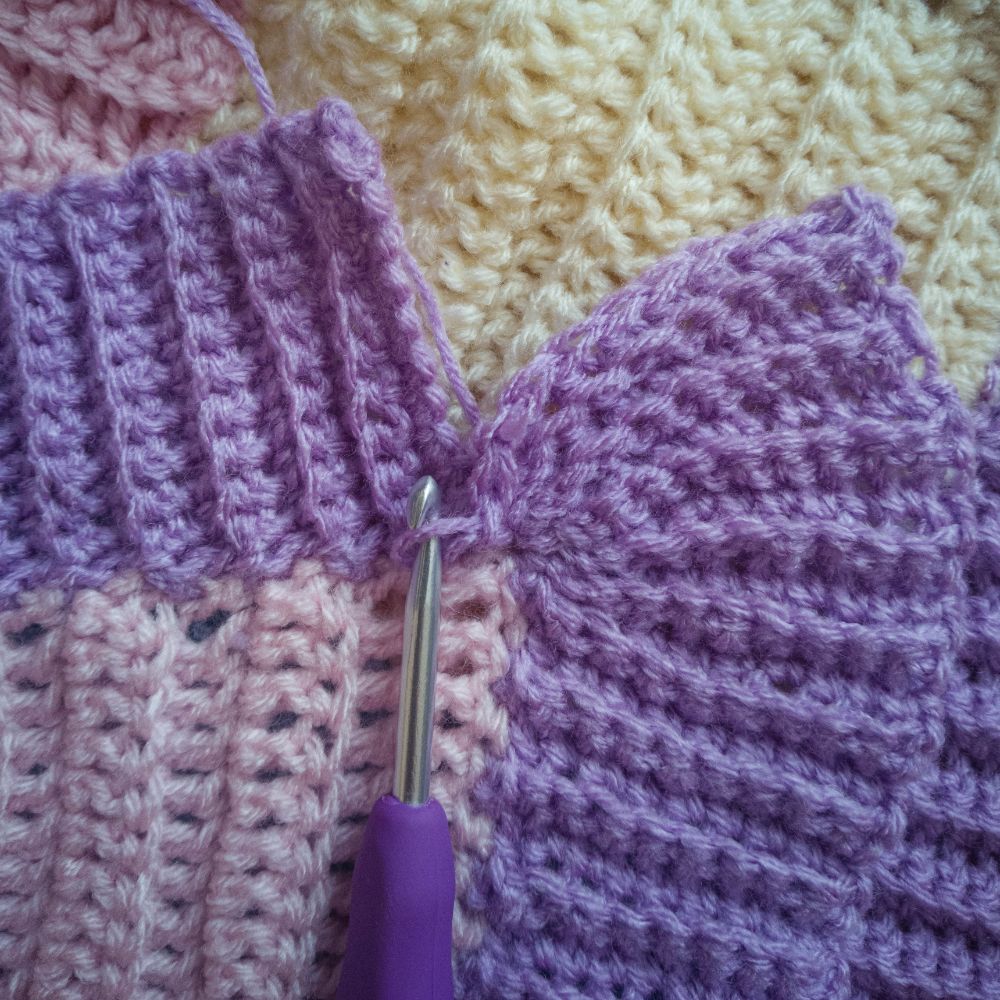
Start by making a sl st in the lower right corner of the left panel. Here you crochet up along the side panel./

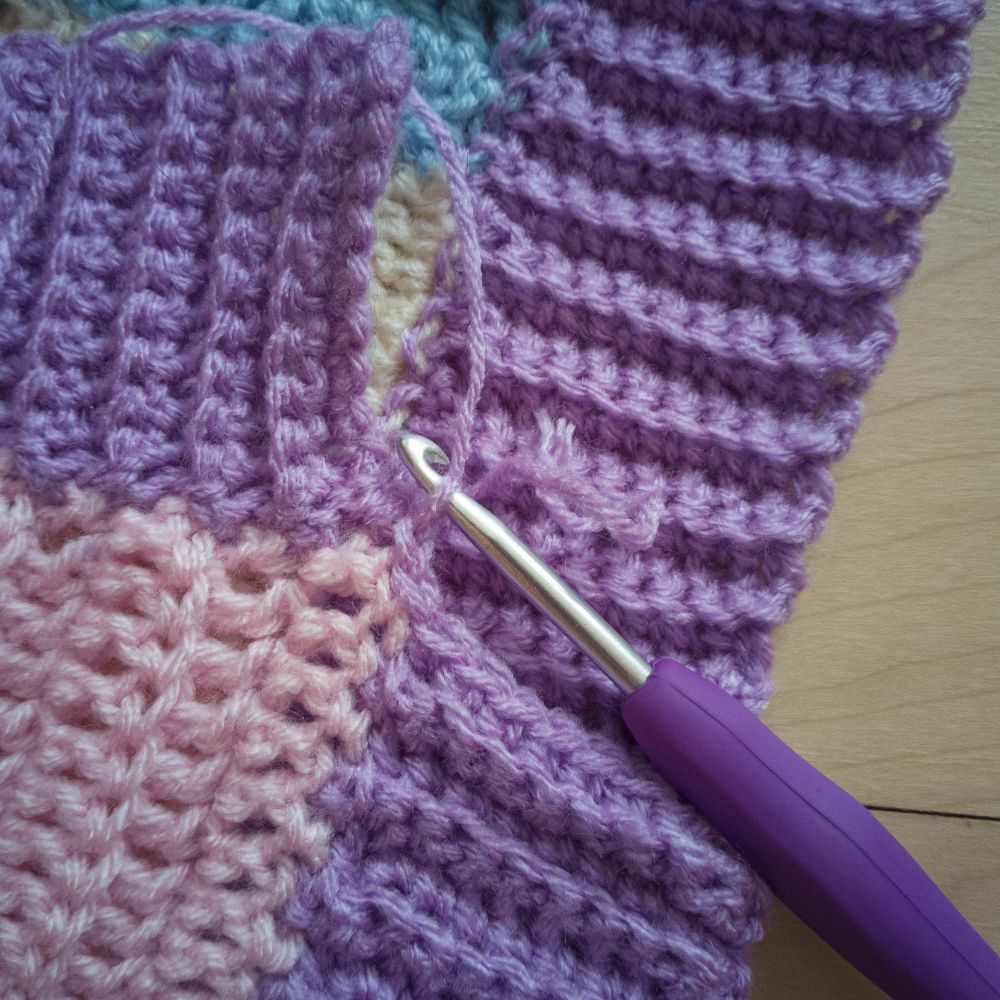
1st row: Cast on 10 ch + 1 for turning the work
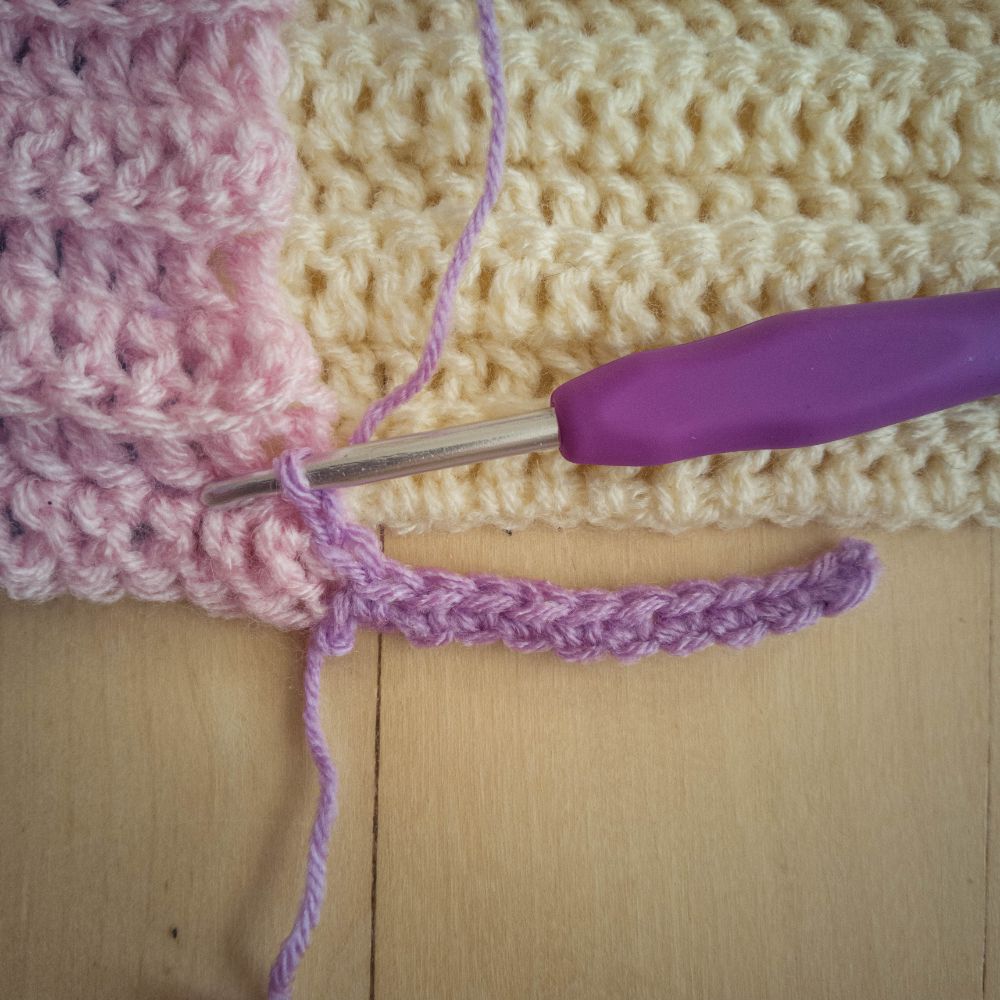
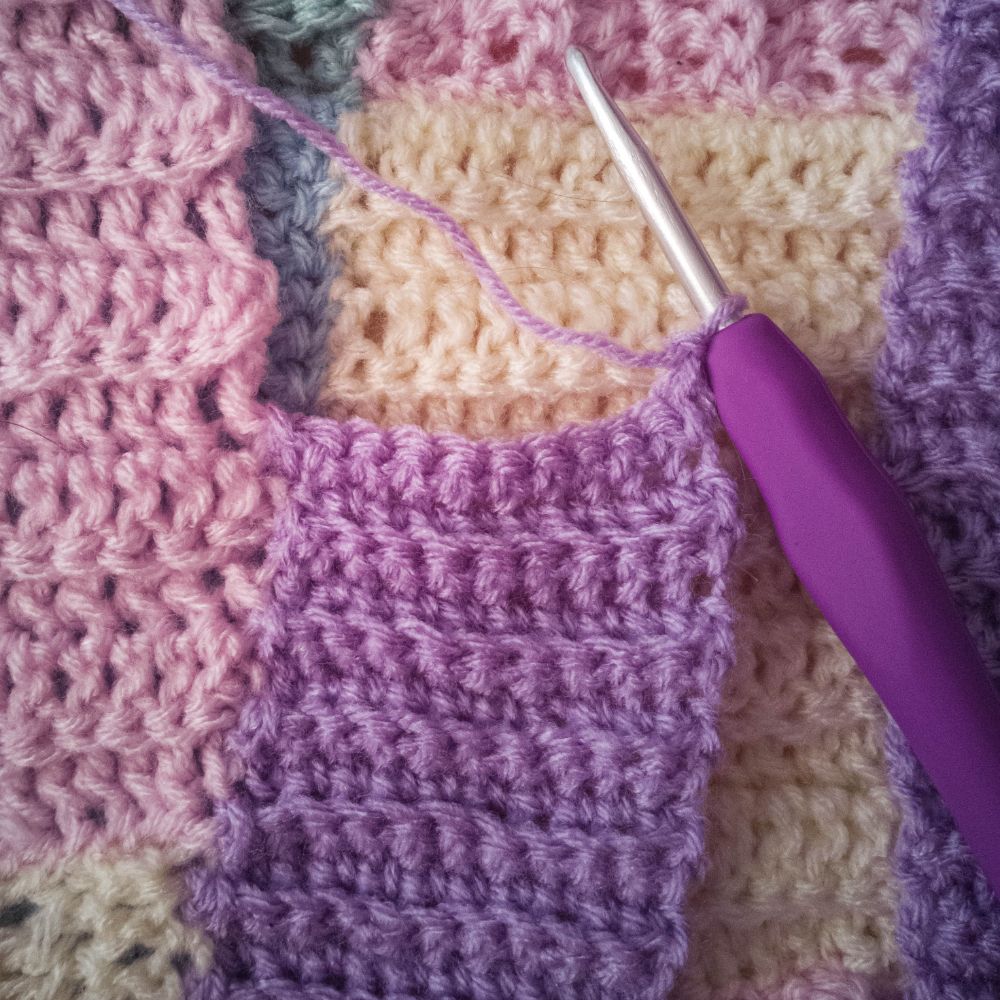
2nd row: Make 1 dc in BL in each ch + 2 sl st in the next 2 stitches along the panel and turn.
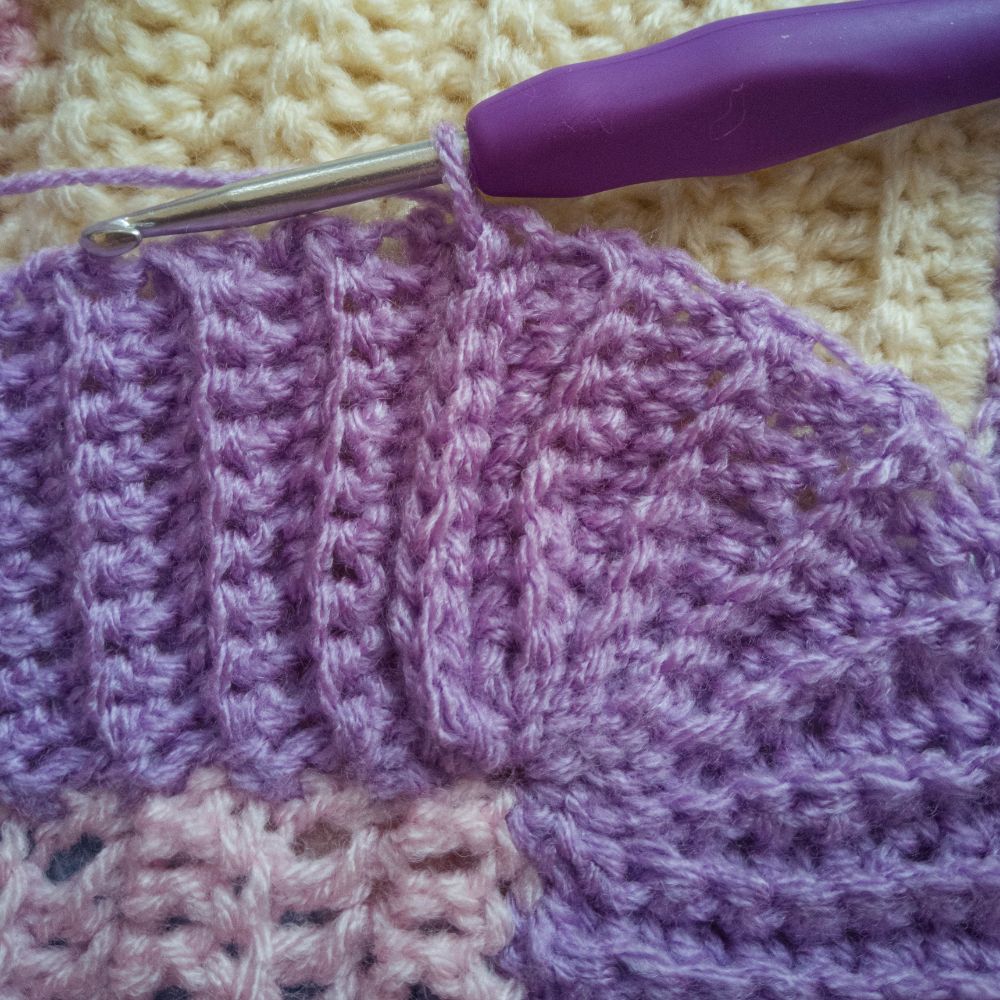
3rd row: Skip the slip stitches and make dc in BL in each of the 10 stitches + 1 ch and turn work.
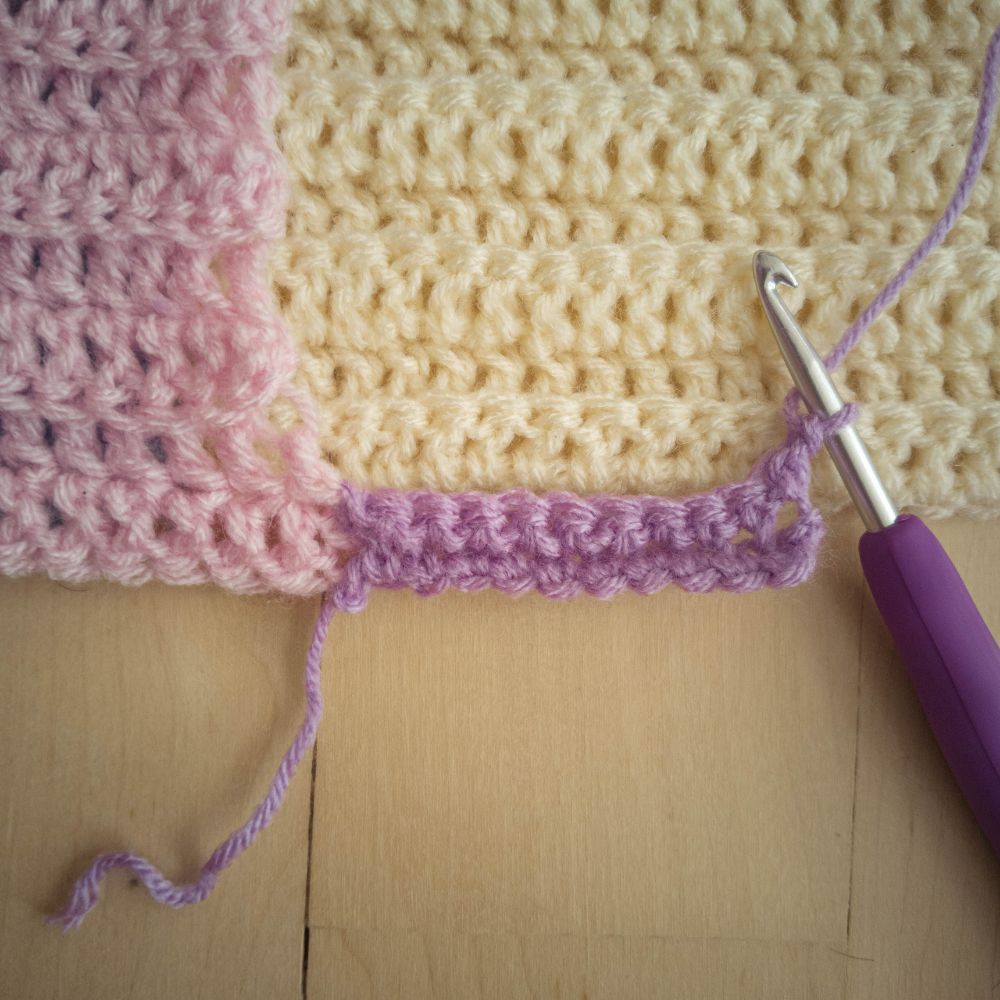
Repeat 2nd, and 3rd row all the way up the side panel and around the neck.

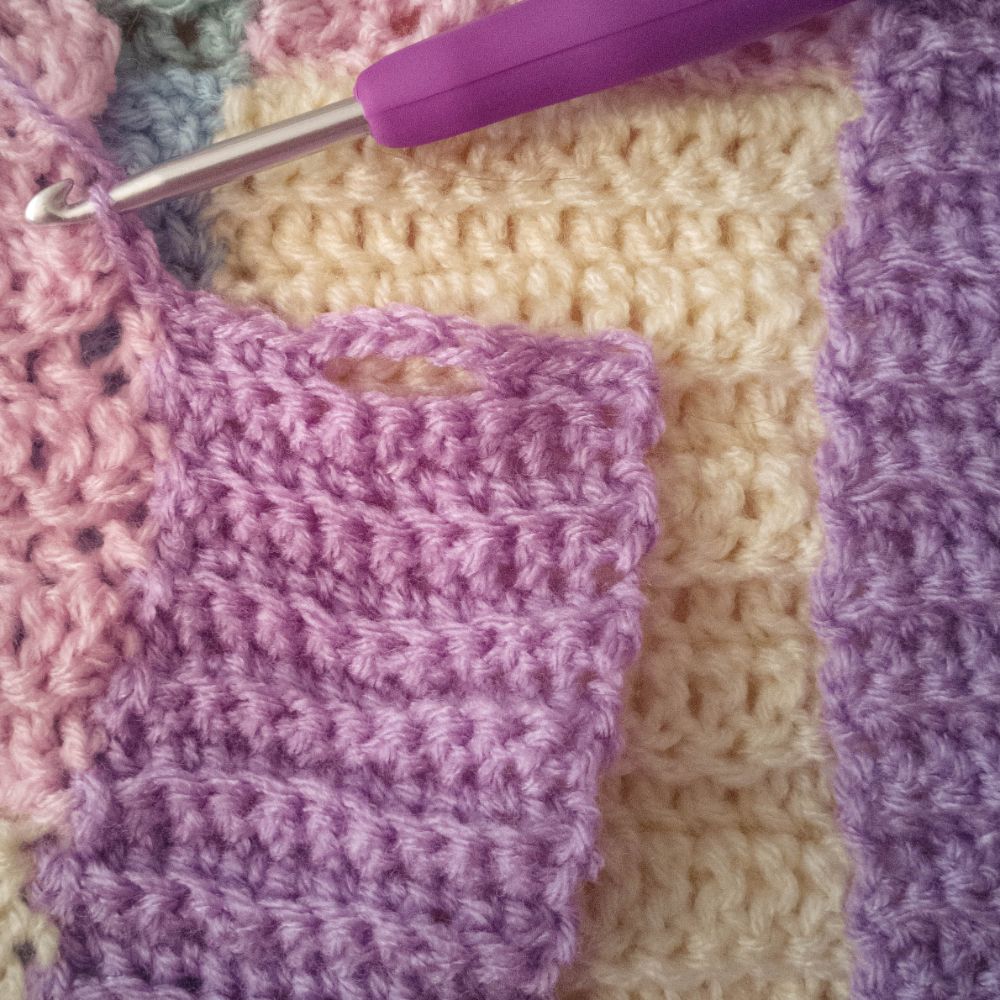
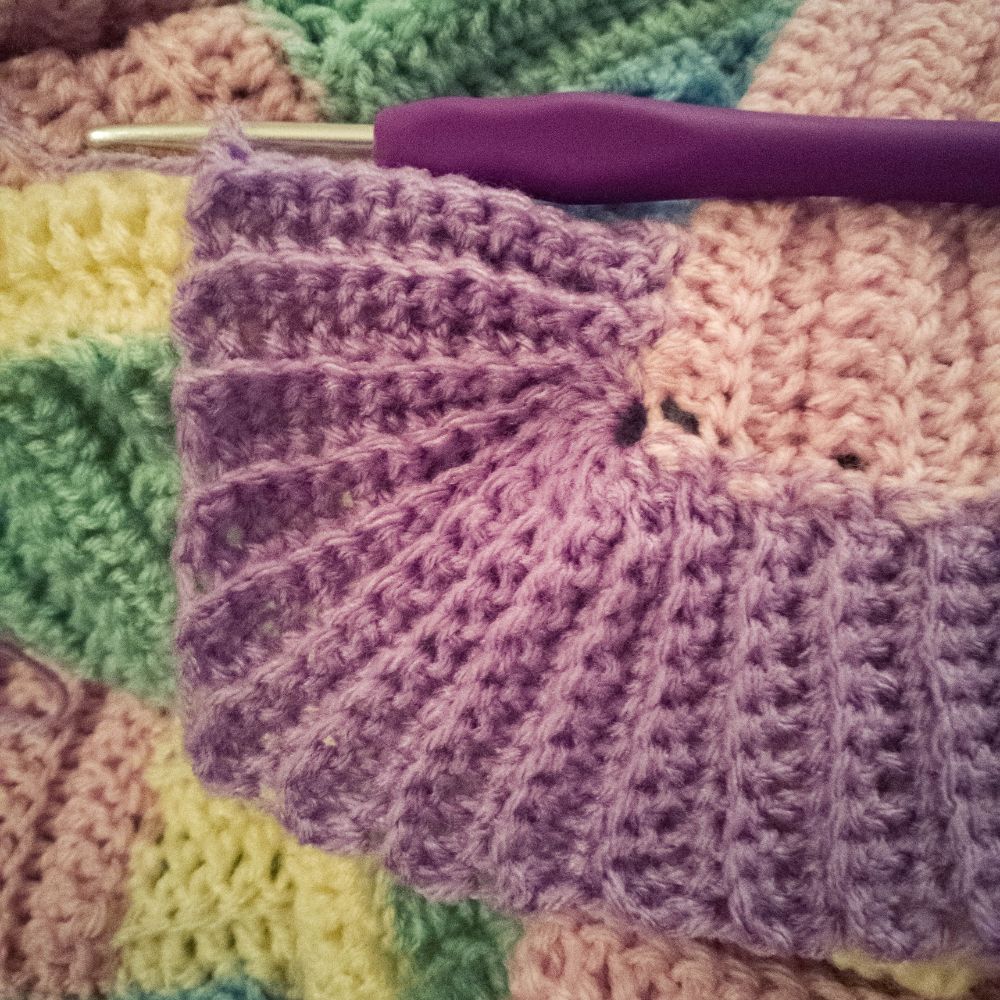
Once you have crocheted the rib edge along the top square on the right panel, you crochet rib edge with buttonholes.
Continue the work as earlier and repeat 2nd and 3rd row 5 times.
Crochet 1 dc in BL in the next 3 stitches. Make 4 chain stitches and skip the next 4 stitches on the previous rows. Crochet 1 dc in BL in the next 3 stitches + sl st in the next 2 stitches along the panel.
Then continue as before. Repeat 2nd and 3rd row 10 times, and again skip the middle 4 stitches with chain stitches.
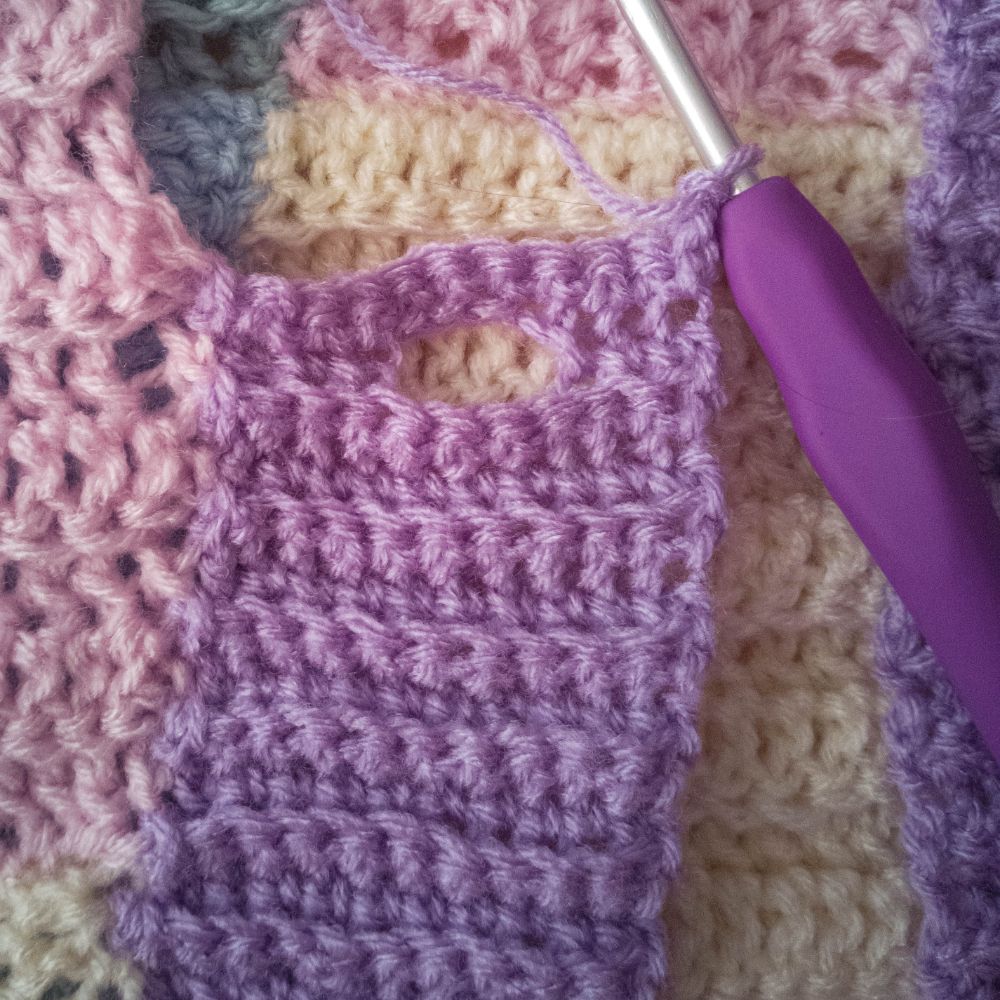

Continue until you have crocheted the rib edge with holes all the way along the panel.
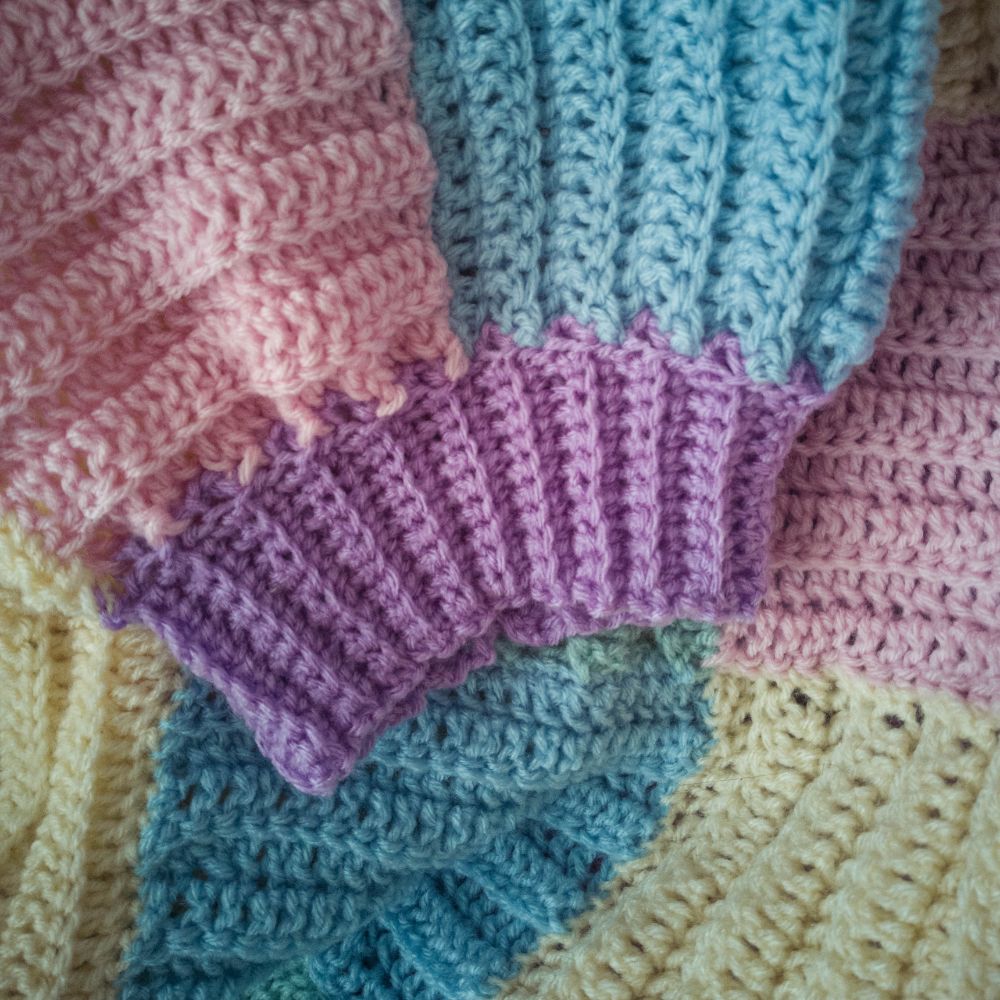
In the corner of the panel, you repeat the two rows 6 times in the same stitch. Here, you do not make sl sts in the next 2 stitches, but only 1 sl st in the corner.
Repeat the two rows after as usual all the way around until you reach the corner where you started.
Repeat the 2 rows 6 times in the corner as you did on the other corner.
Crochet the last row joined with the first row using slip stitches. Break the yarn and weave in the ends.

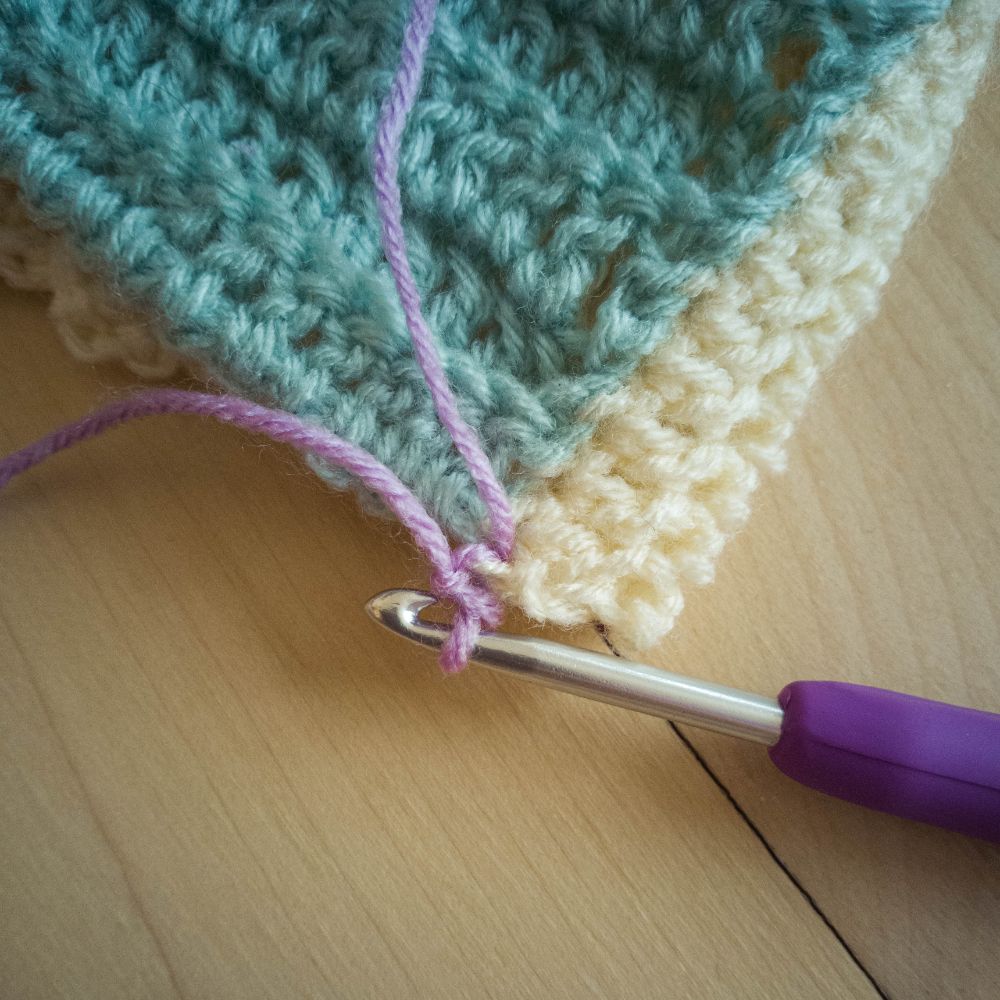
Now, you crochet rib edge on the sleeves. Start with a sl st in the corner of one of the squares. You crochet clockwise around the sleeve.
1st row: Cast on 10 ch + 1 for turning the work.
2nd row: Make 1 dc in BL in each ch + 1 sl st in the next 4 stitches along the panel and turn the work.
3rd row: Skip the slip stitches and make dc in BL in each of the 10 stitches + 1 ch and turn work.
Repeat 2nd and 3rd row until you reach all the way around the sleeve. Crochet the two rows together using sl st.
Repeat on the other sleeve.
Finally, you sew the buttons on the rib edge to make them fit with the buttonholes.

Designed by: Agnethe Bonde
 Österreich
  Belgique
  Bosna i Hercegovina
  България
  Κύπρος
  Česká republika
  Danmark
  Eesti
Eesti  Føroyar
  Suomi
Suomi  France
  Deutschland
  Ελλάδα
  Kalaallit Nunaat
  Magyarország
  Ísland
  Ireland
  Italia
  Latvija
  Liechtenstein
  Lietuva
  Lëtzebuerg
  Malta
Malta  Isle of Man
  Nederland
  Norge
Norge  Polska
  Portugal
  România
  Slovensko
  Slovenija
  España
  Sverige
  Schweiz
  Ukraїna
  United Kingdom